

Hi everyone,
It's my turn to post a tutorial on the Elizabeth Craft Designs blog today. As most of you know I love pop up cards, so was super excited when I found out that we were getting a set of general pop up dies to create all sorts of fun pop up cards. Today I have created a pop up card using the new General Pop Ups die set along with a couple of other new dies which are being released this month to create a birthday card. I don't know about you but I can never make too many birthday cards.
Here is how I created my card:

Step 1 -
- Using the ModaScrap Color of Puppies Boy 12 x 12 Patterned Paper Pack, cut a piece of the striped paper so that it is 5 inches x 10 inches.
- Score and fold along the centre of the paper and place the pop up die so that the centre nubs of the die are lined up with the score line and centred on that line.
- Run through die cutting machine.

- Pop both sections of the pop up up so it looks like the photo above.
Step 2 -
Using the Birthday Candle die set, die cut the following:
- (10) Solid Candles from white cardstock
- (10) Decorative Layer Candles using red, teal, green and orange cardstock which has Clear Double Sided Adhesive Tape on the back. (The Striped, Diagonal Strip, Circle and Confetti Candles used for this card)
- Remove protective backing from the colored candles and adhere onto a white solid candle.
- Set 4 candles aside for front of card.
- Cut a piece of teal cardstock that measures 5 /14 x 10 1/2 inches. Score and fold at 5 1/4 inches to create a 5 1/4 inch square top folding card.
- Apply adhesive to the pop up insert being careful not to get adhesive near the pop up panel and adhere to the inside of teal card. (Tip - carefully line up one side of the pop up insert on the inside of card and adhere that down before adhering the other half).

- Place Clear Double Sided Adhesive Tape to the front of both of the pop up panels and adhere two candles to the top pop up tab and four to the front pop up tab. Refer to photo above for placement.

Step 3 -
- Cut two pieces of green patterned paper (also from the ModaScrap Color of Puppies Boy Patterned Paper Pack) so they measure 5 inches x 2 inches.
- Cut two dark green strips of cardstock approx 5 inches x 1/2 inch. Adhere the strip under the patterned paper so just a small about shows from the front of the paper.
- Adhere these panels to the top and bottom of the inner card (refer to photo above).

Step 4 -
- Using the "Happy Birthday to You" sentiment from the Birthday Sentiments Clear Stamp set, stamp onto White Soft Finish Cardstock using black ink.
- Die cut sentiment using coordinating die from the Labels 1 die set.
- Die cut a piece of teal cardstock using the same die and cut in half (refer to photo above)
- Layer the two half die cut pieces under the sentiment panel so you have a slight edge at the top and bottom of the sentiment.
- Adhere sentiment to inside of card so it overlaps both patterned papers.

Step 5 -
- Using the Celebration Flags die set, die cut two of the star banners from dark teal cardstock that has Clear Double Sided Adhesive Tape on the front.
- Remove protective backing from the banners and cover adhesive with Cool Diamond Silk Microfine Glitter. Return excess glitter to the jar and polish the glitter into the adhesive with your finger.
- Add a Transparent/Gold Glitter Dot Peel-Off Sticker to the centre of each star.
- Adhere banners to the top and bottom edges of card.

Step 6 - Front of Card:
- Cut the a piece of Striped Patterned Paper so it measures 5 inches square. Adhere to the front of card.
- Cut a piece of Green Patterned Paper so it measures 5 inches x 2 inches.
- Cut a dark green strip of cardstock approx 5 inches x 1/2 inch. Adhere the strip under the patterned paper so just a small about shows from the front of the paper.
- Layer the green panel to bottom of card.
Step 7 -
- Using the "Make a Wish" sentiment from the Birthday Sentiments Clear Stamp set, stamp onto White Soft Finish Cardstock using black ink.
- Color Stars as desired.
- Die cut sentiment using coordinating die from Labels 1 die set.
- Die cut a piece of teal cardstock using the same die and cut in half
- Layer the two half die cut pieces under the sentiment panel so you have a slight edge at the top and bottom of the sentiment. (refer to step 4 )
- Optional - cut a second teal die cut piece and cut in the opposite direction and layer under white label so the card is edged on all sides.
- Adhere sentiment to card referring to card above for placement.
Step 8 -
- Using foam tape adhere the candles set aside in step 2 to card, so that two are on either side of sentiment.
Step 9 -
- Using the "Happy Birthday" sentiment from the Banner Sentiments Clear Stamp set, stamp onto White Soft Finish Cardstock using black ink.
- Die cut sentiment using coordinating die from the Banners die set.
- Fold die cut on score lines to create a banner and adhere to the bottom of card using foam tape.
Thanks for stopping by today, I hope you enjoyed my tutorial
Supplies:
Elizabeth Craft Designs:
Birthday Sentiments - Coming Soon
Banner Sentiments - Coming Soon
Birthday Sentiments - Coming Soon
Banner Sentiments - Coming Soon
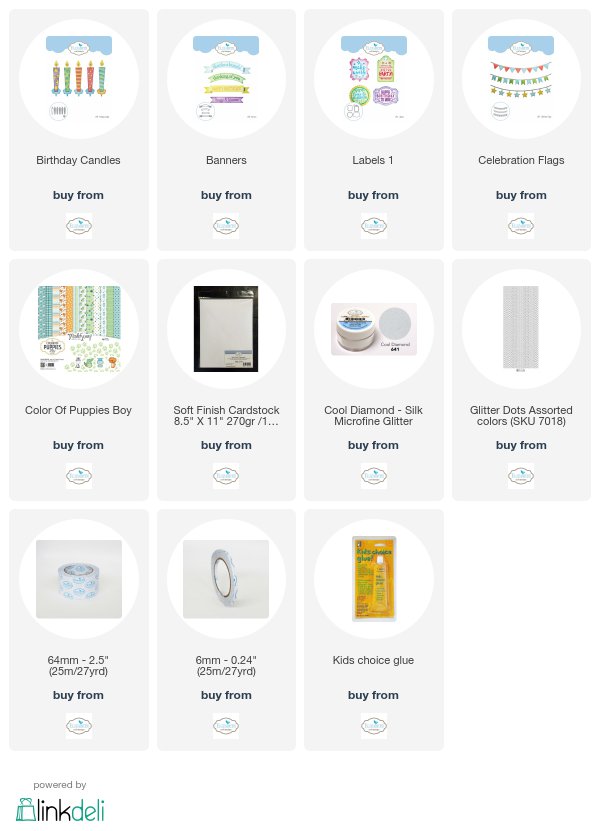
Other:
Cardstock - Teal; Dark Teal; Red; Green; Dark Green; Orange
Ink - Black
Foam Tape
Copic Marker
Copic Marker
2 comments:
Fun way to use the candles!
love this popping candle card
Post a Comment