

Hi Crafty Friends,
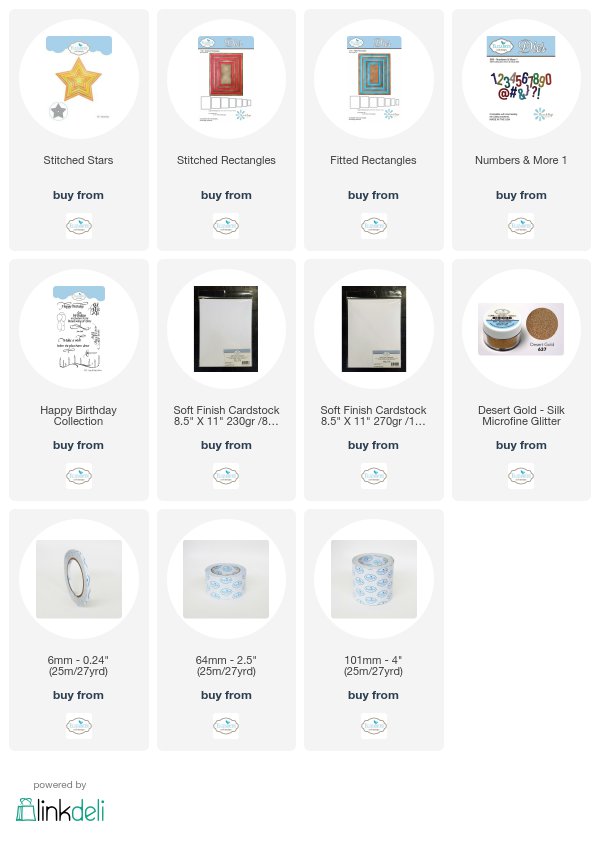
It's my turn to post a tutorial on the Elizabeth Craft Designs Blog today. It's is just over 5 weeks until Christmas which means it is just over 6 weeks until the new year brings us 2018. Sometimes we need to send out New Years cards rather than Christmas cards to friends and family. So for my project today I have a fairly simple New Years card using the new Stitched Stars die set and Silk Microfine Glitter.

Here's how I created my card:

Step 1 -
- Cut a piece of black cardstock so it measures 4 1/4 inches x 11 inches. Score along the 11 inch side at 5 1/2 inches and fold to create a top folding card.
- Using the second largest rectangle from the Stitched Rectangles die set, die cut a rectangle from gold cardstock.
- Using the second largest rectangle from the Fitted Rectangles die set, die cut a rectangle from patterned paper.
- Layer the patterned paper onto the gold cardstock and then add this panel to the folded card.

Step 2 -
- Using the second smallest star from the Stitched Stars die set, die cut 4 stars from White Soft Finish Cardstock that has Clear Double Sided Adhesive Tape on the front.
- Remove the protective backing from the front of the stars and cover the adhesive with Desert Gold Silk Microfine Glitter. Return excess glitter to the jar and polish the glitter into the adhesive with your finger.
- Using the smallest star from the Stitched Stars die set, die cut 4 stars from black cardstock that has Clear Double Sided Adhesive Tape on the back.
- Adhere the small black stars to the centre of the glittered gold stars.

- Adhere the stars to the front of the card using foam tape. (Refer to photo above.
- Using the Numbers 1 & More die set, die cut the numbers 2018 from gold cardstock that has Clear Double Sided Adhesive on the back.
- Adhere the numbers to the stars.
Step 3 -
- Apply Black & Gold Nuvo Drops randomly over the background of the card.

Step 4 - Inside of Card:
- Using the second largest rectangle from the Stitched Rectangles die set, die cut a rectangle from gold cardstock.
- Using the second largest rectangle from the Fitted Rectangles die set, die cut a rectangle from White Soft Finish Cardstock.
- Layer the white cardstock onto the gold cardstock and then adhere this to the inside of card.
Step 5 -
- Using the third largest star from the Stitched Stars die set, die cut a star from White Soft Finish Cardstock that has Clear Double Sided Adhesive Tape on the front.
- Remove the protective backing from the front of the stars and cover the adhesive with Desert Gold Silk Microfine Glitter. Return excess glitter to the jar and polish the glitter into the adhesive with your finger.
- Using the third smallest star from the Stitched Stars die set, die cut the star from black cardstock that has Clear Double Sided Tape on the back.
- Adhere the small black stars to the centre of the glittered gold stars.
- Using the "Celebrate" from the A Way with Words - Happy Birthday Collection Clear Stamp set. Stamp the sentiment onto the centre of the black star using VersaMark ink, cover with gold embossing powder and heat emboss.
- Adhere Star to the centre of the inside of card.
Thanks for stopping by today, I hope you enjoyed my tutorial.
Supplies:
Elizabeth Craft Designs:
Other:
Cardstock - Black; Gold
Graphic 45 Fright Night/Happy Haunting Collection 12 x 12 Patterned Paper
VersaMark Ink
Gold Embossing Powder
Heat Gun
Nuvo Crystal Drops - Ebony Black Gloss; Bright Gold
2 comments:
Wonderful card to bring in the New Year. I have a couple done as well, but won't post them til after Christmas. I'm liking your glittered stars!!
6 weeks you say? Holy bananas, I'm not ready! LOL Your card sure is a dazzler, though!
Post a Comment