Showing posts with label Iced Images. Show all posts

Friday, May 16, 2025

Floral Fan Cards


Hi Crafty Friends,

Today I am sharing two Fan Cards I created recently. These are both 5 x 7 cards, when you are making this style of card, there are times when you have a spare piece of cardstock as you are cutting things in half, so it is easy to make two cards while you are cutting pieces. I used two different patterned papers which I have been wanting to use to make a card for ages.

You can find the tutorial on the Iced Images YouTube channel here


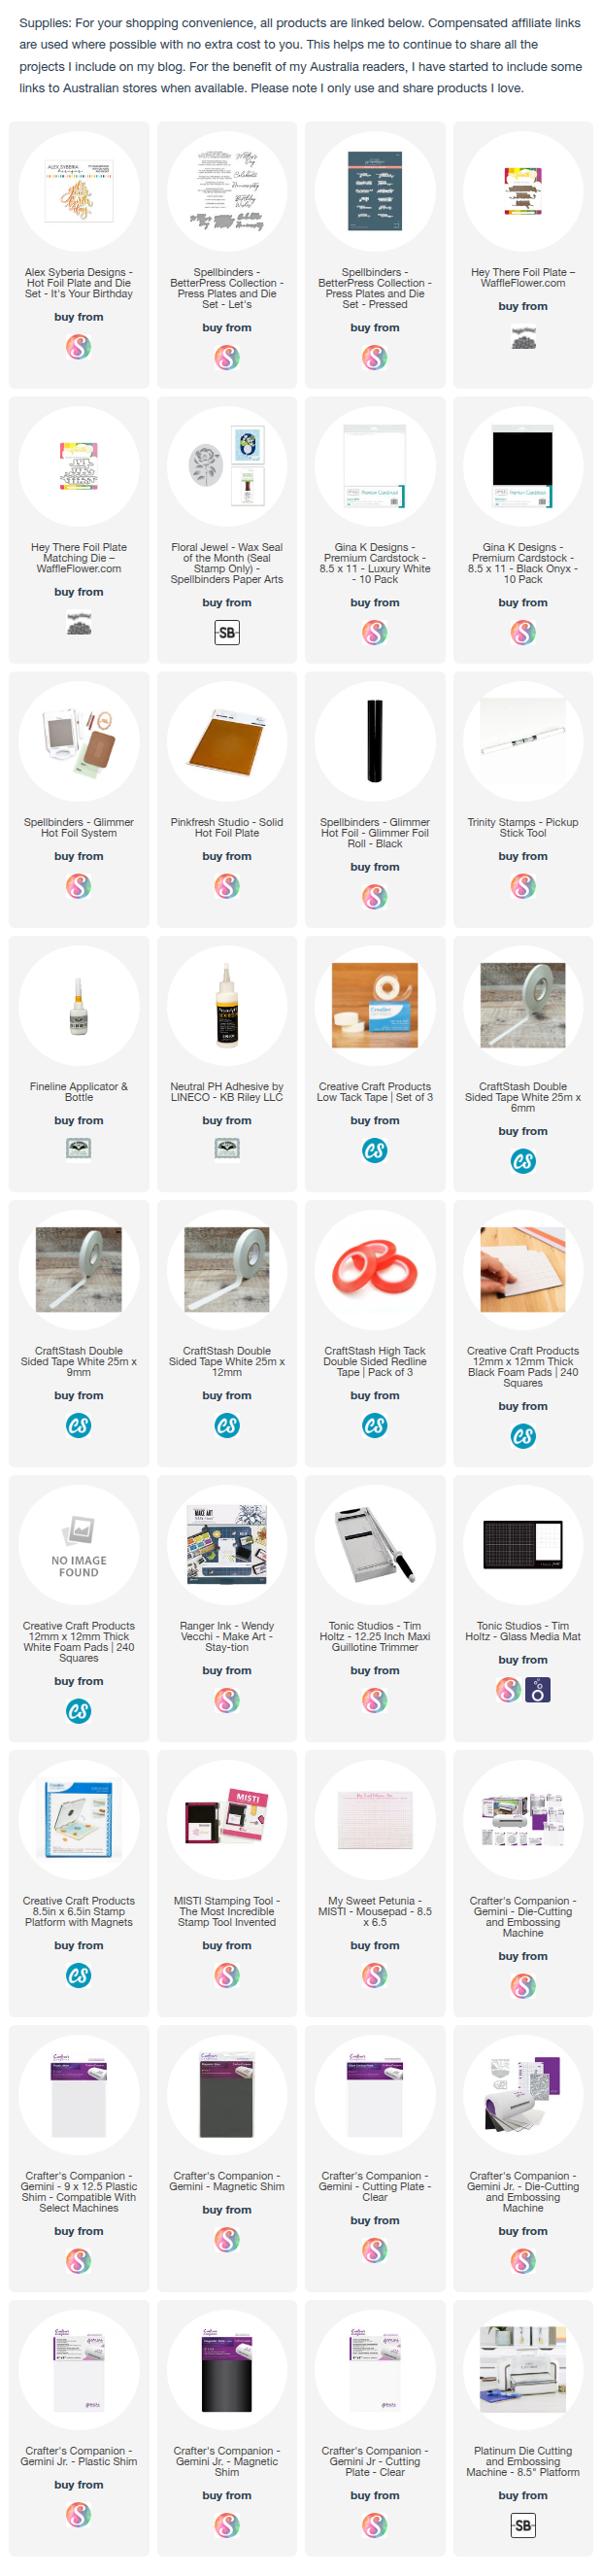
For the sentiment on this card I used the birthday sentiment from Spellbinders  Let's Celebrate - Sentiments Press Plate. Instead of better pressing the plate I foiled it and this particular sentiment is the result from using the left over foil and the solid foil plate.

I added a wax seal which was created using Spellbinders Floral Jewel Wax Seal which was the January 2025 Wax Seal of the month. To get the fancy shape, I used a metal mould which I poured the wax into before impressing the wax seal into the melted wax.


The sentiment used on this card, is from Alex Siberia Designs and is a Hot Foil Plate and die.

I also added red pearls to the corners of both cards.


For the inside of the cards I added to foiled sentiments which are from the Spellbinders You are Everything Press Plate and Waffle Flower Crafts Hey There Foil Plate set.


Friday, April 18, 2025

Sunflower Birthday Wishes


Hi Crafty Friends,

Today I am sharing a Double Concertina Stepper Card that I created recently. As many of you know, I celebrated a birthday recently. One of my friends sent me a beautiful owl card using this style, as I really liked the card I went looking for a tutorial, which I found by Sam Calcott’s. You can find her tutorial here.

I also recently purchased some patterned paper pads designed by Iced Images, so I decided to pull out one of the pads to decorate my card. When I was cutting the panels for this card, I made sure to keep the pattern in sequence. Once I went to the trouble I didn’t want to hide the design with images or sentiments, so I kept that simple.


Here is a look at the back of my card. As you can see I decorated the back too. I kept the three centre panels white so that I could add a stamp sentiment and have a place to write a personal message. 


The concertina panels all fold to the front so that it fits in a 5 x 7 envelope.


Monday, April 7, 2025

Triangle Accordion Pocket Card


Hi Crafty Friends,

Welcome to my blog! Today I am sharing a birthday card I created recently, it's a new style to me ... a Triangle Accordion Pocket Card. I found this style of Facebook recently, someone was promoting a die to create this style. I went to check it out, but they didn't sell internationally. After looking a little closer I decided it was easy enough to figure out how to make and do it without a die, and of course then I could also make it a 5 x 7 card. The width is slightly less then 5 inches, but only about 1/8 inch.

To decorate the centre panel I used Spellbinders Heart Hands, which I have been wanting to play with for some time.


To create the card, I took a piece of A4 card, which I cut down to 7 inches along the short side. I placed the long side in my score board and scored down the centre. I then scored 1 inch either side of the score line. Next I took the front panel and cut diagonally from the to left side to the bottom right side. The piece that was removed becomes the pocket for the back panel.


I die cut the red filigree circle and white circle twice, one for the front and one for the back of the front circle. I added a birthday sentiment to the back circle using stamps and dies from Papertrey Ink's Big Birthday sentiments (although why the stamps are called big, I have no idea as the sentiments are mostly tiny lol!)

I almost forgot I had a pocket when I added the On the Line Birthday sentiment also from Papertrey Ink, but I remembered in time before the glue could stick to rescue this mistake. I die cut the sentiment 3 times to give it strength, especially the piece above the triangle panel.


I recently purchased some A4 paper pads from Iced Images on Amazon, which I used to decorate my card.


I added a small rectangle panel to add to the pocket. I decorated this with another filigree circle and a sentiment, as well as a rose from the paper pad.


Seeing the rectangle panel has two sides, I decided to add a white panel to the back with another sentiment. This is then a place for someone to write a personal message to the recipient of the card when it is time.