Wednesday, October 31, 2018

Rebus - Cary Grant Movies


Hi Crafty Friends,

It's time to share another rebus puzzle swap with you. This month the theme is "Movies Starring Cary Grant" 

If you would like to solve my rebus puzzle, why not post a comment on my blog post with your answers. I will let you know what the correct answers are next time I post a rebus card here.

How did you go solving my September Rebus which was "Songs by Cher".
 Here are the correct answers so you can check how you did.

  1. Take Me Home
  2. Half Breed
  3. Dark Lady
  4. I Got You Babe
  5. If I Could Turn Back Time
  6. Bang Bang


You can find all my past Rebus Cards here.

Tuesday, October 30, 2018

Poinsettia Christmas Card


Hi Crafty Friends,

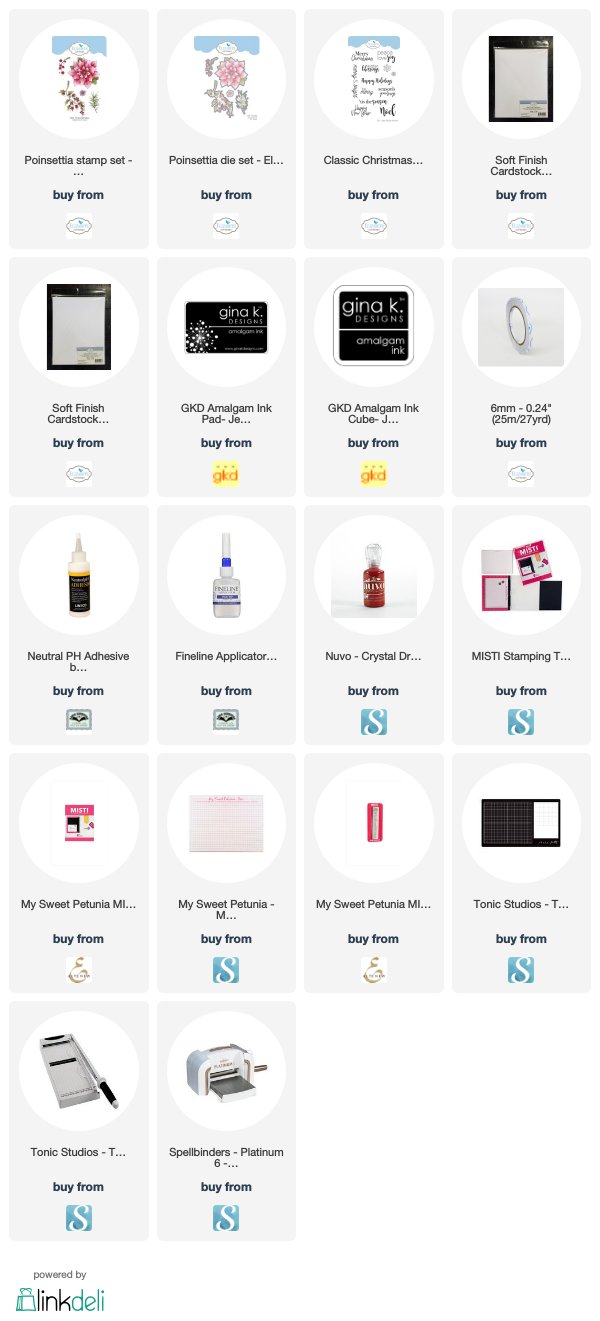
It's my turn to post a tutorial on the Elizabeth Craft Designs blog. As Christmas is now less then two months away, I thought I would create another Christmas card.  For my card today I have used the new Poinsettia Clear Stamp set and coordinating dies from the new Krista Schneider Winter/Christmas collection.

Here is how I created my card:


Step 1 - 
  • Cut a piece of White Soft Finish Cardstock so it measures 4 1/4 inches x 11 inches. Score and fold along the 11 inches side at 5 1/2 inches to create a top folding card.
  • Cut a piece of patterned paper 1 3/4 inches x 5 1/2 inches.
  • Cut a piece of dark green cardstock approximately 1/2 inch x 5 1/2 inches.
  • Layer the green cardstock behind the patterned paper so that there is a tiny bit of the green cardstock showing on one side of the patterned paper.
  • Adhere this panel to the left side of the front of the card.

Step 2 - 
  • Using the Poinsettia Clear Stamp set stamp the poinsettia flower, two of the berry branches onto White Soft Finish Cardstock using black ink. Stamp three of the pine boughs onto White Soft Finish Cardstock using dark green ink.
  • Color images as desired.
  • Die cut all images using coordinating dies.
Step 3 - 
  • Adhere the Poinsettia Flower to the left side of the front of the card using foam tape, so that the flower is partly on the patterned paper and partly over the white panel. (Refer to photo above for placement).
  • Add the berry branches to the card, one to the top right side of the card and the other to the lower right. Use foam tape for added dimension.
  • Adhere two of the pine boughs to the centre right of the poinsettia adhering directly to the card using liquid adhesive.
  • Adhere the remaining pine bough to the top left of the poinsettia using foam tape.
Step 4 - 
  • Apply Autumn Red Nuvo Drops to all of the berries. Set aside to dry.

Step 5 - Inside of Card:
  • Cut a piece of patterned paper and a piece of green cardstock, the same size as for the front of the card and adhere to the left hand side of the inside of card.
Step 6 - 
  • Stamp the sentiment "Season's Greetings" from the Classic Christmas Sentiments Clear Stamp set to the centre of the white panel on the inside of card using black ink.
  • Using the pine bough stamp from the Poinsettia Clear Stamp set, stamp directly over the sentiment using a dark green ink.


Thank you for stopping by, I hope you enjoyed my tutorial.


Supplies:
Elizabeth Craft Designs:


For your shopping convenience, all products are linked below. Compensated affiliate links are used where possible with no extra cost to you. This helps me to continue to share all the projects I include on my blog. Please note I only use and share products I love.


Monday, October 29, 2018

To A Fabulous Teacher


Hi Crafty Friends,

My card today is for a challenge I do with a couple of friends of mine. Each month we challenge each other to create something using supplies we all own.

This month our challenge was to create a Shadow Box card.


I have been having fun this year using the Lawn Fawn Shadow Box Card die set and adding it to the centre of a card, so I decided to use that again to create my card.

I am still trying to get some cards made as teacher thank you's for my Grandchildren's teachers and today I decided to make a music themed card for the Music Teacher who is teaching my grandson to play the Cello.

You can see my previous cards here.

The finished size of my card is 14.8cm (5 7/8inches)  x 7cm (2 7/8inches), I was able to use Australian A4 card, however if you are in the USA you would probably need to use 12 inch cardstock.


I also used the Lawn Fawn Shadow Box Theater Add On die set to add the curtain to the front of the shadow box.

To decorate the card I used the Concert Critters & Jump for Joy stamp sets from Lawn Fawn. The music notes on the left side of the card is also from Lawn Fawn.


The thank you sentiment on the right hand panel of the card is from a Heffy Doodle stamp set.


Here is a overhead view of my card so you can see some of the images inside the shadow box a little better. These can be hard to photograph.


For the front of the card I used the Honey Bee Stamps Special Teacher die set, I also added a few more of the animals from the Concert Critters stamp set.

The label is from an old retired set I have in my stash.

Supplies:
For your shopping convenience, all products are linked below. Compensated affiliate links are used where possible with no extra cost to you. This helps me to continue to share all the projects I include on my blog. Please note I only use and share products I love.


Sunday, October 28, 2018

Penguin & Bear Gift Tags


Hi Crafty Friends,

I have a few more gift tags to share with you today. This time using dies from  Elizabeth Craft Designs.

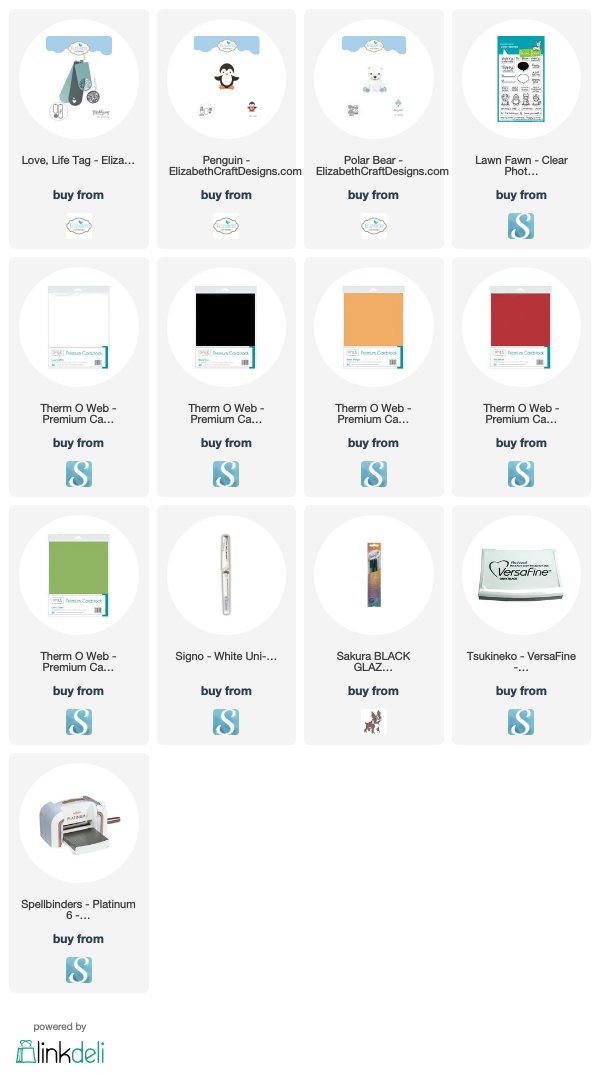
For the tag part of the gift tags I have used the smallest tag from the Love, Life Tag die set.


The penguin is one of the new Joset Designs dies that were released by Elizabeth Craft Designs in August. 

I added the To: / From: using a Lawn Fawn stamp set.


The bears were created using the Polar Bear die set from Elizabeth Craft Designs, rather than leaving them white, I decided to color them brown to make cute teddy bears.

Supplies:

For your shopping convenience, all products are linked below. Compensated affiliate links are used where possible with no extra cost to you. This helps me to continue to share all the projects I include on my blog. Please note I only use and share products I love.


Saturday, October 27, 2018

"Paws"itively Fantastic Birthday


Hi Crafty Friends,

It’s challenge time with the “Crazies” over on the Crazy 4 Challenges blog. Kathleen Adams our challenge hostess for the month finishes off her month with one last challenge.

Apparently today is Black Cat Day! So for our challenge this week we are to either make a card with a cat on it or a Halloween card.


For my card today I decided to pull out my Mama Elephant Inside Pop Bunny and Cat die set which I have had sitting in my to use pile for a couple of months now. 

Seeing it was Black Cat Day, I decided to make my cat black but did add a few white highlights for some interest.

Sentiments used on this card are from DRS Designs.


As you can see the scene on the front and inside of the card are similar. I actually made the inside first and then decided to replicate the scene on the front.

I used Distress Oxide inks to create the grassy area, the sky and also the brick fence behind the cat. The brick fence was created using a stencil.

I added action wobbles to both of the cat's heads so they have movement too.


Here is a quick video to see my card in action.


Here is a side on view of the inside of my card so you can see the pop-up a little better.


And another side on view this time from the right hand side.


And one last view of the inside of the card this time from overhead.

Don't forget to check out the rest of the “Crazies” cards over on the Crazy 4 Challenges blog and also their individual blogs for more details.


Supplies:
For your shopping convenience, all products are linked below. Compensated affiliate links are used where possible with no extra cost to you. This helps me to continue to share all the projects I include on my blog. Please note I only use and share products I love.


Friday, October 26, 2018

Peek A Boo Bear Birthday


Hi Crafty Friends,

Earlier in the week I shared a Christmas card using the penguin from the Impressions Obsessions Warm Wishes Clear Stamp set and the Memory Box Grand Merry Christmas die set.

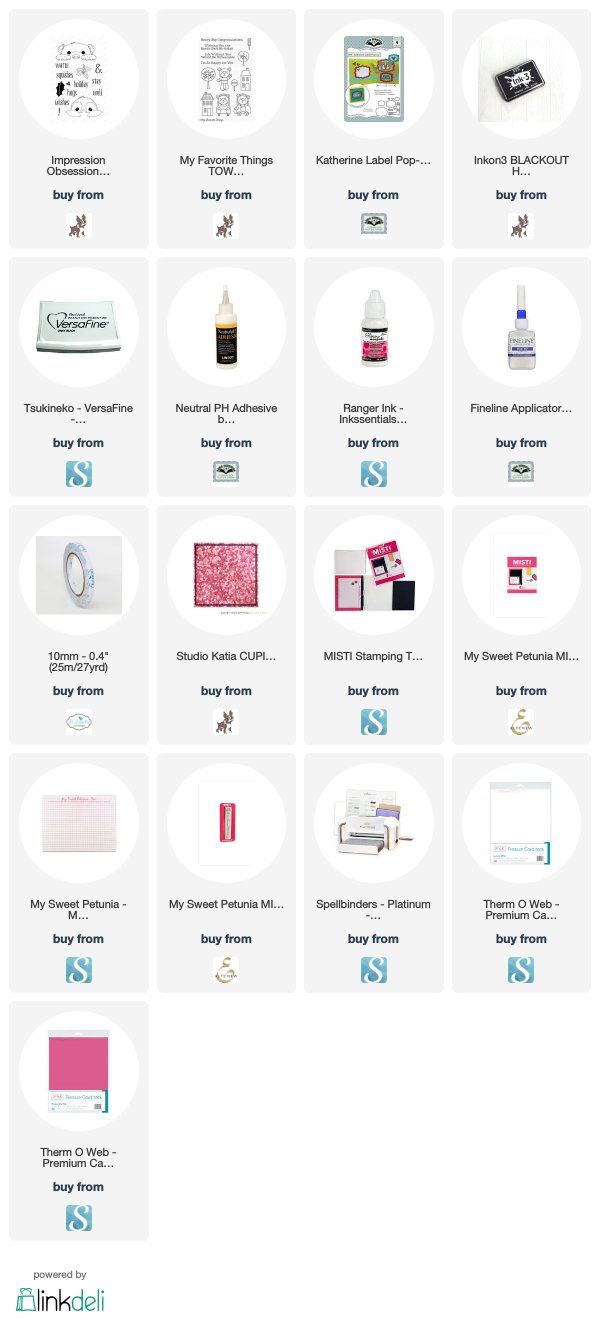
While I had the stamps out, I grabbed the Memory Box Grand Happy Birthday die set to create a birthday card using the bear from the stamp set.


I added some Studio Katia crystals randomly around the card to finish it off.


For the inside of the card I used Karen Burniston's Katherine Label Pop-up die set for the labels for the sentiment. The sentiment is from a MFT Stamps stamp set.

Supplies:
For your shopping convenience, all products are linked below. Compensated affiliate links are used where possible with no extra cost to you. This helps me to continue to share all the projects I include on my blog. Please note I only use and share products I love.


Thursday, October 25, 2018

Wooded Christmas Gift Card Holder


Hi Crafty Friends,

It's challenge time with my friends over on the CCEE Stampers challenge blog. Joanne Grzelak our challenge hostess for the month finished off her month with one last challenge.

Our challenge this week is ...... 
True One Layer Only - Joanne says Many of you do fabulously wonderful fancy fold cards, which is not her thing. So today she is challenging use to make a true one layer card ... no layers, no pop-ups, no embellishments. All your work must be on the base layer. Embossing is fine of course.


Anyone who knows me knows I dislike one layer cards ... at least making them myself. So as you can probably tell I cheated! It was either that or throw the card out after making it which I didn't want to do.

The front of the card is a true one layer card! No cheating there! And seeing everyone else normally only creates a card front for any of our challenges ... I am not feeling too guilty!!!

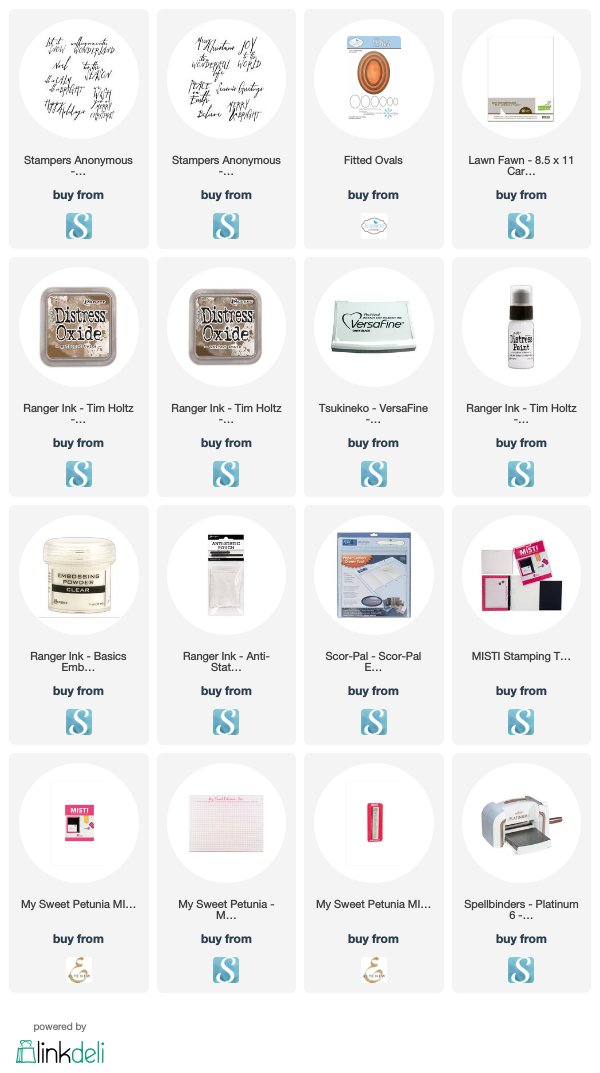
Last year during Simon Says Stamp's Stamptember celebrations, I was able to snag the Stampers Anonymous/Tim Holtz stamp set. I loved the stamps in the set, especially the wood slice included in the stamp set. I have been meaning to use this on a background all year and finally decided to use it for this week's challenge.

I stamped the wood ring all over the front of my card using Walnut Stain Distress Oxide ink and then I used Gathered Twigs Distress Oxide ink to add color all over the card front.

I stamps the sentiment, the deer and trees onto the card using VersaFine Black ink and embossed using clear embossing powder. I then added splatters of Picket Fence Distress Paint all over the card. 

To finish off the front of the card, I created a thick line of black at the top of the card using VersaFine Black ink and again heat embossed.


Ok so this is where I cheated .... I love making pop-up cards and any card I make for my challenges have something interactive in there somewhere. Last week when I was checking out social media, I came across this fun Pop Up Gift Card Holder Tutorial on the Hero Arts blog. This Pop Up Gift Card Holder is made from one sheet of cardstock ... so technically I didn't cheat! 

You can see the tutorial on how to create this here


As you can see I have again stamped the wood slice etc, as I had on the front of the card. 


Here is an overhead view of my card, so you can see the whole inside of the card. I added a sentiment to both sides of the card.

Don't forget to check out the CCEE Stampers blog (goes live 12 AM EST) to see the rest of the creations the CCEE Stampers created this week. You can also see more details of their creations on their individual blogs:

For your shopping convenience, all products are linked below. Compensated affiliate links are used where possible with no extra cost to you. This helps me to continue to share all the projects I include on my blog. Please note I only use and share products I love.

Stamptember 2017 Stamp set - Stamper's Anonymous/Tim Holtz


Wednesday, October 24, 2018

Friend


Hi Crafty Friends,

I finally got to play with the Hibiscus Frame die from Simon Says Stamp which I purchased earlier in the year. 

For my card I decided to die cut the hibiscus from black cardstock, layering the die inside a rectangle die. I die cut another piece of white cardstock that had Clear Double Sided Adhesive Tape on the front using the same rectangle die and layered the two together and then covered the adhesive with Cool Diamond Silk Microfine Glitter. I then used my copic markers to color in the image.

I die cut the friend sentiment from white cardstock for both layers and colored the top layer using pink copic markers to get an ombre effect. Layering the sentiment to the bottom section of the card.

This panel was then layered onto a folded white card. 

To finish off the card I added some pink gems.


For the inside of my card, I die cut the hibiscus again, trimming out the flower from the square and adding it around the edge of my card.

I then die cut the Thinking Of You sentiment from white cardstock and the layer from vellum.


Supplies:
For your shopping convenience, all products are linked below. Compensated affiliate links are used where possible with no extra cost to you. This helps me to continue to share all the projects I include on my blog. Please note I only use and share products I love.


Tuesday, October 23, 2018

Owl Be Home For Christmas


Hi Crafty Friends,

I have another Christmas card to share with you all today. 

For the background I use the new Concord & 9th Snowflakes Turnabout stamp set which was released in September. I love the turnabout stamps as you have the option of either using one color or multiple colors when creating your background. For the background I created for this card I used 4 different colors of blue or blue/greens using Catherine Pooler Ink Pads. I added Clear/Silver Glitter Dots Peel Off Stickers to the centres of each of the snowflakes.


To decorate my card I used the owls from Stampendous Owl Be Home stamp set.

The sentiment is from the Avery Elle Snowflakes stamp set.


For the inside of the card, I used the Concord & 9th Snowflakes Turnabout stamp onto the card and added an owl and sentiment. 


Supplies:
For your shopping convenience, all products are linked below. Compensated affiliate links are used where possible with no extra cost to you. This helps me to continue to share all the projects I include on my blog. Please note I only use and share products I love.


Monday, October 22, 2018

Penguin-ing Peek A Boo


Hi Crafty Friends,

I have a Christmas card to share with you all today.


For my card today I am playing with a new Impressions Obsessions stamp set I purchased recently which includes a peeking penguin and peeking bear. I thought these would work perfectly with the Memory Box Grand Merry Christmas die set which I have had for some time.


For the inside of my card I used the Katherine Label Pop-up card to create the pop-up portion of the card. I added a sentiment from Elizabeth Craft Designs Cute Winter Sentiments stamp set.


Supplies:
For your shopping convenience, all products are linked below. Compensated affiliate links are used where possible with no extra cost to you. This helps me to continue to share all the projects I include on my blog. Please note I only use and share products I love.

Grand Merry Christmas die set - Memory Box
Patterned Paper - Stampin' Up