Thursday, November 30, 2017

On Your Wedding Day


Hi Crafty Friends,

It's challenge time with my friends over on the CCEE Stampers challenge blog. Joanne Grzelak our challenge hostess for the month finishes off the month with one last challenge.

As the last of our celebratory month, I would like you to make a baby card OR a wedding card……your choice. (If you have lots of time, you could make both….lol!!!) 


When I first saw this challenge I thought about creating a baby card. The other week my daughter attended a wedding for one of her friends and let me know the day before the wedding that she needed a card ... arghhhhh! Luckily after a little searching I found a card I had made about a year ago which she was able to use, so I decided to make a wedding card instead so I had one in my stash in case there is a next time.

I decided to play again with Karen Burniston's new Tag Book Pop-up die set .... love love love this die set and it can be used for so many different occasions. I added the sentiment which I glittered using gold glitter and a bride and groom image I had in my stash.


Here is a look at the inside of my tag book .... as you can see I have gone with a black and gold theme and a little bit of white.

I used the A Way with Words - Mr & Mrs die set for the two "tag" panels die cutting them in white cardstock that had Clear Double Sided Adhesive Tape on the front and then covering them with Light Gold  Silk Microfine Glitter.

I also added a couple of rings to one of the square panels.

For the final square panel I added two hearts which are included in the Tag Book Pop-up die set.


Here is a close up of the left side of the inside of the tag book pop-up card. I added two more hearts to the inner tag on the gold polka dot paper.


And one last photo showing a close up on the right side of the inside of the tag book pop-up card.

Don't forget to check out the CCEE Stampers blog (goes live 12 AM EST) to see the rest of the creations the CCEE Stampers created this week. You can also see more details of their creations on their individual blogs:


Vicky Gould
Kelly McKown-Santi
Supplies:


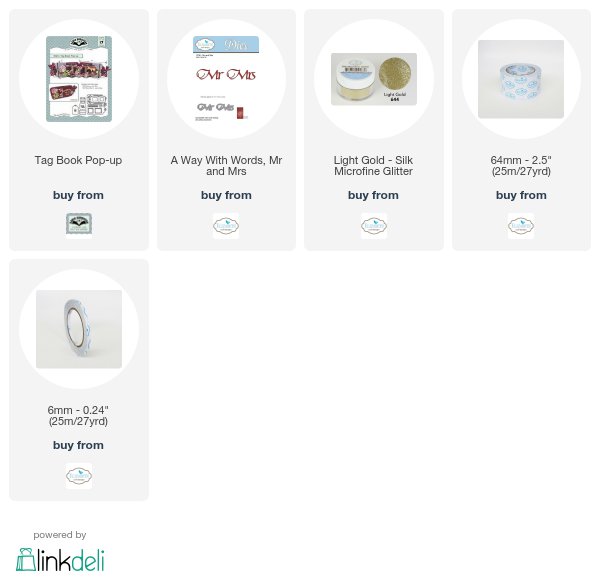
Paper: White; Black; Gold; Spots & Stripes Jewels Paper Pad - Papermania
Dies: Tag Book Pop-up - Karen Burniston; A Way with Words Mr & Mrs - Elizabeth Craft Designs; On Your Wedding Day Edge - Crafter's Companion; Ring - Marianne Design; Couple - Tattered Lace
Other: Light Gold Silk Microfine Glitter; Clear Double Sided Adhesive Tape, Gold Ribbon; Black Twine


Wednesday, November 29, 2017

Rebus - Names Starting with "L"


Hi everyone,

It's time to share another rebus puzzle swap with you. This month the theme is Names Starting with the Letter "L". This is actually the last rebus for 2017, we are taking a break and will be back in January for another year of puzzles.


If you would like to solve my rebus puzzle, why not post a comment on my blog post with your answers. I will let you know what the correct answers are next time I post a rebus card here.

How did you go solving my October Rebus which was Things that are Brown.  Here are the correct answers so you can check how you did. 

  1. Teddy Bear
  2. Beaver
  3. Bison
  4. Coffee Bean
  5. Gingerbread Man
  6. Monkey
  7. Trees
  8. Mushroom
  9. Bark


    You can find all my past Rebus Cards here.


    Tuesday, November 28, 2017

    Tis the Season


    Hi Crafty Friends,

    Today I am sharing a Christmas card using the Hero Arts October Card Kit. I love all the fun elements in this set which allows you to create all sorts of scenes.

    For my card today I also used Lawn Fawn's Stitched Hillside Backdrop -Landscape die which I have had for a while and finally got around to playing with ... this makes creating scenes so simple. I die cut this die out 4 times from white cardstock and layered them up on top of each other. I also used the pieces that come out of the top rectangle part of the die to create my sky, mountains and tree background. The trees and mountains were die cut using two of the dies from the card kit and then I used distress oxide ink to color them.

    Some of the images have coordinating dies, but as not all do, I just stamped everything I thought I might need and cut them out using my Scan N Cut. I have plenty of images left to make at least one more  card.


    For the inside of the card I found a sentiment that says "Believe in the Magic of Christmas". I cut out the word "magic" from the sentiment and chopped the sentiment apart so I could rearrange it as I wanted to add the new A Way with Words - Magic sentiment instead of the stamped word. This has given me another idea, which I hope I have time to try out before Christmas.

    Stamps: October My Monthly Hero Stamp Kit - Hero Arts; Traditional Sentiments - Kaisercraft
    Paper: White; Black; Red
    Dies: Stitched Hillside Backdrop: Landscape - Lawn Fawn; A Way with Words Magic - Elizabeth Craft Designs
    Other: Black Ink; VersaMark Ink; White Embossing Powder; Salty Ocean Distress Oxide; Peeled Paint Distress Oxide; Foam Tape; Copics


    Monday, November 27, 2017

    Just a Note to Say


    Hi Crafty Friends,

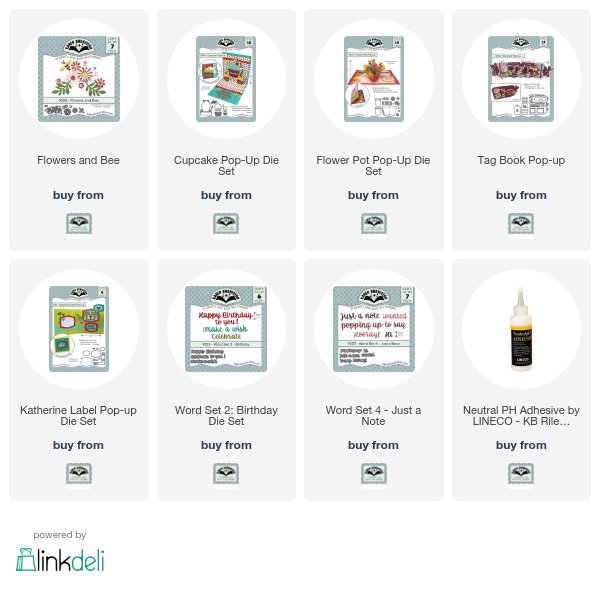
    My card today uses another of the new die sets from Karen Burniston that was released earlier this month .... the Flowers and Bees die set.

    The Flower and Bee die set, are the same flowers and bee used in the newer version of Karen's Flower Pot Pop-up that was released earlier this year. So if you already have this set, you may want to buy this one so you have extras of all the dies included in the set which will make die cutting multiples of the flowers etc so much quicker. One difference with this set is that the Flowers and Bees die set includes two of the leafy vines each going in the opposite direction. For those of you who purchased the older version of the Flower Pot Pop-up die set from Elizabeth Craft Designs when it was available this new die set will update the one you have to the newer version.


    As you can see I have created a Pop-up card using the Cupcake Pop-up die set. I covered the top portion of the cupcake pop-up with the largest label in the Katherine Label Pop-up die set. I added the sentiment "Just a Note to Say" which is from the new Word Set 4 -Just Because. 

    I die cut a number of flowers, leaves and bees using the Flowers and Bee die set and the matching dies from the Flower Pot Pop-up die set which made die cutting quicker, arranging the flowers around the sentiment and the rectangle pop-up at the base of the pop-up. 

    The bees are attached to acetate so they look like they are flying in the air.


    On another label I added the birthday sentiment which is from Word Set 2 - Birthday die set.

    I added Nuvo Dandelion Yellow Gloss Crystal Drops to the centres of each of the flowers.


    For the front of the card I added more of the flowers and a bee from the Flowers and Bees die set.

    For the sentiment, I die cut the tag from the new Tag Book Pop-up die set, trimmed down the sides and rounded the bottom corners and added the "Horray!" sentiment, also from Word Set 4 - Just Because.


    Supplies:


    Dies: Flowers and Bee; Cupcake Pop-up; Katherine Label Pop-up;  Word Set 2 Birthday; Word Set 4 just a Note; Tag Book Pop-up - Karen Burniston
    Paper: White; Pink; Dark Pink; Green; Yellow; Black; Mildred Girls Garden Paper DP - My Minds Eye;
    Other: Nuvo Dandelion Yellow Gloss Crystal Drops; Twine; Acetate


    Sunday, November 26, 2017

    Merry and Bright


    Hi Crafty Friends,

    I have another Christmas card to share with you today.  I seem to have been posting a lot of owl cards this month, some have been Christmas and others just because, anyone would think I liked owls LOL!!!!! Oh that's right I do!!!!!

    For my card today I am using another owl from Unity stamps. A few months ago when I discovered the Owl with the balloons stamp set from Unity, I also discovered that they had a number of other owls too. Of course it is silly spending postage to Australia for just one stamp set, so I ordered a couple more.  One being this cute "Owl I Want" stamp set. I have finally gotten around to make a card using it. 

    I added one of the sentiments included in the stamp set on the top left hand side of the card and finished the card off with some Nuvo Drops.


    For the inside of the card I added a sentiment and added some of the patterned paper that I used on the front of the card.


    Stamps: Owl I Want - Unity Stamps; Jolly Sentiments - Kaisercraft
    Paper: White; Red; Green; Perfectly Plaid Christmas Paper Pad - Lawn Fawn
    Dies: Stitched Circles; Dotted Scallop Circles; Stitched Fishtail Banners - Elizabeth Craft Designs
    Other: Black Ink; Red Berry Nuvo Gloss Crystal Drops; Woodland Green Nuvo Gloss Crystal Drops; Oyster Grey Nuvo Gloss Crystal Drops; Foam Tape; Copics


    Saturday, November 25, 2017

    Have a Holly and Oh So Jolly Christmas


    Hi Crafty Friends,

    It’s challenge time with the “Crazies” over on the Crazy 4 Challenges blog. Karen Aicken our challenge hostess for the month finishes off the month with one last challenge.

    "Christmas or Winter Card" - It's only 1 month until Christmas, so make a Christmas or Winter themed card today to get a jump on your stash.


    As you can see, my card today covers either of the options of the challenge ... Christmas or Winter. I did add a few new stamps to my stash this year and I am determined to use them before it is too late.  This card uses the Mama Elephant A Beary Christmas and also Puffy Holiday Greetings. 

    I created a winter scene using Karen Burniston's Nature Edges and Lawn Fawn's Birch Trees. 


    For the inside of my card I expanded on the scene I created on the front of the card.

    I used Karen Burniston's Katherine Label Pop-up die set to mount the sentiment to the upper portion of the card. I love how versatile this die set is, so many different options for using it.


    Here is a close-up of the scene on the left hand side of the card. 

    I used a black glaze pen for the bears eyes & noses, and white for the dots and stripes on the scarves.

    I added Nuvo drops to all the ornaments and stars.


    And a close up of the scene on the right hand side of the card. 

    Don't forget to check out the rest of the “Crazies” cards over on the Crazy 4 Challenges blog and also their individual blogs for more details.


    Stamps: A Beary Christmas; Puffy Holiday Greetings - Mama Elephant
    Paper: White; Blue; The Night Before Christmas DP - Graphic 45
    Dies: Katherine Label Pop Up; Nature Edges - Karen Burniston; Birch Trees - Lawn Fawn
    Other: Black Ink; Blue Ink; Red Ink; Autumn Red Nuvo Gloss Crystal Drops; White Blizzard Nuvo Glitter Drops; White Gel Pen; Black Glaze Pen; Foam Tape; Copics


    Friday, November 24, 2017

    We Wish You A Merry Christmas


    Hi Crafty Friends,

    My card today is for a challenge I do with a couple of friends of mine. Normally we would have a monthly challenge, but this year it has been a while since our last challenge (April in fact). As one of my friends went overseas on holiday and when she came back she was busy catching up with so much that our challenges have been on the back burner. Now that she is caught up we are back to our challenges 😀

    This year we have noticed some amazing stamps and / or die sets coming out with some of the Stamping/Die Cutting Magazine that we have all acquired a few. So this month our challenge is to use one of the freebie sets from one of the magazines we purchased.


    I am still madly trying to use as many of the Christmas themed stamps/dies before I run out of time ... I had one magazine that contained a Christmas themed stamp set, so I used that one my card today. The stamp set is called Classic Christmas and is from the Cardmaking in Easy Steps Magazine Issue 21 which is a Practical Publishing publication.

    I have been having so much fun this month playing with the new Karen Burniston Tag Book Pop-up that I decided to play with it again for the challenge.

    I used the train from the freebie stamp set to decorate the front of the tag book adding presents and a tree into the carriages which is from an MFT Stamp set I have had for a while.

    The papers used on this card are also from this magazine. 


    On the inside of my tag book, I stamped two of the sentiments included in the stamp set on the two tags on either end of the card. For the middle portion of the card I added two more train carriages.

    Stamps: Classic Christmas - Cardmaking in Easy Steps Issue 21  Magazine Practical Publishing International; Jingle All the Way - MFT Stamps
    Paper: White; Red; Blue; Green; Patterned Paper from Cardmaking In Easy Steps Issue 21 Magazine
    Dies: Tag Book Pop-up; Nature Edges - Karen Burniston; Train Track Border - Taylored Expressions
    Other: Black Ink; Blue Ribbon; Red and Blue Twine; Foam Tape; Copics


    Thursday, November 23, 2017

    Santa & Elves at the North Pole


    Hi Crafty Friends,

    It's challenge time with my friends over on the CCEE Stampers challenge blog. Joanne Grzelak our challenge hostess for the month continues to issue the challenges.

    This week we are going to make a card for our holiday stash. You can make a Christmas card, a New Year’s card, or a winter card…..whichever you think you need the most for your stash. 


    As you can see, I decided to make another Christmas card for our challenge this week. I used the Sleigh Pop-Up die set from Karen Burniston which gives you the option of making a normal style pop up card where you have the card at 90 degrees or a pop stand (flat) style where you have the card at 180 degrees. I went for the second option for this card.

    To decorate my card I used Riley and Company's Dress Up Riley; Dress Up Riley Christmas Outfits and Tucker the Dog. 


    On both edges of my card I added a snow border from the Nature Edges die set also from Karen Burniston. I covered the snow with Warm Diamond Silk Microfine Glitter. I also added the North Pole Sign which is a stamp/die set from Hero Arts.

    On the edge that is the front view of the card, I added the "Merry Christmas" from the Words Set 3 Holidays die set.


    Here is another view of the inside of my card. "Santa" and the "Reindeer" are only seen from the front view of the card, not from the other side.


    For the front of my card I added another border of snow from the Nature Edges die set. 

    I added the Paper Layering Wooden Door to the left side of the card and another sign to the door using the North Pole Sign Stamp/die set.

    On the right hand side of the card I added another of the Dress Up Riley images, this time dressed as an elf.

    Don't forget to check out the CCEE Stampers blog (goes live 12 AM EST) to see the rest of the creations the CCEE Stampers created this week. You can also see more details of their creations on their individual blogs:


    Vicky Gould
    Kelly McKown-Santi


    Stamps: Dress Up Riley Red Rubber Basic Stamps; Dress Up Riley Christmas Outfits; Tucker the Dog - Riley and Company; North Pole Sign Stamp & Cut Set - Hero Arts
    Paper: White; Red; Gold; Green; Pink; Aqua; Endearing Sentiments DP - Graphic 45; Shabby Chic DP - Kaisercraft
    Dies: Sleigh Pop-up; Nature Edges; Word Set 3 Holidays - Karen Burniston; North Pole Sign; Paper Layering Wooden Door - Hero Arts; Dress Up Riley Christmas Outfits dies; Tucker the Dog - Riley and Company
    Other: Black Ink; Warm Diamond Silk Microfine Glitter; Clear Double Sided Adhesive Tape; Black Glaze Pen; Glossy Accents; Foam Tape; Copics


    Wednesday, November 22, 2017

    ECD November Designer Challenge


    Hi Crafty Friends,

    It's time for our November Elizabeth Craft Designs Design Team Designer challenge. Check out the Elizabeth Craft Designs blog today to see what our talented designers created for the challenge.

    This month the challenge is …. Pop Up Cards using the General Pop-Ups die set. It is always fun to open up a card which reveals something popped up inside it and they are so easy to create when you have this die set which has so many different options for creating pop up cards, use just one die or combine multiple dies along the centre fold of your card to create fun Pop-Ups!

    For today's challenge Elizabeth Craft Designs are giving away a $20 Gift Card to use on our website to 3 winners

    To enter simply leave a comment on the Elizabeth Craft Designs Challenge post and tell us "What Elizabeth Craft Designs dies or stamp sets would you use with the General Pop Ups die set if you were making a Pop Up Card?

    We will select 3 lucky winners in a random drawing 

    The winners will be announced on Friday, November 24th on the Elizabeth Craft Designs blog.


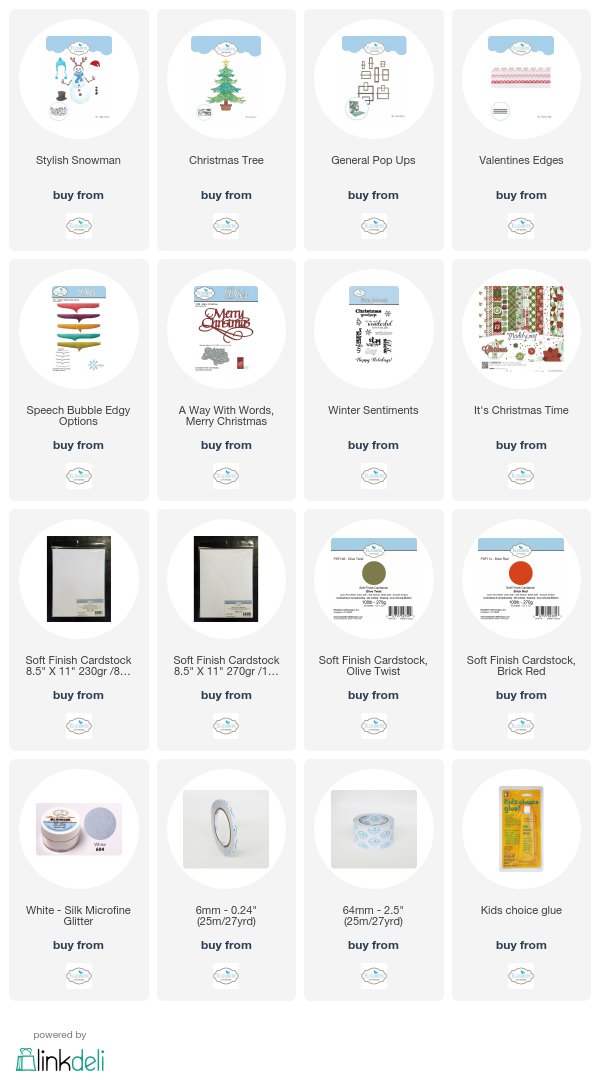
    For my card today I used Becky Seddon's Stylish Snowman & Christmas Tree die sets along with the General Pop-ups die set to create my pop-up card.

    Here is how I created my card: 


    Step 1 - 
    • Using the Stylish Snowman die set die cut the following:
    • (1) Snowman Body (large, medium and small circles) from White Soft Finish Cardstock
    • (1) Snowman Hat from White Soft Finish Cardstock
    • (1) Snowman Nose from White Soft Finish Cardstock
    • (1) Pair of Snowman Arms from White Soft Finish Cardstock
    • (1) Scarf (three pieces from White Soft Finish Cardstock
    • (1) Set Buttons from Black Cardstock that has Clear Double Sided Adhesive Tape on the back
    • (1) Set Eyes from Black Cardstock that has Clear Double Sided Adhesive Tape on the back
    • (1) Mouth from Black Cardstock that has Clear Double Sided Adhesive Tape on the back
    • Sponge around all three circles lightly with blue ink
    • Color the hat, nose, scarf and arms
    • Assemble Snowman referring to photo above for placement. (Note the position of the arms so that a tree can be placed in them later).
    Step 2 - 

    • Using the Solid dies from the Christmas Tree die set and Olive Twist Soft Finish Cardstock die cut enough branches to create three trees. Note: the large tree contains all 5 branches; the middle sized tree the 4 smaller branches and the small tree has 2 of the smallest branches.
    • Sponge around the top of the tree branches using Forest Moss Distress Ink.
    • Die cut three tree trunks (note you may need to hand cut a longer trunk for the longer tree.
    • Assemble trees
    • Apply glue to the bottom edges of the branches and cover with White Silk Microfine Glitter. (Note I did this after I had attached my trees to my pop up card, but it is easier to do this step first.
    Step 3 - 

    • Cut a piece of patterned paper from the ModaScrap It's Christmas Time 12 x 12 Patterned Paper Pack so it measures 5 1/2 inches x 12 inches.
    • Score along the 12 inch side at 6 inches and fold.
    • Open up the patterned paper and position the pop up dies (see photo above) so that the centre nubs of the die are positioned on the centre fold of the card. Note: I assembled my snowman and trees before die cutting the pop up dies, so that I could use them to work out the positioning of each piece. 
    • Die cut the paper, remove the pop up dies and train the cut pieces to create pop up panels in the card.
    • Cut a piece of Olive Twist Soft Finish Cardstock to 5 1/2 inches x 12 inches.
    • Score and fold along the 12 inch side at 6 inches.
    • Adhere the pop up patterned paper piece to the inside of the Olive Twist card, being careful not to place any adhesive near the pop up panels.
    Step 4 -
    • Adhere the large tree to the centre pop up, the smaller tree to the pop up on the right and the snowman to the pop up on the left. Note: Make sure that when you are positioning the snowman that none of the parts are visible when the card is closed either along the left edge or the bottom of the card.
    • Trim any of the tree branches on the right pop up if they are hanging over the edge of the card.
    • Adhere the smallest tree to the snowman's arms using foam tape.
    Step 5 -
    • Using one of the speech bubbles from the Speech Bubbles Edgy Options die set, die cut from aqua cardstock. 
    • Stamp the sentiment from the Winter Sentiments Clear Stamp Set to the speech bubble using black ink.
    • Using white ink stamp the snowflakes which are also from the Winter Sentiments Clear Stamp Set randomly around the speech bubble.
    • Adhere the speech bubble to the top edge of the card using foam  tape. Trim off an overhanging parts of the speech bubble.
    Step 6 - 
    • Cut a piece of Brick Red Soft Finish Cardstock so it measures 2 inches x 5 /12 inches. Place the scallop edge from the Valentine Edges die set to the top part of the card and die cut.
    • Adhere panel to bottom edge of card.
    Step 7 - 

    • Using the small oval die from the Entwined Ovals die set die cut one from aqua cardstock and one from White Soft Finish Cardstock. 
    • Adhere the white centre panel to the centre of the base of the card and then add the aqua from from the other die cut.
    • Stamp sentiment from Winter Sentiments Clear Stamp set to centre of white panel using black ink.
    • Add Transparent/Silver Glitter Dots Peel Off Stickers to each of the circle parts of the Entwined Oval frame.

    Step 8 - 
    •  Cut a piece of patterned paper so it measure 4 inches x 5 1/2 inches.
    • Die cut two borders using the scallop border from the Valentine Edges die set from Brick Red Soft Finish Cardstock.
    • Adhere the scallop borders to the top and bottom edge of the pattern paper.
    • Adhere panel to card so it is centred.
    Step 9 -
    • Cut a piece of red cardstock so it measures 2 inches x 5 1/2 inches. Edge this piece with a thin border using Brick Red Soft Finish Cardstock.
    • Adhere panel to centre of card using foam tape.
    • Using A Way with Words - Merry Christmas die cut twice from dark green cardstock. Layer one onto the other to give a bit more depth to the sentiment.
    • Adhere sentiment to centre of red panel.
    Step 10 -
    • Create two trees using the Christmas Tree die set (trees both use the two smallest solid branches and tree trunk dies).
    • Assemble trees. Apply glue to lower parts of branches and cover with White Soft Finish Cardstock.
    • Adhere trees to card referring to photo above for placement using foam tape.

    I hope you enjoyed my project today. Don't forget to check out the Elizabeth Craft Designs blog to see all the wonderful creations by our talented designers and for a change to win the giveaway.


    Supplies:

    Elizabeth Craft Designs:


    Other:
    Aqua Cardstock
    Black Ink
    White Pigment Ink
    Forest Moss Distress Ink
    Black Glaze Pen
    White Gel Pen