Hi Crafty Friends,
It's challenge time with my friends over on the CCEE Stampers challenge blog. Lois Bak our challenge hostess for the month, finishes off the month with one last challenge.
September is also Classical Music Month. Create a card with a musical theme. It doesn’t have to be classical music. It could be Jazz, Country, Rock 'n Roll - anything musical, even a musical instrument.

Simon Says Stamp recently released a Xylophone die set, not having one in my stash I decided I needed to buy one. You never know when you might want something beginning with "X". I die cut the frame of the xylophone from gold mirror cardstock and the bars that are on the top of the xylophone from white cardstock and colored them the colors of the rainbow.
To make sure I got the frame at the correct angle, I used the die as a guide and placed the pieces on top.
The white rectangle panel is from Spellbinders' Slimline Hemstitch die set. I added the "Just A Note" sentiment which is from Honey Bee Stamps Rockstar Sentiments stamp set.
The music note is from an older MFT Stamps die set.
For the music background on my top folding slimline card, I used CC Designs Music Border die set.

For the inside of my card I created a pop-up card using Karen Burniston's Katherine Label pop up die set.
I used Poppy Stamps Happy Birthday Melody die for the sentiment which is layered using Spellbinders' Elongated Ovals and Elongated Scalloped Ovals die sets.
Don't forget to check out the CCEE Stampers blog (goes live 12 AM EST) to see the rest of the creations the CCEE Stampers created this week. You can also see more details of their creations on their individual blogs:
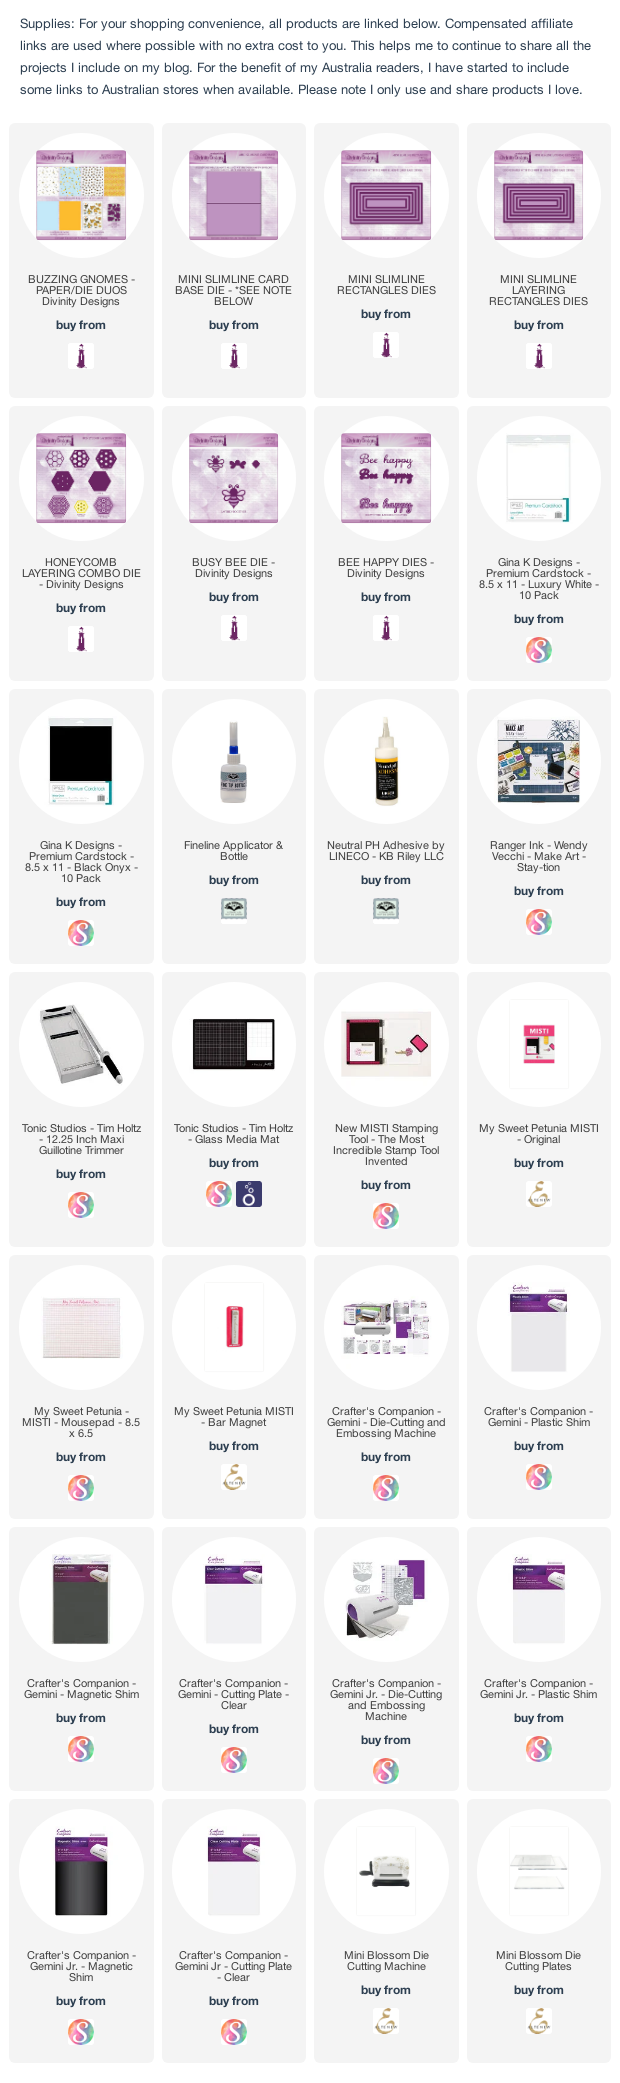
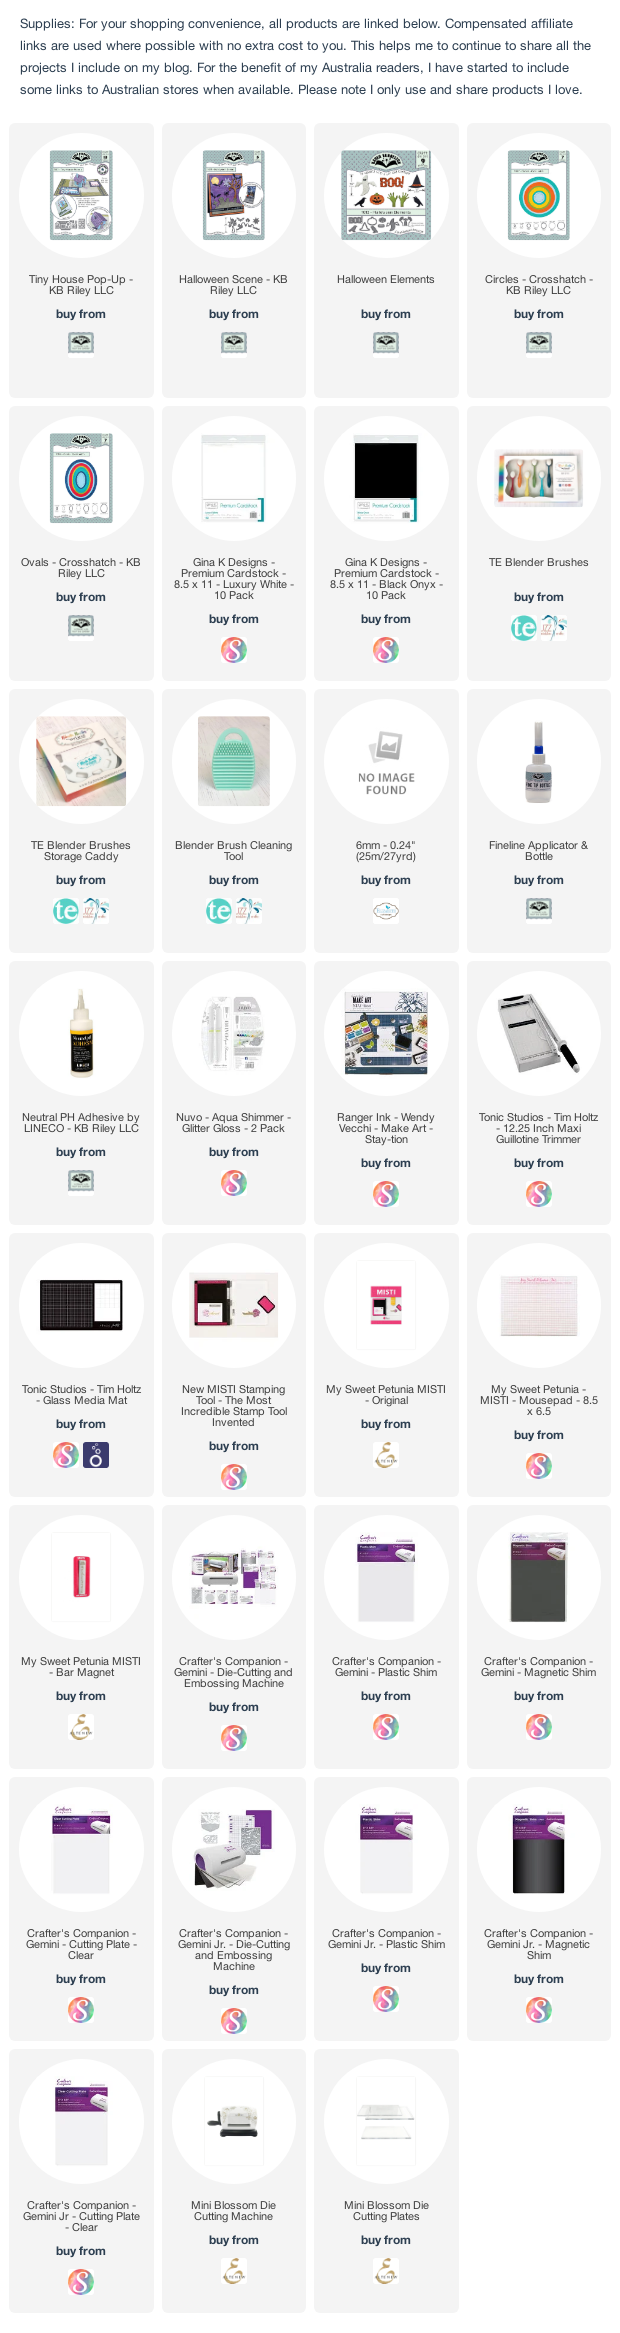
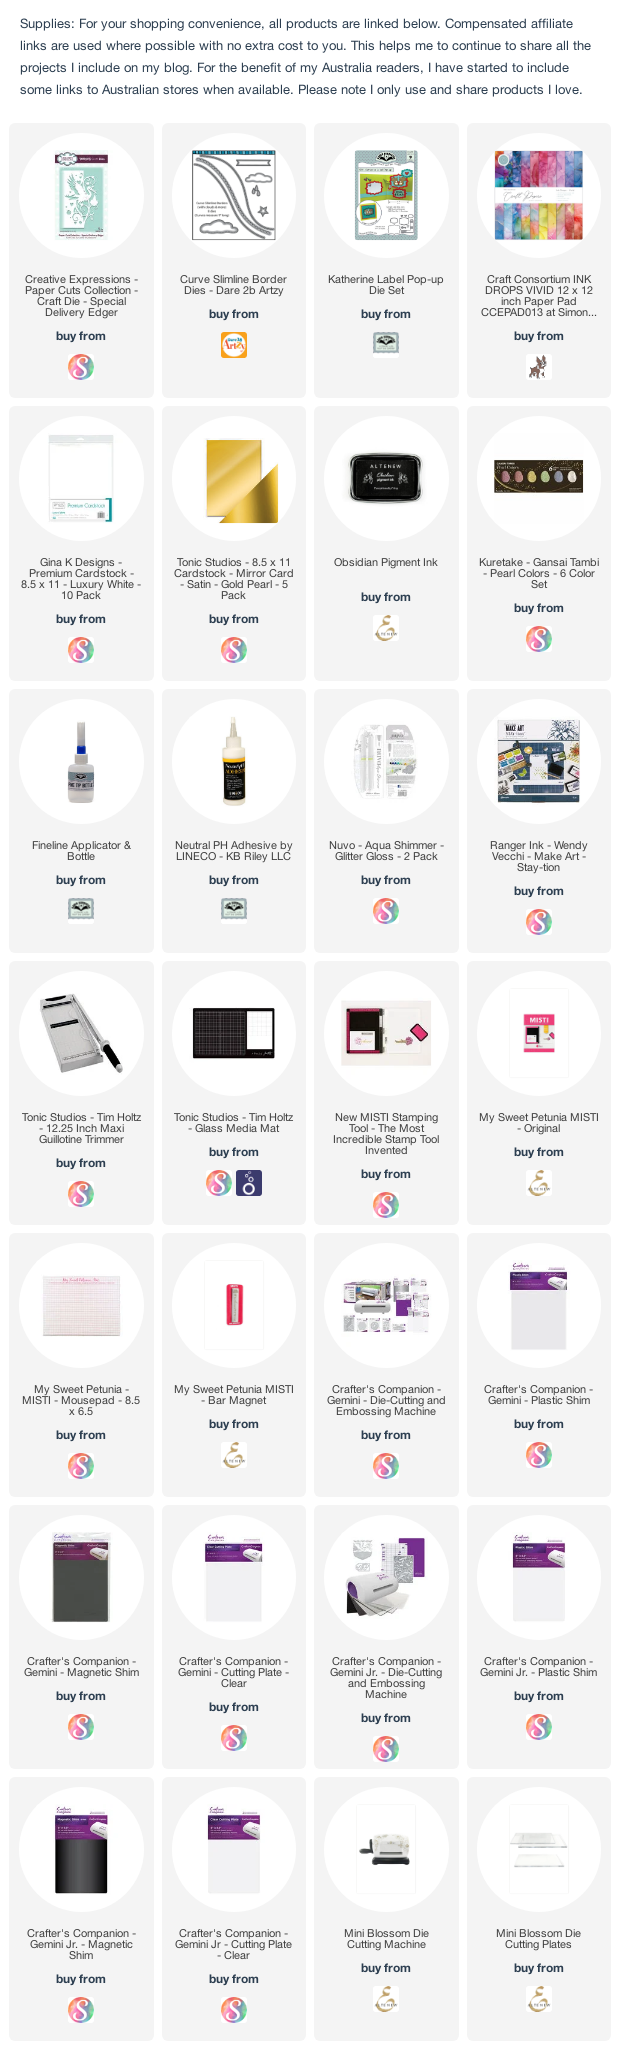
Other Supplies:
Happy Birthday Melody - Poppy Stamps (discontinued)
Music Border - CC Designs (discontinued)
Music Notes - MFT Stamps (discontinued)
Elongated Ovals - Spellbinders (discontinued)
Elongated Scalloped Ovals - Spellbinders (discontinued)