Thursday, February 28, 2019

Fairy Magic Window Slide & Reveal Card


Hi Crafty Friends,

It's challenge time with my friends over on the CCEE Stampers challenge blog. Maryann Einam our challenge hostess for the month finishes off the month with one last challenge.

According to the days of the year calendar today is Tooth Fairy Day. For our challenge this week we are to create a card which includes a fairy.

Everyone who knows me knows how much I love interactive cards of any type. While wasting some time on Facebook recently I came across a die set to create a Magic Windows Slide & Reveal Card which was designed by Angela Poole in the UK. Of course I had to check it out and it landed in my cart! So that is what I have used for my card today.


Here is a quick video to see my card in action.


For this style of card by sliding the tab the picture that is showing on the card dissolves and is replaced by another picture. Here you can see my card is halfway though the changing of the photo so you can see part of both pictures.


Back in December, Hero Arts monthly card kit was a fairy theme. Knowing that I had a fairy themed challenge coming up, I decided to subscribe to the kit which is what I have used here.

Each of the two fairy scenes were created on white circles and then adhered to their red card base before die cutting each of the scenes using the relevant die. The centre circle is needed in the design, so to enable me to create my scene without placing an image in the centre area, I die cut a circle from vellum and then used the small circle that also comes in the die set to draw a circle in the centre of the vellum circle. I then used my MISTI to hold each of my circles and overlay the vellum circle while working out the placement of each of the images before adding it to my scene. There is lots of masking to create both scenes.

Due to the size of the die used for the Magic Slide & Reveal Card, this card is fairy large. The finished size of my card is 17cm (6 5/8 inch) square.


For the inside of my card I added a sentiment, fairy and dandelions to the card.

Don't forget to check out the CCEE Stampers blog (goes live 12 AM EST) to see the rest of the creations the CCEE Stampers created this week. You can also see more details of their creations on their individual blogs:


Supplies:
For your shopping convenience, all products are linked below. Compensated affiliate links are used where possible with no extra cost to you. This helps me to continue to share all the projects I include on my blog. Please note I only use and share products I love.


Wednesday, February 27, 2019

May The Course Be With You


Hi Crafty Friends,

Today I am sharing a card I made for a very good friend who celebrated her birthday a couple of days ago. My friend loves playing golf and for as many years as I can remember I have created a golf themed card to give to her for her birthday. After all this time she more or less expects it from me haha!


Having made so many golf themed birthday cards for my friend, it gets harder to come up with new ideas, so I am always on the look out for golf themed stamps. 

Last year I came across this amazing layering stamp set which is of a golf course from The Ton, I finally bit the bullet and added it to my cart as you can see by the card above.

As I wanted to create the golf scene three times (for the front and inside of the card) my MISTI was my best friend. As I stamped on image with one color I would add another panel and do the same with that until the scene was completed.


Of course I had to create a pop-up card using one of Karen Burniston's newer die sets, after some thought I decided upon using the Rockin' Rectangle die set, replacing the rectangle for a circle which I embossed so it looked like a golf ball.

For the arm of the mechanism, I stamped just the middle area & sea on a piece of cardstock and then die cut the two rectangles to adhere to the arm.


Here is a close up of the left side of the inside of the card.

I love all the little golfers etc that you can add to the scene. Many stamps only include images of men, but the one on the centre green is a women.


And finally a close up of the right hand side of my card. All the sentiments used on this card were also included in the stamp set.

Supplies:
For your shopping convenience, all products are linked below. Compensated affiliate links are used where possible with no extra cost to you. This helps me to continue to share all the projects I include on my blog. Please note I only use and share products I love.

Cuttlebug Tiny Bubbles Embossing Folder


Tuesday, February 26, 2019

Have A Super Birthday


Hi Crafty Friends,

Today I am sharing a Magic Picture Changer Card I created with the new Lawn Fawn Magic Picture Changer and Magic Picture Changer Add On die sets. This is actually the third card I have made since the weekend using this die set, but as the other two cards are for challenges which won't be on my blog until the end of March I had to make another one. I think this might be favorite of the three so far.


For my card today I decided to pull out my MFT Stamps Super Dog Clear Stamp set to create a Super Hero themed card. 


Here is a quick video to see my card in action.


Here you can see the card as the image on the front starts to change to reveal the image which is underneath.


To create the background behind the Super Dogs, I sponged the cardstock with Tumbled Glass Distress Oxide ink and then used one of the stencils from the Honey Bee Stamps Ocean Builder Stencil set  to create the radiating rays.

Along the bottom of the card I added the City Block Die-namics.

The birthday sentiment on the top of the card is from the Clearly Besotted Stamps Super Pug stamp set, stamped onto a speech bubble.


For the inside of the card I added the rays background using Distress Oxide inks and then added the City Block Die-namics along the bottom of the card. 

I added one more of the Super Dogs and a sentiment to my card.


Supplies:
For your shopping convenience, all products are linked below. Compensated affiliate links are used where possible with no extra cost to you. This helps me to continue to share all the projects I include on my blog. Please note I only use and share products I love.

Party With Amy Locurto Boy 6 x 6 Paper Pad - Pebbles Inc


Monday, February 25, 2019

Hey Foxy Wiper Card


Hi Crafty Friends,

My card today is for a challenge I do with a couple of friends of mine. Each month we challenge each other to create something using supplies we all own.

This month our challenge is to include stamps or dies from MFT Stamps on our card or project.


For my card I decided to play with MFT Stamps Friendly Fox die set, this is such an adorable fox.

For my card I used Mama Elephant's Wiper Card die set to create a Wiper Card, it has been such a long time since I have made one of these so it was fun to revisit that style of card.


Here is a quick video to see my card in action.


When you pull the card the speech bubble which is hidden behind the fox pops up which has a sentiment on it which says "Hey Foxy". 
For the grassy panel on the front of the card, I used the grass border included in Elizabeth Craft Designs Tree die set.
Supplies:
For your shopping convenience, all products are linked below. Compensated affiliate links are used where possible with no extra cost to you. This helps me to continue to share all the projects I include on my blog. Please note I only use and share products I love.


Sunday, February 24, 2019

Sending Some Hugs Your Way


Hi Crafty Friends,

Today I have a shaped card to share with you.


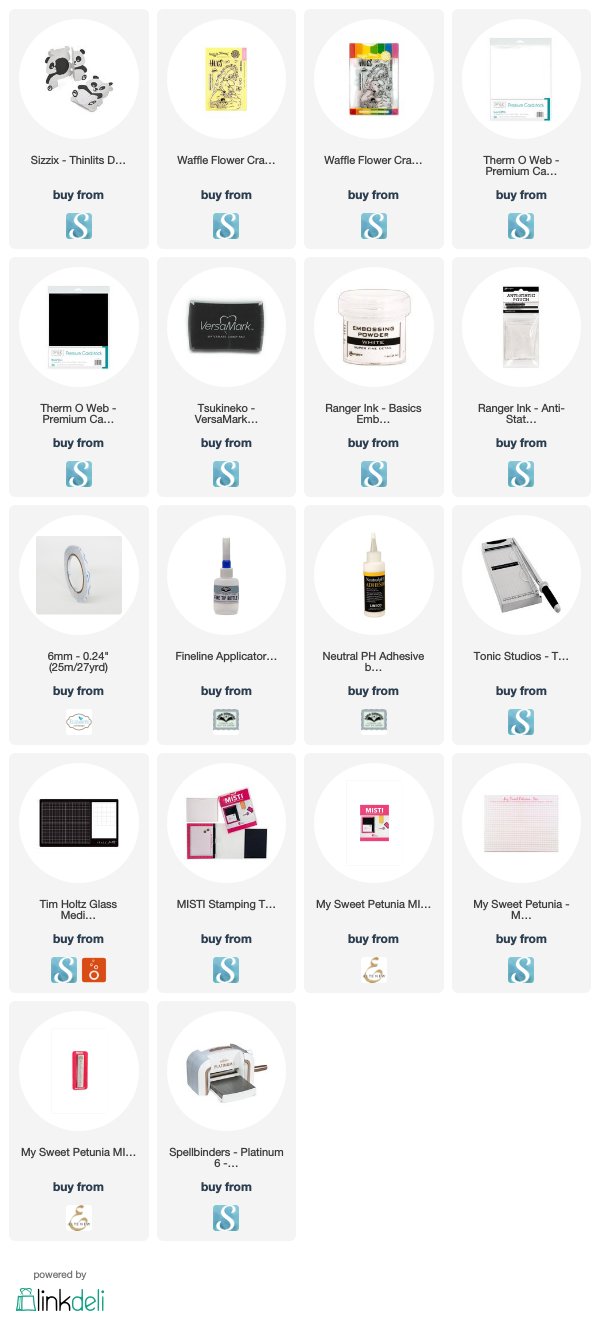
For my card I used the Sizzix Panda Fold-A-Long card ... isn't it so cute. I think this may be one of my favorite fold-a-long die sets to date.


For the inside of the card I white embossed the sentiment from Waffle Flower Crafts Group Hugs stamp set onto black cardstock.


Here is another view of my card when it is opened.


And one last photo of my card this time folded flat laying on my desk ready to be placed in an envelope.

Supplies:
For your shopping convenience, all products are linked below. Compensated affiliate links are used where possible with no extra cost to you. This helps me to continue to share all the projects I include on my blog. Please note I only use and share products I love.


Saturday, February 23, 2019

Way To Go!


Hi Crafty Friends,


It’s challenge time with the “Crazies” over on the Crazy 4 Challenges blog. Kathleen Adams our challenge hostess for February finishes off the month with one last challenge.

Apparently today is National Dog Biscuit Day so for our challenge this week we are to put a pet on your card.  It doesn’t have to be a dog.


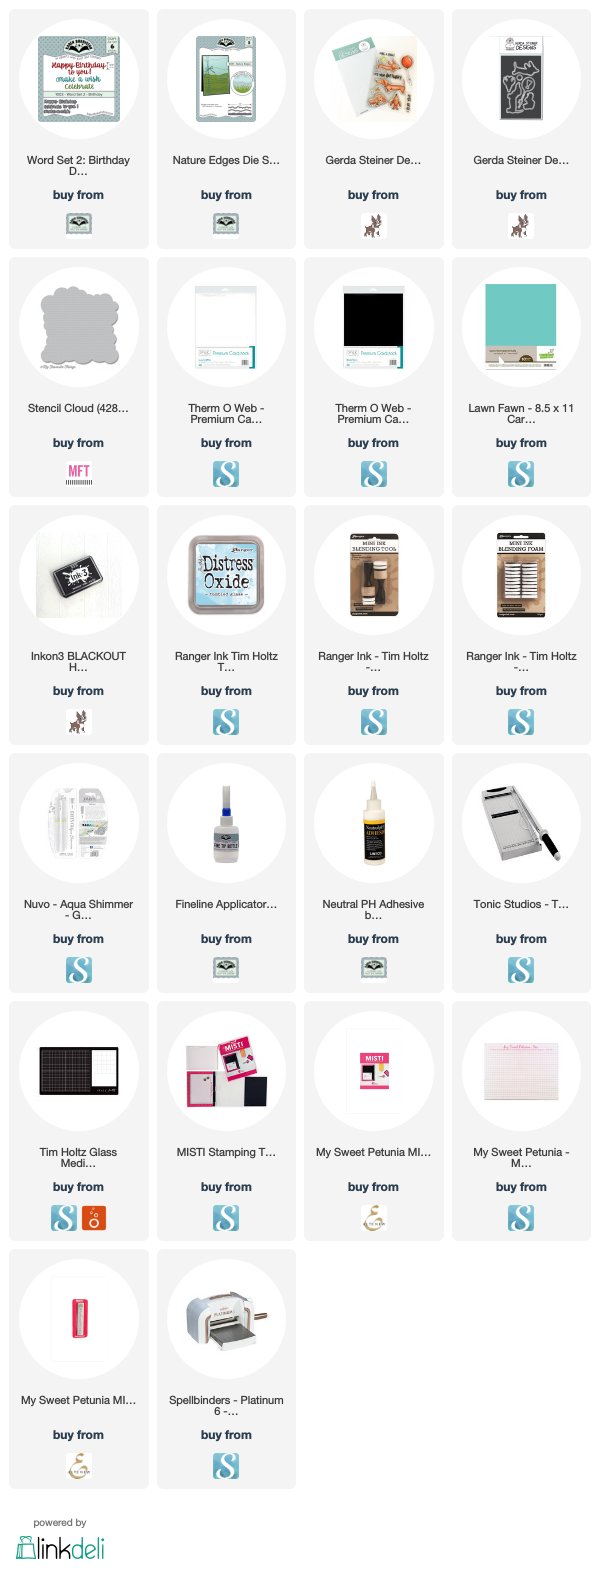
For my card today I decided to pull out a Gerda Steiner Stamp set that I got for Christmas ... just love those cute little Dachshunds.

For the Happy Birthday sentiment I used Karen Burniston's Word Set 2 - Birthday die set.


I used one of Karen Burniston's new die sets that were released earlier in the month, this is the Rockin' Rectangles Pop-up I flipped the card around so that card was in landscape format rather than portrait, so the pop up portion of the card is at the very bottom of the card rather than at the side.

On the pop-up arm above the dog, I added a sentiment from the new Word Set 8 - Congrats die set. 

For the rectangle panel I also added some grass at the bottom of the rectangle using the grass die from the Nature Edges die set.


Here is a quick video to show my card in action.


Don't forget to check out the rest of the “Crazies” cards over on the Crazy 4 Challenges blog and also their individual blogs for more details.


Supplies:

For your shopping convenience, all products are linked below. Compensated affiliate links are used where possible with no extra cost to you. This helps me to continue to share all the projects I include on my blog. Please note I only use and share products I love.


Friday, February 22, 2019

Divinity Designs - Miracle of Easter


Hi Crafty Friends,

Today I am sharing 2 more projects using some of the Divinity Designs February Release products. Today I am  focusing on the new Miracle of Easter Stamp set.


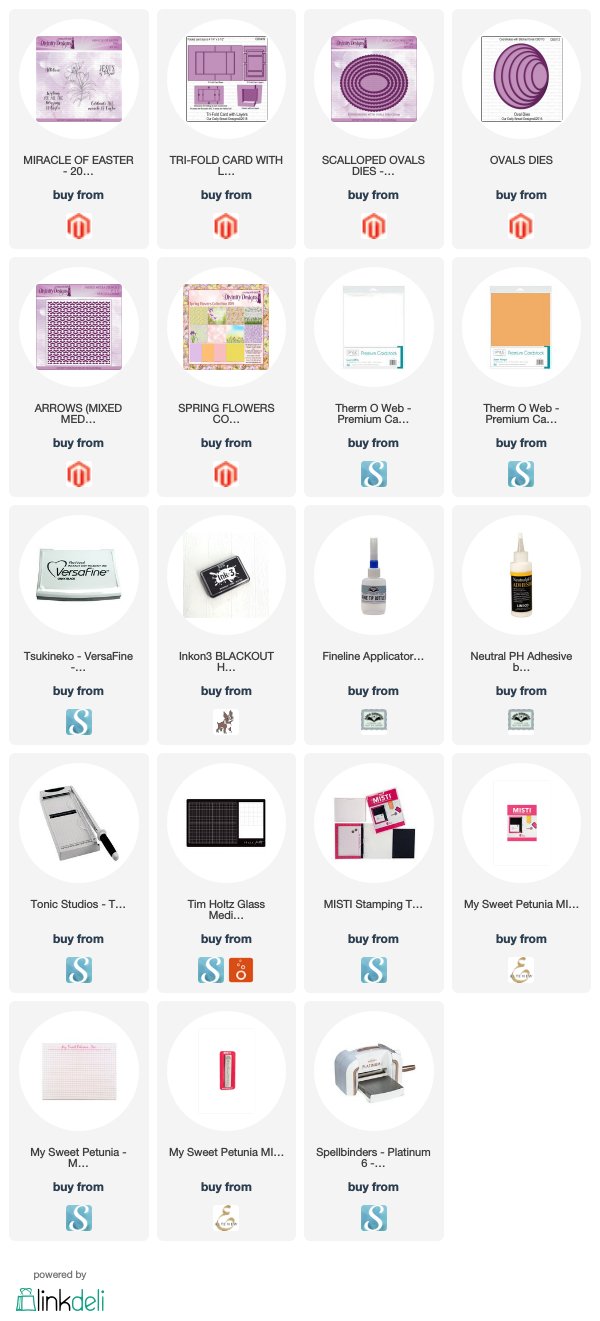
For my first card today I have created a Tri-Fold Card using Divinity Designs Tri-Fold Card with Layers die set. For the layers of this card I used some of the beautiful designer paper from the Spring Flowers Collection 2019 Designer Paper pad. I just love the papers that are included in this pad.

I stamped the flower from the Miracle of Easter stamp set to the square panel that goes in the centre of the card.

For the smaller rectangle panels on this card I die cut using the solid yellow paper from the paper pad and then embossed it using the Arrows Mixed Media Stencil  which is also newly released this month.


I added one of the sentiments from the stamp set layering it on the left hand panel using the Ovals & new Scalloped Ovals die set.


Here is a look at my card when it is closed ready to be placed in an envelope.


For my second card today I have created a Centre Step Card using the Center Step A2 Card & Center Step A2 Layers die set.

For each of the layered panels I mixed three different embossing pastes to get a new color and used it to decorate the light pink cardstock and the Arrows Mixed Media Stencil.


To layer the flower I used the Ovals and Scalloped Ovals die set.

For the sentiment I used the Rectangles die set.


For the inside of my card I added another sentiment from the stamp set and again used the Ovals & Scalloped Ovals die sets for layering.

I added the leftover piece of stencilled panel at the bottom of the card.

Thanks for visiting my blog today.  I hope you enjoyed my projects.

Supplies:
For your shopping convenience, all products are linked below. Compensated affiliate links are used where possible with no extra cost to you. This helps me to continue to share all the projects I include on my blog. Please note I only use and share products I love.

Viva Décor 3D Stamp Paint - Rose Metallic
Viva Décor 3D Stamp Paint - White


Thursday, February 21, 2019

Whooo is the Best Teacher


Hi Crafty Friends,

It's challenge time with my friends over on the CCEE Stampers challenge blog. Maryann Einam our challenge hostess for the month continues to issue the challenges.

This week Maryann has giving us an Interactive challenge .... to create a Lever Card. You can use dies or a craft knife and scoring tool. You can find a tutorial on this style card on Splitcoast Stampers.


Last year I discovered that Divinity Designs (previously known as Our Daily Bread Designs) sell a die that creates this style of card and being an interactive card lover I had to add it to my stash. Having the die makes it so much easier than having to measure, score and cut.


While I was browsing in an online store recently I also discovered this cute Teacher/School themed stamp set from Darcie's Heart & Home. I am always looking for stamp sets that will make teacher cards for my grandchildren to give to their teachers at the end of the year. This one had an owl included in the set, so of course it jumped into my cart. I am definitely getting a head start in making my teacher thank you's for this year seeing I don't need them until December.


I die cut all the layers for this card from white cardstock and then stamped the book pile image on each of the panels to create my background.

I used the owl and book pile for the front square panel, trimming off one of the books so the image would fit into the square.

For all the sentiments I stamped them all onto black cardstock and white embossed. I then shipped each of the black sentiments with white ink for a chalkboard effect.

For the front of the card I added the "Thank You" sentiment and added two apples on either side.

I added Tonic's Aqua Shimmer Pen to the owl's wings and belly and also the solid color books. I added glossy accents to the owl's glasses and the apples.

Don't forget to check out the CCEE Stampers blog (goes live 12 AM EST) to see the rest of the creations the CCEE Stampers created this week. You can also see more details of their creations on their individual blogs:


Supplies:
For your shopping convenience, all products are linked below. Compensated affiliate links are used where possible with no extra cost to you. This helps me to continue to share all the projects I include on my blog. Please note I only use and share products I love.