Thursday, May 31, 2018

Celebrate


Hi Crafty Friends,

It's challenge time with my friends over on the CCEE Stampers challenge blog. Anne Harmon our challenge hostess for the month finishes off the month with one last challenge.

Our challenge this week is to use our embossing folder/s on our cards this week.


For my card today I pulled out my Ornate Lace 3D Embossing Folder from Crafter's Companion ... they have some awesome 3D embossing folders and this one was a must have last year 😀.

After embossing my rectangle panel with the embossing folder I sponged on some Rose Gold Delicata ink ... this is a beautiful pink color and has a lovely shimmer to it. I then rubbed on a little Bronze Gilding Wax over the raised areas.

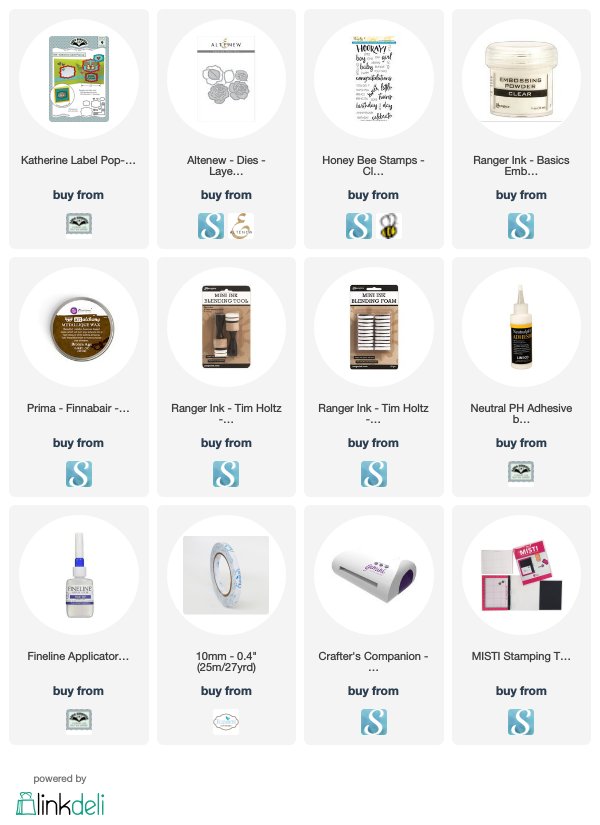
To decorate my card I die cut two roses using the Altenew Layered Rose die set.

To finish of the front of my card I stamped the sentiment using Celestial Copper Delicata ink and embossed this using clear embossing powder. I die cut the sentiment using an old MFT label die.


For the inside of my card, I used the Ornate Lace Embossing Folder again to emboss another panel, coloring the panel as I did for the one on the front. I cut around the flourish design and adhered it to either side of the inside edges of my card.

I used the Katherine Label Pop-up die set to create the pop-up panel to my card that holds the sentiment.

I added one more die cut rose to the lower left hand side of my card.

Don't forget to check out the CCEE Stampers blog (goes live 12 AM EST) to see the rest of the creations the CCEE Stampers created this week. You can also see more details of their creations on their individual blogs:


Supplies:


Other:
Cardstock - White; Pink; Burgundy; Green
Inks - Rose Gold and Celestial Copper Delicata Ink Pads
Ornate Lace 3D Embossing Folder
MFT Label Die


Wednesday, May 30, 2018

Watercolor Bouquet Easel Card


Hi Crafty Friends,

My card today is for a challenge I do with a couple of friends of mine. Each month we challenge each other to create something using supplies we all own.

For our challenge this month we are playing with stencils.

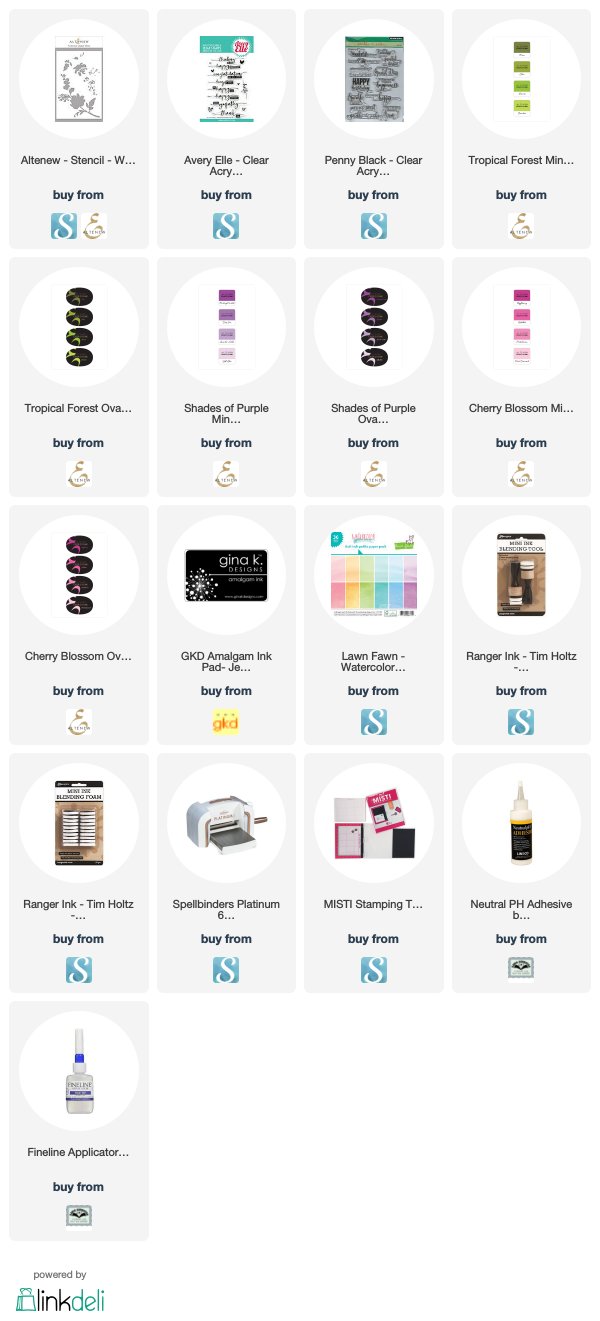
I have purchased a number of new stencils this year, so this challenge was a great opportunity to pull another one out and play. For my card today I used Altenew's Watercolor Bouquet Stencil. 

As you can see I have created another easel card this time using Crafter's Companion Swirl Easel die set. I stencilled the design onto pink pattern paper using pinks, purples and green Altenew inks. I die cut the panel using the layering die included in the Easel die set.


For the base of the card I used one of the swirl decorative dies included in the die set, to create the swirl layer on the front. 

I added a couple of sentiments to the card.


Here is a look at my card when it is closed ready to be placed in an envelope.

 I splattered some Champagne Gold Gansai Tambi Paint over the stencilled panel before adhering it to the easel card.

 I also added a few pink transparent crystals to the main panel of the card.

Supplies:


Tuesday, May 29, 2018

You're Smoking Dad


Hi Crafty Friends,

It's my turn to post a tutorial on the Elizabeth Craft Designs blog. I am getting a head start on Father's Day cards .... it's only a few weeks away in the USA however it isn't until September down here in Australia where I live.

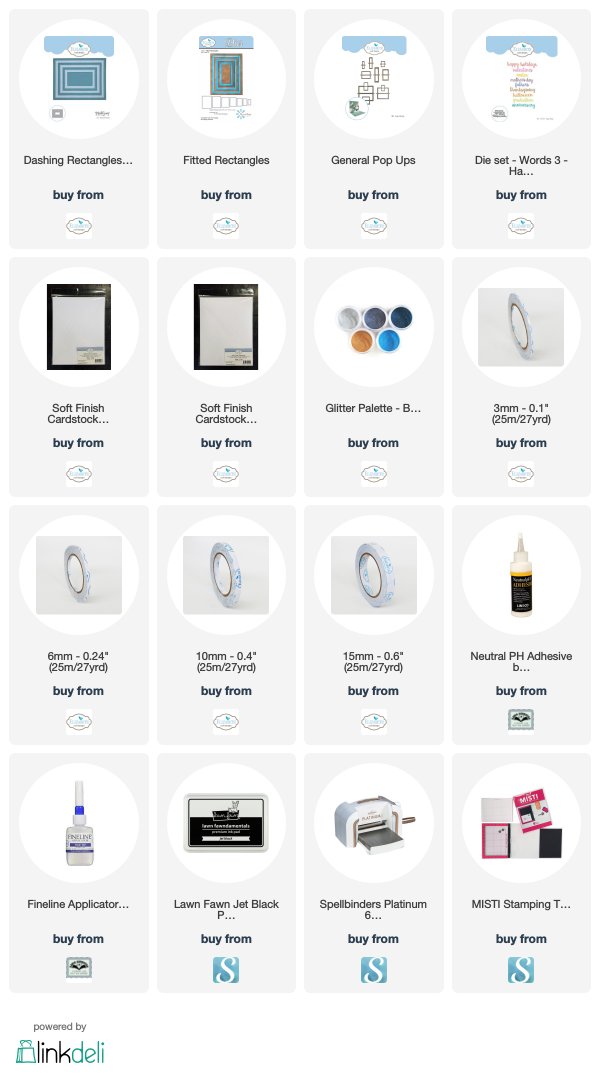
For my card I am playing with a few new products recently released by Elizabeth Craft Designs. I love the new Beach Glitter Palette which is perfect for beach scenes but also fabulous colors for male themed cards. I have also used four new die sets and one new stamp set designed by Joset Designs.

Here is how I created my card:


Step 1 - 
  • Cut a piece of White Soft Finish Cardstock that measures 8 1/2 inches x 5 1/2 inches.
  • Using Clear Double Sided Adhesive Tape in 3mm; 6mm; 10mm and 15mm widths, adhere the tape diagonally to the card alternating the widths until you cover the entire sheet. Tip: Make sure there are no gaps between the adhesive tape as you are laying it on the card.
  • Use a bone folder or similar to ensure that the adhesive is adhered securely to the cardstock.
  • Remove the protect from any one of the adhesive strips and then every 5th adhesive strip after that. Cover the adhesive with Midnight Blue Silk Microfine Glitter from the Beach Glitter Palette set. Return excess glitter to jar and polish glitter into the adhesive for maximum shine.
  • Repeat this step with the other four Silk Microfine Glitters included in the Beach Glitter Palette set - Sand Dunes; Silver Sand; Ocean Blue and Pebble Blue. 


Step 2 - 
  • Using the second largest rectangle from the Dashing Rectangles die set, die cut a rectangle using the glittered background created in step 1. Tip: Make sure to place the die close to the edge so you have enough of the glittered background to use on the inside of the card.
  • Using the largest rectangle from the Fitted Rectangles die set, die cut a rectangle from a piece of blue cardstock.
  • Cut a piece of dark blue cardstock that measures 4 1/2 inches x 11 1/2 inches. Score along the long side at 5 3/4 inches and fold.
  • Layer the two rectangle panels together and adhere to the front of the folded card.

Step 3 - 
  • Counting from the centre, use the fourth die in the Stitched Hexagons die set to die cut a hexagon from White Cardstock.
  • Counting from the centre, use the fifth die in the Fitted Hexagons die set to die cut a hexagon from dark blue cardstock. 
  • Layer both hexagons together and adhere to the top right hand corner of the card as per photo above.
Step 4 - 
  • Die cut the words "Happy Father's Day" from the Words 3 - Happy Holidays die set from blue cardstock. (Tip: die cut each sentiment 3 to 4 times and layer on top of each other to give the sentiment more depth.)
  • Adhere sentiment to hexagon on card.
  • Die cut the fork; Spatula/Egg Flip and sausage from the Backyard Barbeque die set from White Soft Finish Cardstock. Color each image with markers and add around sentiment.
Step 5 - 
  • Cut a piece of blue cardstock that measures 4 1/4 inches x 11 1/4 inches. Score along the long side at 5 5/8 inches and fold.
  • Create a pop-up card by die cutting the largest pop-up die included in the General Pop-ups die set.
  • Cut the remaining glittered background created in step 1 so it measures 1 3/4 inches x 4 1/4 inches.
  • Cut two dark blue strips approximately 1/2 inch x 4 1/4 inches and adhere to the top of both glittered background panels.
  • Adhere panels to both edges of pop-up card.
  • Adhere the pop-up card to the inside of the dark blue card created in step 3.

Step 6 - 

Using the Backyard Barbeque die set, die cut the following:
  • 1 x BBQ from Black Cardstock
  • 1 x BBQ from Dark Blue Cardstock
  • 1 x BBQ lid from Black Cardstock
  • 1 x BBQ lid from Dark Blue Cardstock
  • 1 x Circle/BBQ Wheel from White Soft Finish Cardstock
  • 2 x Sauce Bottles from White Soft Finish Cardstock
  • 2 x Steaks from White Soft Finish Cardstock
  • 2 x Steak Decorative Panel from White Soft Finish Cardstock
  • 1 x Hamburger from White Cardstock
  • 1 x Hamburger Cheese/Meat from White Soft Finish Cardstock
  • 1 x Fork from White Soft Finish Cardstock
  • 1 x Spatula/Egg Flip from White Soft Finish Cardstock
  • 1 x Flames from White Soft Finish Cardstock
(Tip: if preferred you can cut all the individual pieces from various colored cardstock rather than white)

  • Cut off the legs and top part of the BBQ from the Dark Blue BBQ and layer this over the Black BBQ.
  • Cut off the Handle to bottom part of the BBQ lid from the Dark Blue BBQ and layer this over the Black BBQ.
  • Glue the left corner of the BBQ lid to the BBQ base so it looks like it is in the open position.
  • Color the Circle/BBQ Wheel using a grey marker and adhere over the black wheel.
  • Color the flames using yellow and orange markers and adhere inside of BBQ.
  • Adhere BBQ to the pop-up panel on the inside of the card.

Step 7 - 
  • Stamp the sentiment "You're Smoking" from the Summer Fun Sentiments Clear Stamp set onto White Soft Finish Cardstock using black ink.
  • Using the same Stitched Hexagon die used on the front of the card, die cut the sentiment so that the sentiment is close to the top of the die cut.
  • Using the same Fitted Hexagon die used on the front of the card, die cut a hexagon from dark blue cardstock. Layer the two hexagons together.
  • Using the Blackboard Alphabet die set, die cut the letters "D A D" from blue cardstock.
  • Adhere the letters to lower part of the white hexagon.
  • Adhere hexagon to the base of the pop-up card, referring to the photo above for placement.

Step 8 -
  • Color the BBQ food and accessory that were die cut in step 6 using markers of choice. 
  • Adhere the sausage to the fork and then use a thin piece of acetate to attach above BBQ, so that it appears the sausage is being cooked in the flame.
  • Adhere all other food and accessories to card referring to photos above for placement.

Thank you for stopping by, I hope you enjoyed my tutorial.

Supplies:
Elizabeth Craft Designs:


Other:
Cardstock - Blue; Dark Blue
Acetate
Black Ink
Copic Markers
Foam Tape


Monday, May 28, 2018

Rebus - Songs by Herman's Hermits


Hi Crafty Friends,

It's time to share another rebus puzzle swap with you. This month the theme is "Songs by Herman's Hermits"


If you would like to solve my rebus puzzle, why not post a comment on my blog post with your answers. I will let you know what the correct answers are next time I post a rebus card here.

How did you go solving my February Rebus which was "Things that are Black". Here are the correct answers so you can check how you did.

  1. Licorice
  2. Bear
  3. Raven
  4. Tyre
  5. Penguin
  6. Pupils
  7. Panther
  8. Spider
  9. Dominoes
  10. Telephone
  11. Bat


You can find all my past Rebus Cards here.

Sunday, May 27, 2018

Let's Have Coffee


Hi Crafty Friends,
Today I am playing along in the  Spring/Summer Coffee Lovers Blog Hop which is being held from Friday 25th May to Friday 1st June.


When I think of Spring and Summer, I think of bright and colourful. So when I found this bright colorful patterned paper in a paper pad I purchased recently I knew I needed to use it for this challenge.


To create my card I pulled out Karen Burniston's new Upsy Daisy die set ... I am having lots of fun with this die. This die will be available to purchase from Karen Burniston or local retailers from June.

To decorate my card I used dies and stamps from Honey Bee Stamps. The faces on the coffee cups are from a stamp set from Lawn Fawn.


Here is a quick video to see my card in action.


Here is an overhead view of my card so you can see the pop-up mechanism a little better.


Here is a side view shot of my card.


For the front of my card I die cut a few more cups and saucers for Honey Bee Stamps Coffee Break die set in colors to match the cups on the patterned paper and attached them to the white panel.

Supplies:


Saturday, May 26, 2018

#1 Teacher


Hi Crafty Friends,

It’s challenge time with the “Crazies” over on the Crazy 4 Challenges blog. Amy Ottmers our challenge hostess for the month, finished off the month with one last challenge.

Since there are many graduations going on around the world at this time of the year, the theme for this week is to make a "Graduation" card.


I don't need graduation cards, but I always like to make a stash of teacher thank you cards which my grandchildren can give to their teachers at the end of the year. So that is what I decided to do for this challenge ... it is still school related!

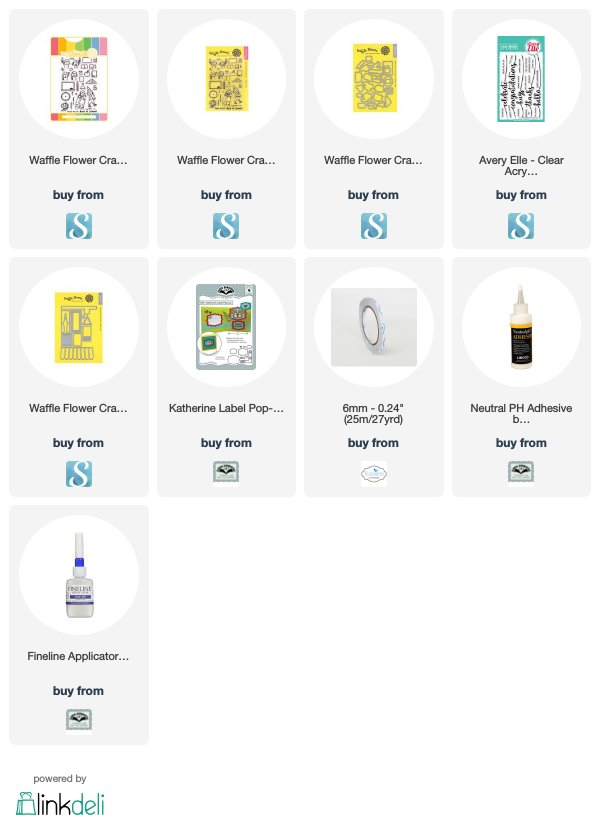
A couple of months ago I received these cute school themed stamps from Waffle Flower and a die set called Apartment Builder for my birthday. I decided to use those to create my card, I thought the apartment builder die set would make a good class room.

I decided to go with a primary color theme (red; blue and yellow) for the base of my card and work up from there.

I stamped two blackboards and joined them behind the window join, so I could have a longer blackboard and added lots of the school kids hanging out of the windows etc.


For the inside of the card I used Karen Burniston's Katherine Label Pop-up die set to create the pop-up part of the card so I could add the #1 Teacher.

I used a few more  elements from the Apartment Builder die set to decorate the edges of my card and also added a few more of the kids etc.


Here is a side view of my card so you can see the pop-up part of my card a little better.

Don't forget to check out the rest of the “Crazies” cards over on the Crazy 4 Challenges blog and also their individual blogs for more details.


Supplies:


Cardstock - White; Red; Blue; Yellow

Friday, May 25, 2018

I Vike You Very Much


Hi Crafty Friends,

Today I am sharing a card I created recently using the Crafter's Companion Timepiece Easel die set.

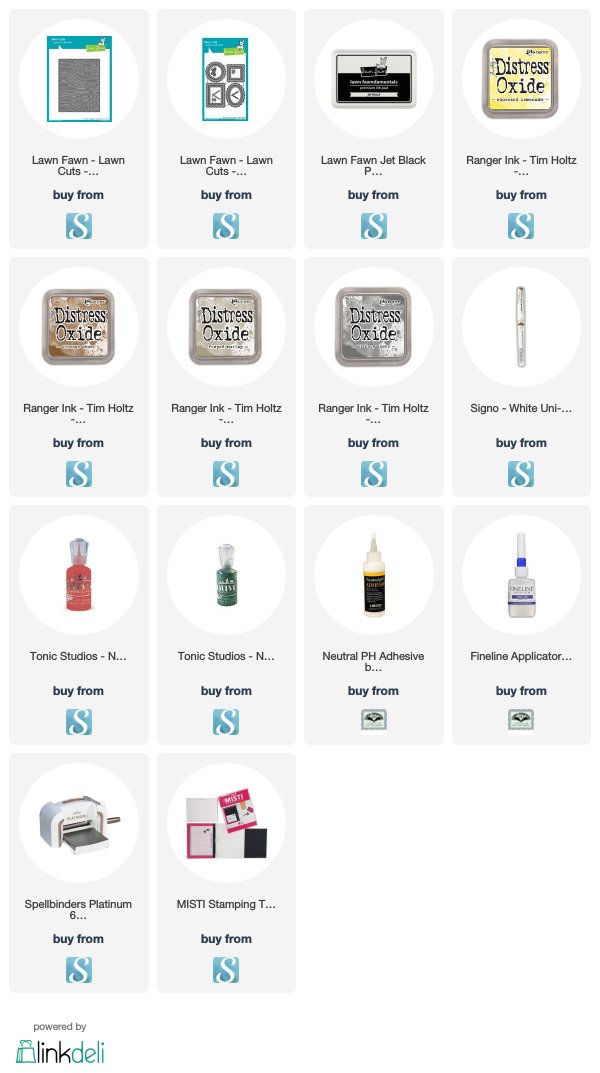
For the background of my card I die cut two of the shield shaped layering pieces which comes in the die set. One one I used the Lawn Fawn Stitched Woodgrain Background to cover the whole panel and on the other I only covered about 1/3 of the bottom of the card base. I colored these areas using Distress Oxide inks in Squeezed Lemonade; Frayed Burlap; Vintage Photo.

On the upper part of the second panel I used a giraffe stencil from MFT Stamps and sponged over with Hickory Smoke Distress Oxide ink. I thought the stencil could look like a rock wall rather than using a brick wall.


To decorate my card I stamped images from MFT Stamps Viking stamp set and Clearly Besotted Hip Hop Hooray stamp set. Both are viking stamp sets, so the images work well together.

I used the Viking from the Clearly Besotted stamp set to create a framed photo on the castle wall ... maybe one of the Vikings ancestors.


To finish off the card I added two sentiments, one of the main part of the card and the other on the base which is used to keep the card open when needed.

I also added Nuvo Drops to the circles on the hats/belt etc .

Supplies:


Other: 
Stamps: Viking - MFT Stamps; Hip Hop Hooray - Clearly Besotted
Cardstock - White; Black; Blue


Thursday, May 24, 2018

Let Your Dreams Set Sail


Hi Crafty Friends,

It's challenge time with my friends over on the CCEE Stampers challenge blog. Anne Harmon our challenge hostess for the month continues to issue the challenges.

Anne tells us that she wakes up in the morning to the NEWS.  Make a card using each of these letters…..N, E, W, S.

When I was recently thinking about what to do for this challenge I was flipping through some products sitting on my desk and came across the Swirl Easel Card from Crafter's Companion. Once I saw this I knew that this die covered two of the letters I needed to do for this challenge ... E for Easel Card and S for Swirl. So this became the starting point of my card.


To Cover the challenge these are what I came up with for this challenge
N - Nuvo Drops (the color is Neptune, so another N); Nautical
E - Easel Card
W - White; Wheel (ships wheel on the patterned paper.
S - Swirls; Sentiment; Sail Boat; Sea Breeze

When I was looking through papers for another card I noticed this paper which I thought would make a great Easel Card and also worked with this challenge. 

I added the swirls from the die set to the bottom layer of my card and added a sentiment onto a white piece of cardstock.


Here is a look at my card when it is closed ready to be placed in an envelope.


And finally a look at the inside of the card.


Don't forget to check out the CCEE Stampers blog (goes live 12 AM EST) to see the rest of the creations the CCEE Stampers created this week. You can also see more details of their creations on their individual blogs:

Vicky Gould
Kelly McKown-Santi


Stamps: The Sea View Collection - Sheena Douglas/Practical Publishing
Paper: White; Green; Sea Breeze Paper Pad - Couture Creations
Dies: Swirl Easel Card - Crafter's Companion; Dotted Scallop Rectangles - Elizabeth Craft Designs
Other: Black Ink; Nuvo Neptune Gloss Crystal Drops; Foam Tape