It’s challenge time with the “Crazies” over on the Crazy 4 Challenges blog. Rebecca Ednie our challenge hostess for the month, continues to issue the challenges.
This week Rebecca has given us a color challenge using blush, mint, aqua with neutrals of your choice, ivory, gold or tan. This color scheme was inspired by the photo below.
Color challenges aren't my favorite of challenges, especially this one with so many colors. But I have found having dies that create stripes of some sort are good for this type of challenge as you can get all the required colors in the background.
For my card today, I pulled out my Taylored Expressions Diagonal Stripes Cutting Plate. I then used this plate to die cut cardstock in blush, mint, aqua and tan to create my background.
Once I had my background created I layered this onto a gold colored top folding card.
To decorate my card I used roses from Paper Rose Studio Ella's Garden Scribble Roses which I colored using the blue and mint colors from the challenge.
I added the bloom sentiment from Honey Bee Stamps to the top right hand corner of my card which I die cut in gold and tan cardstock and layered together, offsetting slightly.
To finish off the front of the card I added a few clear acrylic hearts.
For the inside of the card I created another background panel using the Diagonal Stripes Cutting Plate using some of the left over pieces from created the panel on the front. I then cut the panel in half so I had two long skinny panels and added a thin strip of tan cardstock to the cut edge. I then adhered this panels to both the top and bottom edges of the card.
I used the Katherine Label Pop-up die set to add the sentiment to my card ... if you read from the front, the sentiment says ... Bloom With Happiness.
Here is one more photo of the inside of my card so you can see the pop up portion of the card a little better.
Don't forget to check out the rest of the “Crazies” cards over on the Crazy 4 Challenges blog and also their individual blogs for more details.
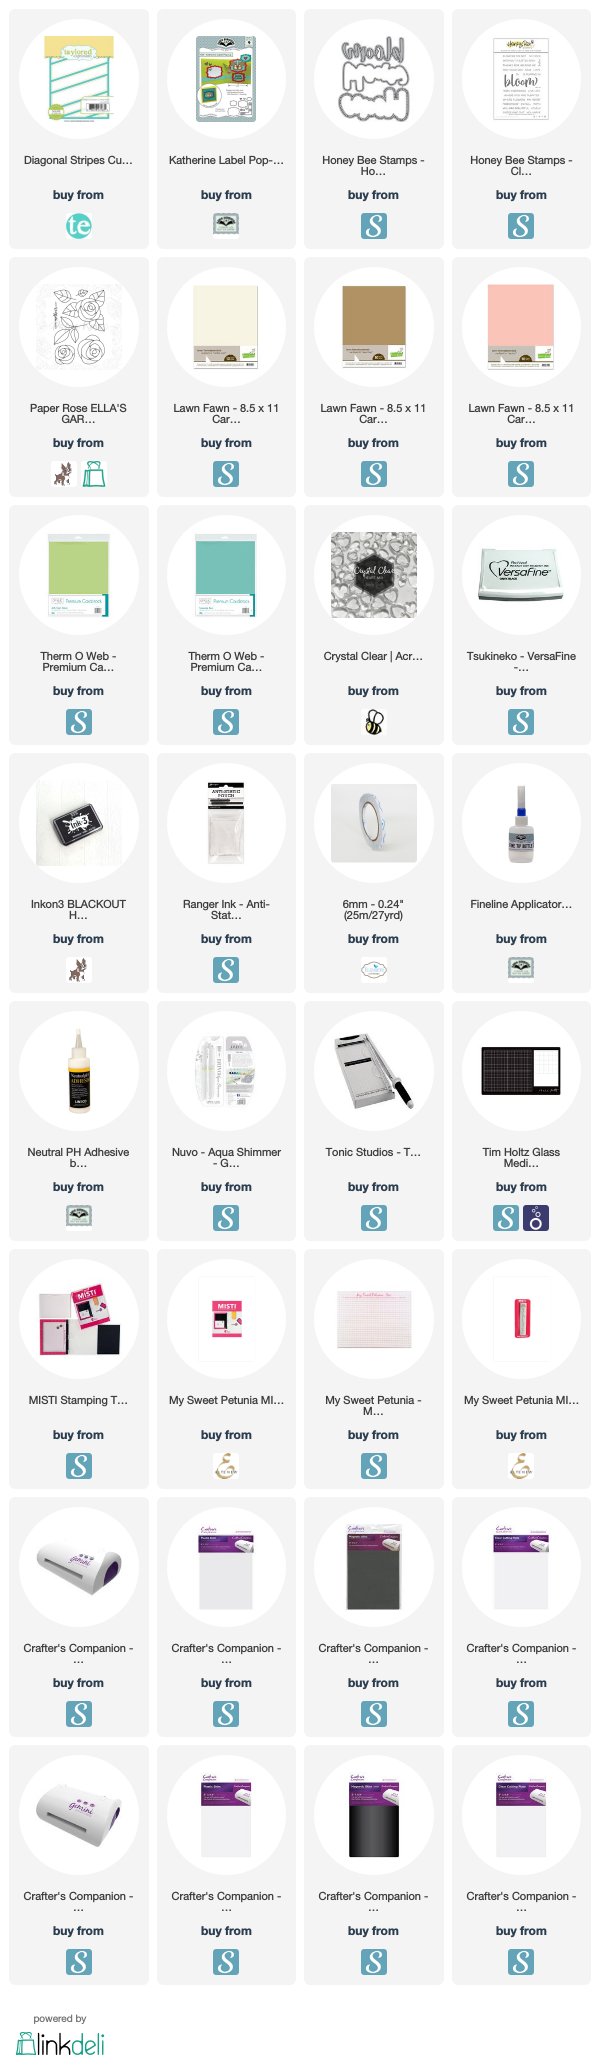
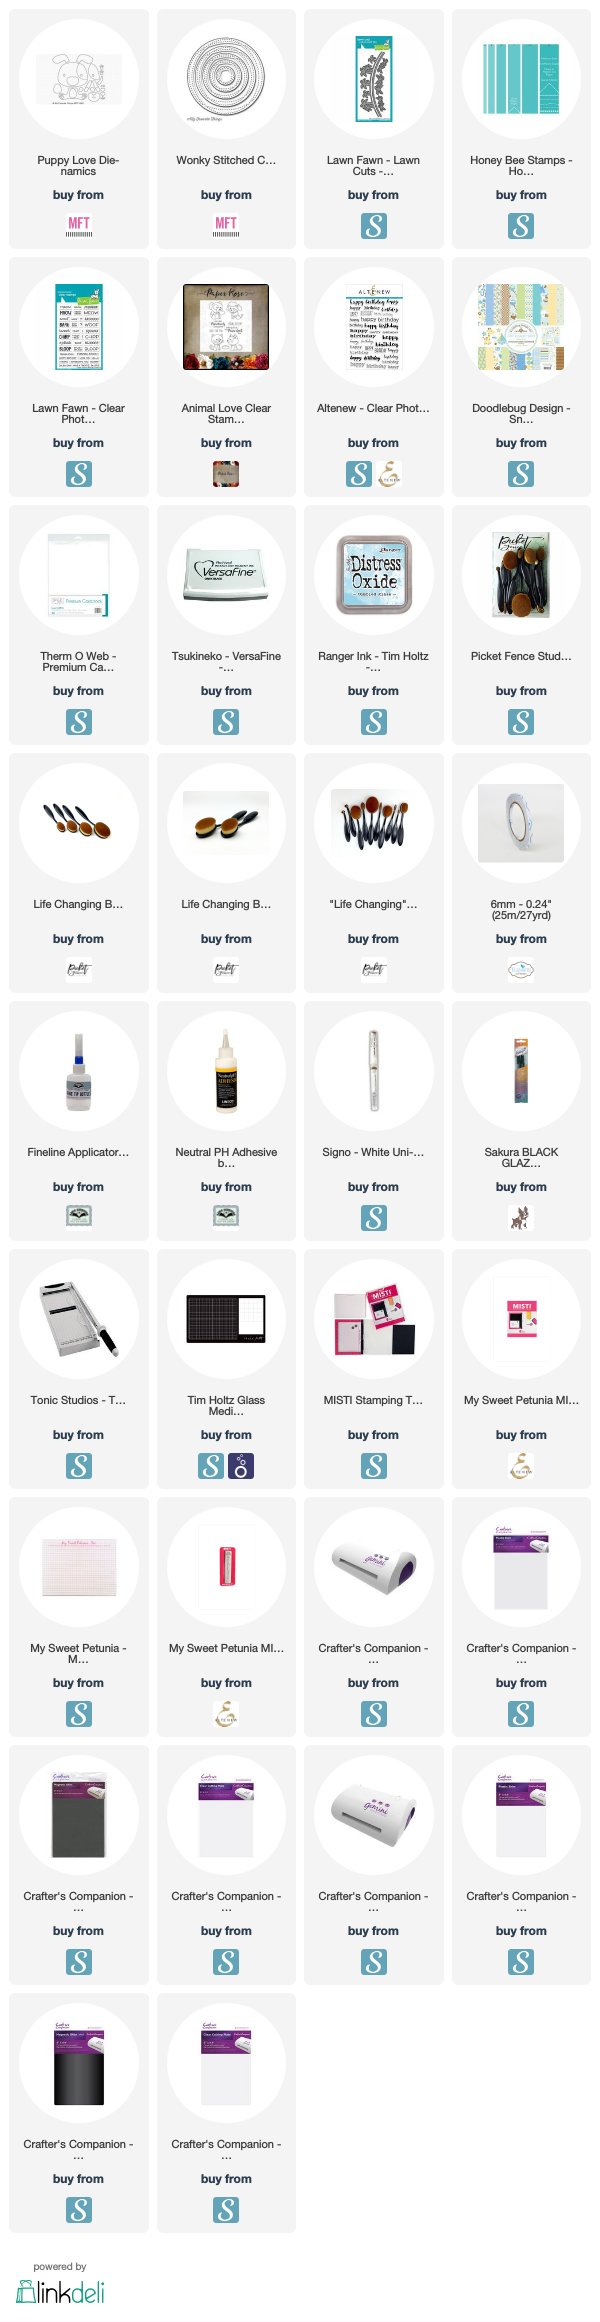
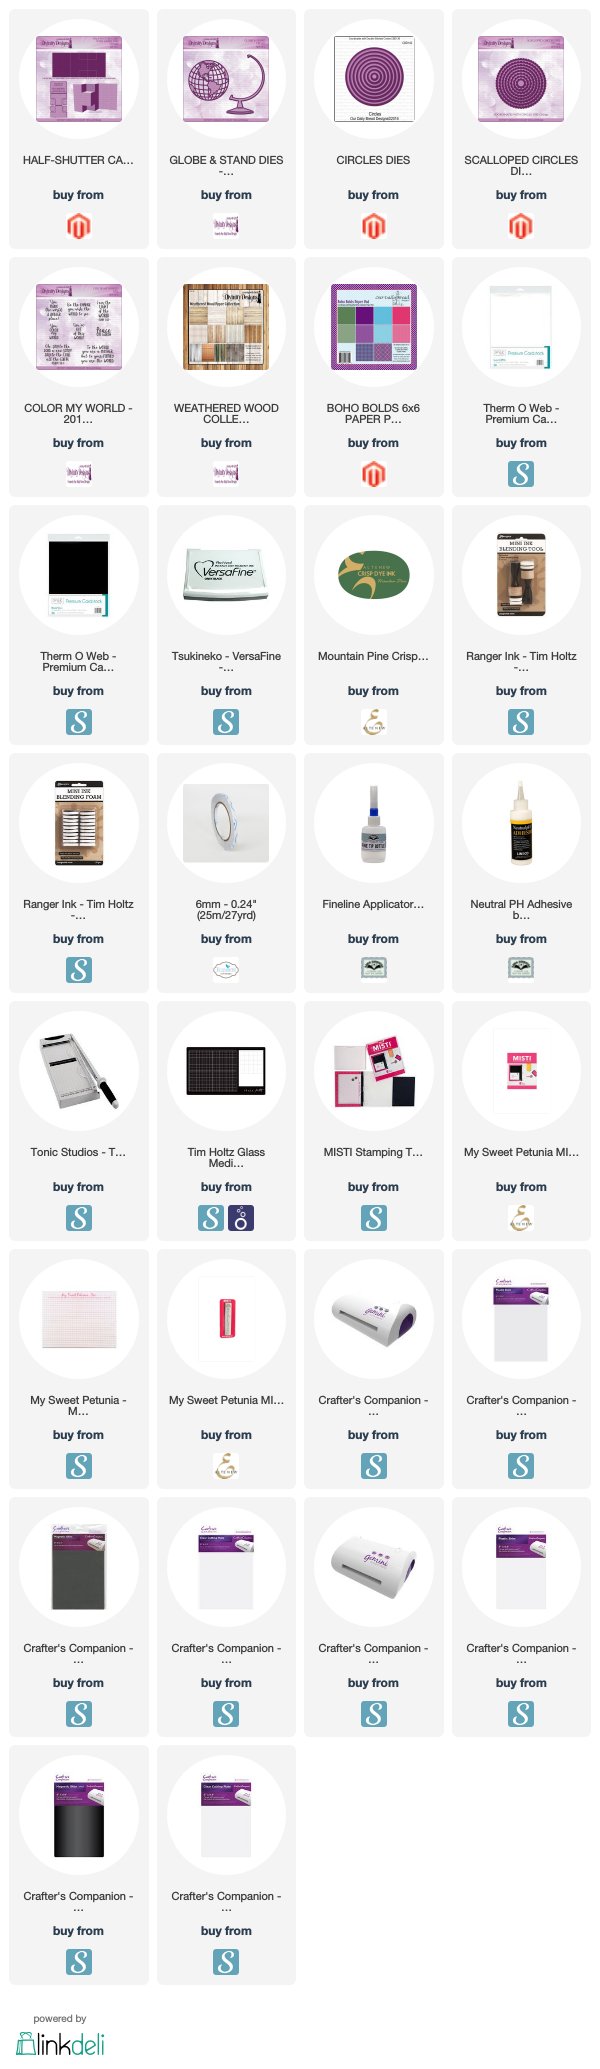
Supplies:
For your shopping convenience, all products are linked below. Compensated affiliate links are used where possible with no extra cost to you. This helps me to continue to share all the projects I include on my blog. Please note I only use and share products I love.