Friday, January 31, 2020

Will You Be My Valentine


Hi Crafty Friends,

Today I am sharing two more Valentine themed projects using some of the new stamps, dies and papers from Divinity Designs January Release.


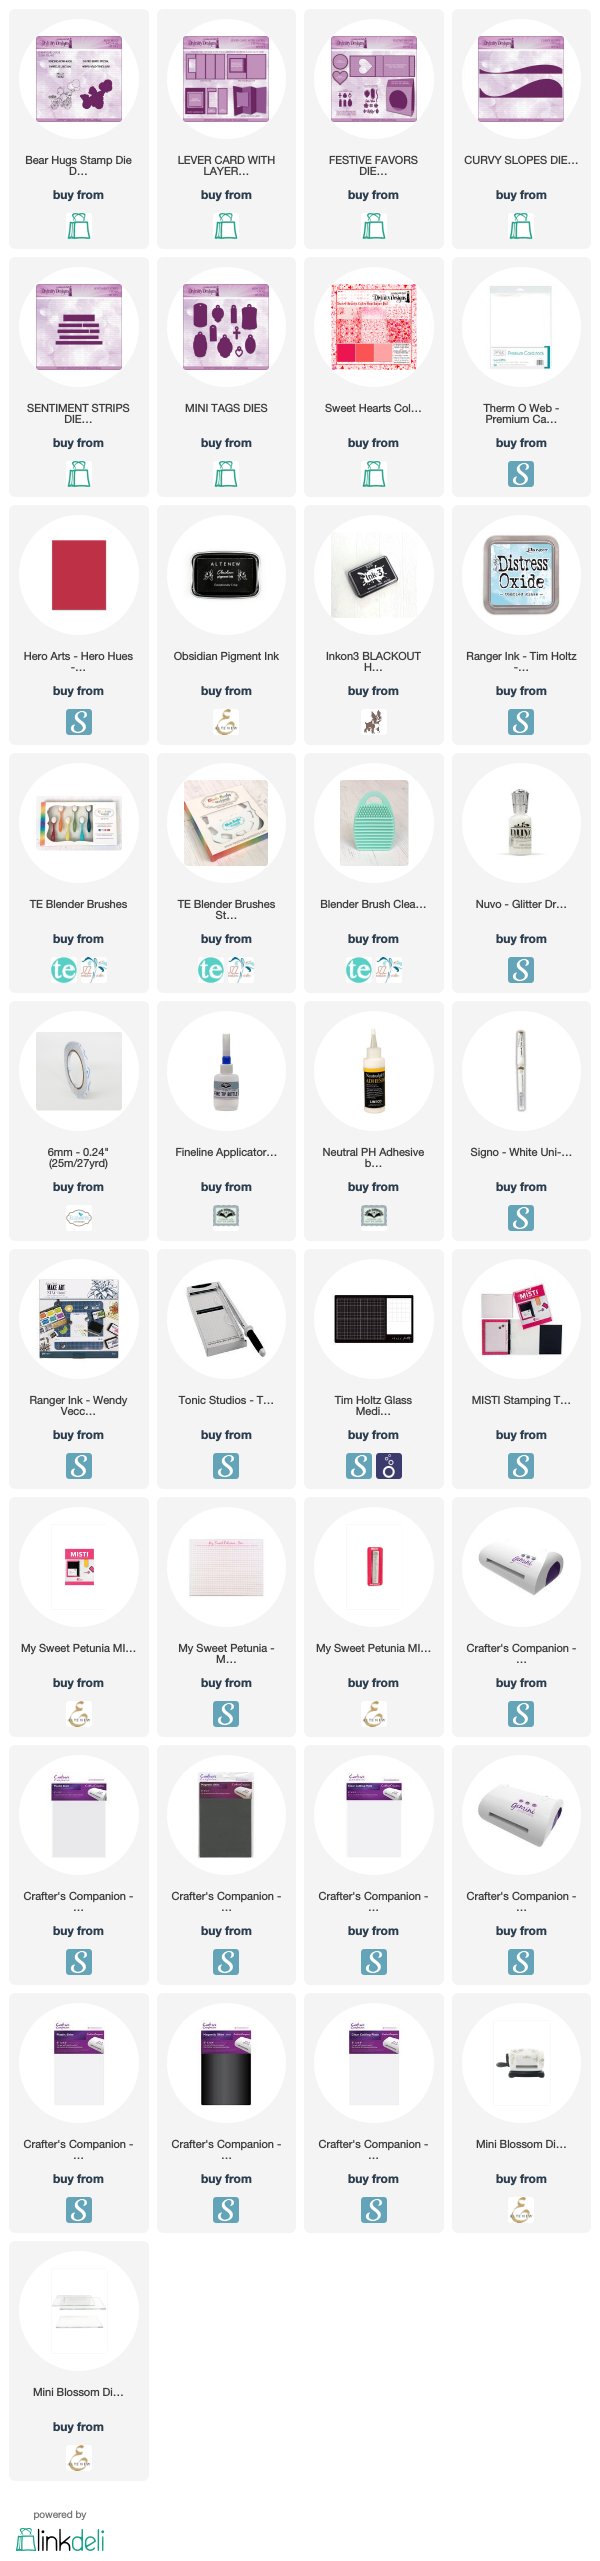
First up, I have a card I created using the new Triple Step Card with Layers die set, I have had lots of fun playing with this die set this month and know it will be used a lot more in the future.

I used papers from the Sweet Hearts Collection Paper Pad for all the layers of the card.


The large hearts were die cut using the heart die included in the Festive Favors die set, die cutting the heart using one of the solid red papers for the Sweet Hearts Collection Paper Pad.

The images and sentiments are from the Somebunny Stamps/Die Duos set. I die cut the sentiments using the dies from the Sentiment Strips die set.


I added another large heart to the centre of the inside of the card and added two more of the sentiments included in the Somebunny Stamp/Die Duos set. The largest sentiment was die cut using a die from the Sentiment Strips die set.

I added three small hearts which were die cut using a heart die from the USA Map die set.


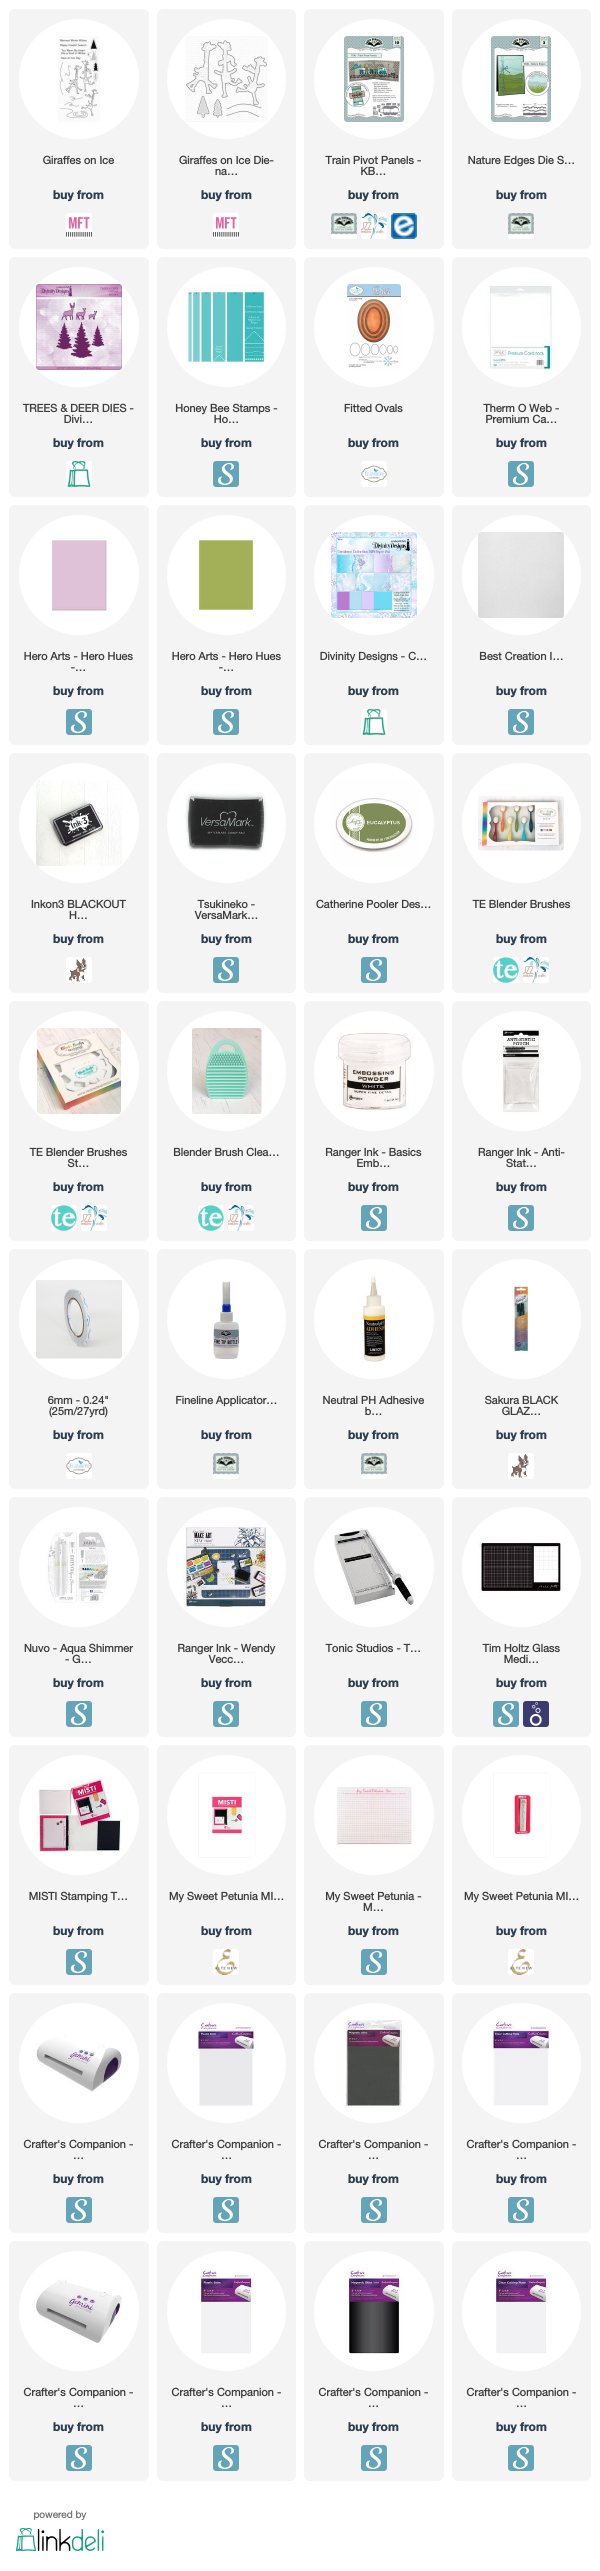
For my second project I created a treat box using Divinity Designs Test Tube Trios die set. 

I used the same papers from the Sweet Hearts Collection Paper Pad that I used on the card above.

I die cut the large heart from the Festive Favors die set. I white embossed the "Will You Be My" sentiment from the Valentine's Day Stamp/Die Duos set and then die cut the "Valentine" sentiment also included in this set, die cutting it three times and layering it.


The sentiments around the lids of the test tubes are also from the Valentine's Day Stamp/Die Duos set. I die cut each of the sentiments using one of the tags from the Mini Tags die set. The Heart charms are also die cut using a die from the Mini Tags die set.
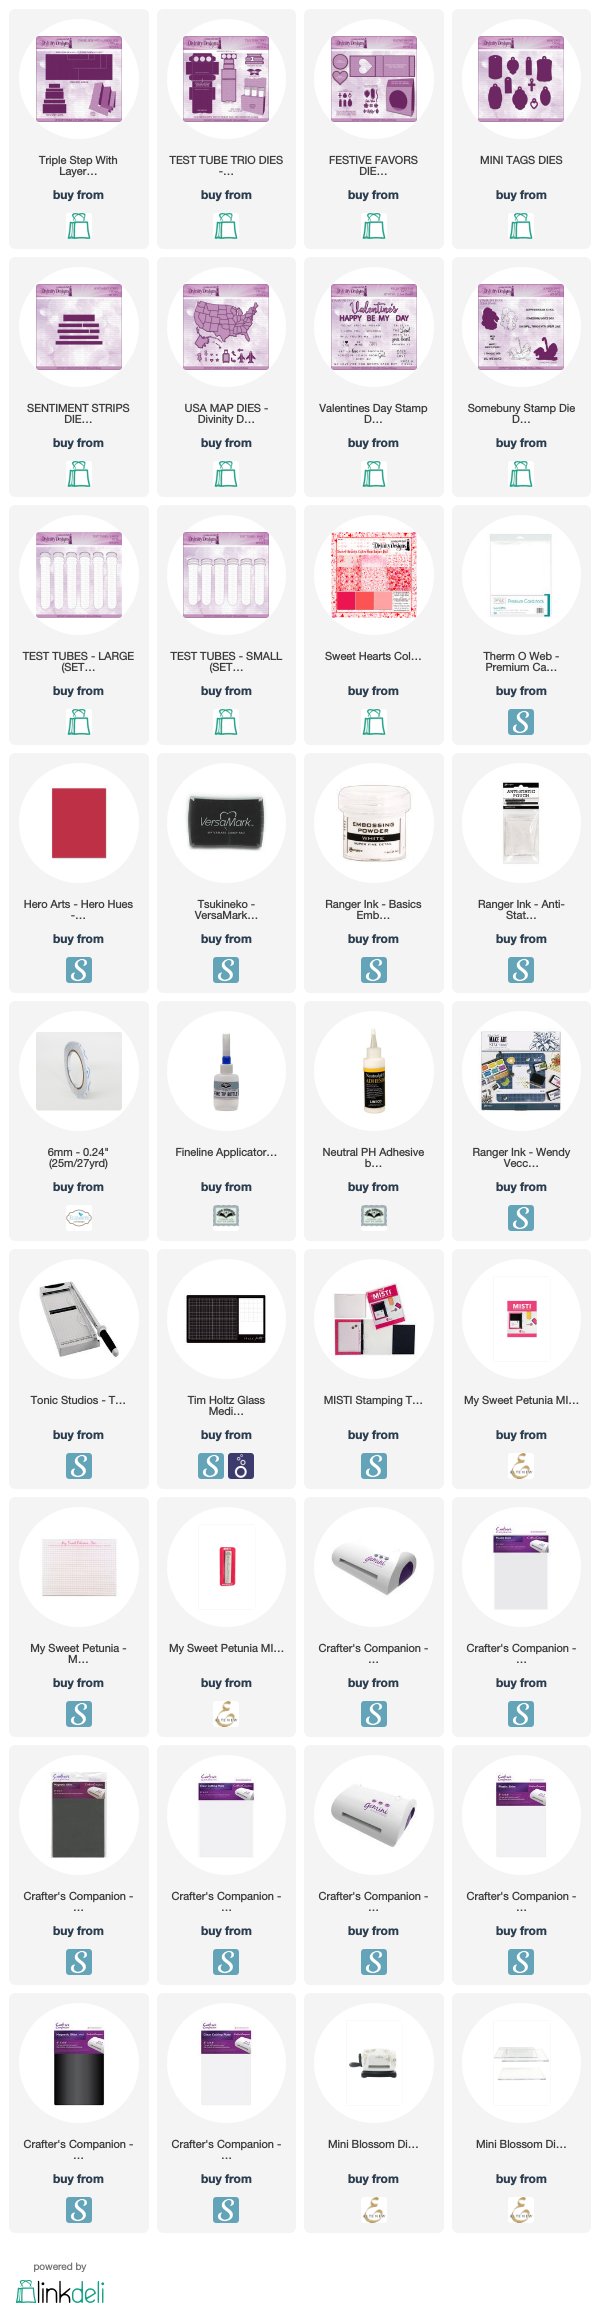
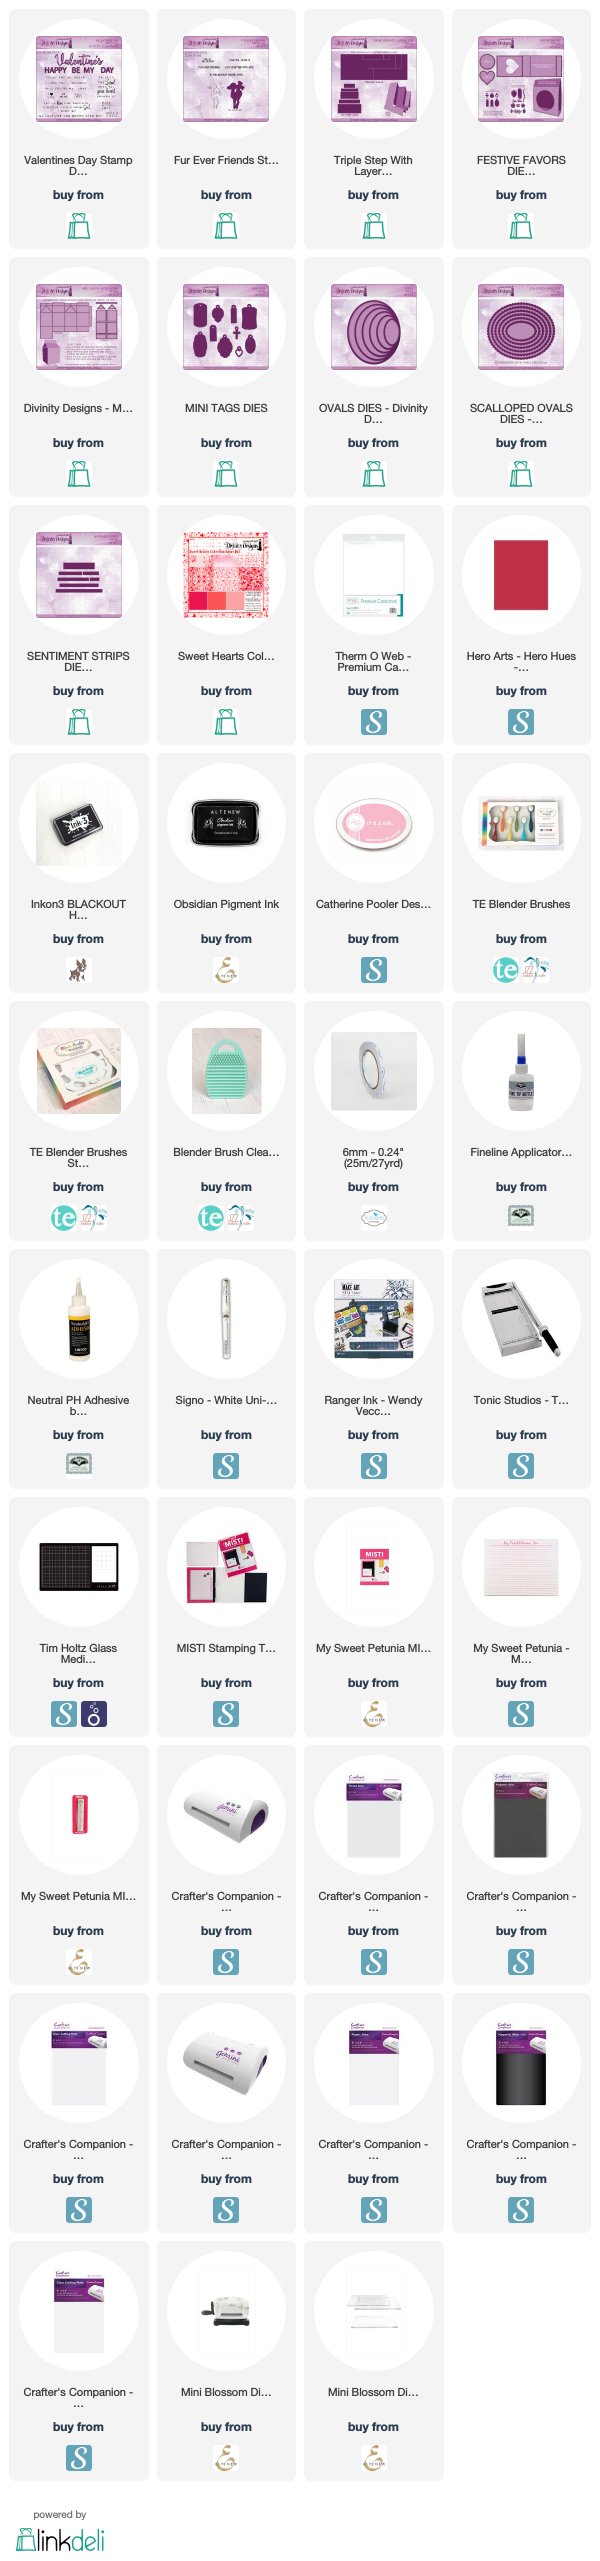
Supplies:
For your shopping convenience, all products are linked below. Compensated affiliate links are used where possible with no extra cost to you. This helps me to continue to share all the projects I include on my blog. For the benefit of my Australia readers, I have started to include some links to Australian stores when available. Please note I only use and share products I love.


Thursday, January 30, 2020

Floating by to Say ....

Hi Crafty Friends,

It's challenge time with my friends over on the CCEE Stampers challenge blog. Lynn McAuley our challenge hostess for the month, finishes off the month with one last challenge.

Apparently this week is International Hot Air Balloon Week, so for our challenge this week Lynn has requested we ... shake the gloom of winter by filling the skies on our cards with bright and colorful hot air balloons. An uplifting and encouraging sentiment would be a perfect pairing for your balloons!


I received Altenew's Baby Balloon stamp set for Christmas from a friends, so of course I had to use that for the challenge this week. This set is a layering stamp set, so besides the outline stamp of the hot air balloon you also get the solid stamps to add color to each of the sections of the hot air balloon. I used Catherine Pooler inks in various colors to create my colorful hot air balloons.

I also created a Double Katherine Label Pop-up using Karen Burniston's Katherine Label Pop-up die set. I assembled the first pop-up as normal, but for the second one the folds all needed to be reversed so I could have that on the other side for the other hot air balloon.


Here is a quick video to see my card in action.


As the focus of the card is on the inside, I kept the front of the card fairly simple. I used the same cloud patterned paper I used on the inside of the card. 

I added the "Hi" sentiment  which is from The Stamp Market. This was die cut from red and blue cardstock and offset slightly. I added the "Floating by to say ..." sentiment onto white cardstock and die cut it using one of the banners from Honey Bee Stamps Banner Builder die set.

I added the bottom portion of a hot air balloon to the top of the card, so it looked like it was flying up, up and away!!!!


Don't forget to check out the CCEE Stampers blog (goes live 12 AM EST) to see the rest of the creations the CCEE Stampers created this week. You can also see more details of their creations on their individual blogs:

Supplies:
For your shopping convenience, all products are linked below. Compensated affiliate links are used where possible with no extra cost to you. This helps me to continue to share all the projects I include on my blog. For the benefit of my Australia readers, I have started to include some links to Australian stores when available. Please note I only use and share products I love.


Wednesday, January 29, 2020

Rebus - Abba Songs


Hi everyone,

It's been a while since I posted a rebus card, as my friends and I who play this together each month had a break during December. But it is fun to be able to dig into my collection of rebus stamps again and figure out what I could do for my rebus postcard for our January theme.

This month the theme is Abba Songs. Sorry if you have a few of these singing in your head all day ;)


If you would like to solve my rebus puzzle, why not post a comment on my blog post with your answers. I will let you know what the correct answers are next time I post a rebus card here.

How did you go solving my November Rebus which was "Names starting with the Letter 'S' ". Here are the correct answers so you can check how you did.

  1. Samantha
  2. Stanley
  3. Sky
  4. Sigfried
  5. Shirley
  6. Saul
  7. Sommer
  8. Saxon
  9. Scarlet
  10. Sue
  11. Steven
  12. Sandy


You can find all my past Rebus Cards here.

Tuesday, January 28, 2020

Fern Birthday Card


Hi Crafty Friends,

I have recently taken advantage of some of the Thanksgiving and Christmas sales to acquire a few of the Bright Rosa die set which are available from Craft Stash. There are a number of fun die sets available and I couldn't resist getting a few of them.

For my card today I have used the Fern Border die set. This die set comes with 16 dies which include ferns, leaves and border edges so you can create an fancy edge on the side of your card. I used the largest fern included in the set to figure out where I wanted the edge to be and then used the coordinating edge die to die cut the edge.

I splattered gold and green ink over the front of the card.

I die cut the largest fern and two of the smaller fern/leaf dies from green and gold cardstock and adhered that to the right edge of the card.


The "Happy" and "Birthday" are from Bright Rosa's Birthday Words die set.


I used a green strip of cardstock to add to the right hand side of the inside of the card. Before adhering to the card, I used Simon Says Stamp's Sketchy Lines Background to stamp a pattern on the panel using green inks.

I added a birthday sentiment from Mama Elephant's Scripty Bday stamp set. and then added the smaller fern to the base of the card.


Supplies:
For your shopping convenience, all products are linked below. Compensated affiliate links are used where possible with no extra cost to you. This helps me to continue to share all the projects I include on my blog. For the benefit of my Australia readers, I have started to include some links to Australian stores when available. Please note I only use and share products I love.


Monday, January 27, 2020

Be My Valentine


Hi Crafty Friends,

Today I am sharing two more Valentine's projects I created using stamps, dies and papers from the  Divinity Designs January release.

This time around I have created a card and treat box which can be used to give to someone for a Valentine gift. Of course if you don't want to give as a Valentine, it is easy enough to change the card so it can be used for another occasion.


First up, my card! For this I used the new Triple Step with Layers die set, I am sure I will be using this die set a lot in the future, it is so much fun!

To decorate the card I used papers from the Sweet Hearts Collection Paper Pad.

The large heart on the left hand panel/step is from the Festive Favors die set.


The die cut and stamped sentiments used on this card are all from the Valentine's Day Stamp/Die Duo set. I die cut the sentiment dies from white cardstock, layering up all of them for extra dimension.

The stamp sentiments were stamped onto tags from the Mini Tags die set. I added the heart tags also from the Mini Tags die set on either side of the sentiment on the large heart.


For the inside of the card, I added another sentiment also from the Valentine's Day Stamp/Die Duos set. This sentiment is actually a long sentiment, but with some careful masking and stamping it is easy to turn it into a two lined sentiment. 

The sentiment was stamped and layered using the Ovals and Scalloped Ovals die sets.


For the treat box, I used the Milk Carton with Layers die set. I used the same papers that I used on the card to decorate all the sides of my box.

I die cut the heart from the Festive Favors die set and added it to the front of the Milk Carton.

The deer and sentiment are from the Fur-Ever Friends Stamp/Die Duos set. I used a die from the Sentiments Strip to cut out the sentiment and layer it over the bottom of the deer.


I used a clip to close the milk carton at the top of the box. To finish off the box I added a heart tags from the Mini Tags die set which is attached to the clip.

Supplies:
For your shopping convenience, all products are linked below. Compensated affiliate links are used where possible with no extra cost to you. This helps me to continue to share all the projects I include on my blog. For the benefit of my Australia readers, I have started to include some links to Australian stores when available. Please note I only use and share products I love.


Sunday, January 26, 2020

G'Day Mate!


G'day Mate and Happy Australia Day for all my Aussie readers.

The last three months have been pretty rough down here in Australia due to the drought and the fires which have been burning almost continuously since November, The fires started in Queensland and New South Wales, but come December and January they had pretty much covered every states. It has been heartbreaking seeing the loss of people, animals,  homes etc. A big thank you to the firies out there who have done their best to keep the fires under control in the most extreme conditions.

As today is Australia Day and I am a proud Aussie, I have an Aussie themed card to share with you today.

I used Paper Rose Studio's Gumleaf Border to create the panel in the left hand side of the card, I backed this panel using woodgrain paper.

I used MFT Stamps Kangaroo Crew Stamp set to create the cute scene in the oval panel.

I added the sentiment using a stamp from Couture Creations.


For the inside of the card I created another scene using the remaining stamps from MFT Stamps Kangaroo Crew. I also added two sentiments from this stamp set.

Supplies:
For your shopping convenience, all products are linked below. Compensated affiliate links are used where possible with no extra cost to you. This helps me to continue to share all the projects I include on my blog. For the benefit of my Australia readers, I have started to include some links to Australian stores when available. Please note I only use and share products I love.


Saturday, January 25, 2020

Cheer Up!


Hi Crafty Friends,

It’s challenge time with the “Crazies” over on the Crazy 4 Challenges blog.  Karen Ostergard our challenge hostess for the month, finishes off her month with one last challenge.

For our challenge this week, Karen has asked us to use ribbon somewhere in our projects.


There was a time some years back, when nearly every card I made had ribbon somewhere on the card ... when adding ribbon to a card was popular. These days I seldom add it, so when I was trying to figure out what to do for this challenge ... I decided the easiest way to add ribbon to something was by adding it to a tag card. 

So for my card today I have created a Circle Tag Pop-up Card using Karen Burniston's Circle Tag Pop-up die set.

To decorate my card, I pulled out some stamps from Craftin' Desert Diva's that I had purchased when they had their closing down sale. I had put the stamps away for Christmas, so can finally start using them. The cute critters are from the Stormy Weather stamp set and the sentiment from the Rainy Days stamp set.


I used some fun rainbow paper from a paper pad from Sunny Studio Stamps.


Here is a close up view of the right hand side of my card.


For the front of my card I created a scene using the base of the tag for the sky. I used the sand/snow border from the Nature Edges die set for the grass. I then added a few more of the images from the Stormy Weather stamp set. The puddle comes from the Rainy Days stamp set.

While I was looking through my ribbon stash, I found some rainbow ribbon which was just perfect to use for this card to coordinate with all the rainbows on the card already.

Don't forget to check out the rest of the “Crazies” cards over on the Crazy 4 Challenges blog and also their individual blogs for more details.


Supplies:
For your shopping convenience, all products are linked below. Compensated affiliate links are used where possible with no extra cost to you. This helps me to continue to share all the projects I include on my blog. For the benefit of my Australia readers, I have started to include some links to Australian stores when available. Please note I only use and share products I love.

Stormy Weather Stamp Set - Craftin' Desert Divas (No Longer in Business)
Rainy Days Stamp Set -  - Craftin' Desert Divas (No Longer in Business)


Friday, January 24, 2020

I Wheelie Like You Valentine Gift Set


Hi Crafty Friends,

Today I have a gift set I created using some of the new products from Divinity Designs January Release. To see the other designers projects, be sure to visit the Divinity Designs Blog.

As many of the new products can be used for Valentine's I decided to make a card and treat bag as a Valentine's gift.


For my card today I created a Lever Card using Divinity Designs Lever Card with Layers die set.

The papers used on the card are from the new Sweet Hearts Collection Paper Pad.


I used the new Bear Hugs Stamp/Die Duos set to add the bear and sentiments to the card. For the centre panel of the card, I added blue ink to the top portion of the square panel and added the grass area using one of the dies from the Curvy Slopes die set.


For the inside of the card I added a couple more sentiments using the Sentiment Strips die set to die cut the sentiments. These were layered using tags from the Mini Tags die set.


For the treat bag I used the Festive Favors die set adding the heart cut out in the front panel. 

I added the bear from the Bear Hugs Stamp/Die Duos set to the lower right hand corner of the card and a sentiment to the top panel.


Here is another look at the Festive Favors treat bag I created.


Supplies:
For your shopping convenience, all products are linked below. Compensated affiliate links are used where possible with no extra cost to you. This helps me to continue to share all the projects I include on my blog. For the benefit of my Australia readers, I have started to include some links to Australian stores when available. Please note I only use and share products I love.


Thursday, January 23, 2020

Have An Ice Day


Hi Crafty Friends,

It's challenge time with my friends over on the CCEE Stampers challenge blog. Lynn McAuley our challenge hostess for the month is continuing to issue the challenges.

Our challenge this week is ... Ice, Ice, Baby, Ice, Ice 
Baby, it's cold outside. Let's see those icy creations!! Add your glitter and shine to make some shimmery winter beauties.


Of course it's not cold down here where I live, however as I had a few new winter themed stamp sets I wanted to play with I enjoyed making this card.

As you can see I have created a pop-up card. To create the multi layered pop-up portion of the card, I used Karen Burniston's Train Pivot Panels die turning the card on it's side to make it into a pop-up. I love when a die set can be used in more ways than it was intended, and this way to use the Train Pivot Panels die set was first shared with us by fellow Design Team member Karen Aicken.

I wanted to use a different color combo than the standard blue sky etc. So for my card today I used Divinity Designs Christmas Collection 2019 Paper Pad, the papers in this pad are suited for both Christmas and winter. 

For the base of the card and the pop-up portion I used white glitter cardstock to represent snow. I added trees throughout my scene using the tree dies from Divinity Designs Trees & Deer die set.

I added the cute skating giraffes using MFT Stamps Giraffes on Ice stamp set.


The sentiment used on the top portion of the card is from MFT Stamps Polar Pals stamp set. I die cut the sentiment using one of the banner dies from Honey Bee Stamps Banner Builders die set.

For the sentiment on the base of the card, I used a sentiment from a freebie stamp I received from a magazine a few years ago. The stamp was designed by Hunkydory for Practical Publishing International Ltd. I have forgotten which magazine it was included in. 


For the front of the card I repeating some of the elements I used on the inside of the card. The snowy hills were created using Karen Burniston's Nature Edges die set.

Don't forget to check out the CCEE Stampers blog (goes live 12 AM EST) to see the rest of the creations the CCEE Stampers created this week. You can also see more details of their creations on their individual blogs:

Supplies:
For your shopping convenience, all products are linked below. Compensated affiliate links are used where possible with no extra cost to you. This helps me to continue to share all the projects I include on my blog. For the benefit of my Australia readers, I have started to include some links to Australian stores when available. Please note I only use and share products I love.

Winter Warmers Stamp Set designed by Hunkydory for Practical Publishing International Ltd.
Polar Pals - MFT Stamps (retired)