Hi Crafty Friends,
It’s challenge time with the “Crazies” over on the Crazy 4 Challenges blog. As challenge hostess for the month, I finish off the month with one last challenge.
Apparently today is Drink Beer Day. So for our challenge today include some form of drink on your card .... Beer, Wine, Martinis, Margaritas, Lemonade, Tea or Coffee it's all up to you
It was a toss up for me whether to use one of the wine themed stamps with interactive dies I had purchased recently or use a beer themed stamp set. As you can see in the end I opted for a beer theme seeing it was Drink Beer Day.
Even though Father's Day was earlier in the month here in Australia, I need to build up my stash so I have a few to give to the kids at Christmas so they can use next year.
The beer mugs were created using The Ton's Beer stamp set with coordinating die. This is a layering stamp which I stamped 4 times to create this card.
I created a pop-up card using the pop-up die from Karen Burniston's Explosion Pop-up die set. I die cut one pop-up panel to the left of the centre of the card and then placed the die to the right of the centre point of the card so I had two pop-up panels sitting side by side.
For the sending beer hugs sentiment on the oval, I combined "sending bear hugs" from Waffle Flowers Be Him Sentiments stamp set and "craft beer" from The Ton's Beer stamp set.
Along the top and bottom edges of the card I used one of the borders from the Stitched Hillside Borders.
For the front of the card, I replicated some of the elements I used on the inside of the card.
Don't forget to check out the rest of the “Crazies” cards over on the Crazy 4 Challenges blog and also their individual blogs for more details.
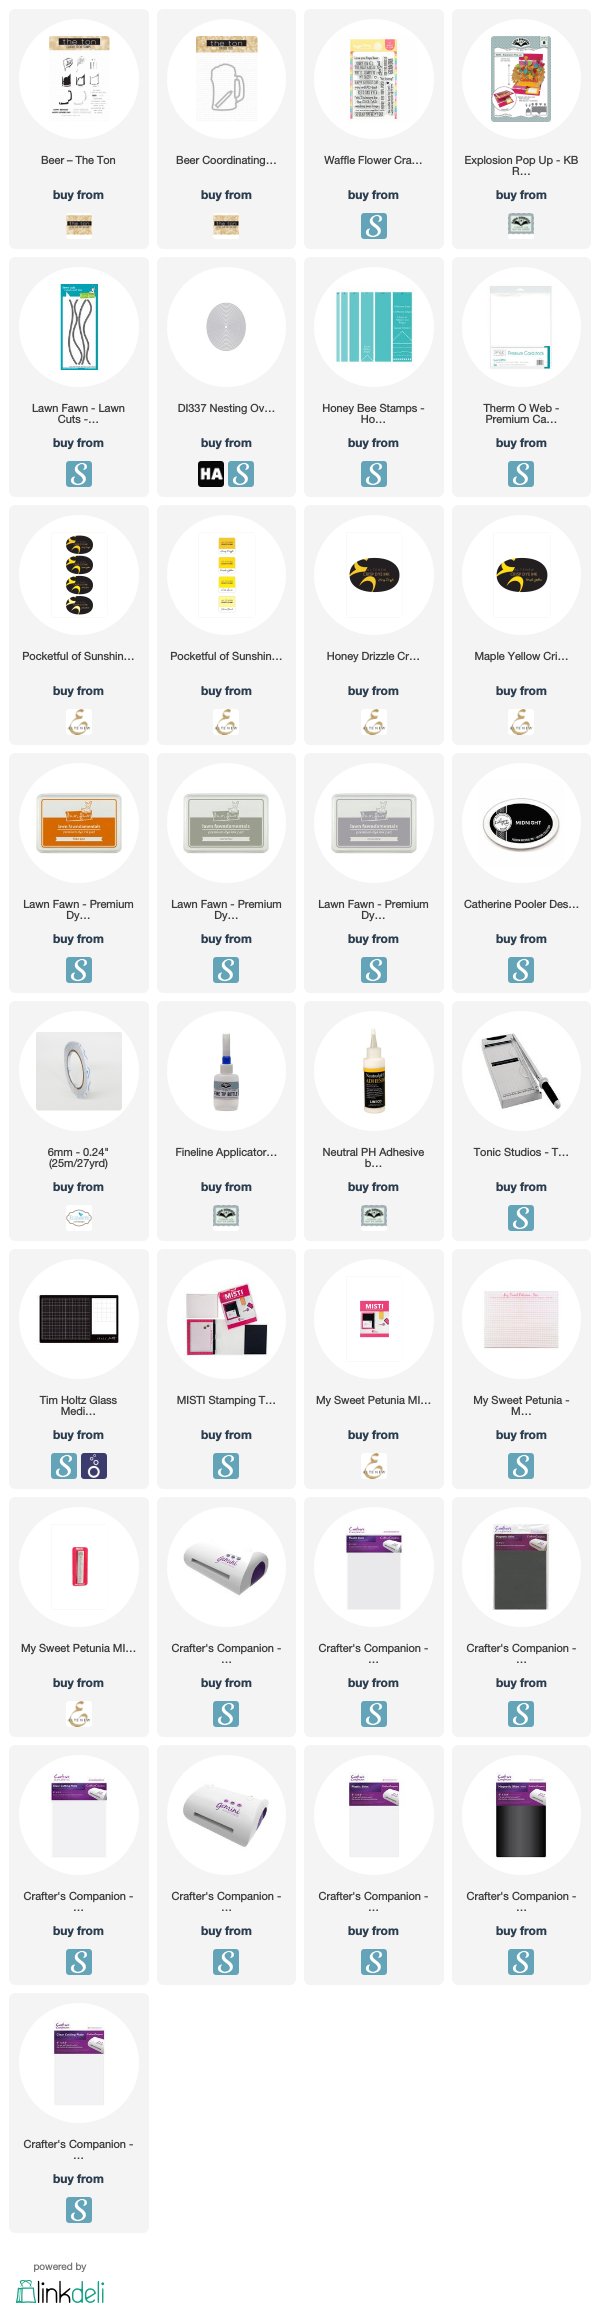
Supplies:
For your shopping convenience, all products are linked below. Compensated affiliate links are used where possible with no extra cost to you. This helps me to continue to share all the projects I include on my blog. For the benefit of my Australia readers, I have started to include some links to Australian stores when available. Please note I only use and share products I love.