Friday, April 29, 2022

Wedding Flourished Gatefold


Hi Crafty Friends,

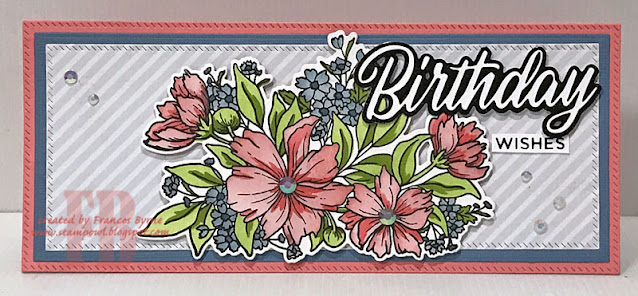
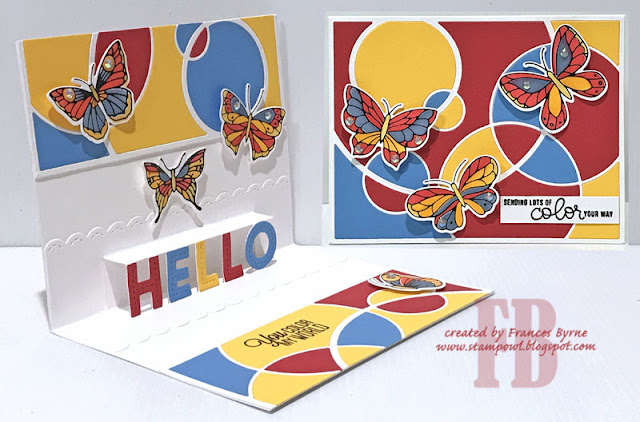
Today I am sharing another Wedding card with coordinating gift card holder and envelope using products from Divinity Designs April Release.


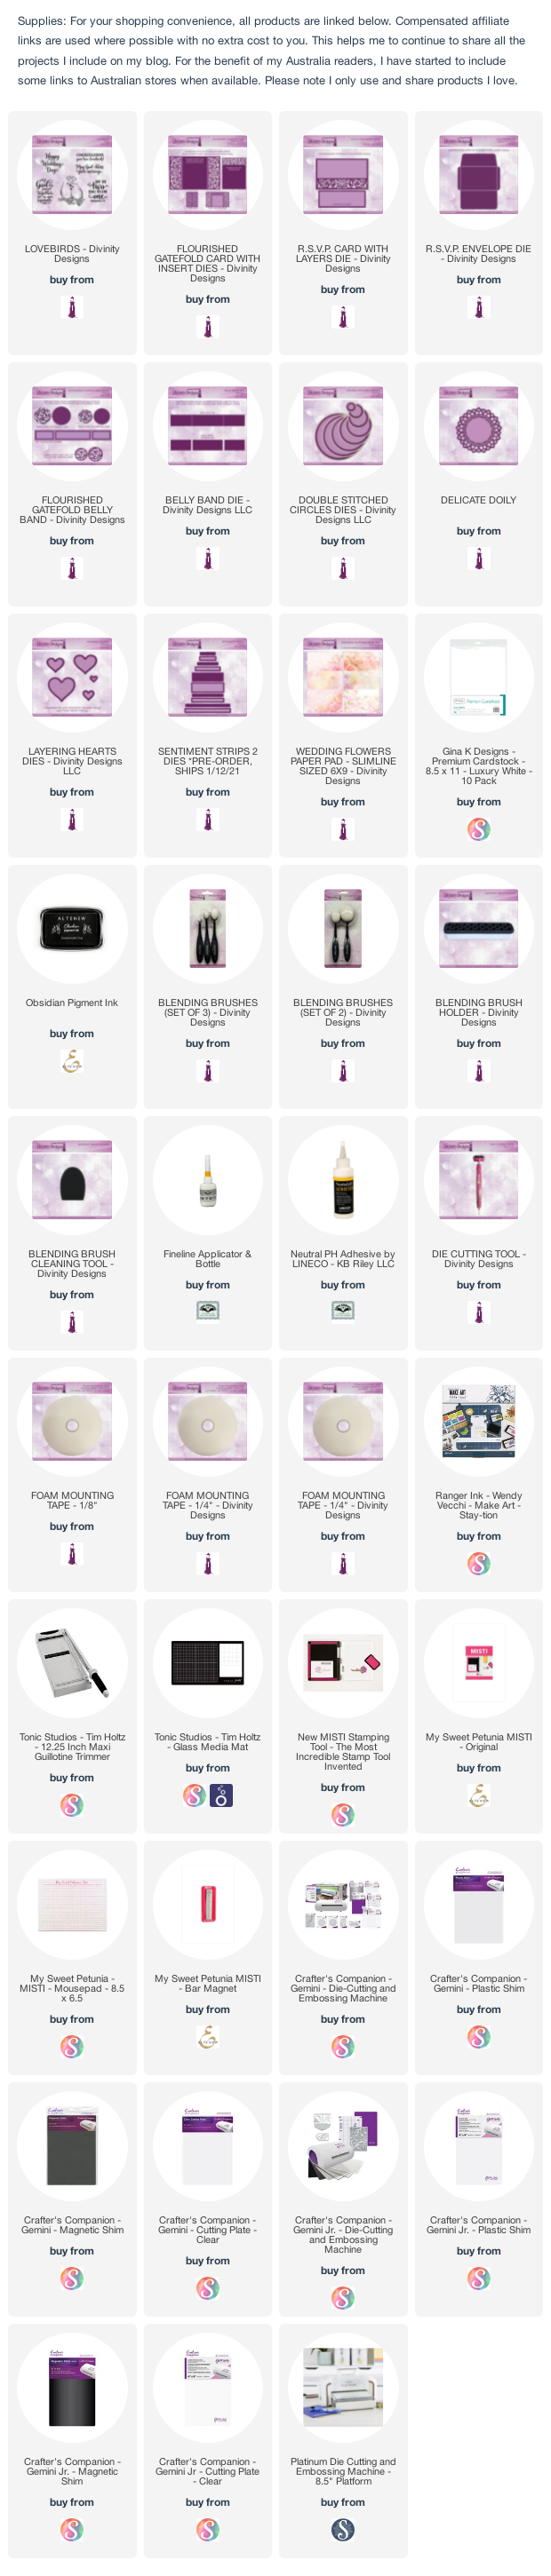
I used papers from the Wedding Flowers Slimline Size Paper Pad to decorate each of the pieces in this collection.


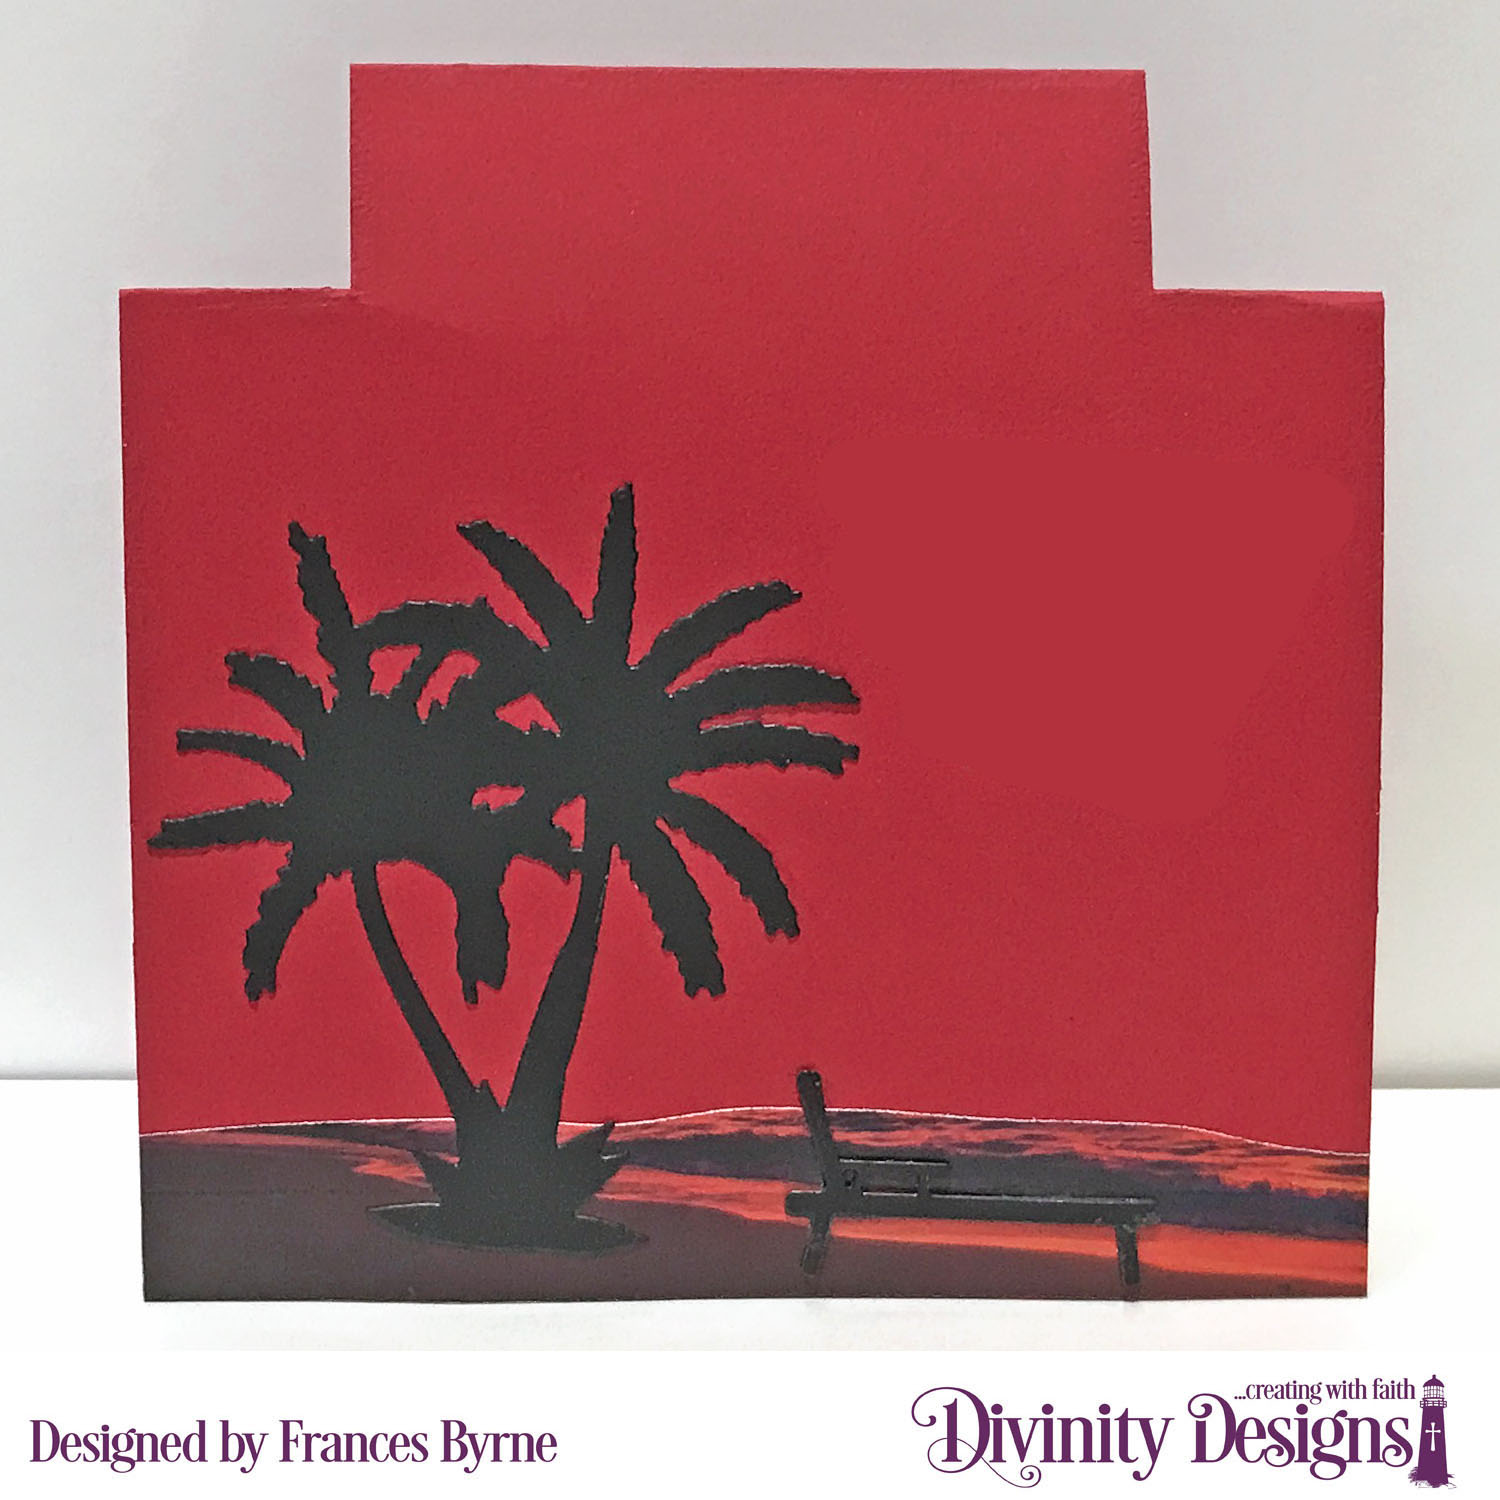
To create the card I used the new Flourish Gatefold Card with Insert die set. I die cut the card base from lavender cardstock. 

To keep the card closed I created a belly band using the Belly Band die set, there is also a new Flourish Gatefold Belly Band which has additional pieces to decorate the front of the belly band.

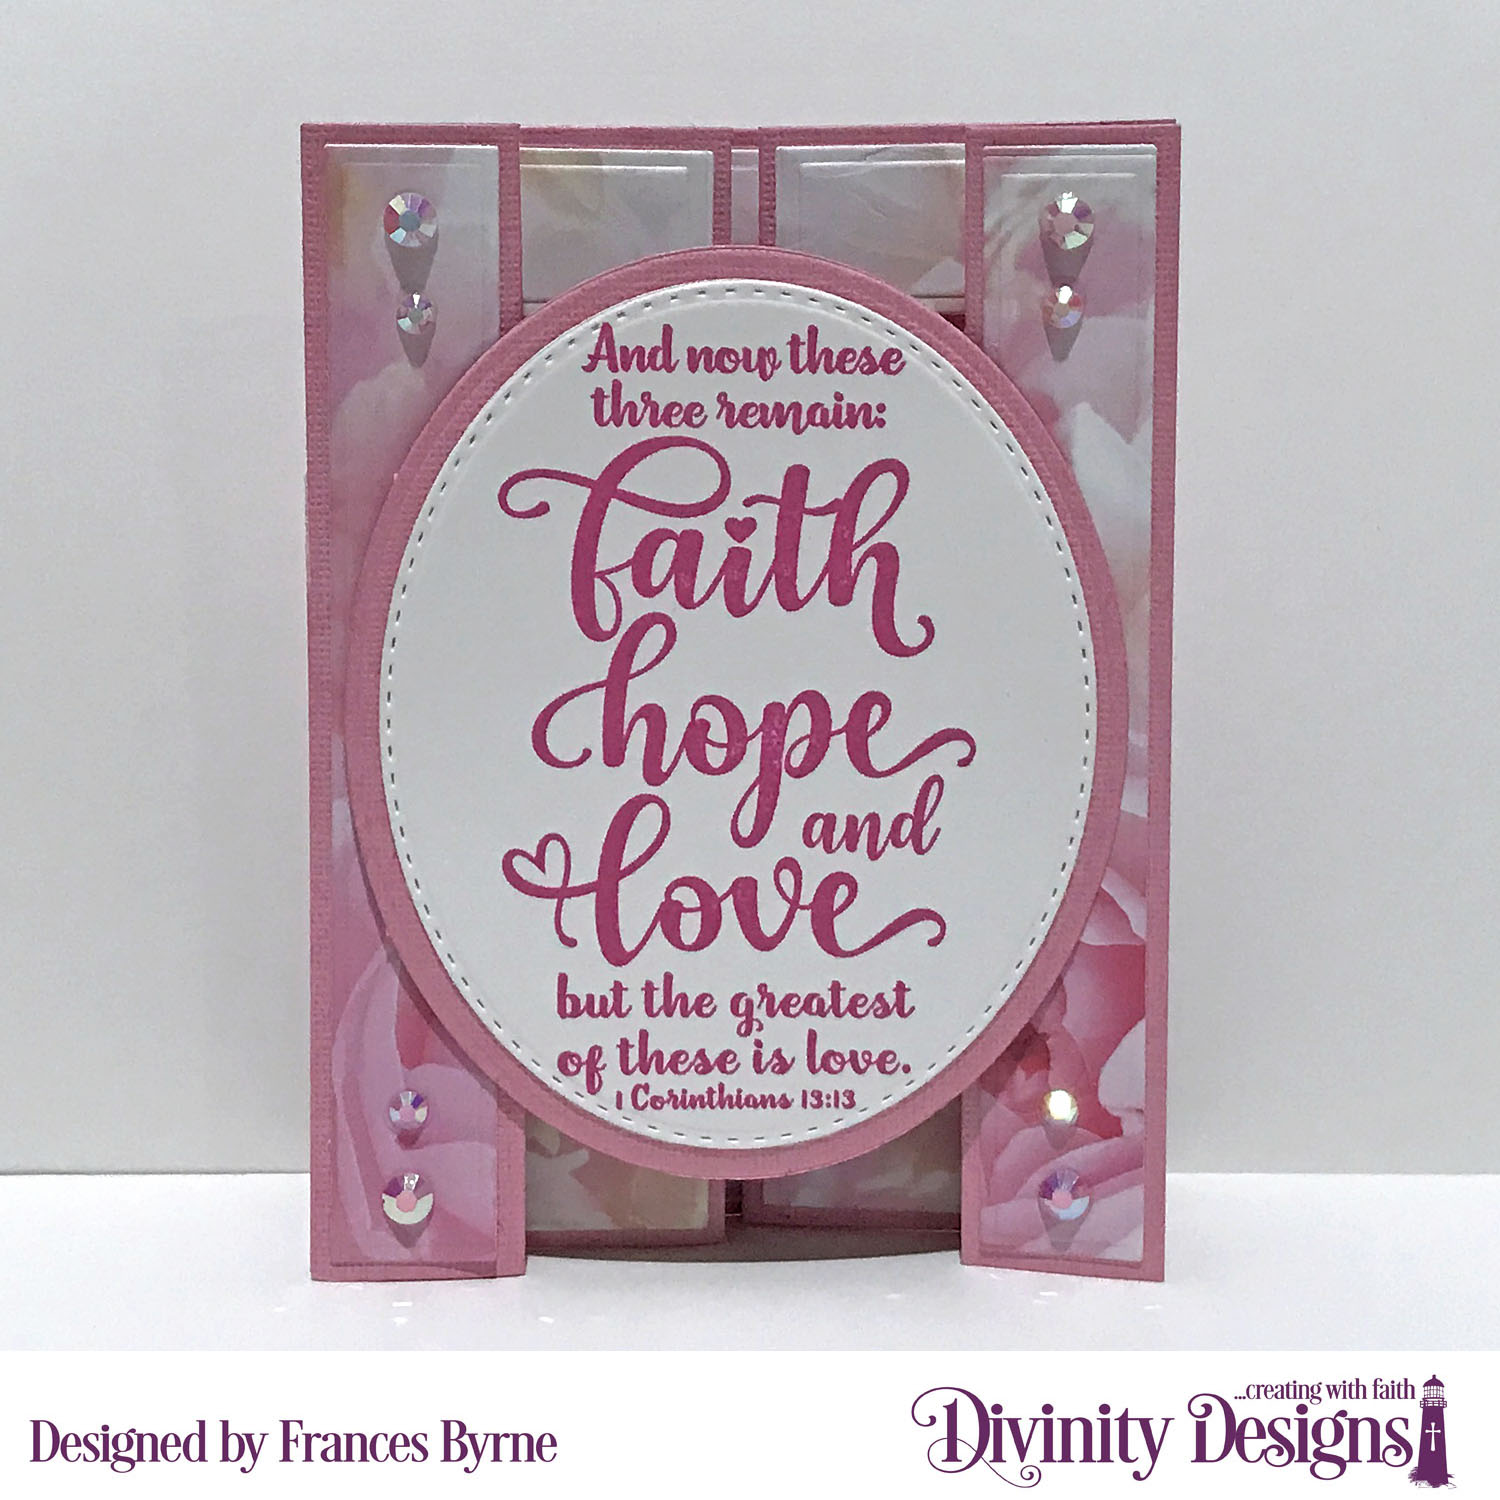
I used the Double Stitched Circles and Delicate Doily dies which I attached to the front of the belly band and added the stamped sentiment using dies from the Lovebirds stamp set.


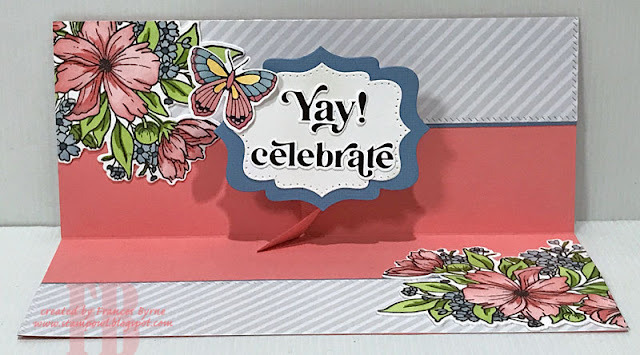
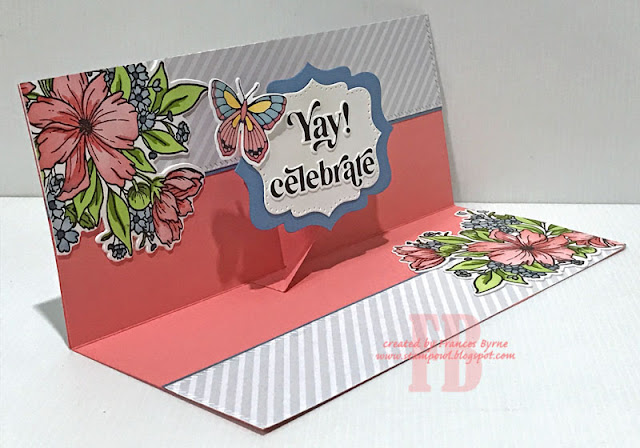
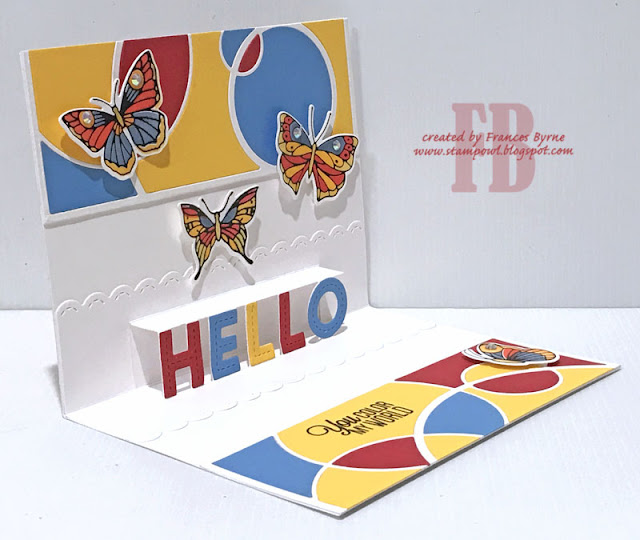
When you remove the "belly band" the card can be opened to reveal the inside of the card. I have added the flourish insert that comes with the Flourish Gatefold Card, die cutting the insert from one of the patterned papers.

I added another of the stamp sentiments that is included in the Lovebirds stamp set.


Gift cards or money are popular gifts these days to give to the happy couple and the RSVP Card with Layer is a fabulous way to present either of these options and simple to create. I used a heart from the Layering Hearts die set to add to the front of the gift card holder and then added the sentiment  using the Sentiment Strip 2 die set to die cut both layers.

I used the RSVP Envelope die to die cut the envelope from matching patterned paper and then added the sentiment using the Double Stitched Circles and Delicate Doily dies for layering.


Thursday, April 28, 2022

Birthday Wishes


Hi Crafty Friends,

It's challenge time with my friends over on the CCEE Stampers challenge blog. Liz Williams our challenge hostess for the month, finishes off the month with one last challenge.

Give us a peek at what you have planted in your spring garden. Feature your favorite blossoms on your creation.


The flowers I used on my card probably aren't my favorite flowers, however Pinkfresh Studio have many wonderful floral stamp sets which are quickly becoming my favourites. As I had a set. sitting on my desk that I hadn't used as yet I decided to use that for my card.

As you can see I created a Slimline Card using Pinkfresh Studios Slimline Diagonal Stitched Rectangles die set. I die cut the striped patterned paper from Trinity Stamps using the smaller stitched rectangle die and then used the two larger ones for the blue and peach layers.

For the flowers I used Pinkfresh Studio's Cosmos Bunch stamp, die and coordinating stencil set. I just love how easy having the stencils make for colouring the images.

For the sentiments, I used the large "Birthday" sentiment using the Brushed Sentiments Hot Foil die set with coordinating dies. I foiled the sentiment using black foil and then used Pinkfresh Studio's Solid Hot Foil Plate to foil the negative foil to get the reverse sentiment. The "Wishes" sentiment is also hot foiled using part of a sentiment plate from Spellbinders Everyday Sentiments 2 Hot Foil Glimmer Plate.

To finish off the front of the card I added pearls to the centre of the two flowers and randomly around the card.


For the inside of my card I created a pop-up card using Karen Burniston's Katherine Labels Pop-up die set. I added patterned paper to the top and bottom edges of the card using the same paper that I used on the front. I die cut the paper using the largest rectangle included in the Slimline Diagonal Stitched Rectangles die set.

I stamps, stencilled and die cut two more flower bunches using the Cosmos Bunches sets. I die cut another panel from white cardstock layering the two together for extra thickness. I then layered the flowers to the top left and bottom right corners.


I used two of the sentiments from the Perfect Sentiments Hot Foil Plate to the pop-up label.

I also used the Small Butterflies Hot Foil Plate with coordinating stencils and die to create the butterfly which I added to the top left corner of the sentiment label.

Don't forget to check out the CCEE Stampers blog (goes live 12 AM EST) to see the rest of the creations the CCEE Stampers created this week. You can also see more details of their creations on their individual blogs:


Wednesday, April 27, 2022

Birthday Gnomes


Hi Crafty Friends,

I have a birthday themed Slimline card to share with your today, using Stampendous' Slim Gnome Birthday stamp.

My slimline card measures 4 inches x 8 /12 inches to allow for the gnome holding the orange "y" balloon. I cut the blue cardstock and green cardstock to size and used my MISTY to stamp the image onto each of the cardstock panels as well as another onto white cardstock. I die cut the green cardstock piece using a grass border from Honey Bee Stamps Horizon Borders die set and adhered it over the blue card panel.

I used my Scan N Cut machine to die cut all the gnomes, balloons etc from the white cardstock panel. After colouring all the images, I adhered the coloured images over the images on the blue/green cardstock panel. This was then adhered to a white top folding slimline card.


For the inside of my card, I die cut another piece of green cardstock using the grass border die.

I stamped the right side of the gnome stamp once more on white cardstock. I cut out the "B" balloon what is not held by a gnome as shown on the front and used that balloon to cover up the "Y" balloon  the gnome in the air is holding so that the word the gnomes make says "BDAY" 

To finish my card I added two sentiments to the left side of the card which are both from MFT Stamps Hanging with my Gnomies stamp set.


Rebus - Songs by The Monkees

Hi Crafty Friends,


It's time to share another rebus puzzle swap with you. This month the theme is "Songs by the Monkees"

If you would like to solve my rebus puzzle, why not post a comment on my blog post with your answers. I will let you know what the correct answers are next time I post a rebus card here.

How did you go solving my March Rebus which was "Books Written by Barbara Cartland.". Here are the correct answers so you can check how you did.

  1. The Penniless Pier
  2. Lucky in Love
  3. Riding in the Sky
  4. Beauty or Brains?
  5. Seek the Stars
  6. A Wish come True
  7. Duel of Hearts

You can find all my past Rebus Cards here.


Tuesday, April 26, 2022

Faith Hope Love


Hi Crafty Friends,

Today I am sharing another wedding themed card using products from Divinity Designs April release.

This time around I have created a Double Display card using Divinity Designs Double Display Card with Layers die set. 


I used papers from the Wedding Flowers Slimline Size Paper Pad to decorate all the layers on this card, this paper is so beautiful!

I used the Faith Hope Love Sentiment which I stamped in pink onto white card and then used the Double Stitched Ovals and Ovals die sets to layer the sentiment to the centre of the front of the card.

I added a little bit of bling to each of the corners of the card.


I added the "Mr & Mrs" sentiment to the centre of the card, which is reveal once the card is opened.


Here is one more photo of the card when it is opened, so you can see the folds in the card a little easier.


Monday, April 25, 2022

Never Stop


Hi Crafty Friends,

I have a Floral Slimline Card to share with you today using mostly stamps and dies from Pinkfresh Studio.

To create my card I used Pinkfresh Studio's Chrysanthemum Slimline Stamp Set with coordinating stencils and dies. I stamped the flower using black ink and then used inks from Catherine Pooler Designs and the coordinating stencils to add the color to the flower. I did use the coordinating die to die cut the flower, but then I decided to fussy cut the image so there was no white areas to be seen.

For the background of my card I used Pinkfresh Studio's Floral Grid Coverplate. I cut a piece of white cardstock slightly larger than I needed and then used the die to die cut the top portion of the cardstock, I then moved the die down to cut the lower portion of the card. I then used a Slimline die from Picket Fence Studios to die cut the panel. I cut a piece of pink cardstock the same size as the white panel and layered these together. Finally I layered the background to a piece of green cardstock and then onto the side folding 3 3/4 inches x 8 3/4 inches slimline card.

I added the chrysanthemum to the left side of background panel using foam tape. 

The "Never Stop" sentiment is also included in the Chrysanthemum Slimline stamp set and used the coordinating die to die cut the sentiment. I layered this to two more die cut layers using the die and adhered it to the top right corner of the card.

For the "Being Awesome" I combined two sentiments from two different Catherine Pooler Designs stamp sets. I white embossed this onto black cardstock and then die cut the sentiment before layering over the lower portion of the flower.

Finally I added some Glacier Jewels randomly around the card.


For the inside of the card, I used the Floral Grid Coverplate die again to create the border along the right edge of my card. I again layered this panel over pink cardstock.

For the sentiment I used Woodware's Ode To You stamp to the left side of the card. I also added the birthday sentiment underneath the long sentiment, this time using a sentiment from a Stampendous stamp set.


Sunday, April 24, 2022

Divinity Designs April 2022 Blessings Box


Hi Crafty Friends,

Divinity Designs has just released the April 2022 Blessings Box which is full of lots of fun new stamps, dies and papers. Today I am sharing three cards I created using some of the products included in the set.


For my first card today I have used the Monstera Layering Combo die set, this die consists of three dies which layer up together to create a beautiful leafy. background. I die cut the pieces from various shades of green cardstock. I then layered the background onto one of the patterned papers from the Tropical Brights Paper Pad which is also included in the Blessings Box.

The background was layered onto a rectangle panel using the Matting Rectangle die set and then onto a top folding A2 Card using the A2 Portrait Card Base with Layer. die set.

I die cut the "Aloha" sentiment using yellow and black cardstock and adhered it to the lower right side of my card.

To finish off my card I added some gold metallic pearls.


For the inside of my card, I added a strip of the patterned paper which I used on the front of my card to the left edge. I added a "thank you" sentiment using one of the sentiments from the Mahola Stamp set also included in the Blessings Box.


Next up I created a Centre Step Card using Divinity Designs Center Step Card with Layers die set. I used papers from the Sunset Skies Slimline Sized Paper Pad for all the layers of my card.


To decorate my card I used the Beach Silhouettes die set which I die cut from black cardstock.

I added a birthday sentiment to the top of my card using one of the sentiments from the Maholo Beach Stamp set.


For the inside of the card I created another scene using some of the dies included in the Beach Silhouettes die set.


For my final card today I created a Floating Frame Front Card using the Floating Frame Front die set along with the A2 Portrait Card Base with Layer and Matting Rectangle die sets.

I used one of the patterned papers from the Tropical Brights Paper Pad to decorate the front of my card.


I used the Mahola stamp set and coordinating die set to add the flowers around the frame of my card.

The sentiment is stamped on the inside of the card but can be seen through the window in the front of the card.


I also added a some flower to the lower right hand corner of my card.


Friday, April 22, 2022

Best Wishes to the New Mr and Mrs


Hi Crafty Friends,

Today I am sharing another wedding themed card I created using products from Divinity Designs April release.

This time around, I created an A2 card using the A2 Portrait Card Base with Layer die set. For the background panel I used the new Pierced Wedding Ring Background which I die cut from purple cardstock. I used the Matting Rectangle die set to die cut the gold layer between the background panel and card base.

I used stamps from the Cheers Stamp set to decorate the front of the card, embossing the image and sentiment using gold embossing powder. This panel was die cut using the Double Stitched Ovals and Ovals die sets. 

To embellish the card I added some heart from the Layering Hearts die set and the bow from the Test Tube Trio die set.


For the inside of the card, I die cut another Pierced Wedding Ring Background from purple cardstock, cut it down and added it to the bottom of my card.

I gold embossed another of the sentiments included in the "Cheers" stamp set. Finally I added a few more hearts using some of the heart dies from the Layering Hearts die set.


Thursday, April 21, 2022

Sending Lots of Color Your Way


Hi Crafty Friends,

It's challenge time with my friends over on the CCEE Stampers challenge blog. Liz Williams our challenge hostess for the month, continues to issue the challenges.

Apparently it’s National Kindergarten Day, so make a card using primary colors and basic shapes. 


For my card today I pulled out a few older dies and stamp sets and mixed them with a new set.

First up I used Simon Says Stamp's Mod Circle Frame die set. I die cut it five times, twice from white cardstock and then one each from red, blue and yellow cardstock. I then adhered the white frames onto white cardstock and filled in the pieces using the red, blue and yellow pieces. I then adhered this panel to a top folding 4 1/4 inches x 5 1/2 inches card base.

For the sentiment I used a "color" themed sentiment using an older Simon Says Stamp Best Ever stamp set. I adhered the sentiment to the lower right hand corner of my card.

I had been playing with Pinkfresh Studio's Small Butterflies Hot Foil Stamp and coordinating die and stencils the day before making this card and as I still had most of them left over, I decided to use for this card. I coloured the butterflies using the red, blue and yellow colour scheme and added them to my card. I also added some of Pinkfresh Studio's Glacier Jewels to the butterflies.


For the inside of my card I used the other white border from when I die cut the front background and added the left over coloured pieces of cardstock into it. I cut this background in half and adhered this to the top and bottom edges of my card.

I haven't used my pop-up dies from Lawn Fawn for a while, so I pulled out their Pop-up Hello die set and added that to the centre of the card. I used the Oliver's ABC's die set to die cut the coloured letters.


I used the rest of the butterflies to decorate the inside panels and then added another "color" themed sentiment, this time one from Kraftin' Kimmie Stamps.

Don't forget to check out the CCEE Stampers blog (goes live 12 AM EST) to see the rest of the creations the CCEE Stampers created this week. You can also see more details of their creations on their individual blogs:


Other Supplies:

Best Ever Stamp Set - Simon Says Stamp (discontinued)


Wednesday, April 20, 2022

Mr and Mrs Gatefold Card


Hi Crafty Friends, 

Today I am sharing another Wedding themed card I created using products from Divinity Designs April release.

For this card I used the new Gatefold Card with Layers die to create the gatefold card base and all the layers. It is so much easier to just die cut papers and cardstock then having to measure and cut by hand! I love my card base dies!!!!

To decorate my card I used the papers from the Wedding Flowers Slimline Size Paper Pad.

The front of the card is also a shaker card. I used the heart dies from the Shaker Heart Frame die set to create the shaker heart adding clear and white sequins inside the heart. The heart is attached to the Belly Band which was die cut using the Belly Band die set, this makes it easy to keep the card shut.

I added the "Mr & Mrs" sentiment using the new Mr & Mrs die set. 


For the inside of the card, I added more of the papers from the Wedding Flowers Slimline Size Paper Pad.

I added the Faith Hop Love Sentiment to the centre of the card.