It's time to share another rebus puzzle swap with you! This month the theme is "Michael Jackson Songs".
If you would like to solve my rebus puzzle, why not post a comment on my blog post with your answers. I will let you know what the correct answers are next time I post a rebus card here.
How did you go solving my August Rebus which was "Books written by Jackie Collins"
Here are the correct answers so you can check how you did.
Today I am playing with another of the dies from the Creative Craft Products Sweet Christmas Collection. These dies are designed to create a fun chocolate holder. I have been using them to make Christmas gift tags with a chocolate inside, but I am also trying to use them all as a stand alone die on a card. For my card today I am using the Frosty the Snowman die set.
To create the background of my card, I used the Flash 5 x 7 Background die which I die cut from teal cardstock, I then adhered the panel onto a panel of cardstock that had double sided adhesive on the front. I then covered the exposed adhesive with Warm Diamond Silk Microfine Glitter. This panel was adhered to a top folding 5 x 7 white card.
I used Lawn Fawn's Stitched Hillside Border dies to create the snow for the bottom of the card.
I used pink and light green cardstock to add the hat and scarf to the snowman. As this set doesn't include arms, I used the antlers from the Rudolph the Reindeer die set to add the arms.
To cover the hole in the tummy where the chocolate would go it made as intend, I added a snowflake wax seal, using green wax beads and a snowflake wax seal I purchased from Amazon.
To finish off the front of the card, I added the "Merry Christmas" from the Made To Surprise Christmas Fun Sentiments stamp set.
For the inside of the card, I added layers using the Creative Craft Products Notched Rectangles die set. I then added a stamped sentiment using one of the sentiments from Made To Surprise's Christmas Sentiments stamp sets included in the Moving Scenes Collection.
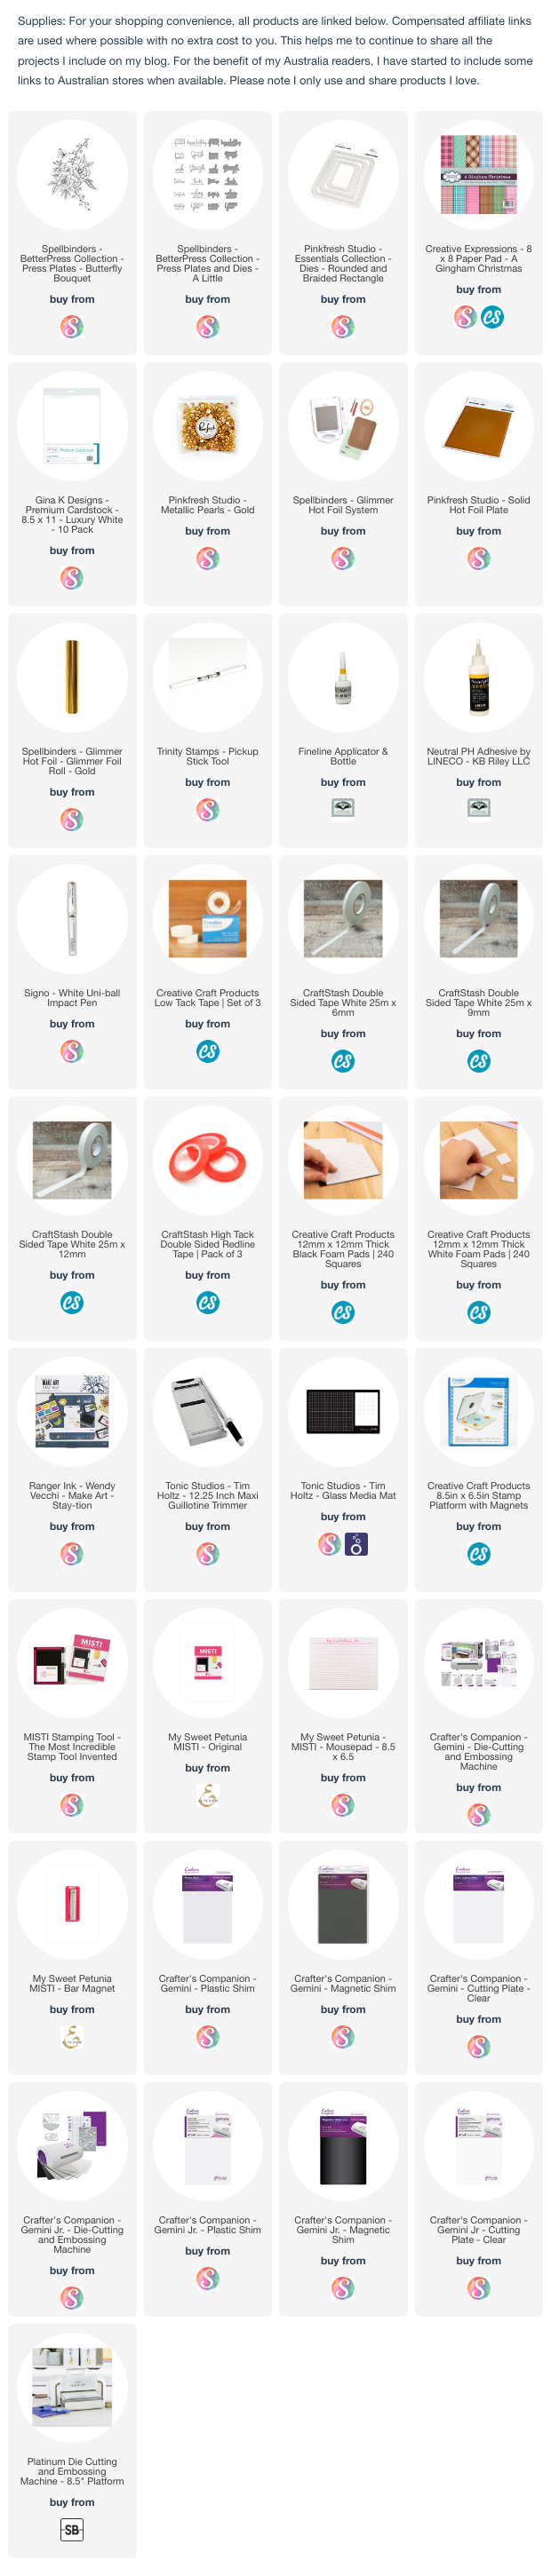
Today I am sharing a card I made using two of Spellbinders Betterpress plates. For this card, rather than use them with the Betterpress System, I decided to foil them instead. That is one of the advantages of the Betterpress plates, they work well for hot foiling.
I started off by foiling the flower image using gold foil. I used a larger piece of cardstock in my foil platform as I wanted to be able to position the image so that I could die cut it using the Pinkfresh Studio's Rounded & Braided Rectangle die set. As I have a larger die cutting machine, it was easy to have a larger piece of cardstock hanging out of my foil platform.
While I was foiling I also foiled some sentiments using the "A Little Message Sentiments" Betterpress set also from Spellbinders. I love using the negative piece of foil with a solid foil plate, which is what I did to get the fold outline with white words for the sentiment.
I mounted my panel onto a 5 x 7 inch card base, adding patterned paper to the background.
To finish off the card, I added gold metallic pearls.
For the inside of my yard, I cut a white panel which I had also gold foiled the flower design. I then added a birthday sentiment using the solid reverse foiled technique to the image.
Today I am sharing a Slimline card I created recently.
For the background of my card, I pulled out Hello Bluebird's Slimline Summer Woods Scene die set. I die cut the background in white cardstock and then coloured the various pieces using Distress Oxide Inks.
To decorate the card, I used Lawn Fawn's New Hay There Hayrides stamp set and the Hay There Hayrides - Mice Stamp set which coordinates with the first set.
I white embossed a sentiment using sentiments included in the stamp set.
For the inside of my card I created a pop-up card. I adhered blue and green cardstock to the base of the card. For the grassy hills, I die cut the green cardstock using Lawn Fawn's Slimline Stitched Hillside Borders die set.
I used the pop-up die included in the Street Lantern Pop-up die set to pop-up the tractor and trailers.
I used a circle die to die cut the yellow sun. I also stamped some birds in the sky using a Made To Surprise stamp set.
Finally I added a sentiment using three of the sentiments included in the Hay There Hayrides stamp set.
Well today is the 25th September, which means it is only 3 months until Christmas ... yikes!
For my card today, I am sharing a Gingerbread Man (or Woman) Double Bridge Fold Card. Sam Calcott shared a tutorial on this style of card a little while ago, you can see her video here.
This card measures 6 inches x 6 inches and the centre portion of the card is 1 inch deep when displayed. However it does fold flat for mailing.
To decorate my card, I pulled out the Gerry the Gingerbread die set from Creative Craft Products Sweet Christmas Collection. I am planning on using all these dies to make Christmas Gift Tags this year, but I am also trying to use them all on a Christmas card if I get the chance.
There is a hole in the Gingerbread Man's belly for a chocolate to be displayed, but as I wasn't using chocolates for this card I covered the hole using a wax seal. For the wax seal I used a Spellbinders Wax Seal Stamp ... Do Not Open! I poured the melted wax in the centre of a shaped mould before stamping the wax seal stamp into the wax to give it a fancy shape. I highlighted the raised portions of the wax seal using a gold metallic pen.
I added the bow that came with the die set to the gingerbread man's head, so I guess this makes this a gingerbread woman.
Finally I added a sentiment, which is a foiled sentiment using Glimmer Foil stamps/dies from Spellbinders.
For the back of the card, I added a white panel so that I could add a sentiment and also have a place to write a personal greeting. I also found that the top bridge on the front, sagged a little until I adhered this panel to the back for added strength. The sentiments used here are from Made To Surprise by Sam Calcott's Christmas Sentiments from the Moving Scenes Collection.
Today I am sharing two cards I created recently using Waffle Flower Crafts Oversized Fruit Stencils & Coordinating dies.
These stencils and dies, can be used to create a variety of fruits.
I created an orange for my first card, using the Oversized Fruit stencils ... I used two of the stencils in the set using a variety of orange inks. Once I had applied the ink, I used a white gel pen to add some detail to the orange. When I googled a sliced orange, I didn't see any images that showed the seeds, so I decided not to add them to this card.
For the sentiment I used one of the sentiments from the Waffle Flower Crafts Fruity Pun Stamp set.
For the inside of my card, I stencilled part of an orange in the lower right hand corner of my card. I also added another of the sentiments from the Fruity Pun stamp set.
Next up, I created a strawberry using both the stencils and dies. I applied red ink around the edges of a piece of red cardstock. I then used the seed stencil to add the seeds of my strawberry, I ended up using the seed die which I die cut from black cardstock and layering over the stencilled seeds. This gives the card a little texture to the touch. I added the stalk to the top of the card, using another of the dies.
I wanted a slightly larger sentiment for this card, so I pulled out an old The Stamps of Life stamp set which is still available (linked below)
Finally I used another of the sentiments from the Stamps of Life stamp set and also the strawberries from the coordinating die set to decorate the inside of my card.
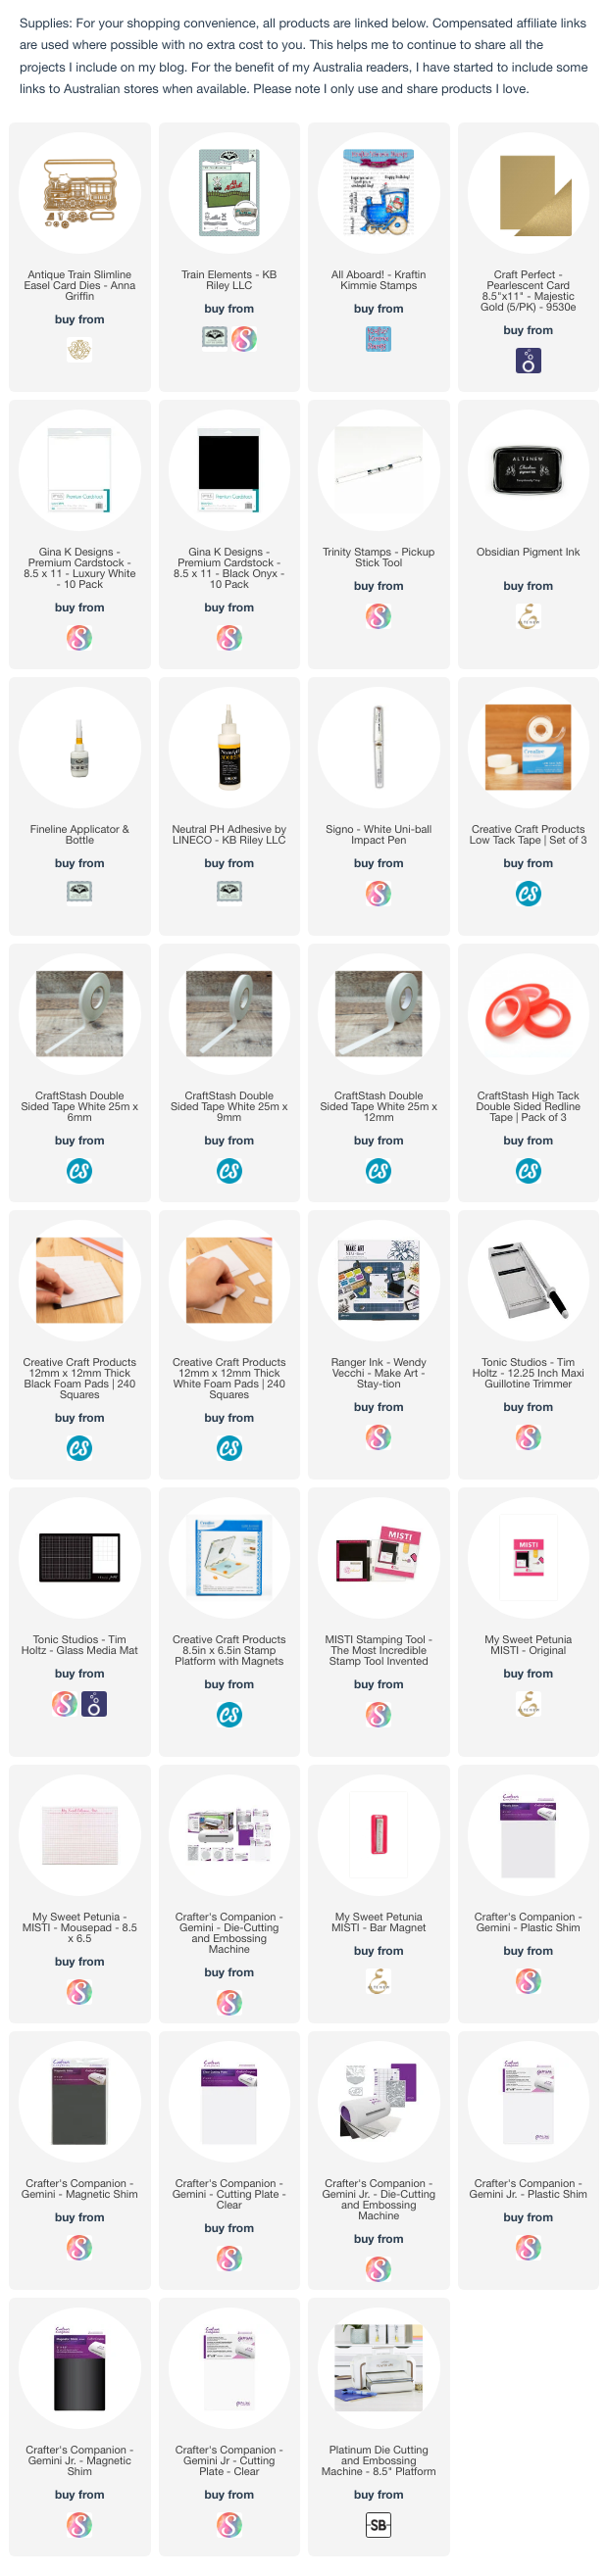
Today I am sharing a Train Easel Card that I created for my husband's birthday. It was such fun to make!
This card uses Anna Griffin's Antique Train Slimline Easel die set. I had been looking for this die set for ages, and unfortunately Anna Griffin doesn't sell to international customers and Scrapbook dot com didn't stock it either. Finally I checked eBay and found a seller there who was selling it new, so I took the opportunity to get it while I could.
I die cut the train from blue pearlescent cardstock and also gold and paper pieced the gold into the holes in the blue train. I die cut the easel portion from a smoky blue cardstock and then covered the base with patterned paper.
I used two stamps from Kanban's Patchwork Pals Grandpa's Trains stamp set, to create the train driver and the boy's face in the carriage.
For the stopper to keep the easel portion of this card upright, I used a Train Track Border Die set from Taylored Expressions.
The train signals and "All Aboard" sentiment, are all from Karen Burniston's Train Elements die set.
I had recently purchased a train wax seal stamp, which I also wanted to use. As it didn't look right on the front of the card, I decided to add it to the base. I can't be seen unless you open the card, but that is ok.
Here is a close up of the wax seal. I'll also add a wax seal to the envelope.
I die cut the train shadow die from white cardstock, so I could add to the back of the card. This gave me a place to stamp a sentiment and also write a personal greeting. I also added two images from the Kanban stamp set that I used on the front of the card.
Other Supplies:
Train Track Border Die Set - Taylored Expressions (discontinued)
Well it's almost the end of September, which means that is only about 6 weeks or so before the end of the school year for my Grandchildren. I have been making Teacher cards all year, but still need a few more, so I was excited when Trinity Stamps released some awesome teacher/school themed stamps and dies recently. I ended up using most of the sets on this card.
One of the products released was the Slimline pencil die set, I love how easy it is to assemble the pieces to make the card.
I was inspired by Kelly Taylor of Kelly Taylor Cards to add the apple to the front of the card. She had done a video tutorial a little while ago and had added it. I wouldn't have thought to try adding the "Influential Teacher" sentiment to the apple, if I hadn't see her card. You can see her video here.
The apple shape was cut, using the outline die included in the Thank You Apple die set.
I added the "A+" to the right side of the apple which is from the Cool Clipboard die set.
For the inside of the card I used Trinity Stamps Simply Sentimental - Teacher stamp set. It's nice to have a new sentiment set. Seeing this is a slimline card, I selected the longest "teacher" sentiment and then added the other sentiments to it.
I used the small pencils from the Cool Clipboard die set to finish off the card.
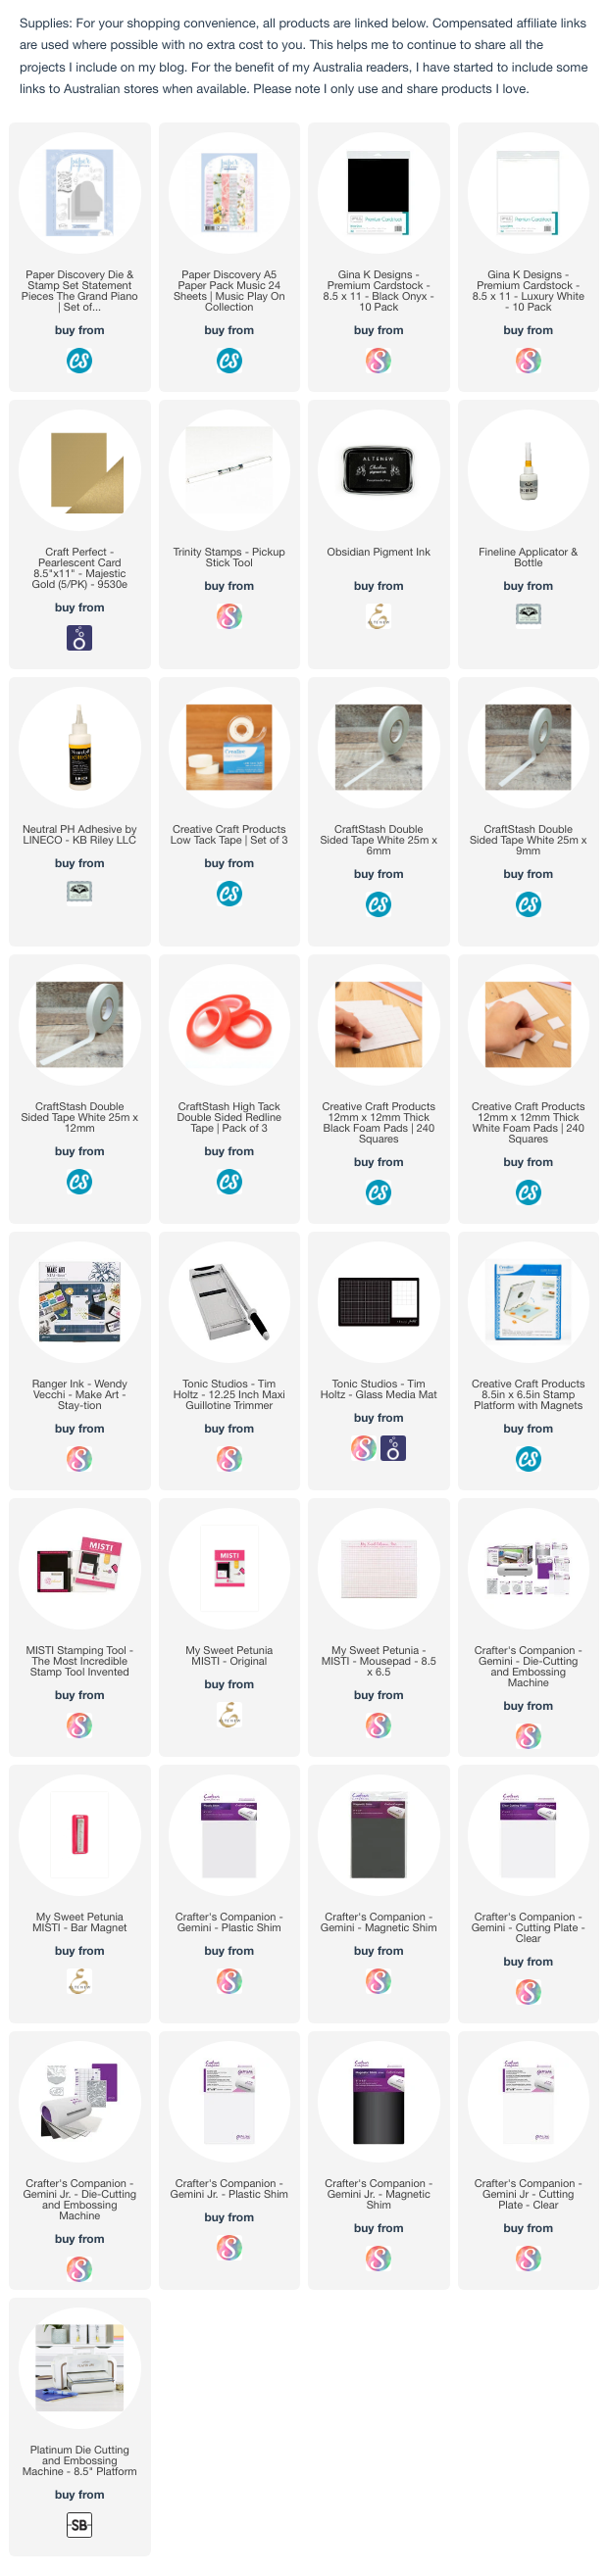
According to the Days of the Year web site, September is National Piano Month. So as you can see, I have created a piano shaped card using Paper Discovery's Grand Piano Die and Stamp set.
This die set includes piano shaped dies in three different sizes and I used all three for this card. The largest die I used to create the side folding white card base. I then die cut the medium sized die from black card and finally the smallest die I also die cut again from black cardstock making it a side folded card.
I decorated the front of the card using some of the stamps and dies included in the die/stamp set.
I added a music themed patterned paper to the inner portion of the black shaped card.
I added some more of the die cut images and stamps to this panel.
For the inside of my card, I pulled out my Poppy Stamps Happy Birthday Melody die set for the Happy Birthday sentiment. I also added a few other of the music themed dies included in the Grand Piano die set.
Welcome to our Karen Burniston Products - KB Riley LLC September Release Blog Hop. The Design Team have come together with Karen today for a fun blog hop to celebrate the release of 9 new dies. Sneak peeks of the new release started last week, and the dies are available to order NOW!
This release includes:
2 new Script Sentiment Die Sets
3 new Border Die Sets
2 new Pop-up Die Sets
1 new Add-on Die Sets
1 stand alone Die Set
Dies are available to order now on the website.
GIVEAWAY:
To celebrate the release Karen Burniston and each of the Karen Burniston - KB Riley LLC Design Team members will be giving away a $25 Gift Certificate to some lucky person who comments on our blog posts, so make sure you join the hop and comment on everyone's blog post. Winners will be randomly chosen from ALL of the blog hop comments received on our blog posts by Monday,25th September 2023. Lots of chances to win some goodies, so just leave a comment on this post or any other blog hop posts to enter! Don't forget to leave some way for us to contact you, in case you are a lucky winner!
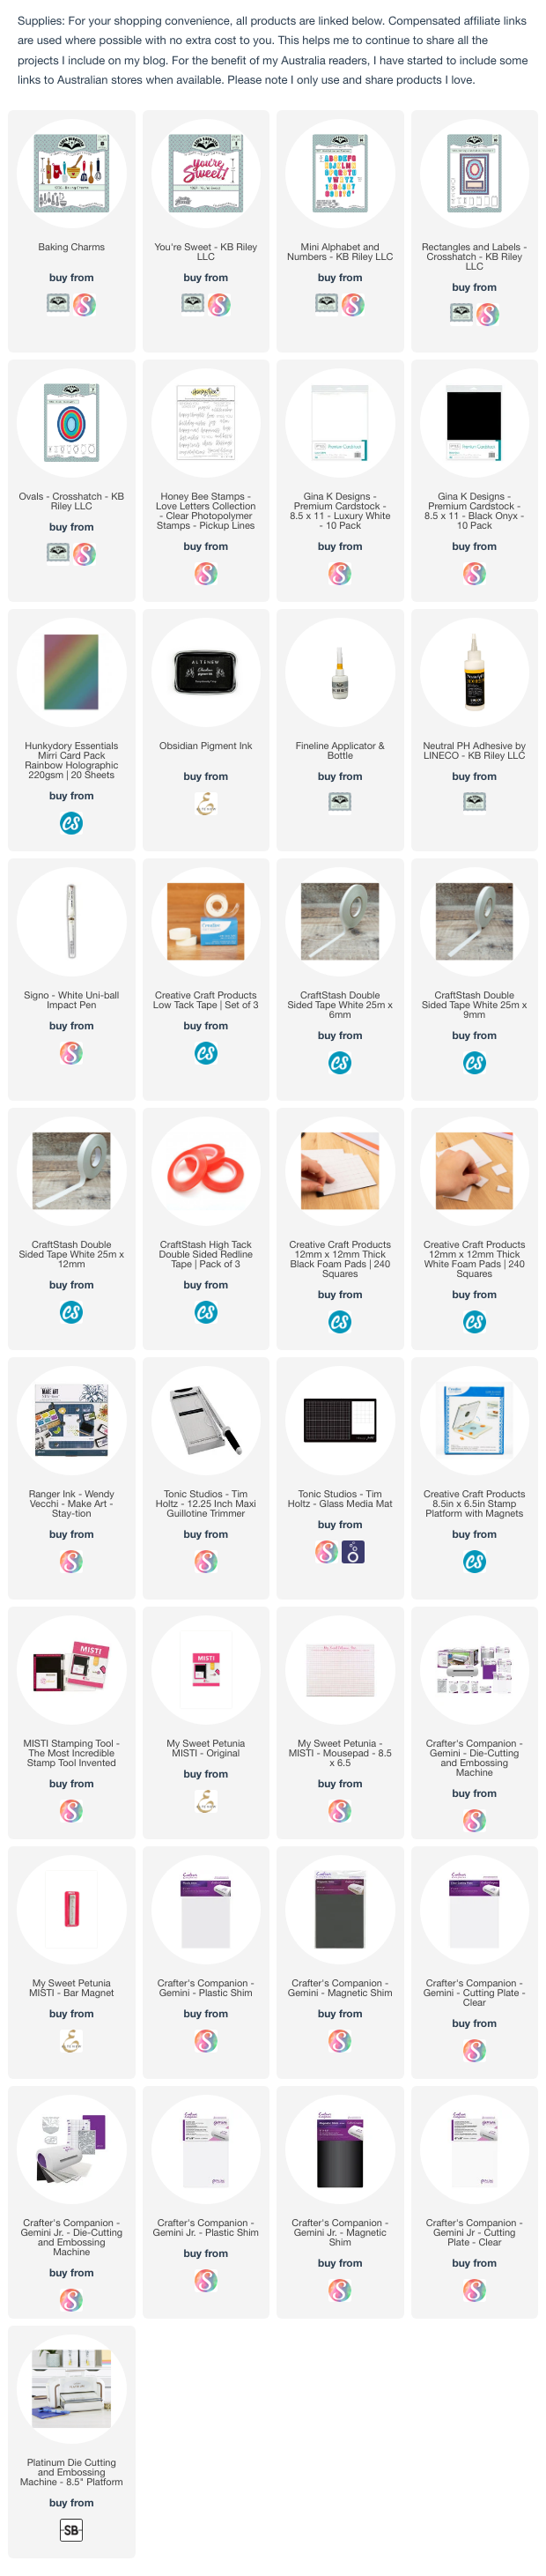
For my card today, I have used the new Oven Pop-up and Oven Extras die set ... I think I used every die in each set. My oven in my home is a large oven with 4 doors, so I decided to see if I could convert the oven pop-up from a one door oven to a two door one ... which as you can see by the photos above, I was able to do.
My card is a 5 x 7 card, which allows plenty of space to add the extra oven.
It was easy enough to make a double oven, I cut one tab off one of the ovens and joined them together with the other. I also cut by hand the piece where the dials are so I didn't have a join in that. You will also need to double up the oven pop-up base, but again that was easy to do.
Here is a quick video to see my card in action.
As you can see in the photo above, the doors of the oven open and close. I have also added some things into the oven which are cooking. All these items are included in the two die sets.
I used the pot die to add to the stove, die cutting two and cutting one down slightly so it was smaller than the other one.
The tiled backsplash and range hood are included in the Oven Extras die set as are the pop-up dies and a number of the food items etc. As I had the extra oven on my card, I used partial die cutting on the tiled backsplash piece to make it longer.
For the sentiment, I used the labels included in the Rectangles & Labels - Crosshatch die set. I added the word "BAKE" to the centre of the label using the Alphabet & Numbers die set and then used a stamp to finish off the sentiment.
As the focus of this card is on the inside, I kept the front of my card fairly simple. I added the ovals using the Ovals - Crosshatch die set. I used the "You're Sweet" die set, cutting off the word "You're" and then added the "birthday wishes" underneath.
I finished off the front of the card, using items from the Baking Charms die set.
Well that's about it from me today, thank you for dropping by. To continue on the blog hop, click on the next person on the list, which is Jennifer Webster
Here is the complete blog hop list in case you need it.