Sunday, May 31, 2020

Rebus - Songs by Rod Stewart


Hi everyone,

It's time to share another rebus puzzle swap with you. This month the theme is Rod Stewart Songs.

If you would like to solve my rebus puzzle, why not post a comment on my blog post with your answers. I will let you know what the correct answers are next time I post a rebus card here.

How did you go solving my February Rebus which was "Books Written by Peter Watt". Here are the correct answers so you can check how you did.

  1. To Ride The Wind
  2. Beneath The Rising Sun
  3. And Fire Falls
  4. From The Stars Above
  5. While The Moon Burns
  6. The Stone Dragon


You can find all my past Rebus Cards here.

Saturday, May 30, 2020

To Gnome You Is To Love You


Hi Crafty Friends,

It’s challenge time with the “Crazies” over on the Crazy 4 Challenges blog. As challenge hostess for the month I finish off the month with one last challenge.

Gnomes seem to have become very popular over the past 6 to 12 months with so many fun stamps, dies and papers being released. Create a card today that features a gnome.


As you can see I created a Slimline card using Trinity Stamps Slimline Stitched Card Panels and Windows die set.

I created the grass layers using Lawn Fawn's Grassy Hillside Borders die set.

To decorate my card I used MFT Stamps Hanging with my Gnomies stamp set and the Gnome Place Like Home Die-namics.


For the inside of the card I added grassy panels to the lower portion of the card. I also added a few more images from the Hanging with my Gnomies stamp set.

I created a pop-up card to the upper portion of the card using Karen Burniston's Katherine Label Pop-up and the Paper Frames Pop-up die set for the label.

Don't forget to check out the rest of the “Crazies” cards over on the Crazy 4 Challenges blog and also their individual blogs for more details.


Supplies:
For your shopping convenience, all products are linked below. Compensated affiliate links are used where possible with no extra cost to you. This helps me to continue to share all the projects I include on my blog. For the benefit of my Australia readers, I have started to include some links to Australian stores when available. Please note I only use and share products I love.


Friday, May 29, 2020

Divinity Designs - May Release


Hi Crafty Friends,

Today I am sharing five projects I created using new stamps and dies from Divinity Designs May Release.  For more inspiration using the May Release, and to see the other designers projects, be sure to visit the Divinity Designs Blog.

This month Divinity Designs are releasing one stamp set, one stamp/dies duos set, five die sets and one paper pad.

It's been a while since I have been able to join in with a release as the mail to Australia has been slow due to border closures. Fortunately my May release parcel arrived in plenty of time for me to create with all the wonderful new products.


For my first card today I have created a baby themed card using the new Stair Step Pop Out with Layers die set. This die has been designed to be placed inside a A2 card. I have made a number of this style of card in the past, but they have all been just the stair step portion only. I like they this one can be placed inside a card.

I used Divinity Designs Baby Girl Collection Paper Pad to decorate my card.

All the baby elements are from the Baby Blessings die set. I added the letters G; I; R; L to the four blocks in the centre of the card using the new Alphabet Caps die set. 

The welcome baby sentiment is layered using the Ovals and Scalloped Ovals die sets.


I used the A2 Landscape Card Base with Layers die set to add my stair step pop out into. To decorate the front of the card I used the onesie from the Baby Blessings die set which was layered using the Ovals and Scalloped Ovals die set.


Two of the new dies being release for this month are dies that can be used with the Couture Collection die set that was release last year. The card above uses the Everyday Shirt die set in conjunction with the shirt card base die included in the Couture Collection die set.

For this card I used one of the fun papers included in the Cool and Casual Paper Pad which includes some fun patterns that work perfectly to create men's shirts.


For the inside of the card I used one of the father's day sentiments included in the Best Dad Ever Stamp set and the "Grandfather" sentiment from the Family Names 1 die set.


My second shirt card today uses the new Shirt Jacket die set along with the card base die included in the Couture Collection die set.

I decided to create a brown suit with a striped shirt using papers from the Fall Favorites Paper Collection.


I added a sentiment to the inside of this card using a sentiment from the Best Dad Ever stamp set. This was layered using the Double Stitched Ovals and Ovals die set on cream cardstock.


My last two cards use the new Stitched Starburst die set. As I had leftover papers after making one of the cards, I decided to make a second one.


For both my starburst cards I used papers from the Birthday Brights and Fall Favorites Paper Collections. I die cut two patterned papers (stripes and dots) and then the coordinating plain color from each of the paper pads.

I layered both cards onto an A2 Landscape Top Folding card using Divinity Designs A2 Landscape Card Base with Layers die set.

The sentiments used on these cards is from the Ray of Sunshine stamp set.


I kept the inside of my card simple, just using the layering die included in the A2 Landscape Card Base with Layers die set and adding another sentiment from the Ray of Sunshine stamp set.


My second starburst card is the same as my first card, just using the leftover striped and dot papers I used on the first card. I also stamped another of the sentiments included in the Ray of Sunshine stamp set.


And finally the inside of my final card which uses one more sentiment from the Ray of Sunshine stamp set.
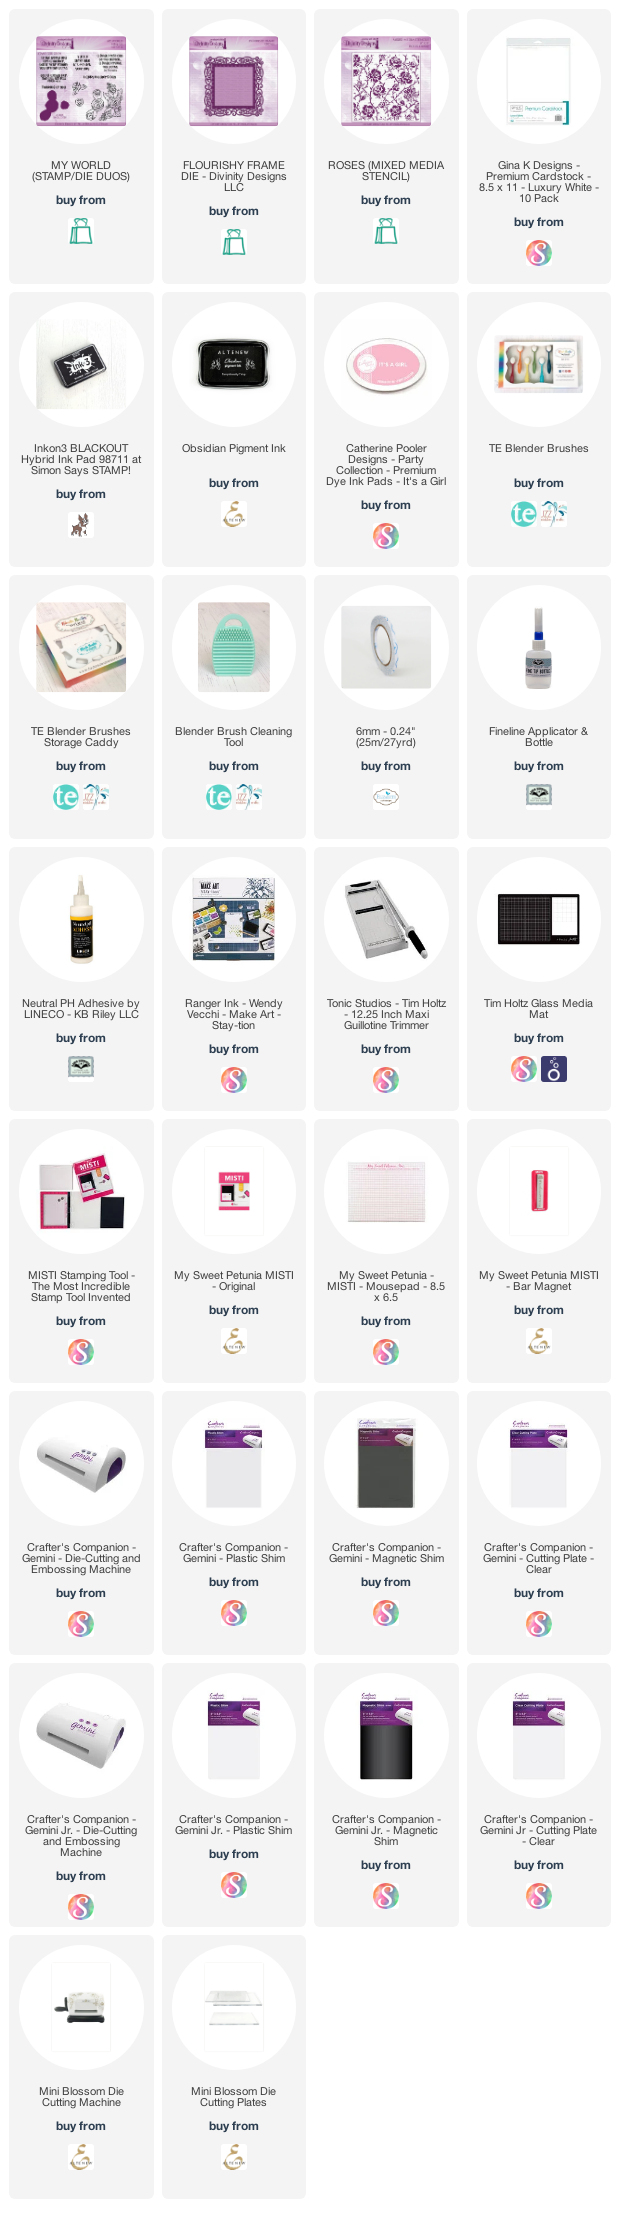
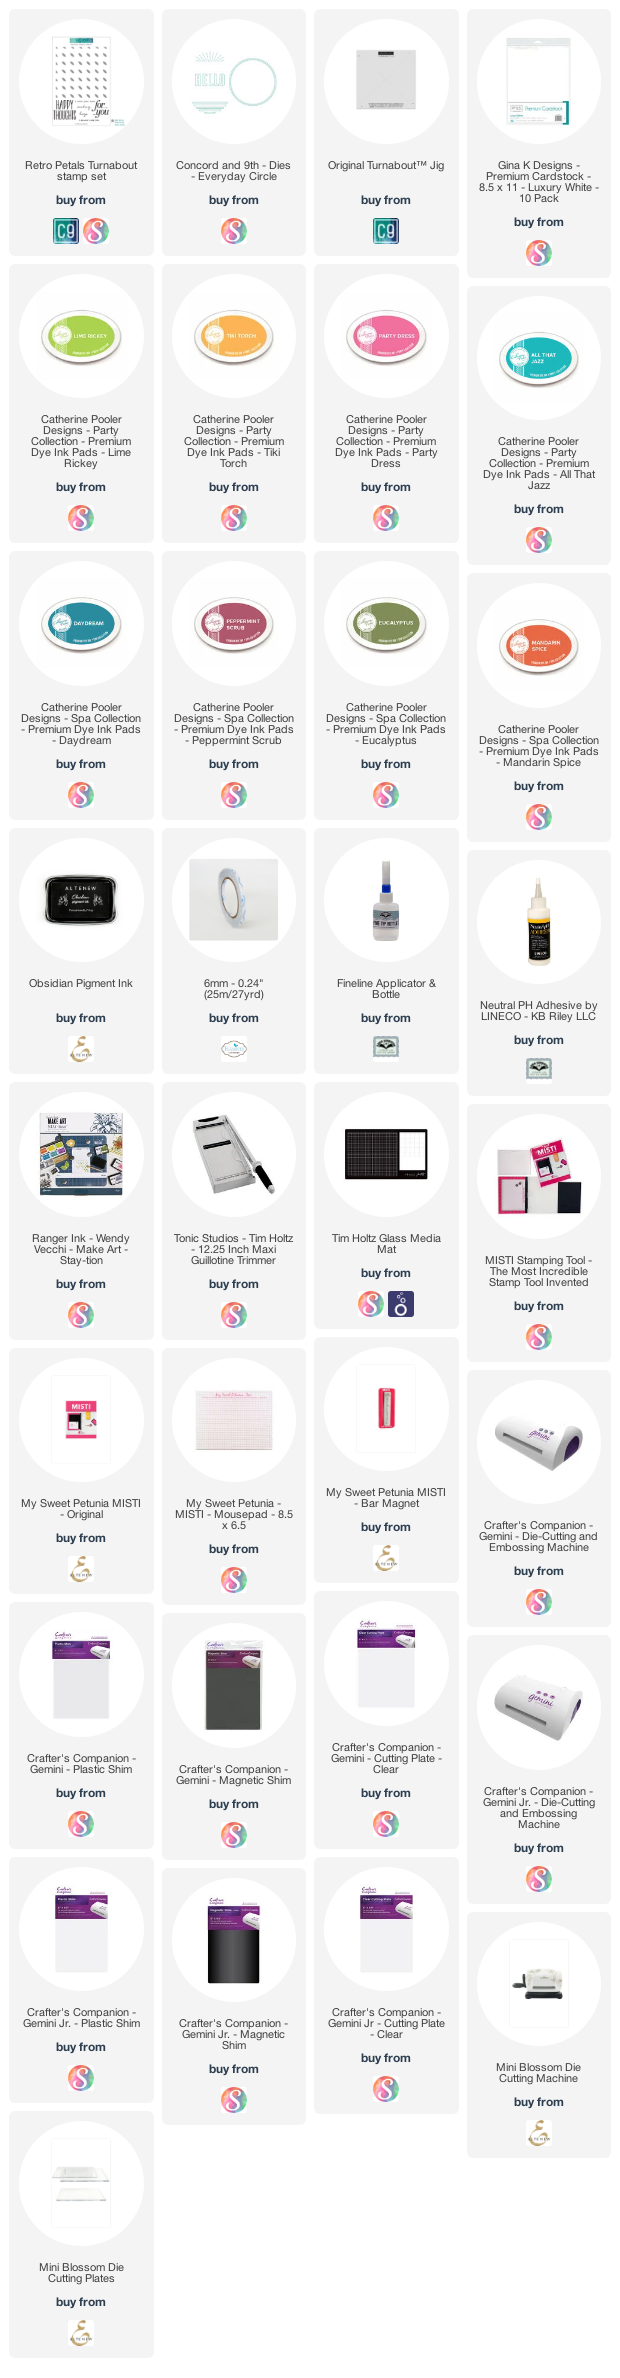
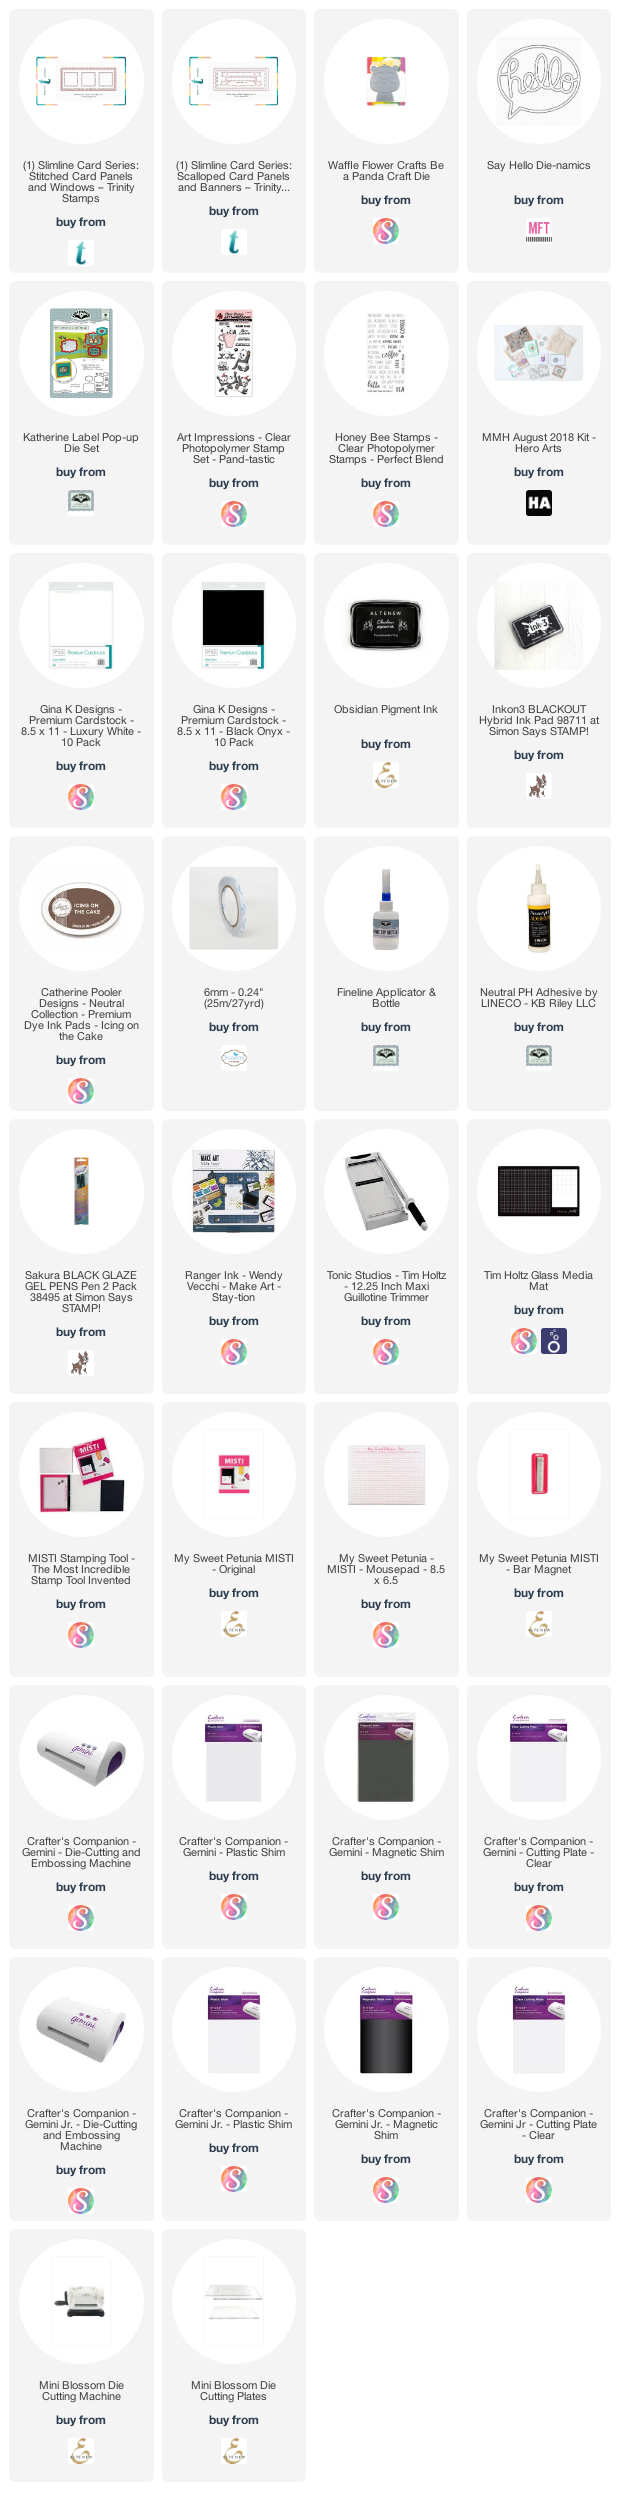
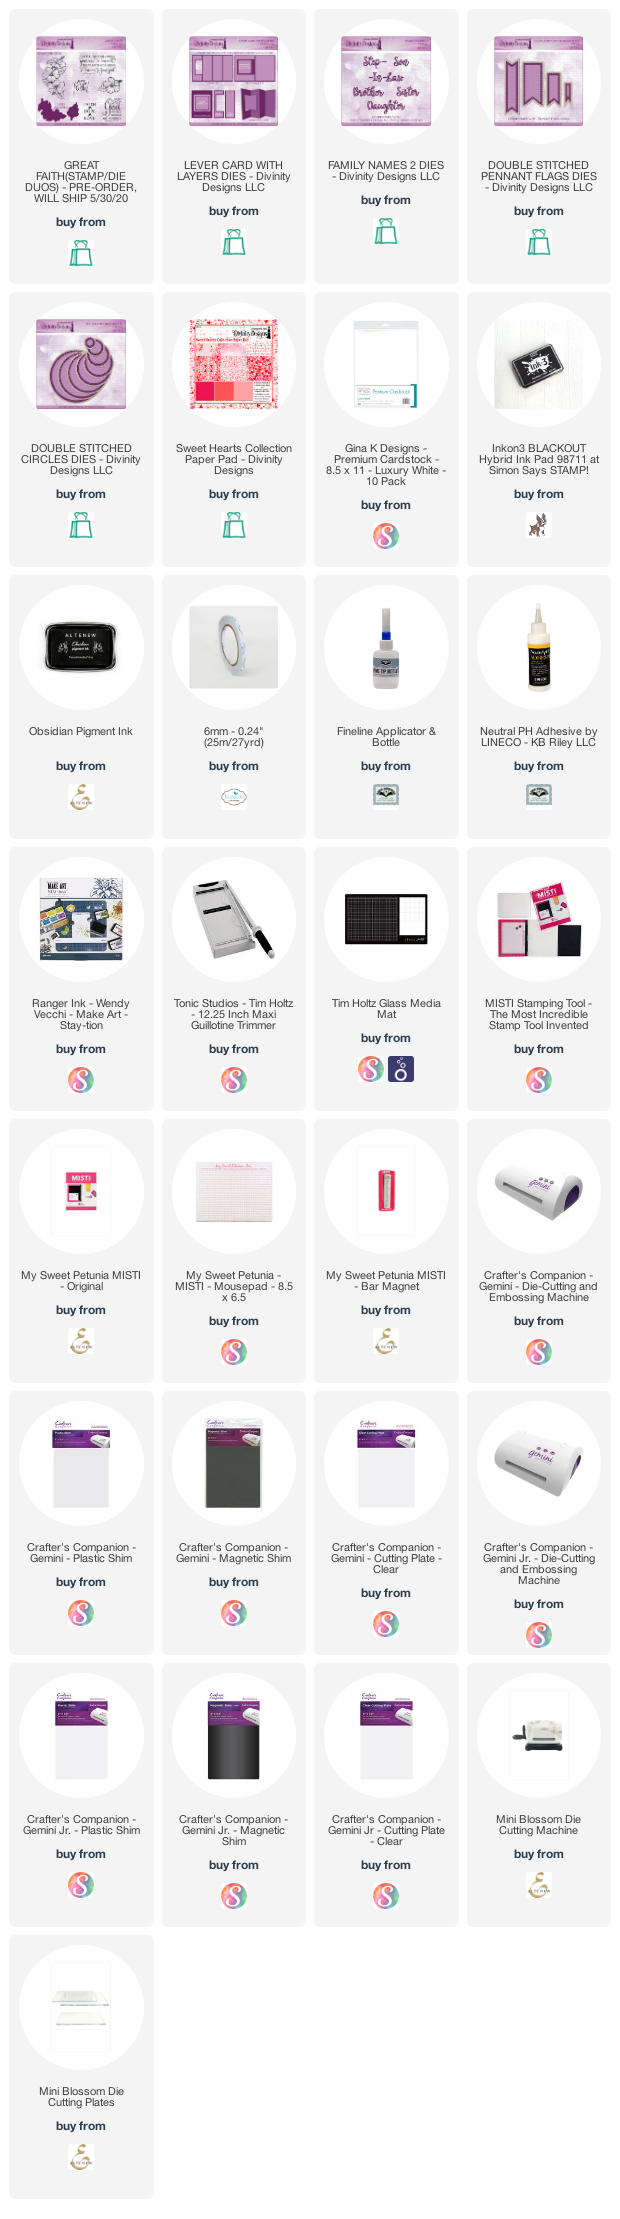
Supplies:
For your shopping convenience, all products are linked below. Compensated affiliate links are used where possible with no extra cost to you. This helps me to continue to share all the projects I include on my blog. For the benefit of my Australia readers, I have started to include some links to Australian stores when available. Please note I only use and share products I love.


Thursday, May 28, 2020

Mermaid Wishes


Hi Crafty Friends,

It's challenge time with my friends over on the CCEE Stampers challenge blog.  Kelly McKown-Santi our challenge hostess for the month Finishes off the month with one last challenge.

Celebrate World Creativity Day:  Saturday is World Creativity Day, a day to embrace your own creativity and support each other in the crafting community.  Let’s make a card using YOUR favorite technique ~ the sky is the limit!  Just have fun and get creative.


Anyone who follows my blog knows how much I love interactive and pop-up cards and lately I have also become addicted to Slimline cards. I have been enjoying experimenting with including pop-up or interactive elements into Slimline cards occasionally. So I decided to do that for today's challenge, combine a Slimline card with a pop-up element.

I used Slimline dies from both Trinity Stamps and Mama Elephant. The stitched rectangle which includes the scene is from Trinity Stamps Slimline Stitched Card Panels and Windows die set. The scallop portion of the card is from Mama Elephant's new Slim Card Basics. I could have used Mama Elephant's stitched rectangle include in their slimline die set for the main panel, but as both the Trinity Stamps and Mama Elephant Stitched Rectangle Panel are about the same size, I decided to leave the 3 window elements included in the Mama Elephant die set intact and use the other option.

I stamped the ocean floor die included in the Sunny Studio Stamps Tropical Scenes stamp set onto my white panel, masking this image and stamping it again to get the full width of the card stamped. I then masked everything so I could create the ocean above. I used Catherine Pooler Juniper Mist Ink for the ocean and then used Honey Bee Stamps Ocean Scene Builder Stencil and white pigment ink to add the rays.

I used the mermaids from Mama Elephant's Little Mermaiden Agenda which I added to the scene. 

Finally I added the sentiment to the top right hand corner of the card which is from a Simon Says Stamps Mermaid stamp set.


For the inside of the card I created a pop-up card. I used the pop-up die included in Karen Burniston's Explosion Pop-up die set and added labels from an older label die set I have in my stash.

I added a sentiment using stamps from Honey Bee Stamps Mermaid Song stamp set. I also added two of the little mermaids left over from the front of the card on either side of the sentiment.


I used the border die included in the Mama Elephant Slim Card Basics die set to die cut two white panels for the top and bottom edges of the card. I colored the bottom panel a sand color using Copic markers and the top panel the same colors to match the front of the card.

I also added a Starfish to the sand.

Don't forget to check out the CCEE Stampers blog (goes live 12 AM EST) to see the rest of the creations the CCEE Stampers created this week. You can also see more details of their creations on their individual blogs:


Supplies:
For your shopping convenience, all products are linked below. Compensated affiliate links are used where possible with no extra cost to you. This helps me to continue to share all the projects I include on my blog. For the benefit of my Australia readers, I have started to include some links to Australian stores when available. Please note I only use and share products I love.


Wednesday, May 27, 2020

Thinking of You Roses


Hi Crafty Friends,

Today I am sharing a card I created using some of the new products from Divinity Designs April release. 

I created a square card, for the base of the card I used the new Roses Mixed Media stencil and pink ink to add the rose pattern to the card.

I die cut the the Flourishy Frames die from white & dark pink cardstock, trimming off the flourish from white frame and adhering the white square panel over the top of the dark pink frame.

I stamped the stamped the full rose image to the top left corner of the card.  I stamped the sentiment onto a piece of white cardstock, die cut using the Double Stitched Circles die and layered with a circle from the Circles die set and adhered this to the lower right hand side of my card. These are both from the new My World Stamp set/die duos set.

I stamped & die cut the three roses images also included in the stamp set and die cut this using the coordinating die and layered it over the image on the white panel.


For the inside of my card I die cut the Flourishy Frames from white cardstock. I stamped another of the sentiments and a single rose to the panel.

Supplies:
For your shopping convenience, all products are linked below. Compensated affiliate links are used where possible with no extra cost to you. This helps me to continue to share all the projects I include on my blog. For the benefit of my Australia readers, I have started to include some links to Australian stores when available. Please note I only use and share products I love.


Tuesday, May 26, 2020

Hello


Hi Crafty Friends,

Today I am sharing two quick cards I created recently, just to say hello!


What better to use for a "Hello" themed card then Concord and 9th's Oh Hello Turnabout stamp set. This background stamp includes various ways to say hello. I wanted a couple of masculine cards, so I used Kraft cardstock for the background panel, stamping the background 4 times using various colors of ink.

I added the "Hello" using Concord and 9th's Everyday Hello die set.


For the inside of my card I used a sentiment from Concord and 9th's Retro Petals Turnabout stamp set. 


I decided to do two cards in landscape format and the other two in portrait style format. This time around I used brighter colors for the card, but otherwise it uses the same things.


I added the same sentiment to the inside of my second set of cards as I did for the first.

Supplies:
For your shopping convenience, all products are linked below. Compensated affiliate links are used where possible with no extra cost to you. This helps me to continue to share all the projects I include on my blog. For the benefit of my Australia readers, I have started to include some links to Australian stores when available. Please note I only use and share products I love.

Oh Hello Turnabout Stamp set - Concord and 9th


Monday, May 25, 2020

Hello But First, Coffee


Hi Crafty Friends,

oday I am playing along in the Spring/Summer 2020 Coffee Lovers Blog Hop which is being held from Friday 22nd May to Friday 29th May.

I decided to create a Slimline card for my coffee themed card this time around.


For the Slimline portion of the card I used Trinity Stamps Stitched Card Panels and Windows die set and the Scalloped Card Panels and Banners die set.

Last week I received this cute Waffle Flower Be A Panda die which I so wanted to play with, so I decided to incorporate it into my coffee themed card.  The coffee mug and sentiments used on the front of the card are from Hero Arts July 2018 Card Kit. 

MFT Stamps re-released their Say Hello Die-namics from their vault last week, so as I had the original version of this die I decided to pull it out to use on this card.


For the inside of the card I created a pop-up card using Karen Burniston's Katherine Label Pop-up die set,  if you turn the label onto it's side it fits perfectly inside the card when it is closed. I used the "Pand-tastic" sentiment from Art Impressions Pand-tastic stamp set along with another of the sentiments from the Hero Arts stamp set.

Along the bottom of the card I added two of the pandas included in the Art Impressions Pand-tastic stamp set. I added a stamped sentiment to the mug the panda is hiding in, also from the Hero Arts stamp set. 

The coffee mug next to the panda on the right hand panel and the Coffee Word along the top border of the designer paper are all from La La Land Crafts July 2019 Product Kit.

Supplies:
For your shopping convenience, all products are linked below. Compensated affiliate links are used where possible with no extra cost to you. This helps me to continue to share all the projects I include on my blog. For the benefit of my Australia readers, I have started to include some links to Australian stores when available. Please note I only use and share products I love.

Coffee Word & Coffee Mug - La La Land Crafts July 2019 Product Kit


Sunday, May 24, 2020

Sister


Hi Crafty Friends,

Today I am sharing another card I created using some of the new stamps from Divinity Designs April release.


I have created a Lever card using the Lever Card with Layers die set. I used papers from the Sweet Heart Collection Paper Pad set to add to the layers of the card.


I stamped the flower trio stamp included in the Great Faith Stamp/Die Duos set twice and adhered them to the centre of the square panel which creates a circle of sorts.

I used the "Sister" sentiment included in the Family Names 2 die set to add to the centre of the floral piece.


For the inside of the card I added two sentiments also included in the Great Faith Stamp/Die Duo set. I layered the first using the Double Stitched Circles die set and the other sentiment using the Double Stitched Pennant Flags die set. I added the single flower to the top of the sentiment.

Supplies:
For your shopping convenience, all products are linked below. Compensated affiliate links are used where possible with no extra cost to you. This helps me to continue to share all the projects I include on my blog. For the benefit of my Australia readers, I have started to include some links to Australian stores when available. Please note I only use and share products I love.


Saturday, May 23, 2020

Pug Hugs


Hi Crafty Friends,

It’s challenge time with the “Crazies” over on the Crazy 4 Challenges blog. As challenge hostess for the month I continue to issue the challenges.

Apparently May is Photo month, let's include something that relates to photos this week … a card including a real photo, faux photos, selfie style stamps, cameras etc.


I love using photos of my grand puppy Frankie to create special cards or keepsakes. My daughter takes so many photos of her that it is always easy to find new photos to play with.

For my project today I used Tonic Studio's Rotating Memoirs die set to make a rotating album.


Here is a quick video to see my project in action.


To decorate the two sides of my rotating album, I added grass using Lawn Fawn's Grassy Hillside Border. I added pug images using stamps included in the Whimsy Stamps Pet's Woof stamp set which was in the February Card Kit.

The large paw print on the front page and the sentiment is also from the Whimsy Stamps card kit.


I added photos of Frankie to the top portion of each page. The sentiments on the underside of each page are from either the Whimsy Stamps stamp set or an older There She Goes stamp set which is no longer available.


This is the second Rotating Memoirs project I have created. I found this one easier thanks to having the correct red liner tape and smooth cardstock.


I couldn't  resist adding the photo of Frankie just after she has had a bath, it looks so funny!


One last page of my rotating album. I had to use up one last image from the pug stamp set, so I added it to the last page of my album.

Don't forget to check out the rest of the “Crazies” cards over on the Crazy 4 Challenges blog and also their individual blogs for more details.


Supplies:
For your shopping convenience, all products are linked below. Compensated affiliate links are used where possible with no extra cost to you. This helps me to continue to share all the projects I include on my blog. For the benefit of my Australia readers, I have started to include some links to Australian stores when available. Please note I only use and share products I love.

Pugalicous Stamp Set - There She Goes (retired)