Tuesday, June 30, 2020

Rebus - Harrison Ford Movies


Hi Crafty Friends,

It's time to share another rebus puzzle swap with you. This month the theme is Movies Starring Harrison Ford.

If you would like to solve my rebus puzzle, why not post a comment on my blog post with your answers. I will let you know what the correct answers are next time I post a rebus card here.

How did you go solving my March Rebus which was "Songs by Rod Stewart". Here are the correct answers so you can check how you did.

  1. Look in her Eyes
  2. She Makes Me Happy
  3. Farewell
  4. Tonight's The Night
  5. You're in My Heart
  6. A Friend for life
  7. Baby Jane
  8. Hot Legs
  9. Sailing
  10. Please


You can find all my past Rebus Cards here.

Monday, June 29, 2020

I Love Your Smile


Hi Crafty Friends,

Today I am sharing a card I created using the new Magic Iris - Camera Add on die set released by Lawn Fawn last week. I love now Lawn Fawn come out with add ons to existing die sets to get more options with what you already have. 


Here is a quick video to see my card in action.

I was originally planning on using a different stamp set with the camera die, but after I had used the patterned papers on my card, I decided it needed something that I could color to coordinate with the papers. So I opted for using CC Designs Funny Faces stamp, this stamp is actually a boy and a girl, but I was able to position the stamp so that only the girl was seen. As this looks a lot like my granddaughter, I will probably keep this for her birthday which is later in the year.


When you pull the lever at the top right hand side of the camera, the iris of the lens starts to open to reveal an image.


Here you can see the image completely revealed.

I added the "Smile" sentiment which is an older die from Honey Bee Stamps and also a sentiment from the coordinating stamp set.

I also added the "8" to the left side of the camera, as that is how old she will be.


Here you can see the camera side by side as the iris in the lens is opening.


For the inside of the card I used the Magic Iris Camera Pull Tab Add On to add the photo frame.

I also added sentiments from The Ton's Easy Expressions Birthday stamp set and coordinating dies.

Supplies:
For your shopping convenience, all products are linked below. Compensated affiliate links are used where possible with no extra cost to you. This helps me to continue to share all the projects I include on my blog. For the benefit of my Australia readers, I have started to include some links to Australian stores when available. Please note I only use and share products I love.


Sunday, June 28, 2020

Fairy Good Friend


Hi Crafty Friends,

Today I am sharing a Slimline Card I created for a new Facebook Challenge group called There's a Stamp for that Challenge.

I combined Slimline dies from Trinity Stamps (the stitched rectangle panel) and Mama Elephant (the purple scalloped layer) to create my card. I also used the scenic dies from the Mama Elephant die set to add the grass areas along the bottom of my card. I die cut everything from white cardstock and then used inks and blender brushes to apply the ink to my pieces.

The fairies, flowers, sentiment etc are all from Hello Bluebird's Fairy Garden stamp set. 


For the inside of my card I die cut a smaller white rectangle panel than what I used on the front of the card and also the Scalloped Rectangle. I added a few more of the fairies, flowers etc to the panel that I used on the front of the card.

The sentiment used here is from an previous Hero Arts My Monthly Hero stamp set.

Supplies:
For your shopping convenience, all products are linked below. Compensated affiliate links are used where possible with no extra cost to you. This helps me to continue to share all the projects I include on my blog. For the benefit of my Australia readers, I have started to include some links to Australian stores when available. Please note I only use and share products I love.


Saturday, June 27, 2020

Father's Day Double Cupcake Card


Hi Crafty Friends,

It’s challenge time with the “Crazies” over on the Crazy 4 Challenges blog. Maryann Einam our challenge hostess for the month continues to issue the challenge.

Maryann tells us that she has spent some time lately taking stock of her supplies and ways to use them. There are so many videos out there which help us to revisit some of these techniques. For our challenge this week we are to create a card using any technique that was inspired by a video.

A few weeks ago on the Karen Burniston Pop up Peeps Facebook page, someone was asking about whether the Cupcake Pop-up die could be used as a double pop-up similar to how we used to do it using the Lorna Label Pop-up that Karen Burniston designed when she was with Elizabeth Craft Designs.

I remembered that Karen Aicken had done this with the Cupcake Pop-up die set a few months ago and went to look for the blog post to let the person asking know the information.  I had created a number of cards using the Double Lorna Label Pop-up technique, and had been wanting to play with the Cupcake Pop-up since seeing Karen's card but it had slipped my mind. She does have a video showing the movement of the card, so I decided that I would use that for my challenge this week. You can see Karen Aicken's cards here.


I created a card recently using Waffle Flower Craft's Be A Panda die, at the time I didn't have the Be Accessories die set so I decided to pull both sets out today to make a Father's Day card. Father's Day isn't until September here so I am slowly building my stash up.

I added the "DAD" to the side of the card using alphabet dies from Lawn Fawn.


As mentioned above, for the inside of the card I created a Double Pop-up card using the Cupcake Pop-up die set. For this technique you need to fold your pattern paper in half with the pattern on the inside. With the patterned paper still folded, position the cupcake pop up on the fold so that the centre  nubs of the die are on the centre fold and run through the die cutting machine.

I added labels to each of the cupcake panels which are from an older MFT Stamps Labels 1 Die-namics. I added sentiments to each labels using stamp sets from Waffle Flower Crafts and Honey Bee Stamps.


Here is a close up look at the left hand side of my card. I decorated this side using the Top Hat and Crown from the Be Accessories die set.


And finally a close up photo of the right side of my card. I added another panda to the bottom corner of the card. I also added the moustache and tie also from the Bee Accessories die set.

Don't forget to check out the rest of the “Crazies” cards over on the Crazy 4 Challenges blog and also their individual blogs for more details.


Supplies:
For your shopping convenience, all products are linked below. Compensated affiliate links are used where possible with no extra cost to you. This helps me to continue to share all the projects I include on my blog. For the benefit of my Australia readers, I have started to include some links to Australian stores when available. Please note I only use and share products I love.

Labels 1 Die-namics - MFT Stamps (retired)


Friday, June 26, 2020

Wishing You An Abundance Of Happiness


Hi Crafty Friends,

I was super excited to finally get my March 2020 My Monthly Hero card kit from Hero Arts a couple of weeks ago. Unfortunately Hero Arts went into lockdown due to COVID 19, just before they were able to send my kit. Happily things are starting to improve so my order could finally be sent.

For my card today I used a couple of add ons from the kit, the Parasol Bold Prints and the Kimono Kitties stamp sets.

I created a Slimline Card using Pinkfresh Studio's Essentials Slim Braided Circles  die. I die cut the panel from red cardstock and then used the Parasol Bold Prints to stamp onto the panel using Catherine Pooler Samba ink. I layered the panel onto gold cardstock and then onto black cardstock.

I stamped out the three kittens and parasols to add along the bottom of the card. I added the sentiment to the centre circle.


For the inside of the card I die cut and stamped another red panel like I did on the front of the card. I white embossed a sentiment onto black cardstock and added that to the centre circle.


Supplies:
For your shopping convenience, all products are linked below. Compensated affiliate links are used where possible with no extra cost to you. This helps me to continue to share all the projects I include on my blog. For the benefit of my Australia readers, I have started to include some links to Australian stores when available. Please note I only use and share products I love.


Thursday, June 25, 2020

You're Another Year Wiser


Hi Crafty Friends,

It's challenge time with my friends over on the CCEE Stampers challenge blog.  Vicky Gould our challenge hostess for the month continues to issue the challenges.


Apparently today is National Bald Eagle Day. So for our challenge this week we are to make a card with a bird on it…extra points if it’s a Bald Eagle.


I am not sure if I have any bald eagle images, but I knew I had a lot of owl stamps/dies and since I could use any bird on my card I opted for an owl.

A month or two ago, I made a card that had designer paper on the front that had branches and owls sitting on it. It more or less inspired this card. I knew that the Mama Elephant Tree Branches die set would work perfectly for that idea.

I added clouds to the background of my card using MFT Stamps Mini Cloud Stencil and blue ink.

The owls are from an older MFT Stamps Forever and Owlways stamp set.


For the inside of the card I created a pop-up card. I used Karen Burniston's Explosion Pop-up die set to add the pop up panel for the sentiment. I used a couple of the branches from the Mama Elephant die set on the background panels and added a few more owls onto the branches.


Here is another view of the inside of the card, so you can see the pop-up a little better.


Don't forget to check out the CCEE Stampers blog (goes live 12 AM EST) to see the rest of the creations the CCEE Stampers created this week. You can also see more details of their creations on their individual blogs:


Supplies:
For your shopping convenience, all products are linked below. Compensated affiliate links are used where possible with no extra cost to you. This helps me to continue to share all the projects I include on my blog. For the benefit of my Australia readers, I have started to include some links to Australian stores when available. Please note I only use and share products I love.

Forever and Owlways Stamp set - MFT Stamps (retired)


Wednesday, June 24, 2020

Just Chicken In


Hi Crafty Friends,

"Just Chicken In" with you today to share a pop-up card I created.

I recently added Mama Elephants Zodiac Rooster and Little Chickie Agenda stamp sets to my stash, so for my card today I decided to create a Chicken Coop pop-up card.


I used Karen Burniston's Cupcake Pop-up die set for the pop-up portion of the card. While this die is an actual cupcake image on the pop-up it also makes a fabulous generic pop-up like I used on my card today. I die cut the pop up from white cardstock and then another from patterned paper for the upper portion of the card. For the lower portion I used yellow inks and a blender brush to added color, and then splattered dark yellow and brown inks over the panel. 

I also stamped a few chicken footprints over the sides of the base of the card.

I used Mama Elephant's Ornate Grid House for the Chicken Coop. I die cut the house from white & red cardstock. I then colored the white house using brown markers and used Honey Bee Stamps Shiplap Stencil to add the lines for the wood of the coop. I then trimmed the roof off the red house and added it to the decorated chicken coop. I used the house to trace out a solid panel and colored that with dark brown inks. Before adhering the two together, I die cut some grass panels from white cardstock and colored them with yellow/orange inks and added behind the openings of the house/coop. 


I added some of the chickens from the Zodiac Rooster and Little Chickie Agenda stamp sets to the chicken coop, before adhering it to the pop-up panel.

I added a fence and grass to the back of the chicken coop, which is adhered to the back panel. I also added a sun to the top right corner of the card.

I used Lawn Fawn's Oliver's ABCs to spell out the word "Chicken" onto a white panel and adhered this to the lower portion of the card. I added a couple more of the chickens from the Zodiac Rooster stamp set. I stamped the "Just" and "In" which is part of the sentiment included in the stamp set onto black cardstock and added these two words to the chickens above and below the large "Chicken" word.


I used some of the same elements on the front of the card that I used on the inside. 

I colored a white panel with yellow inks and splattered with yellow and brown inks and then stamps the chicken footprints all over the panel.

I added a few of the chickens from both of the stamps sets to an oval panel which is attached to the top portion of the card.

I added the word "Hi" to the oval panel above the chickens. I then added the word "Chickie" to the lower portion of the card.
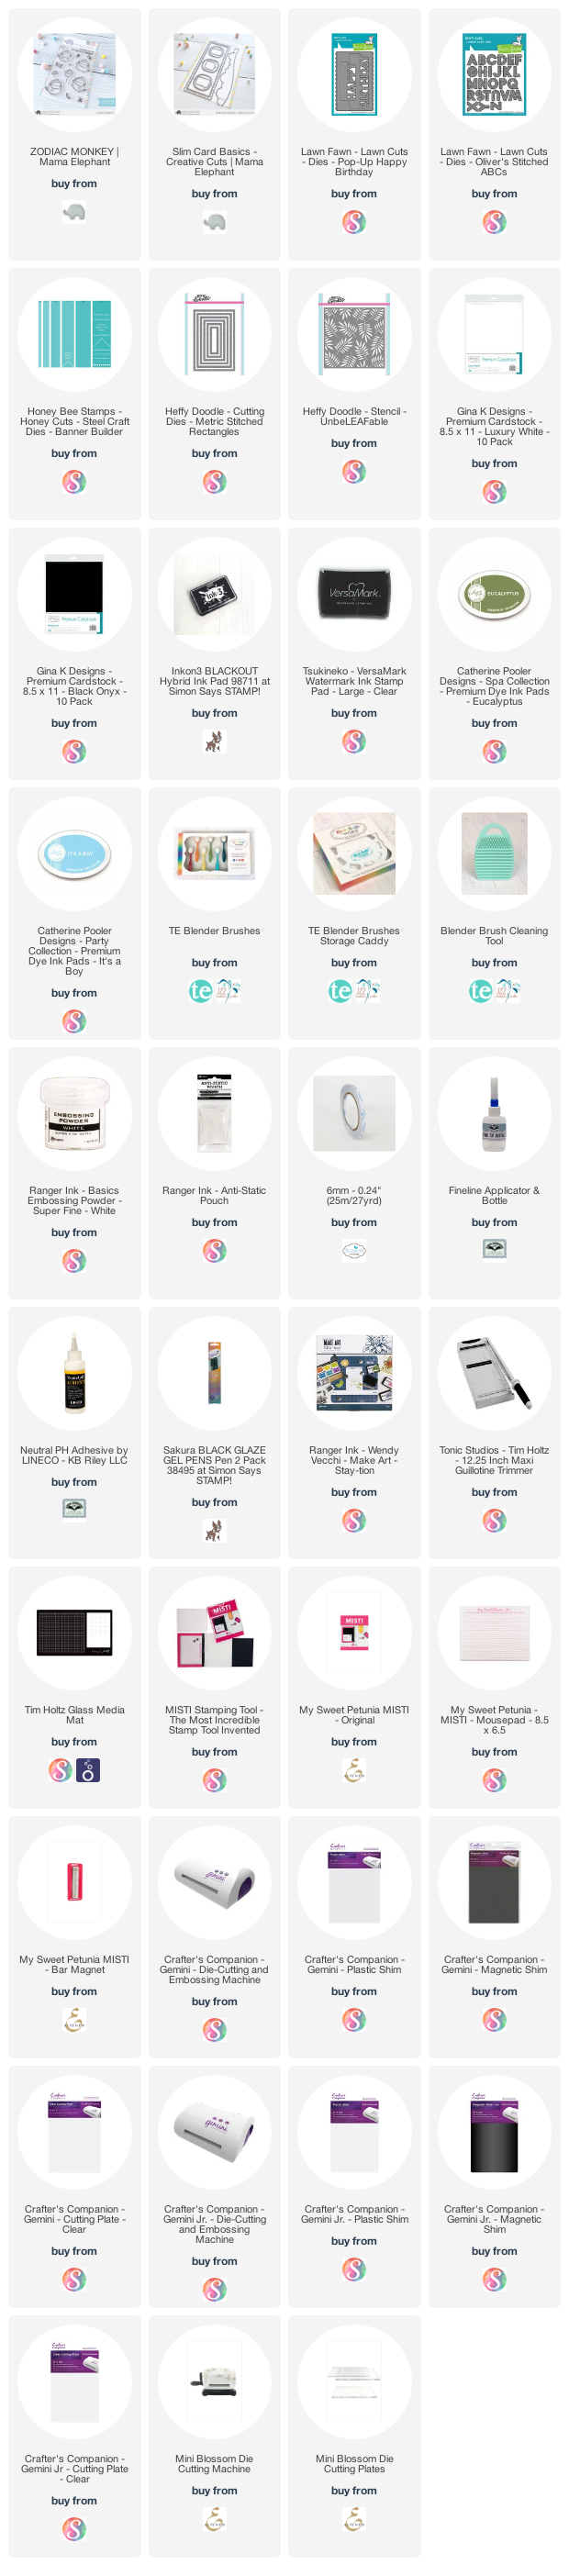
Supplies:
For your shopping convenience, all products are linked below. Compensated affiliate links are used where possible with no extra cost to you. This helps me to continue to share all the projects I include on my blog. For the benefit of my Australia readers, I have started to include some links to Australian stores when available. Please note I only use and share products I love.

Sun Moon and Stars - MFT Stamps (retired)
Fence - Marianne Designs (retired)
Chicken Prints stamp - Rubbernecker stamps (retired)


Tuesday, June 23, 2020

Laughter Is the Best Medicine


Hi Crafty Friends,

Today I am sharing a card I created using Paper Rose Studio's Laughing Animals stamp set. 

I used partial die cutting to die cut the rectangle around the animals while keeping the giraffe's neck above the rectangle.


For the inside of the card I used one of the sentiments from the stamp set and added the two wine glasses to either side of the sentiment.


Supplies:
For your shopping convenience, all products are linked below. Compensated affiliate links are used where possible with no extra cost to you. This helps me to continue to share all the projects I include on my blog. For the benefit of my Australia readers, I have started to include some links to Australian stores when available. Please note I only use and share products I love.


Monday, June 22, 2020

Peek A Boo Slimline


Hi Crafty Friends,

Today I am sharing an interactive slimline card with you that I created recently.

This card using the new Lawn Fawn Small Slimline with Lift the Flap and Large Slimline with Sliders die sets. I die cut the Lift the Flap die from white cardstock and then applied color to the panel using Catherine Pooler Daydream ink. I then used the Taylored Expressions Puppy Love Stencil to add the paw prints in brown and the hearts in white.


I layered the decorated panel onto a brown cardstock and then used the large stitched slimline die from the large die set for the base of the card.


I used the Mama Elephant Zodiac Dogs stamp set to decorate the flaps etc.


When you lift the flaps it reveals puppy balloons, bones and sentiments. The sentiments used here are from The Ton's Easy Expressions Birthday stamp and coordinating die sets.


For the inside of the card I added a narrow stencilled panel along the bottom of the card. I added another of the dogs and the puppy balloon to the right hand side of the card.

I also added a birthday sentiment to the centre of the card.


Supplies:
For your shopping convenience, all products are linked below. Compensated affiliate links are used where possible with no extra cost to you. This helps me to continue to share all the projects I include on my blog. For the benefit of my Australia readers, I have started to include some links to Australian stores when available. Please note I only use and share products I love.


Sunday, June 21, 2020

It's Your Day! Go Bananas!


Hi Crafty Friends,

Today I am sharing a Slimline card I created recently using the new Slimline die set from Mama Elephant. This die set comes with the three rounded windows in the centre of the stitched rectangle panel. I did cut the panel from white cardstock and then used Heffy Doodles UnbeLEAFable stencil to stencil the leaves all over the panel. I added a few splatters over the panel, once I had finished stencilling. 

I decided to create a shaker card adding various colors of green and white sequins into each of the windows. 

To decorate the front of the card I used the Zodiac Monkey stamp set and added the sentiment also included in the stamp set.


I used the same stencil to add leaves all over the inside of the card. In the centre of the card I added Lawn Fawn's Pop Up - Happy Birthday die set. I added a few more monkeys around the pop-up portion of the card.

I added a blank rectangle to the front part of the bottom panel of the inside of the card for a hand written sentiment.


Here is another view of the inside of the card, taken at a different angle so you can see the pop-up portion of the card.

Supplies:
For your shopping convenience, all products are linked below. Compensated affiliate links are used where possible with no extra cost to you. This helps me to continue to share all the projects I include on my blog. For the benefit of my Australia readers, I have started to include some links to Australian stores when available. Please note I only use and share products I love.