Showing posts with label Susan's Garden. Show all posts

Monday, October 1, 2018

Halloween Pumpkin & Ghost Scene


Hi Crafty Friends,

Today I have a Halloween card to share with you all today.

One of the new dies that were recently released by Elizabeth Craft Designs by designer Susan Tierney-Cockburn was this beautiful large French Pumpkin. Of course it was designed to be filled with any of her gorgeous flowers. Other than for eating, for me when I think of pumpkins, the first thing I think about is Halloween and when I saw this die I envisaged ghosts flying in and around the pumpkin .... so of course as you can see I decided to take my idea and bring it to life by creating it into a card.

To create my night sky I die cut the largest rectangle from the Dashing Rectangles die set and then blended Blueprint Sketch and Black Soot Distress Oxides over the sky and then splattered white paint over the background to create a starry sky.

To ground the pumpkin I die cut the snow/ground border from the Adventure Edges die set from black cardstock.

I die cut the pumpkin and leaves from white cardstock and then colored using orange and yellow distress oxide inks and also yellow and orange copics. I decided I needed a face on my pumpkin ... so for the mouth I used a die from the Pumpkins die set and hand cut the triangles for the eyes and nose ... I did try using the smaller eyes/nose from the same set but it looked odd on such a large pumpkin.

I die cut both ghosts from the Ghosts die set and added them to my scene.


For the inside of my card I used the Happy Halloween sentiment from the Words 3 - Happy Holidays die set and added the bats and spider from the Halloween Scenery die set.
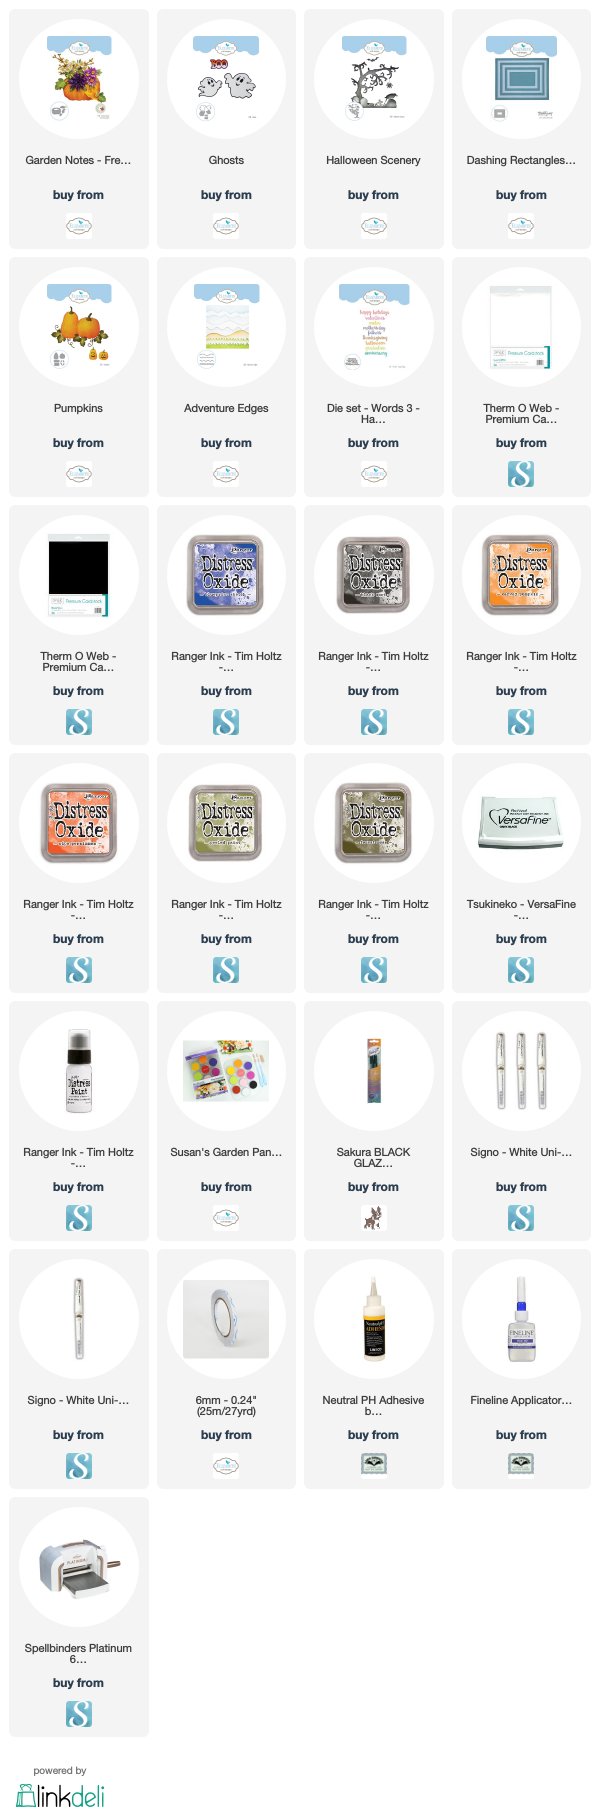

Supplies:
For your shopping convenience, all products are linked below. Compensated affiliate links are used where possible with no extra cost to you. This helps me to continue to share all the projects I include on my blog. Please note I only use and share products I love.


Wednesday, July 18, 2018

Elizabeth Craft Designs July Designer Challenge


Hi Crafty Friends,

It's time for our July Elizabeth Craft Designs Design Team Designer challenge. Check out the Elizabeth Craft Designs blog today to see what our talented designers created for the challenge. 

Our challenge this month is ..... 
Summer Fun with Words & Numbers –  It’s summer time so let’s make summer themed cards this month. Also include either the Blackboard Alphabet or Blackboard Numbers on your project in some way … card; scrapbook layout or other home décor item.


For today's challenge Elizabeth Craft Designs are giving away a $20 Gift Card to use on our website to 3 winners


To enter simply leave a comment on the Elizabeth Craft Designs Facebook Giveaway Blog Post or the Elizabeth Craft Designs Challenge post and tell us What Elizabeth Craft Designs die or stamp set would you use with the Blackboard Alphabet or Blackboard Numbers die sets

We will select 3 lucky winners in a random drawing 

The winners will be announced on Friday, July 20th on the Elizabeth Craft Designs blog and our Facebook page.


One of the many beauties of Summer is flowers blooming, so for my card today I decided to use one of the newer Garden Notes dies which was release a couple of months ago. Here I have used the Garden Notes - Rhododendron die, you can see a video showing how to assemble the Rhododendron flower here


I die cut a piece of patterned paper from the ModaScrap Butterfly Dreams Paper Pack using the largest rectangle from the Dashing Rectangles and then die cut the ovals on the right hand side of the paper using the Garden Notes - Frame It/Stitched Ovals die set.

I used the Blackboard Alphabet to create the "Happy" sentiment and then white embossed the "Birthday" from the Banner Sentiments Clear Stamp set.

To finish off the front of the card I added Nuvo Drops.


For the inside of the card I stamped a sentiment from the A Way With Words - Birthday Collection Clear Stamp set.


I hope you enjoyed my project today. Don't forget to check out the Elizabeth Craft Designs blog to see all the wonderful creations by our talented designers and for a change to win the giveaway.

Supplies:
For your shopping convenience, all products are linked below. Compensated affiliate links are used where possible with no extra cost to you. This helps me to continue to share all the projects I include on my blog. Please note I only use and share products I love.


Wednesday, May 23, 2018

Bucketful of Flowers


Hi Crafty Friends,

Today the Elizabeth Craft Designs Design Team are doing another Focus on New Release blog post on the Elizabeth Craft Designs blog. This time around we are focusing on Susan's Garden who has just released 14 brand new dies..... 10 new flower dies and 4 nested shapes dies.  Susan's Tierney-Cockburn designs flower dies that are realistic, just like those we find in nature.

For my card today I have used the new Garden Notes - Shasta Daisy; Garden Notes - Forget-Me-Not (Myosotis); Garden Notes - Frosty Fern and Garden Notes Galvanised Bucket.

I layered the bucket and flowers onto ModaScrap Patterned Papers which were die cut using the Dashing Rectangles die set, before adding to a side folding card.

To finish off the card I added the word "Hello" from the Words Set 2 - Thinking of You die set.


For the inside of the card I added a greeting using dies from the Word Set 2 - Thinking of You die set and added another of the Forget-Me-Not flowers.

Don't forget to visit the Elizabeth Craft Designs blog to see what the other Design Team have created using the Susan's Garden new release dies.

Supplies:


Friday, April 20, 2018

Celebrate Black Eyed Susan


Hi Crafty Friends,

Today I am sharing a card I created using some dies from the Susan's Garden collection available from Elizabeth Craft designs.

I have been wanting to create a card using the Black Eyed Susan die set for a while. For this card I also used the Gathering Basket, Maidenhair Fern and Leafy Berry Branch 1 die sets. For instructions on how to create the Black Eyed Susan flower check out Susan Tierney-Cockburn's Facebook Live Video here. The details for the flower is near the end of the video.


For the berries on the Leafy Berry Branch, I added Nuvo Drops to the berry area, covering the berries on both sides of the branch so when you see the back of the berries when you move the card you see berries on both sides.

For the basket I die cut from White Soft Finish Cardstock and then colored with Copics. I then rubbed on some brown Metallic rub ons over the basket which brought out the texture on the basket.

For the background of my card I die cut a square using the largest square from the Dashing Squares die set. I then used Simon Says Stamp Folk Dance Stencil to emboss texture paste through it. I have been wanting this stencil for some time and I received it for my birthday from a friend :). I mixed a few drops of Antique Linen Distress ink to the paste to give it an off white color.

I added a sentiment from the A Way With Words Happy Birthday Collection Clear Stamp set to the lower right hand corner of the card.


For the inside of the card, I added another flower and a sentiment from the A Way With Words Happy Birthday Collection Clear Stamp set.

Supplies:


Other: 

Cardstock - Black; Brown; Yellow; Green; Dark Brown
Foam Tape


Wednesday, March 21, 2018

Butterfly Framed Wall Art


Hi Crafty Friends,

It's time for our March Elizabeth Craft Designs Design Team Designer challenge. Check out the Elizabeth Craft Designs blog today to see what our talented designers created for the challenge. 

Our challenge this month is .....
Frame It - There are so many options to include frames when we are creating either cards, scrapbook layouts or home decor items. For our challenge this month please include a frame of some type when creating your project.


For today's challenge Elizabeth Craft Designs are giving away a $20 Gift Card to use on our website to 3 winners

To enter simply leave a comment on the Elizabeth Craft Designs Facebook Giveaway Blog Post or the Elizabeth Craft Designs Challenge post and tell us What Elizabeth Craft Designs dies or stamp sets would you use to frame something on a card, scrapbook layout of home decor item?

We will select 3 lucky winners in a random drawing 

The winners will be announced on Friday, March 23rd on the Elizabeth Craft Designs blog and our Facebook page.


For my project today, I decided to pull our the ModaScrap Happy Frame die to make another framed art piece. I love how versatile this die set is.

As I have already written two tutorial on how to assemble the Happy Frame to create a frame for a wall or a card, instead of repeating myself again I am linking to both my previous tutorials. 

You can find my "Let Your Dreams Soar Wall Art Frame" here.
and
my "Framed Love Card" here


To create my framed wall art project today, I started by die cutting from sides using the ModaScrap Happy Frame die set from paper from the ModaScrap Magic Mountain Patterned Paper Pack.

Before assembling the frame, I cut each of the frame sides to 6 1/2 inches (when you trim the sides make sure you trim the straight edge). 

Assemble frame.

I used paper from the ModaScrap Fly & Scrap Patterned Paper Pack to line the back of the frame.


Using the Butterfly Aperture die, die cut the solid butterfly from White Soft Finish Cardstock.
Using both the decorative layer and the butterfly outline together, die cut one butterfly from black cardstock and another from silver pearl cardstock.

Add color to the white solid butterfly by applying Carved Pumpkin and Abandoned Coral Distress Oxide inks.

Adhere the black decorative butterfly over the silver pearl butterfly offsetting slightly and then adhere this to the solid butterfly.

Stamp the sentiment from the A Way with Words - Soar Collection Clear Stamp set to the upper left hand corner of the inside of the framed piece using black ink.

Adhere Butterfly using Clear Double Sided Adhesive Tape and Foam Tape to the lower right hand corner adhering it at a slight angle.


Using Garden Notes - Leafy Berry Branch 1 die, die cut three times from green cardstock. Sponge lightly with green ink and then apply berries over the die cuts using Nuvo English Mustard Crystal Drops.

Once the "berries" are dry, cut apart the berries and adhere to the lower portion of the frame.

Finally die cut the A Way With Words - Soar die three or four times and layer to each other and attach to top of frame.

I hope you enjoyed my project today. Don't forget to check out the Elizabeth Craft Designs blog to see all the wonderful creations by our talented designers and for a change to win the giveaway.

Supplies:

Elizabeth Craft Designs:


Other:
Cardstock - Black; Silver Pearl


Thursday, March 15, 2018

Surprise! Happy Birthday Els Blog Hop


Hi Crafty Friends,

It's Els van de Burgt's birthday and what better way to celebrate but with a surprise Birthday Blog Hop with the Elizabeth Crafts Design Team! Happy Birthday Els!

We hope you will join us in making Els birthday a wonderful day, by dropping by our Elizabeth Craft Designs Family Facebook Group and wishing her a happy birthday.

The hop started at Elizabeth Craft Designs blog, so if you just happened to hop onto my blog you might like to head back to there first so you don't miss out on any of the fun!

Earlier in the year I created a couple of Star Effect Cards and I promised to create a tutorial on how to create them which I hadn't gotten around to do, So I decided to create another for today's blog hop so that I could finally do a tutorial for you all. You can see my previous two Star Effect Cards here.


Before I get onto the tutorial I will explain what I used to decorate my card today. First up I used Garden Notes - Dahlia 2 to create my Dahlia flower, Susan Tierney-Cockburn shows how to make these on her Facebook Live Video here (you will find it about 14 mins into the video). I added a couple of ferns using the Garden Notes - Ladder Fern and also a couple of sprays of berries using the Garden Notes - Leafy Berry Branch 1. 

The sentiment is from the A Way With Words - Happy Birthday Collection and is layered onto circles die cut using circles from both the Dashing Circles and Dotted Scallop Circles die sets.


Here is how to create the Star Effect Card:


Step 1 - 
  • Cut a piece of cardstock so it measures 6 inches x 5 inches in color of choice (brown used here)
  • Cut a piece of patterned paper so it measures 5 3/4 inches x 4 3/4 inches of your choice (ModaScrap Wood Effect Patterned Paper Pack used here.


Step 2 - 
  • Using the cardstock piece, score along the long side at 3 inches.


Step 3 -
  • Using a trimmer, line up the cardstock so that the point of the centre and the edge are lined up. Cut.
  • Repeat on other side. Refer to photo above ... dotted lines are score lines, solid lines cut lines.


  • You should now have three pieces of cardstock that looks like the photo above.  The centre piece will be the base of your card.


Step 4 - 
  • Take the patterned paper and cut in half at 2 7/8 inches.
  • On the first half of the patterned paper cut in half diagonally from the top right hand corner to the bottom left hand corner.
  • For the second half of the patterned paper cut in half diagonally from the top left hand corner to the bottom right hand corner. 
  • Your paper should look like that above.
  • Adhere the papers onto each of the triangle panels on the card and single triangle pieces.

Step 5 - 
  • Measure up the straight edge of the folded card base 2 inches on each side and mark with pencil.
  • Measure from this point down 3/4 inches and mark with pencil.
  • Cut from the 2 inch mark down to the 3/4 inch mark.
  • Cut a thin sliver out of each slit you just created.

Step 6 - 
  • Lay one of the single triangle pieces over the other, referring to photo above and adhere together.


Step 7 -
  • Place the attached cross triangle panel into the slits of the folded base card.
  • Decorate as desired.


Well now it is time to leave my blog as you continue along our birthday hop. Your next stop is to the talented Karen Nofziger Don’t forget to pop on over to our Elizabeth Craft Designs Family Facebook Group too to wish Els a happy birthday!

Here is the complete blog hop list if you need it.


Supplies:
Elizabeth Craft Designs:


Other:
Brown Cardstock
Copic Markers


Wednesday, January 17, 2018

ECD Design Team Focus on New Release - Susan's Garden


Hi Crafty Friends,

Today the Elizabeth Craft Designs Design Team are doing another Focus on New Release blog post on the Elizabeth Craft Designs blog. This time around we are focusing on Susan's Garden who has just released 8 brand new dies. Susan's Tierney-Cockburn designs flower dies that are realistic, just like those we find in nature.

For my card today I have used the new Garden Notes - Cornflower Bachelor Button die set. I die cut all the pieces from White Soft Finish Cardstock and then colored each of the pieces with copic markers and PanPastels. After shaping each of the parts of the flower I adhered them together using Kids Choice glue.

I created my card using the Stitched Squares and Fitted Squares die sets for the layers. For the white layer, I embossed half of the card using the Dancing Leaves Embossing Folder. On the other side of this panel I adhered a piece of patterned paper from the ModaScrap Color of Puppies Girl Patterned Paper Pack. This was all adhered to a top folding square card.

I stamped the Celebrate sentiment which is from the A Way with Words Happy Birthday Collection Clear Stamp set to the lower right hand corner of my card.

I adhered the flowers onto a white oval die cut using the Stitched Ovals die set and layered this onto pink cardstock die cut using the Dotted Scallop Ovals die set. After arranging the flowers to my card I then added the some branches using the Garden Notes - Leafy Berry Branch 1 die set which I die cut from brown cardstock and then added Nuvo Drops for the berries.


Of course I always like to decorate the inside of my card when I create a card. I used the Stitched Squares and Fitted Squares again for the layers. I stamped another sentiment from the A Way with Words - Happy Birthday Collection Clear Stamp set.

To finish off the inside of the card I trimmed a piece from one of the Garden Notes - Leafy Berry Branch 1 die set to the lower right hand corner of the card.

Don't forget to visit the Elizabeth Craft Designs blog to see what the other Design Team have created using the Susan's Garden new release dies.


Supplies:

Elizabeth Craft Designs:


Other:
Cardstock - Pink, Bright Pink, Brown
Black Ink
Oyster Grey Nuvo Crystal Drops
Copics

Monday, November 13, 2017

Owl You Need Is Love

   
Hi Crafty Friends,

Owl's it Going????  Sorry I couldn't resist!!!

Today I am sharing another card using the new ModaScrap stamp sets, I just love this cute little owl! I have been wanting to play with this owl for ages, but time has just gotten away.

I have again used one of the grids from Susan's Garden  Garden Patch 1 inch & Mini Daisy & Chrysanthemum die set. These grids have so many uses.

This time around I trimmed out the middle grids from the bottom left hand corner of the grid and added a large white square for my owl. I added patterned paper to the top and side of the grid and layered this to a square from the Dotted Scallop Squares die set. 

To finish off the front of the card I added Nuvo Drops to the centre of each of the small squares.


As you can see I have used the same layout for the inside of my card as I did for the front of the card. 

I also added a sentiment which is from the "If Animals Could Talk" Clear Stamp set.

Supplies:

Elizabeth Craft Designs:


Other:

Cardstock - Pink; Bright Pink; Black
Black Ink
Foam Tape
Nuvo Rhubarb Crumble Gloss Crystal Drops
Copics