Showing posts with label Joset Designs. Show all posts

Friday, September 23, 2022

Monster Hugs


Hi Crafty Friends,

Thanks for visiting my blog. Today I am sharing a Wiper Card that I created recently.

It's actually been a couple of years since I have made this style of card, so it was fun to get to make this one.

Here is a quick video to see my card in action.

To create the Wiper Card part of this card I used Made To Surprise by Sam Calcott's 5 x 7 Wiper Card die set. This die set includes all the dies needed to create the Wiper Card base, including the layers and wiper mechanism etc. There are three different versions of this die for different sizes which I have linked in my supply list below.


To decorate my card I used Elizabeth Craft Designs Monster Collection which was designed by Joset Designs. I die cut the monsters using various rainbow colours ... four seen from the front and one on the back.
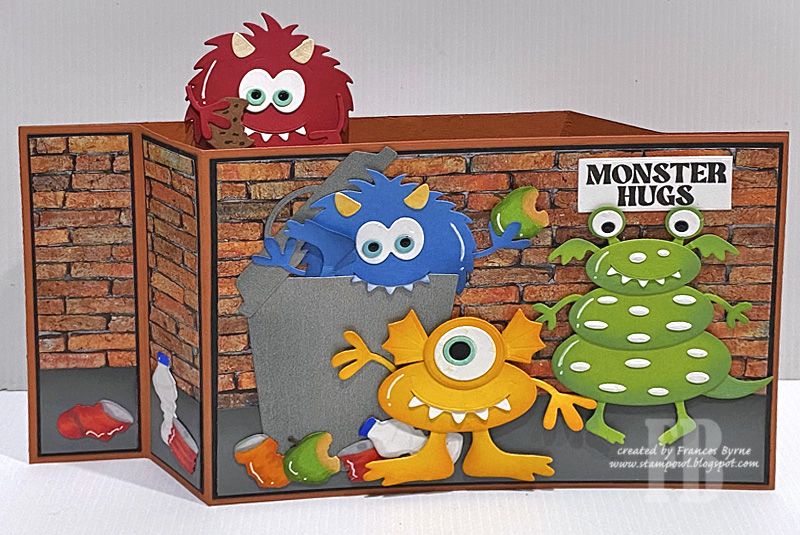

When you pull the sides of the card, it reveals the red monster that is holding a cookie. The monster is attached to a clear acetate wiper mechanism using one of the dies included in the Wiper Card die set.


I have added a white panel to the back of the card, so that I could add a sentiment and write a personal greeting to whoever ends up receiving this. I also added one more of the cute monsters to the panel.





Monday, March 14, 2022

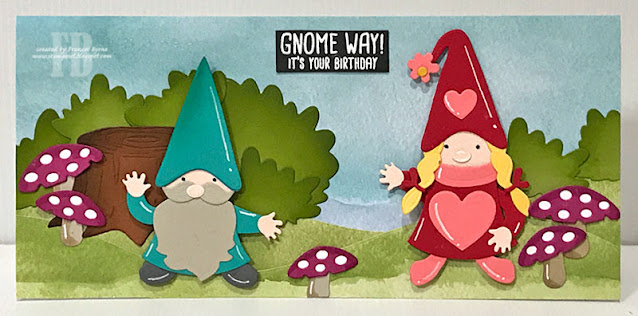
Gnome Way Birthday


Hi Crafty Friends,

I have a fun gnome themed Slimline card to share with you today, using dies from Elizabeth Craft Designs.

My Slimline card measures 4 inches x 8 1/2 inches card to allow for the height of the gnomes.

To create the sky and grass, I used papers from Lawn Fawn's Watercolor Wishes 12 x 12 Paper. 

I used Elizabeth Craft Designs Gnomes and Forest Accessories die sets to create my scene.

For the sentiment I used a gnome themed sentiment using an older Hunkydory stamp set.


For the inside of my card, I added another gnome using the Gnomes die set from Elizabeth Craft Designs. I also added two sentiments using a stamp set from MFT Stamps.


Other Supplies:

Gnome Way Stamp Set - Hunkydory (discontinued)


Sunday, December 5, 2021

'Tis the Season

Hi Crafty Friends,

Today I am sharing a Christmas snowflake Slimline card I created recently.

To create the Slimline card I used Picket Fence Studios Nested Rectangles and Scallop Framed die sets.

I used the emboss resist technique to add the snowflakes to the background panel. The snowflakes are from Scrapbook.com's Slimline Snowflakes stamp set. After embossing the snowflakes with white embossing powder, I then ink blended on Villainous Potion; Prize Ribbon and Salvaged Patina Distress Oxide inks over the background.

The large snowflakes on the right hand side of the card are die cut using Elizabeth Craft Designs Snowflakes die set. I die cut the snowflakes from white cardstock that had Clear Double Sided Adhesive Tape on the front and then covered the adhesive with Warm Diamond Silk Microfine Glitter.

I added a gold foiled sentiment to the centre of the snowflake using Spellbinders Holiday Sentiments 2 Glimmer Set and gold foil.


For the inside of my card, I added another snowflake panel the same as I used on the front of the card, to create a border along the bottom of the card.

I added a Christmas sentiment using Colorado Craft Company's Slimline Poinsettias stamp set.


Saturday, November 20, 2021

Joyful Elves


Hi Crafty Friends,

It’s challenge time with the “Crazies” over on the Crazy 4 Challenges blog. As challenge hostess for the month, I finish off the month with one last challenge.

Being the third Saturday of the month, it's time for a sketch challenge.


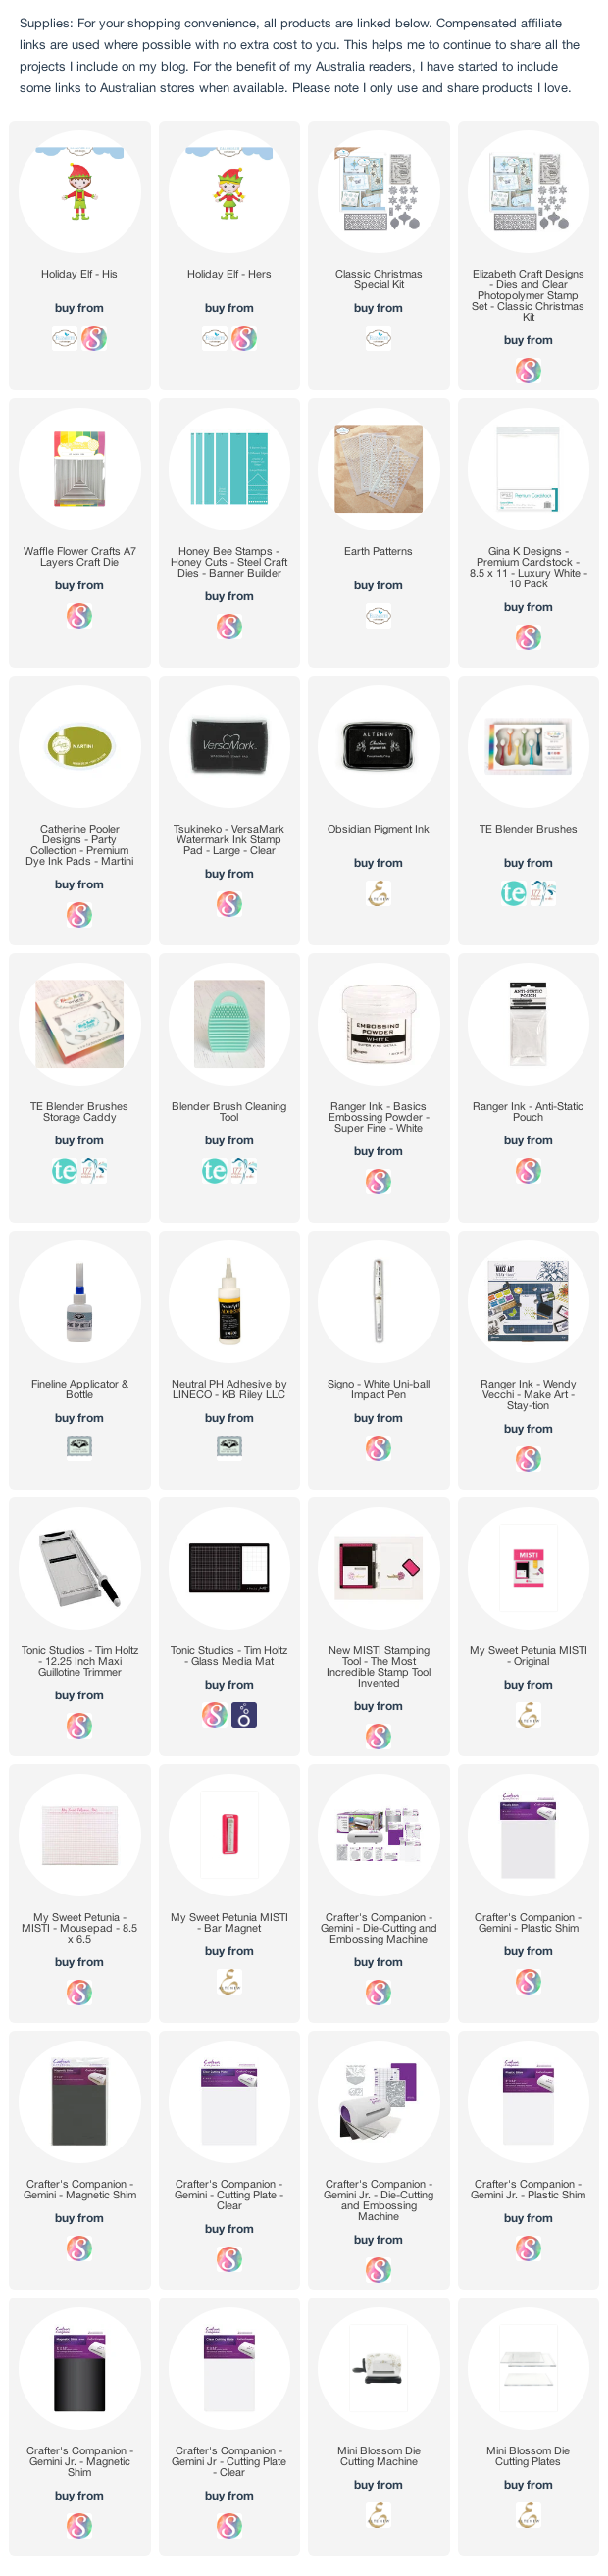
For my card today I pulled out some elf dies from Elizabeth Craft Designs, the cute little elf on the front is from the Holiday Elf - His die set. 

I used the dot stencil from Elizabeth Craft Designs Earth Patterns stencils, to add texture to the card base. I then added patterned paper to the left side of the card.

The sentiments are from Elizabeth Craft Designs Holiday Sparkle stamp set which is included in the Classic Christmas Special Kit.


I added a basic box pop-up to the centre of the inside of the card to which I added the girl elf from the Holiday Elf - Her die set.

The rectangle panels on the front and inside are from Waffle Flower Crafts A7 Layers die set.

Don't forget to check out the rest of the “Crazies” cards over on the Crazy 4 Challenges blog and also their individual blogs for more details.


Sunday, November 14, 2021

Joyful Wishes


Hi Crafty Friends,

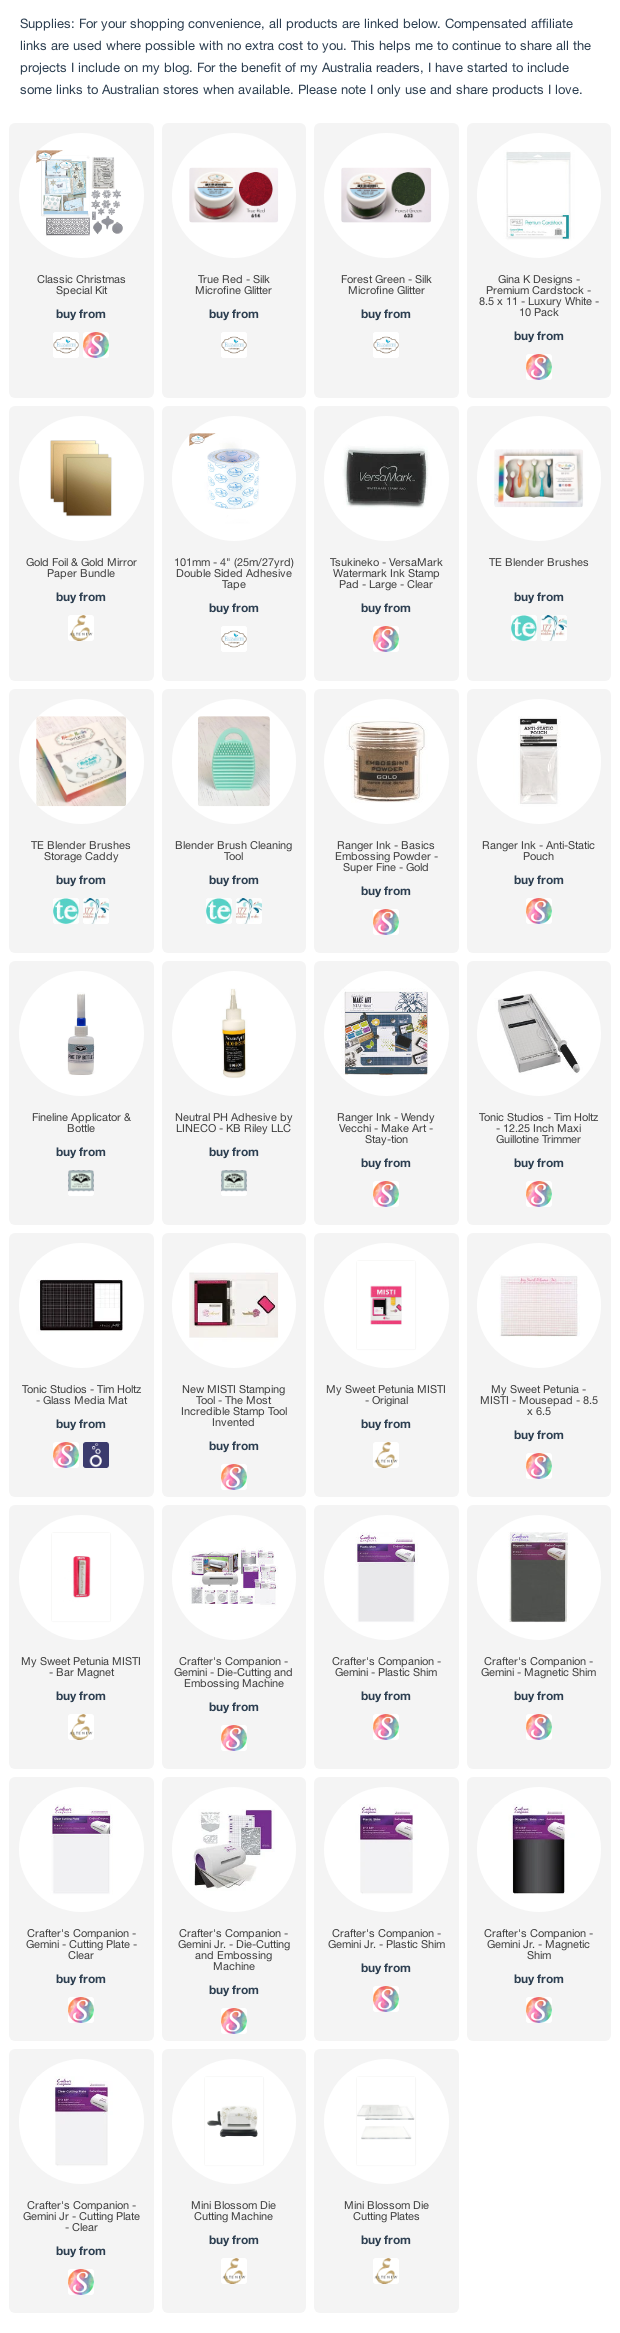
I am excited to share a Christmas themed Slimline card using Elizabeth Craft Designs Classic Christmas Special Kit that they released about a month ago. This kit contains a Slimline die which is suitable to use anytime during the year, an ornament die set, a snowflake die set and a Christmas sentiment stamp set.

I die cut the slimline die using white cardstock and layered that to a top folding slimline card that measures 3 1/2 inches x 8 1/2 inches.

I die cut each of the ornaments from white cardstock that had Clear Double Sided Adhesive Tape on the front. The three snowflakes and ornament toppers were die cut from gold mirror cardstock. I carefully placed the snowflakes and ornaments toppers onto the adhesive of each of the ornaments. I then covered the ornaments with either True Red and Forest Green Silk Microfine Glitter.

I adhered the ornaments to the front of my slimline card using gold cord on the toppers.

I gold embossed one of the sentiments from the stamp set which I added to the bottom centre of my card.


For the inside of the card, I added two more glittered ornaments onto the card. I added another of the sentiments included in the stamp set in between the ornaments.


Friday, October 29, 2021

Santa Snow Globe


Hi Crafty Friends,

Today I am sharing a Christmas card I created using stamps and dies from Elizabeth Craft Designs, all dies used were designed by Joset Designs.

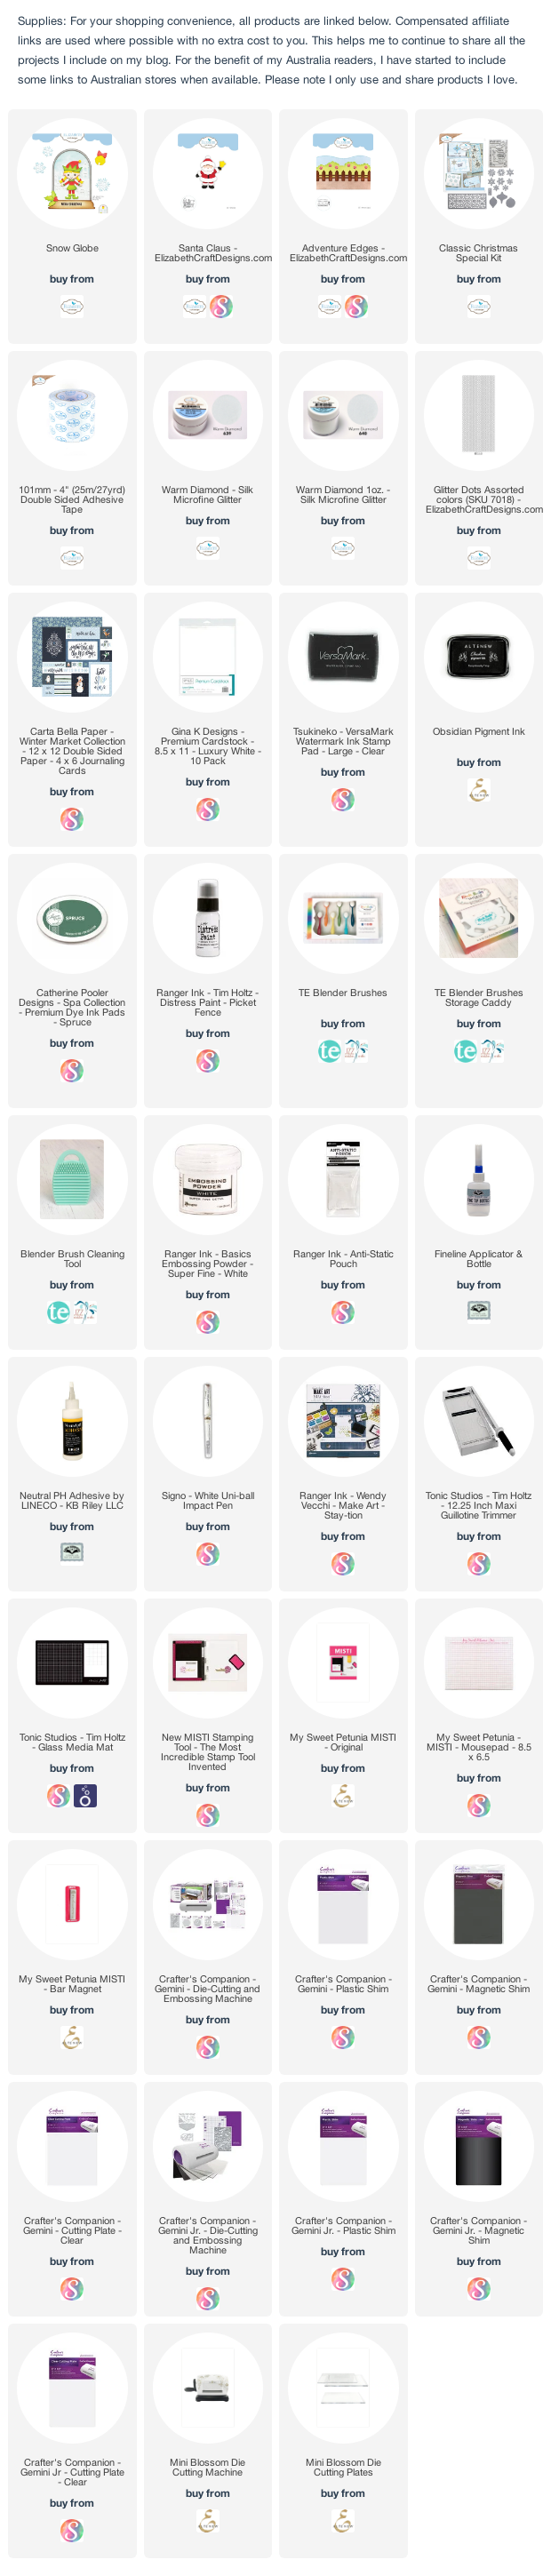
To create my card I used the Snow Globe die. I die cut the snow globe frame once from silver cardstock and 4 times from white cardstock, I layered the frames together with the silver frame on the top. For the centre portion of the snowglobe I die cut from navy cardstock and used white paint to spatter over the panel. I used a snow/dirt border included in the Adventure Edges 2 die set to add the snow at the bottom of the snow globe. I die cut the snow globe stand from green 7 white cardstock, layering them so they were the same height as the frame. 
I white embossed the Christmas sentiment to the green stand using a sentiment from the Holiday Sparkle stamp set which is included in the Classic Christmas Special Kit.

In the centre of the snow globe I added Santa, using the Santa Claus die set.

I adhered the snow globe and Santa to a 5 inch x 7 inch top folding card. I then added the snowflakes around the snow globe which are also included in the Snow Globe die set.


For the inside of the card I added a strip of patterned paper to the left side of my card. I then added another of the sentiments from the Holiday Sparkle stamp set.

I added the snowflakes around the sentiment which have been glittered using Warm Diamond Silk Microfine Glitter and Clear Double Sided Adhesive Tape.


Saturday, October 26, 2019

From Our House To Yours Centre Step Card


Hi Crafty Friends,

It’s challenge time with the “Crazies” over on the Crazy 4 Challenges blog. Tracey Farr our challenge hostess for the month finishes off her month with one last challenge.

Wreaths - Tracey just loves the look of wreaths, she says there's just something about them that appeals to her eye. So our challenge this week is to put a wreath on your card, any style or theme you like.

I created a christmas themed Centre Step Card using Divinity Designs Center Step Card with Layers die set. For my card today I omitted the layers and stencilled bricks direct to the base of the white card to create the look of the house.

I added some glittery snow to the base of the card using the snow/dirt border from Elizabeth Craft Designs Adventure Edges 2 die set. I die cut this from white cardstock that had Clear Double Sided Adhesive Tape on the front and covered the adhesive with Warm Diamond Silk Microfine Glitter.


I then used Elizabeth Craft Designs Christmas Door die set to decorate the front of the card. I love this die set, it has everything you need to create a front view of a house scene. Of course the wreath which I needed to add for the challenge, is adhered to the door.


For the inside of my card, I added another snowy hill along the bottom of the card. I also added a large Christmas tree to the left side of the card using dies included in the Sleigh die set.

To finish off the card I added two sentiments "From Our House To Yours" and "Merry Christmas To You & Yours". Both sentiments are from a long retired Waltzing Mouse Stamps stamp set, as I wanted to include the "From Our House To Yours" on my card.  I believe ECD has a similar sentiment included in their "Joyful Wishes" stamp set but as I don't have that set I used what was on hand. I have linked to the ECD version below in case you are interested.

Don't forget to check out the rest of the “Crazies” cards over on the Crazy 4 Challenges blog and also their individual blogs for more details.


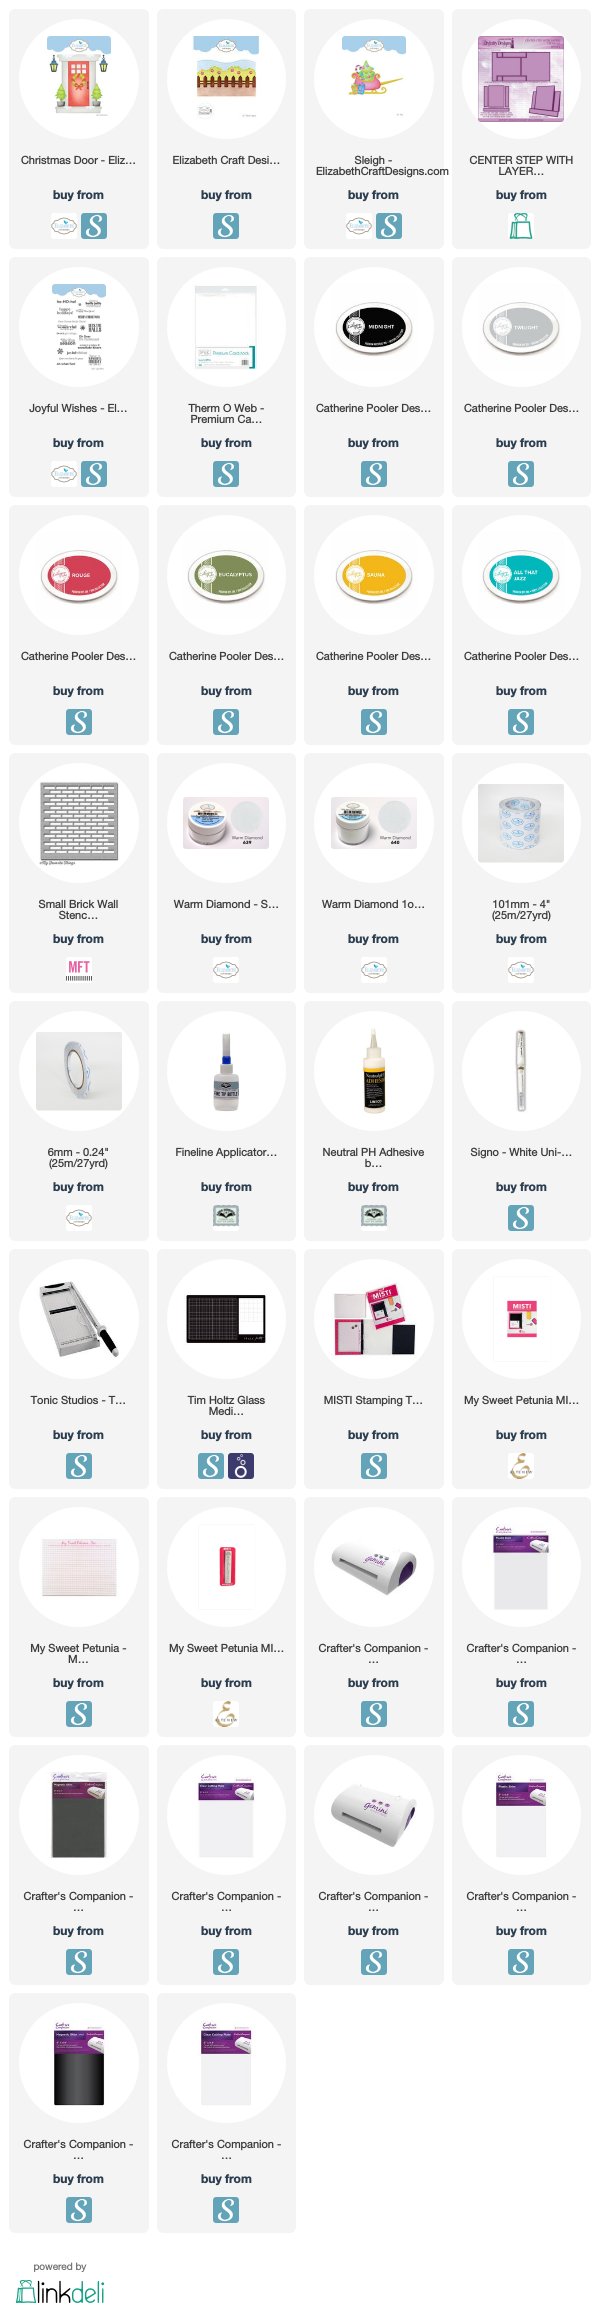
Supplies:
For your shopping convenience, all products are linked below. Compensated affiliate links are used where possible with no extra cost to you. This helps me to continue to share all the projects I include on my blog. For the benefit of my Australia readers, I have started to include some links to Australian stores when available. Please note I only use and share products I love.


Christmas Cottage - Waltzing Mouse Stamps (retired)


Tuesday, September 24, 2019

Snowflake Season's Greetings


Hi Crafty Friends,

Today I am sharing a Christmas themed Z Fold Card I created using products from Elizabeth Craft Designs.


This is a fairly simple Z Fold card where you score and fold the front of the card in half and create a mountain fold from the score line. 

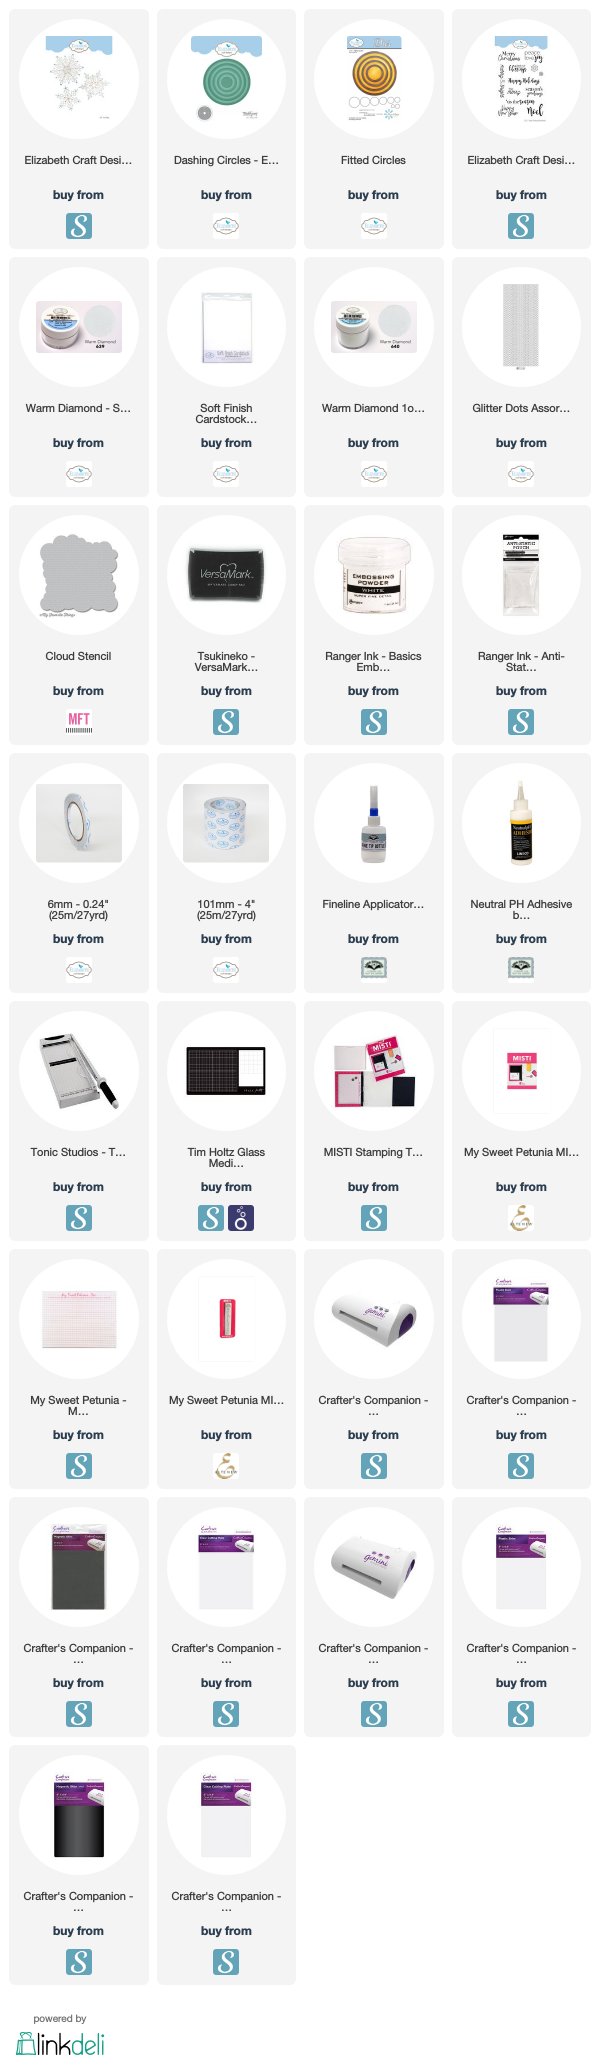
For my card today I decorated it using the new Snowflakes die set. This die set includes 3 large snowflakes which are gorgeous. I decided to use the larger of the snowflakes for this card which also has a smaller snowflake in the centre of it for some extra dimension.

I die cut the snowflake using Soft Finish Cardstock that had Clear Double Sided Adhesive Tape on the front and then covered the adhesive with Warm Diamond Silk Microfine Glitter. I added Glitter Dots Peel Off Stickers to each tip of the snowflake.

I added a sentiment to the lower left hand side of my card.


I added a sentiment to the centre of the inside of the card which is layered using the Dashing Circles and Fitted Circles die sets.


Supplies:
For your shopping convenience, all products are linked below. Compensated affiliate links are used where possible with no extra cost to you. This helps me to continue to share all the projects I include on my blog. For the benefit of my Australia readers, I have started to include some links to Australian stores when available. Please note I only use and share products I love.


Monday, September 16, 2019

Reindeer Christmas


Hi Crafty Friends,

Today I am sharing a Christmas card using products from Elizabeth Craft Designs.

I started by die cutting a piece of white cardstock using the second largest rectangle from the Dashing Rectangles die set, and applied Distress Oxide inks in Faded Jeans and Chipped Shappire to create a night sky. I then splattered over Picket Fence Distress Paint using a paint brush to look like snow.

I used the dirt/snow border from the Adventure Edges 2 die set to create my snow, die cutting from white cardstock that has Clear Double Sided Adhesive Tape on the front and then covering the adhesive with Cool Diamond Silk Microfine Glitter.

I used the Reindeer die set to create the reindeer on the right hand side of the card. I used the two smaller tree sections from the Sleigh die set to create the tree on the right side of my card.

To finish off the front of the card I added the A Way With Words Merry Christmas Small die set which I die cut using gold cardstock layering two gold die cut pieces and then offsetting a black die cut word.


For the inside of my card I added another tree, this time using all three of the tree sections from the Sleigh die set and added the "Ho Ho Ho" sentiment which is from A Way With Words Flourished Christmas Minis die set.

Supplies:
For your shopping convenience, all products are linked below. Compensated affiliate links are used where possible with no extra cost to you. This helps me to continue to share all the projects I include on my blog. For the benefit of my Australia readers, I have started to include some links to Australian stores when available. Please note I only use and share products I love.


Monday, September 9, 2019

Hoot! Note Book


Hi Crafty Friends,

Today I have a fun decorated note book to share with you.

While looking for something in one of my cupboards recently, I discovered this note book that had a glittered cover. I must have purchased this a year or two ago with the idea to decorate it .... so I finally pulled it out and did just that.

To decorate the note book, I used the new Owl die from Elizabeth Craft Designs. I added the branch which is from their Winter Birds die set. 


To create the word "hoot" I used letters from the "Hello" and "just" words from the Words 2 - Thinking Of You die set.

Supplies:
For your shopping convenience, all products are linked below. Compensated affiliate links are used where possible with no extra cost to you. This helps me to continue to share all the projects I include on my blog. For the benefit of my Australia readers, I have started to include some links to Australian stores when available. Please note I only use and share products I love.


Monday, September 2, 2019

Season's Greetings Village


Hi Crafty Friends,

Today I have another Christmas card to share with you today. 

I have created a U Fold or Bridge Card using Elizabeth Craft Designs Village Edges die set. 


To create the U Fold Card, I started with a piece of dark blue cardstock that measures 8 inches x 4 3/4 inches. I then scored along the 8 inch side at 1 1/4 inches and 2 1/2 inches on each side.

I splattered white paint all over the blue card base to represent snow/stars.


I die cut the two Village Edge dies from White Soft Finish Cardstock that has Clear Double Sided Adhesive Tape on the front. I then covered the adhesive with Cool Diamond Silk Microfine Glitter.

I added one of the village edges to the 3 inch inset of the card adhering this to a stripe of cardstock.

The other Village Edge is attached to the front of the card.

I added the Season's Greetings sentiment from Words 5 - Winter Wishes die set to the top portion of the inset.

I also added the star to the top right hand side of the card.

I also added the fence and trees to the card.


On the back panel of the card I added a sentiment from the Classic Christmas Sentiments stamp set and added a portion of the Village Edges and two trees.


This card folds flat, so it can be placed in an envelope.


Supplies:
For your shopping convenience, all products are linked below. Compensated affiliate links are used where possible with no extra cost to you. This helps me to continue to share all the projects I include on my blog. For the benefit of my Australia readers, I have started to include some links to Australian stores when available. Please note I only use and share products I love.