Showing posts with label Stencils. Show all posts

Thursday, August 6, 2026

Winterberry Poinsettia


Hi Crafty Friends,

Today I am sharing four Christmas cards I created using products from Altenew.

For this card I used the Winterberry 3D Embossing Folder & coordinating stencils. I figured while I have all the inks etc out I might as well make 4 as one, after all I need to make a number of cards to send out each Christmas.

Here is a close up of my card. After stencilling the card, I added gold splatter to the card.

For the sentiments I found some already made gold glimmer foiled Christmas sentiments. I had two of each type of sentiments, so I used those on these cards. 

This is the same card as the one above, just the sentiment is differed. Two say "Season's Greetings" and the other two say "Merry Christmas".

I kept the inside fairly simple, added a red strip that I also gold splattered to the bottom of the card.

I also stamped a Christmas sentiment in gold to the top portion of the card. This is an older stamp set from my stash.


Monday, July 13, 2026

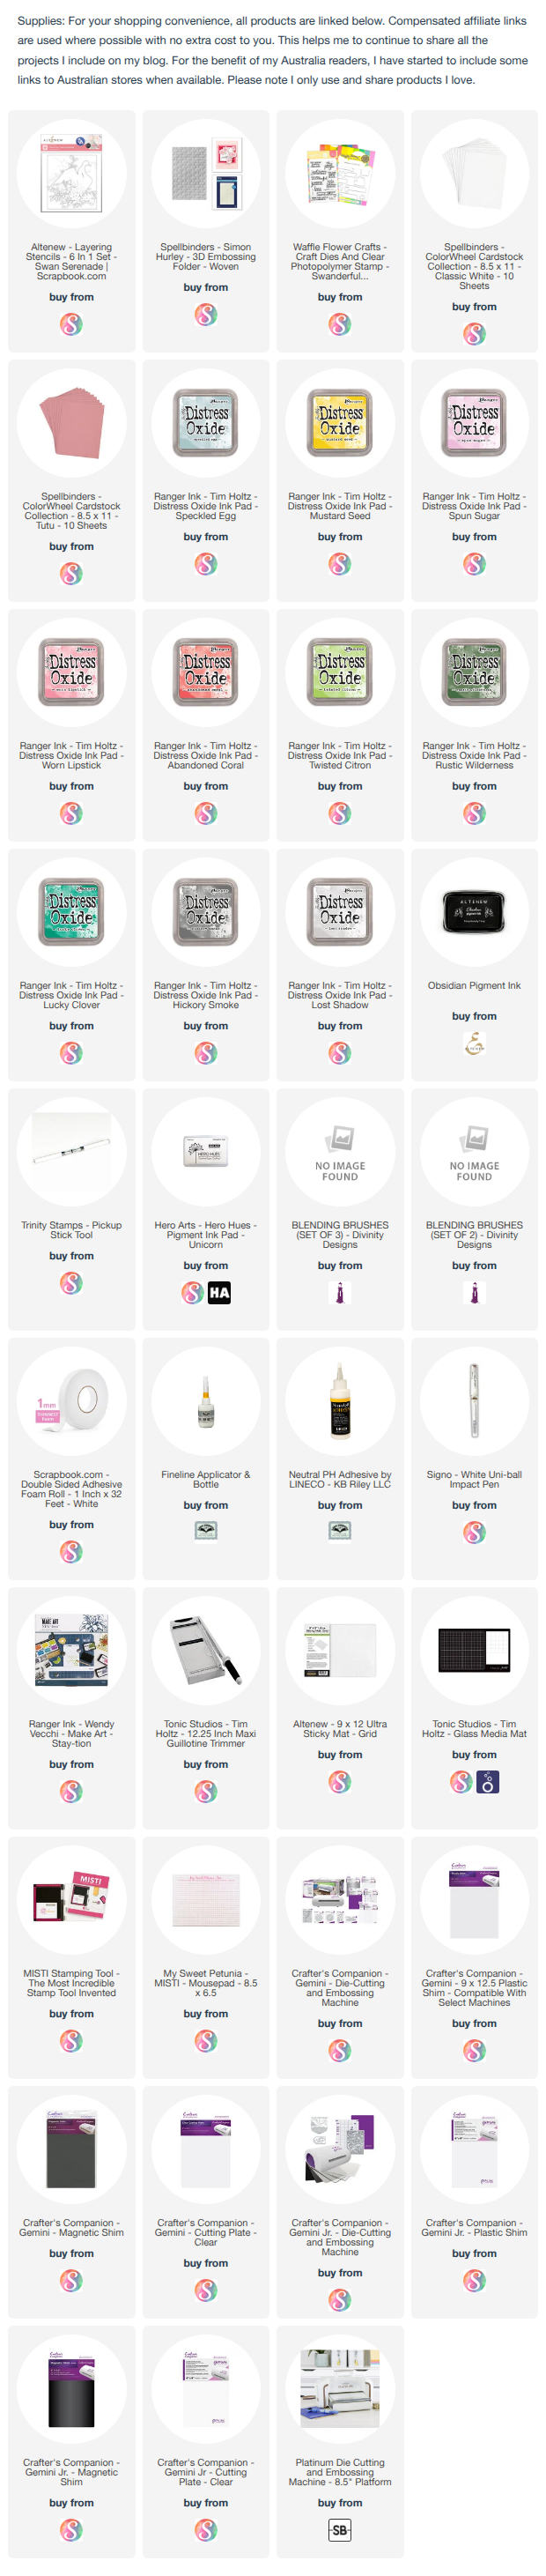
Just Swan To Say Hello


Hi Crafty Friends,

Today I am sharing a 5 x 7 stencilled card I created recently.

For this card, the swan image has been stencilled, using the Swan Serenade Stencil set from Altenew. After adding all the ink to through the various layers, I trimmed it down so it would fit on a 5 x 7 card base.

For the card base I took a piece of pink cardstock and embossed it using Spellbinders Woven 3D Embossing Folder, which I then swiped with white pigment ink.

To finish off the card I added a "swan" themed sentiment which is from Waffle Flower Crafts.


For the inside of the card I added another sentiment and the left over panel of embossed cardstock to the bottom edge.


Wednesday, June 17, 2026

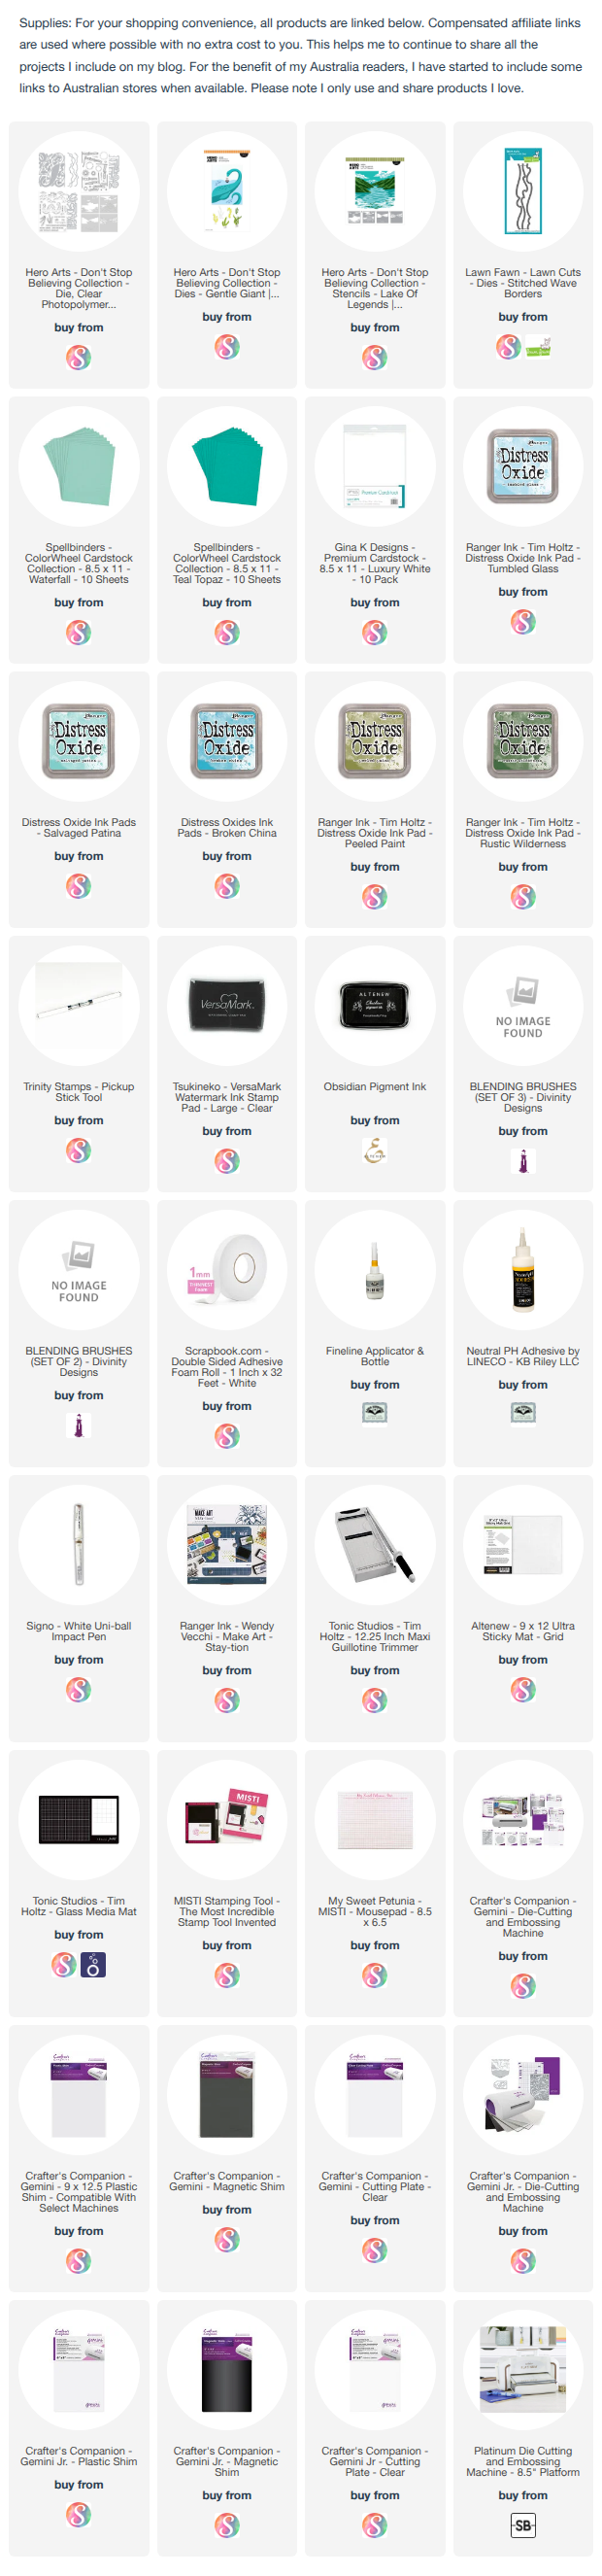
Make A Splash

Hi Crafty Friends,

Today I am sharing a fun 5 x 7 Pop up card with a see through front. This is called a 2 Tier card, you can find the tutorial by Sam Calcott here.

For my card I started with the background which was created using Hero Arts Lake of Legends Stencil set. To decorate the card I used the Gentle Giant die set. 

I didn’t want to hide too much of the background or the sea creature, so I changed the sizes and number  of my tiers. Sam’s card used 3 pop ups, I opted for 2. 

I used the stencil to continue the water on my pop up panels. 


Here you can see my card when it is closed. As it has acetate on the front panel, you can see most of the inside when it is closed.


I added a panel on the back, so I could add a sentiment and have space to write a personal message to the recipient.


Monday, May 18, 2026

It's Your Birthday


Hi Crafty Friends,

 Welcome to my blog! Today I am sharing a 5 x 7 birthday card I created recently.

For this card I used Concord & 9th’s Big Day Birthday Stencils designed by Kristina Werner to create the background panel. I used the Big Day Birthday dies to add the sentiment. 


For the inside of my card I had a leftover piece of the stencilled card, so I added that to the right edge of my card. I then used the Big Day Birthday stamp set & an older Altenew birthday stamp set to add the sentiment.


Wednesday, April 22, 2026

Summer Camp Scene


Hi Crafty Friends,

Welcome to my blog. For my card today I am sharing a 5 x 7 card using Spellbinders Summer Camp Collection designed by Allison Frazier.

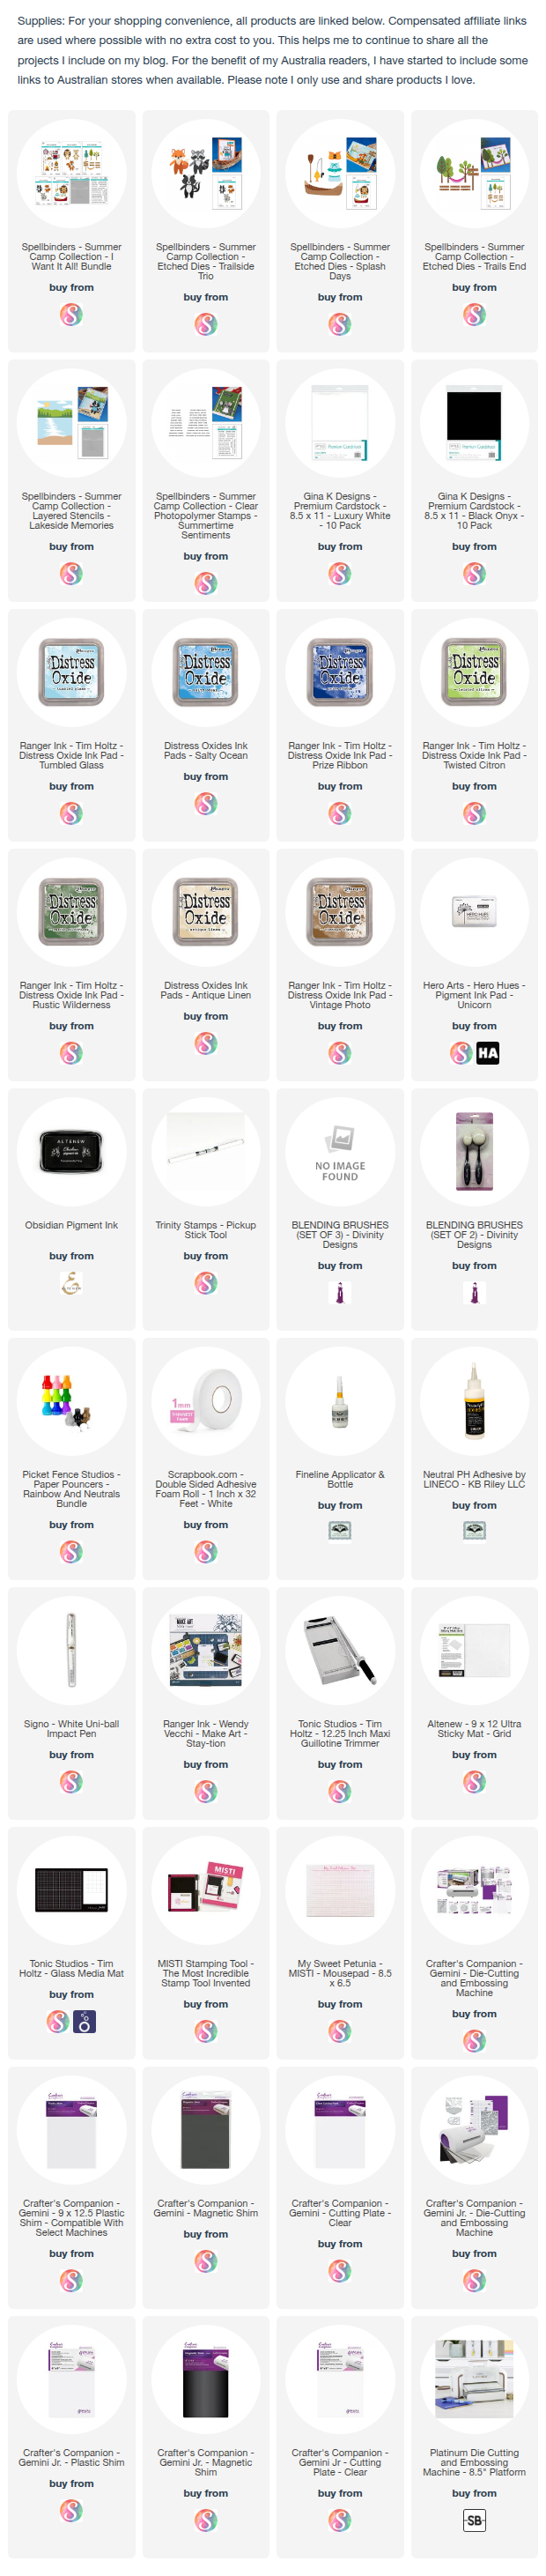
For the background scene I used the Lakeside Memories Stencil set. This stencil is A2 size, and as I wanted to extend it for a 5 x 7 card I was careful how I added ink to the right side. As I messed up the Sky area, I cut off the sky and added a piece of blue cardstock and added clouds & a sun to the area.

To decorate the card I used the Trailside Trio, Splash Days and Trails End die sets.


For the inside of my card I added another tree from the Trails End die set. I also added two sentients using the Summertime Sentiments Clear stamp set.


Friday, February 27, 2026

Stencilled Bunny Ears


Hi Crafty Friends,

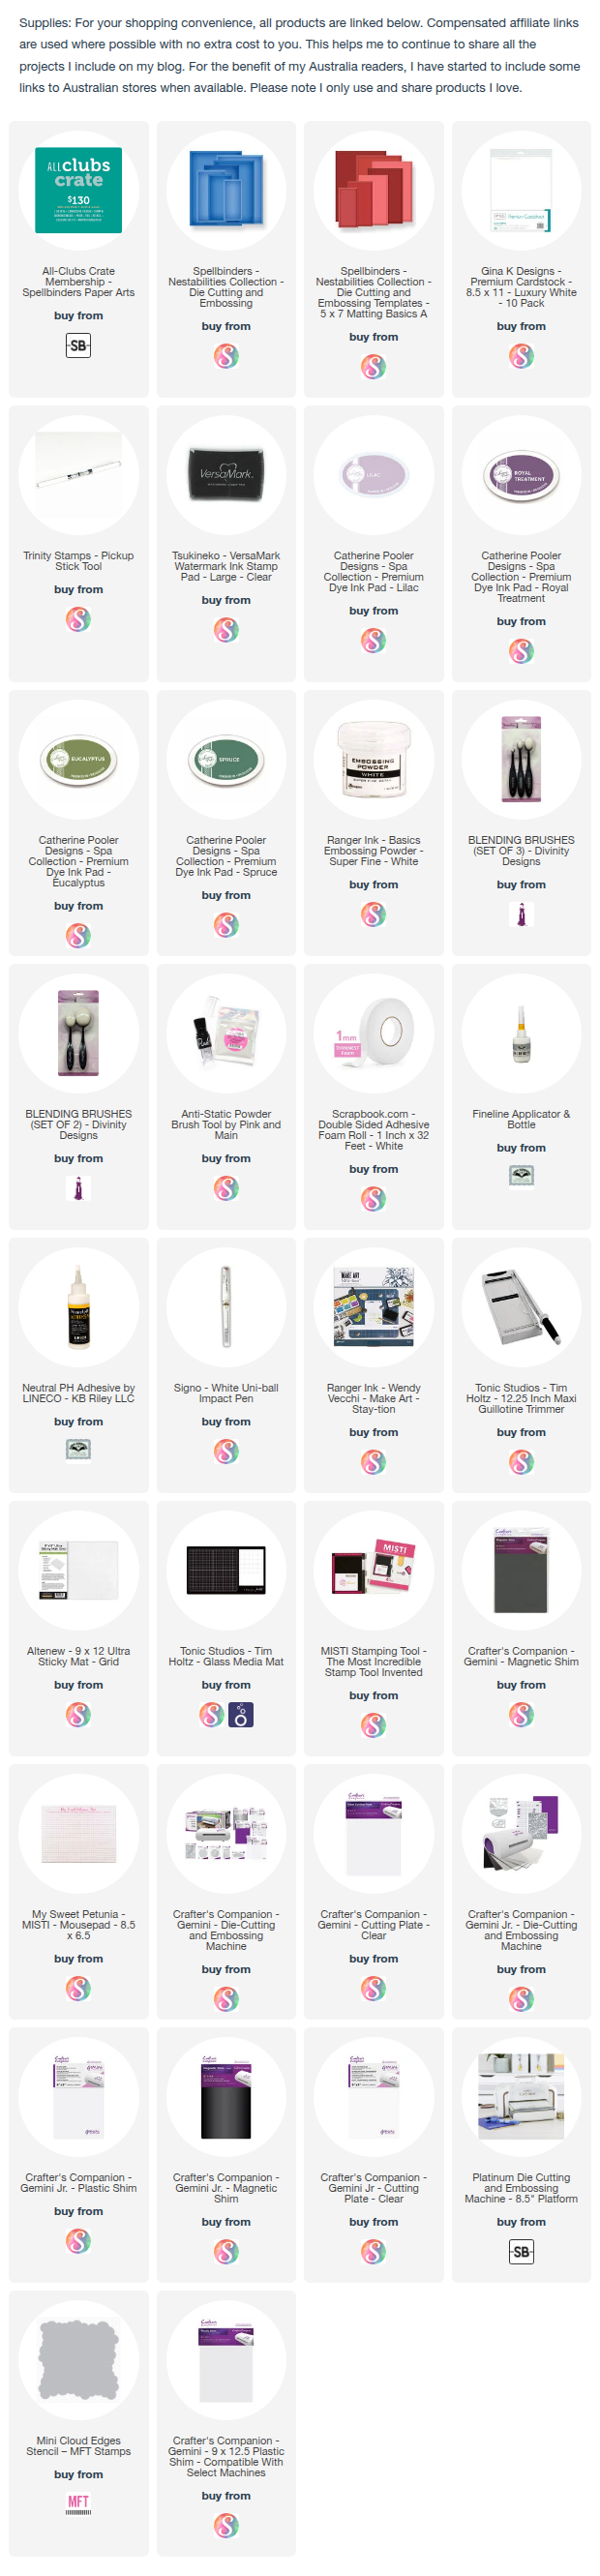
Today I am sharing a 5 x 7 Easter card using products from Spellbinders February All Clubs Crate.

To start I used the stencil of the month called Botanical Bunny. I used inks in greens and purples to the stencil pieces. 

I used the Spring Stripes Embossing Folder to add texture to the back panel of the card. 

The sentiment is from the Ears to Spring Clear Stamp/Die set.


For the inside of the card, I used the leftover embossed panel along the bottom of the card. I also added another sentiment.


Monday, January 19, 2026

This Is A Paper Hug


Hi Crafty Friends,

Today I am sharing two cards I created using stencils designed by Kristina Werner for Concord & 9th. These stencils are 6 x 9 in size which means you can create larger cards with them, and as I like making larger cards these are perfect for me.


For the stencil I used the Bitsy Blooms Stencil adding colours in various shades of pinks, purples and greens.


I used Spellbinders Woven 3D Embossing folder to add texture to the 5 x 7 panels of the card.

For the sentiments, I used stamps from Kristina Werner's Written Words 2 stamp/die set.


Here is a look at the inside of the card. I added strips of card to the sides of the card and added another of the sentiment stamps from the stamp set.


Wednesday, January 14, 2026

Thinking About You Today


Hi Crafty Friends,

Today I am sharing another card using 3 of the club it’s from Spellbinders December 2025 Caboodle. For this card I have used the Stencil of the month for the image. I added one of the sentiments using the Clear Stamp of the month. For the 5 x 7 background, I pulled out the 2D Embossing Folder. 

I die cut the white panel using Spellbinders Essential Stylish Ovals die set,before adding it to the front of my card.


For the inside of my card, I stencilled the bird and heart balloon only to the bottom and added another sentiment.


Friday, December 19, 2025

Slimline Ornaments


Hi Crafty Friends,

Today I am sharing two Slimline Christmas cards I created recently. I made these a few weeks ago, but haven't had the time or energy to take photos to add them to my blog.


For these two cards I used Concord & 9th's Ornaments Stencil Pack designed by Kristina Werner. I am loving her stencil packs as they are all 6 x 9 stencil packs which means they are ideal for larger cards like Slimline and 5 x 7 cards which is what I prefer to make. I used four different shades of inks for the ornaments and a darker shade for the snowflake on each ornament, I then cut the panel into two panels to create slimline cards.


I added a reverse foiled sentiment to the inside of the cards. Being that these are Christmas cards, I kept the inside fairly simple.


Friday, December 5, 2025

Happy 90th


Hi Crafty Friends,

Today I am sharing a 90th birthday card I created for a friend who is turning 90 in December. As December is a busy month and very hot down here in Australia, he had his party early. 

For the card base, I used Made To Surprise by Sam Calcott's Side Panel Card die set which creates a 5 x 7 inch card.  

For the blue panels, I pulled out Kristina Werner's Dots on Dots Stencil Pack. I love that she is creating 6 x 9 stencils as I love making larger cards and this gives me more options.

The "Happy", "Birthday" and "90th" are also from Made To Surprise.


I used the whiskey glasses from Spellbinders Love on the Rocks die set for the middle portion of the card.


 This is a look at the back of the card. I added the white panel and added a stamped sentiment, leaving enough room for a personal message to be added.


Monday, November 17, 2025

Red & Green Merry Christmas


Hi Crafty Friends,

Today I am sharing four more Christmas cards I created recently using stencils & foil plates.


These cards were created using Spellbinders Baubles & Festive Background Stencil which was the Stencil of the Month for October 2024. I used red & green inks for the baubles and then used a gold texture paste for the hanger.

I used Waffle Flower Crafts Merry Christmas Duo & it’s coordinating foil plate for the sentiment for the two cards above.

For this card, I used a Spellbinders sentiment which is the negative image of my foiled sentiment.

When I was adding the gold texture paste, I got some where I didn’t want it. As I didn’t want to waste the panel, I cut the layers smaller for this one,


For the inside of my card I stamped a Christmas sentiment from Divinity Designs using Metallic Gold ink.