Showing posts with label Flip-It Cards. Show all posts

Sunday, June 27, 2021

A Happy Hello

Hi Crafty Friends,

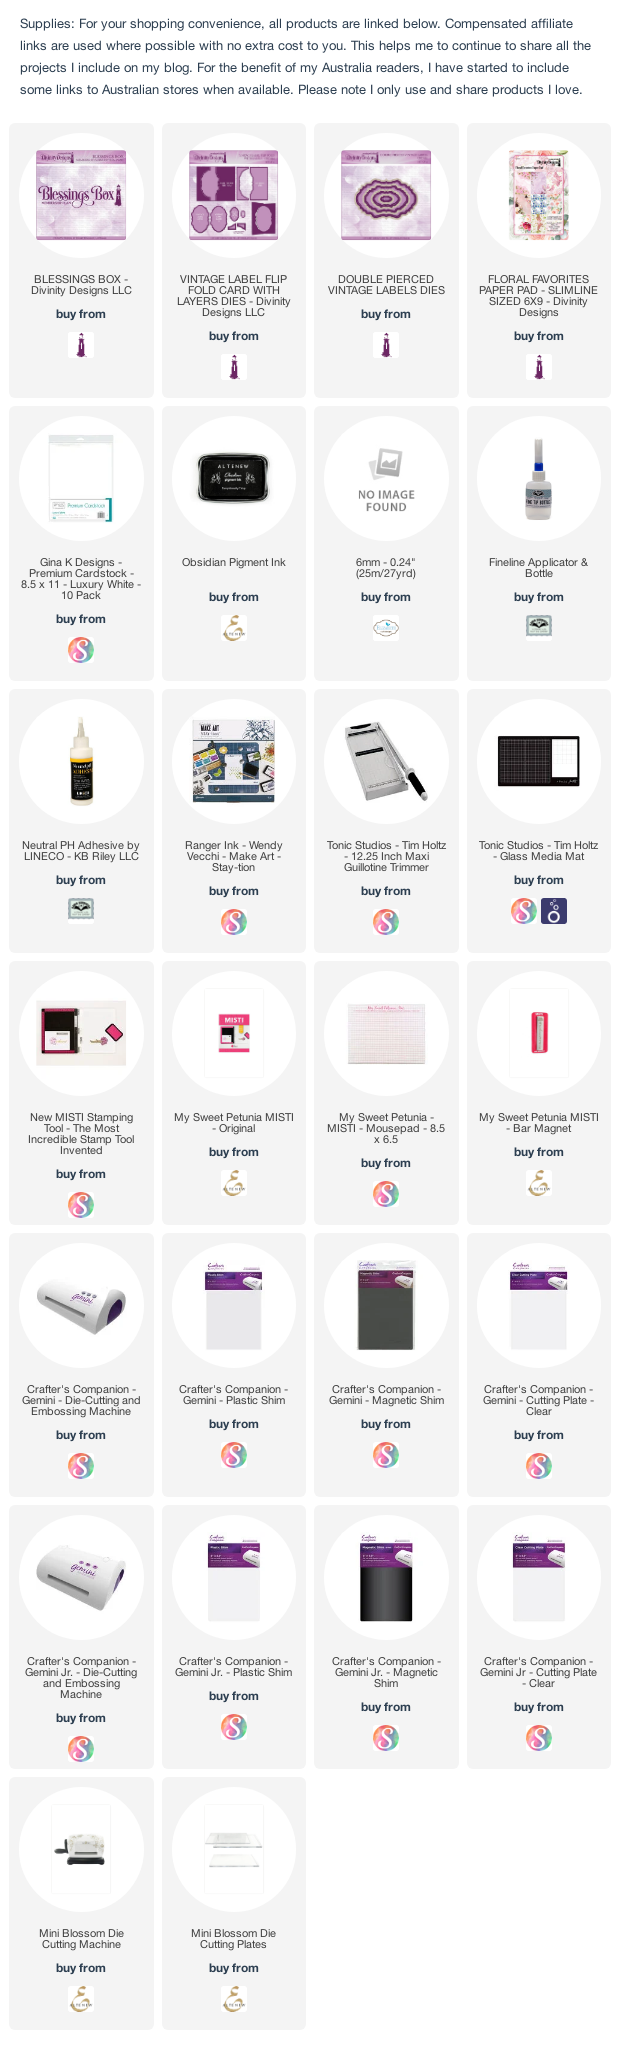
Today I am sharing a card I created recently using stamps and dies from Divinity Designs April 2021 Blessings Box.

I am just loving the new Paper/Die Duo sets that Divinity Designs included in the April 2021 Blessings Box. There are three different Paper/Die Duo sets each with two different floral designs and a coordinating die for each design.

For my card today I pulled out the rose from the Beautiful Blossoms Paper/Die Duo Set one. 


For my card I used Divinity Designs Vintage Labels Flip Fold Card which I die cut from pink cardstock. For the layers I used one of the papers from the Floral Favorites Slimline Paper Pad, the papers included in this collection are gorgeous!

I also used one of the labels from the Vintage Labels die set to add the white label to the top of the label area of the card.

I stamped the sentiment from the Sweet Friend stamp set (also included in the blessings box to the lower portion of the label and then decorate the remainder of the label with the roses.

When you "flip" the card open it reveals another label which is decorated with more roses and another of the sentiments.


Friday, August 21, 2020

Be The Light


Hi Crafty Friends

Today we are taking a look back at Divinity Designs August Release.Today I have created two cards using the new Be The Light  Stamp set. For more inspiration using the July Release and to see the other designers projects, be sure to visit the Divinity Designs Blog .


For my first card I created a trifold card using the Tri-Fold Card with Layers die set. I used papers from the Cool & Casual Collection as well as the Patriotic Collection.


I added two sentiments from the Be the Light Stamp set using the Double Stitched Circles and Circles die sets.


For my second card today I created a flip-it or flip fold card using Divinity Designs Vintage Flip Fold Card with Layers die set.

I used the Double Pierced Vintage Labels die set to die cut the lighthouse image.


I used papers from the Patriotic Collection to decorate the layers of my card. I added the "Be The Light" sentiment which was die cut using one of the labels from the Sentiment Strips die set.


When you pull the left hand side panel, the label in the centre flips over to reveal another of the sentiments from the Be the Light stamp set.

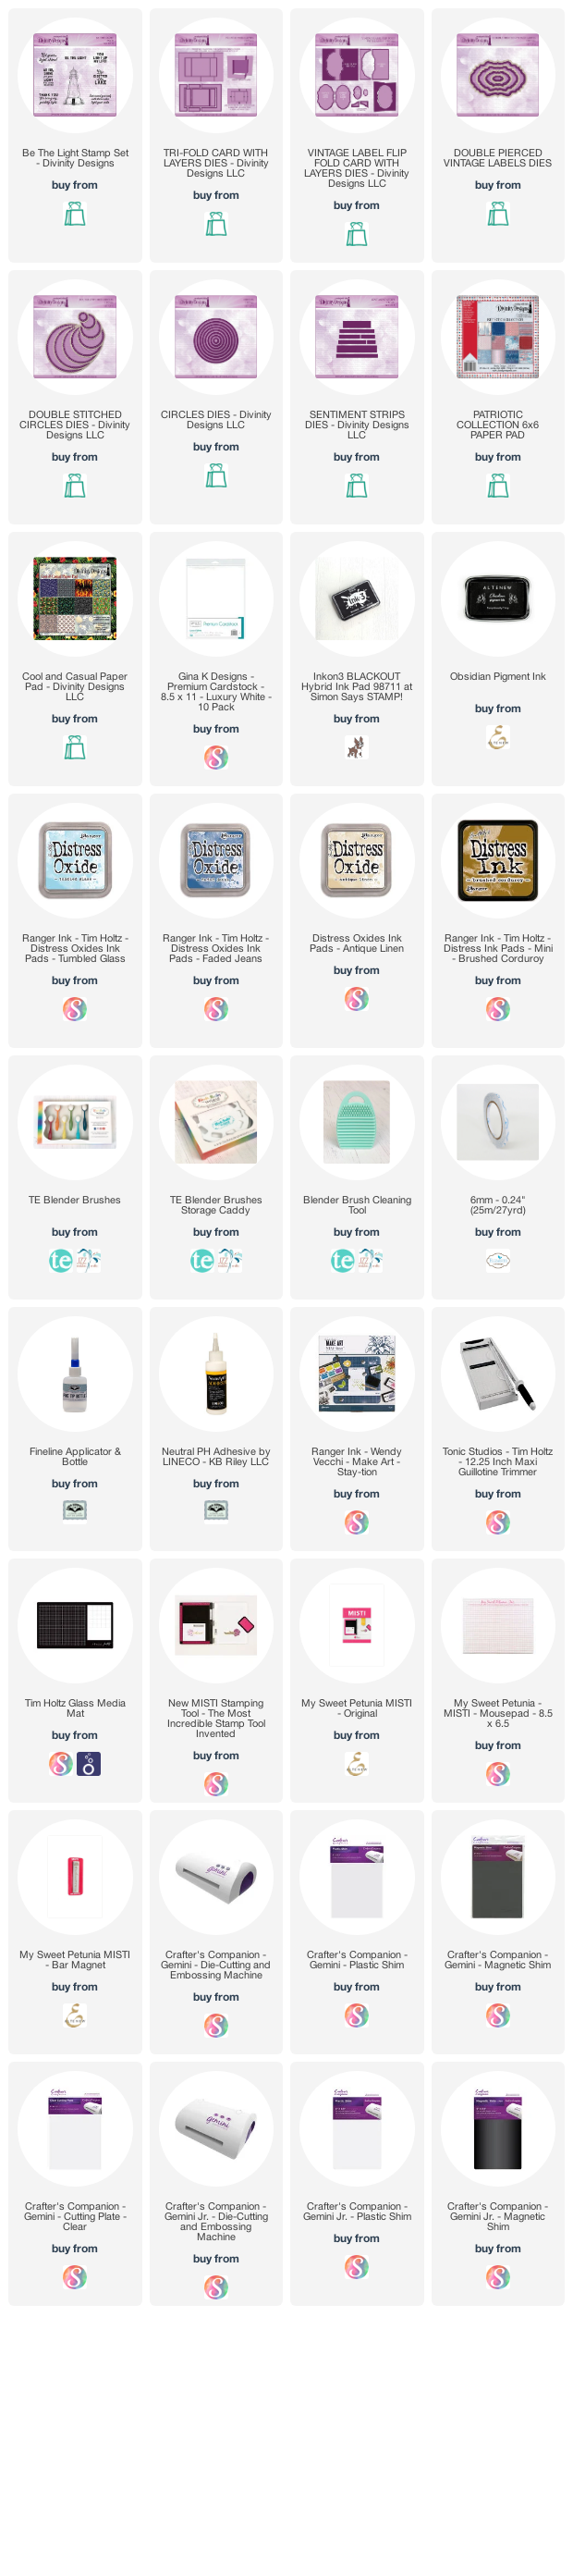
Supplies:
For your shopping convenience, all products are linked below. Compensated affiliate links are used where possible with no extra cost to you. This helps me to continue to share all the projects I include on my blog. For the benefit of my Australia readers, I have started to include some links to Australian stores when available. Please note I only use and share products I love.


Sunday, May 10, 2020

Thinking of You


Hi Crafty Friends, 

Today I am sharing a Flip Fold card I created using one of the new Stamp/Die Duo sets that was released by Divinity Designs in April.


For this card I used Divinity Designs My World Stamp/Die Duo set along with the Vintage Label Flip Fold Card with Layers die set and the Double Pierced Vintage Labels die set.

I used papers from Divinity Designs Blushing Rose Collection Paper Pad.


 When you pull the card open, it reveals one of the sentiments & the single rose from the My World Stamp/Die Duos set.

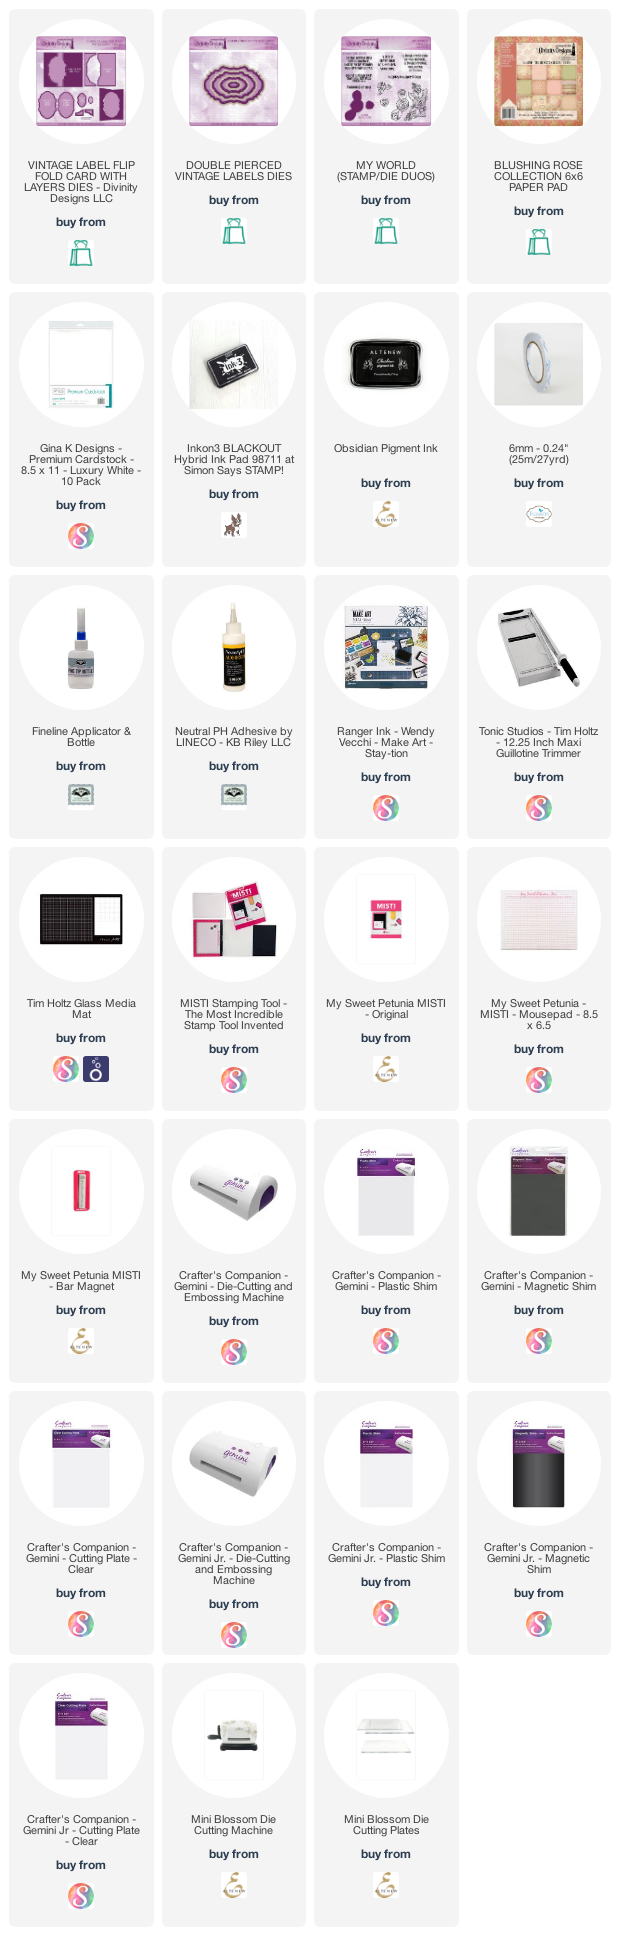
Supplies:
For your shopping convenience, all products are linked below. Compensated affiliate links are used where possible with no extra cost to you. This helps me to continue to share all the projects I include on my blog. For the benefit of my Australia readers, I have started to include some links to Australian stores when available. Please note I only use and share products I love.


Friday, May 17, 2019

Best Dad Ever


Hi Crafty Friends,

Today we are taking a look back at Divinity Designs May Release, here is the card/project I created using the new Best Dad Ever stamp set. For more inspiration using the May Release and to see the other designers projects, be sure to visit the Divinity Designs Blog .


For my card today I created a Flip Fold Card using Divinity Designs Vintage Label Flip Fold Card with Layers die set.

For the layers of the card I used one of the papers from the new Weathered Wood Paper Collection. 

I stamped the image from the Best Dad Ever stamp set onto white cardstock and then die cut the image using one of the labels from the Vintage Label Flip Fold Card with Layers die set. I masked the ducks and added blue & green inks.


When you 'flip' the card it reveals a sentiment also from the Best Dad Ever stamp set on the label on the reverse side of the centre label.

Thanks for visiting my blog today, I hope you enjoyed my project.


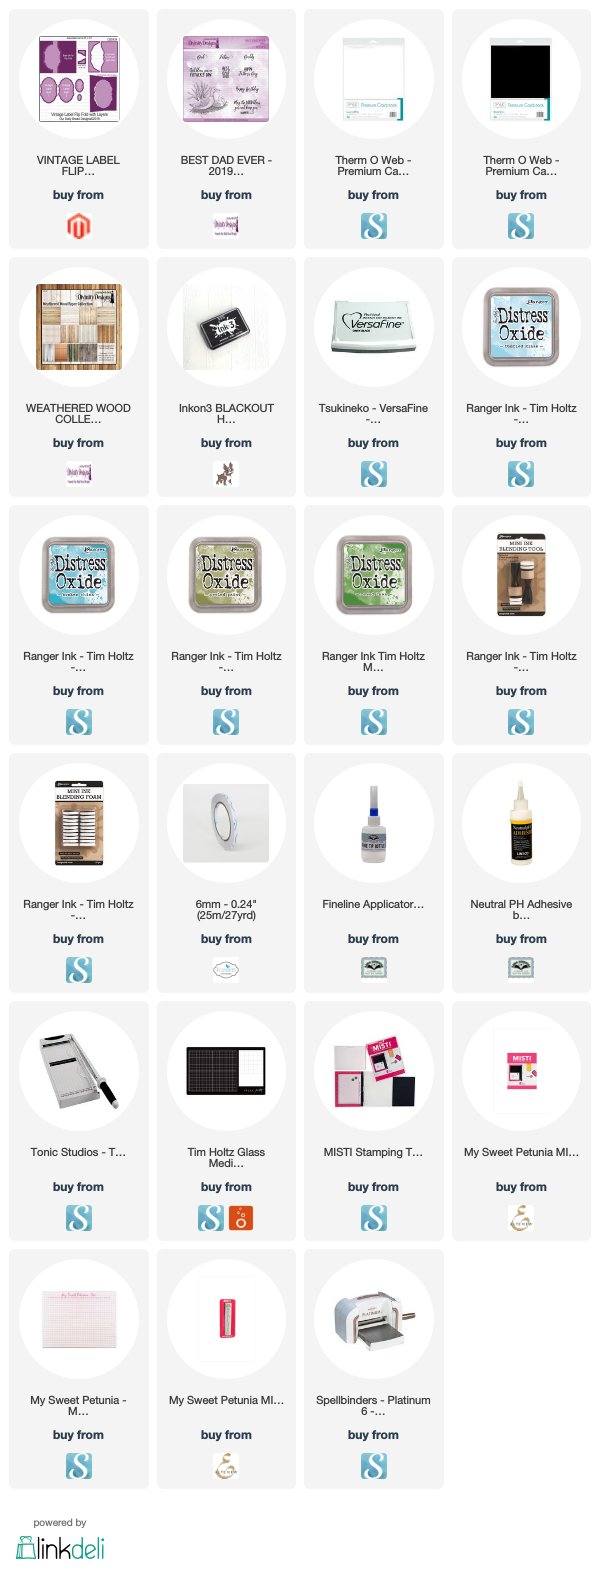
Supplies:
For your shopping convenience, all products are linked below. Compensated affiliate links are used where possible with no extra cost to you. This helps me to continue to share all the projects I include on my blog. Please note I only use and share products I love.


Friday, March 1, 2019

Divinity Designs - Glorious Easter & Stencils


Hi Crafty Friends,

I have 2 more projects using some of the Divinity Designs February Release products. Today I am  focusing on the new Glorious Easter  Stamp set with the two new stencils ... Arrows & Flourishes.


For my first card today I have used the Glorious Easter Stamp set along with the Arrows Mixed Media Stencil and Lever Card Die & Lever Card Layers Die sets.


One of my favorite ways to use stencils is to apply ink through the stencil using a blending tool and then move the stencil over to add a second color. It gives the background an entirely different look.


For this background I adhered the Arrows Stencil onto a piece of white cardstock and then applied Mustard Seed Distress Oxide ink through the stencil. The photo on the right is how the stencil should look like when you use it as it was designed to be used without adding the extra step.


To create the two tone look of the background on my card,  once you have applied the ink through the stencil the first time, remove the stencil and then place the stencil back onto the card so that you now have white space between the pattern. For my card I used Carved Pumpkin Distress Oxide inks.


For the sentiments I used the rectangles from the Scalloped Rectangles die set also new for February adding the same Distress Oxide colors and stamping the sentiments using black ink. I sponged the inks to the cardstock panel while the die was still in place so I could get the white border.


For the front of the card, I added another Scalloped Rectangle which had been sponged with ink in the centre and then added orange gems to the rectangle.


For my second card today I again used the Glorious Easter Stamp set this time with the Mixed Media Stencil - Flourishes and Vintage Label Flip Fold Card with Layers Die set.


For this background I used the Flourishes Stencil with Yupo Paper and Alcohol Ink and Alcohol Lift Ink. 
I used Flamingo, Pink Sherbet, Shell Pink, Crimson Alcohol Inks to create the alcohol inked background before placing the stencil over the inked panel and lifting off the ink using the Alcohol Lift Ink reinker. I also added some silver foil over the background while the ink was still slightly wet.


For the layering of the image and sentiment on the centre panel I used the Double Pierced Vintage Labels Die set.


Thanks for visiting my blog today, I hope you enjoyed my projects.

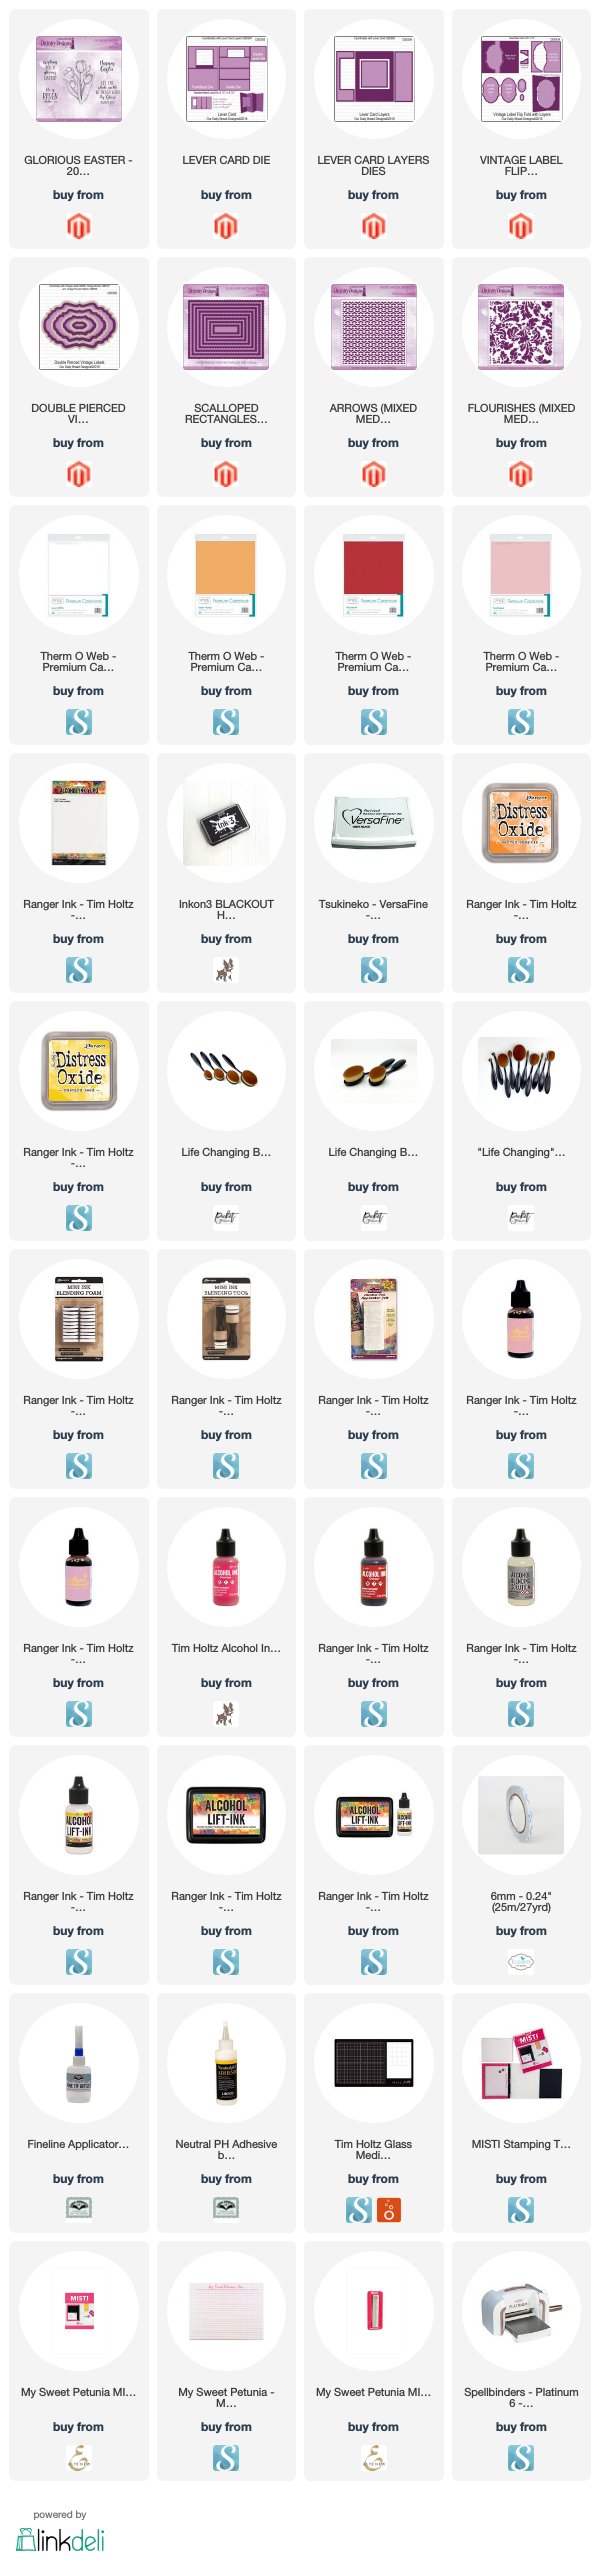
Supplies:
For your shopping convenience, all products are linked below. Compensated affiliate links are used where possible with no extra cost to you. This helps me to continue to share all the projects I include on my blog. Please note I only use and share products I love. 


Thursday, January 17, 2019

Take Time To Smell The Coffee


Hi Crafty Friends,

It's challenge time with my friends over on the CCEE Stampers challenge blog. Liz Williams our challenge hostess for the month, continues to issue the challenges.

Liz tells us to reach for your favorite hot beverage and make a card that lets us know what it is.


Coffee isn't really my favorite hot beverage, however Santa did give me all the fun coffee owls from Rubbernecker Stamps, so of course I wanted to use one for my card today.

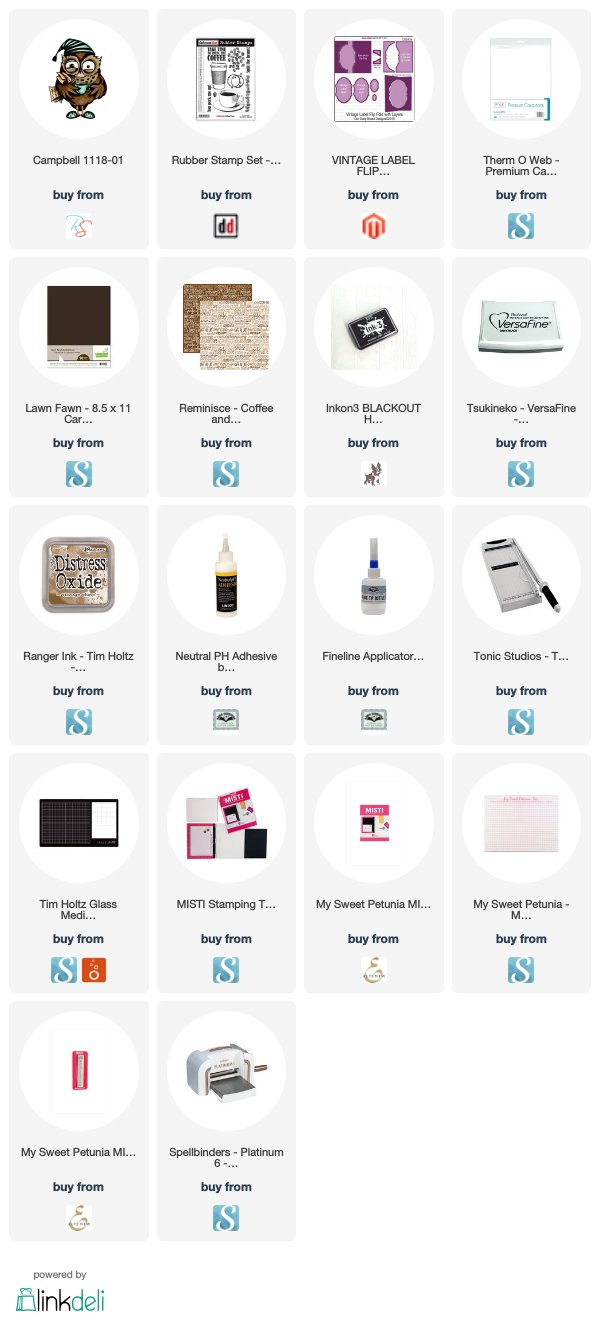
I have created a Flip-its or Flip Fold Card using Divinity Designs Vintage Label Flip Fold with Layers die set. 


When you pull the card open, the centre panel flips over to reveal a message. The sentiment and coffee bean are from Darkroom Door's Coffee Time stamp set.

Don't forget to check out the CCEE Stampers blog (goes live 12 AM EST) to see the rest of the creations the CCEE Stampers created this week. You can also see more details of their creations on their individual blogs:


Supplies:
For your shopping convenience, all products are linked below. Compensated affiliate links are used where possible with no extra cost to you. This helps me to continue to share all the projects I include on my blog. Please note I only use and share products I love.


Friday, January 11, 2019

Lemon Branch


Hi Crafty Friends,

Today I am sharing two cards I created using some of the new products released this month from Divinity Designs (previously known as Our Daily Bread Designs). 

Both cards use the new Lemon Branch stamp set.


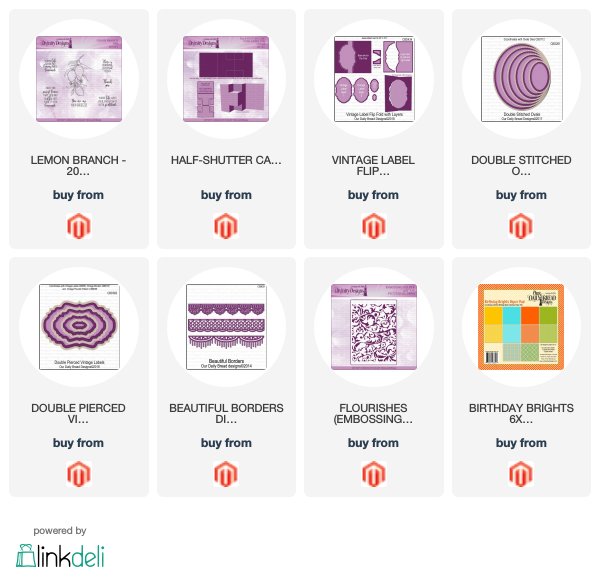
For my first card I have used the new Half-Shutter Card with Layers die set for the base of my card. The papers used on this card are from Divinity Designs' Birthday Brights 6 x 6 Paper Pad. 


I used the ovals dies from the Double Stitched Ovals die set to layer the lemon branch and also the sentiment on the inside of my card.


I used one of the borders from the Beautiful Borders die set on both edges of my card.


For my second card today, I used the Vintage Label Flip Fold Card with Layers die set along with the coordinating Double Pierced Vintage  Labels die set for the base of my card. 


For the layers on this card I created my own patterned paper by applying Distress Oxide inks in Mustard Seed, Twisted Citron and Fossilised Amber onto watercolor cardstock. I then used Divinity Designs new Flourishes Embossing Folder to emboss the panels.


When you flip the card open, it reveals a sentiment which has been layered onto some of the Double Pierced Vintage Labels. The larger label has been stamped with the lemon branch three times around the edge of the label.


Supplies:


Friday, January 4, 2019

Whooooo Loves You?


Hi Crafty Friends,

I have some exciting news to share with you all today. I have been asked to be a Guest Designer for the next three months (January - March) for Divinity Designs was previously known as Our Daily Bread Designs.

I am looking forward to sharing my projects that I will be making using their dies and stamps each month.


In case you didn't know Divinity Designs have just released some amazing products for their January release. You can see the new products here.

Due to the Christmas holidays, my supplies for the January release only arrived yesterday, so I don't have anything to show you yet using anything from the new release. However I did receive the stamps and dies I ordered from the December release late last week, so of course I had to play!


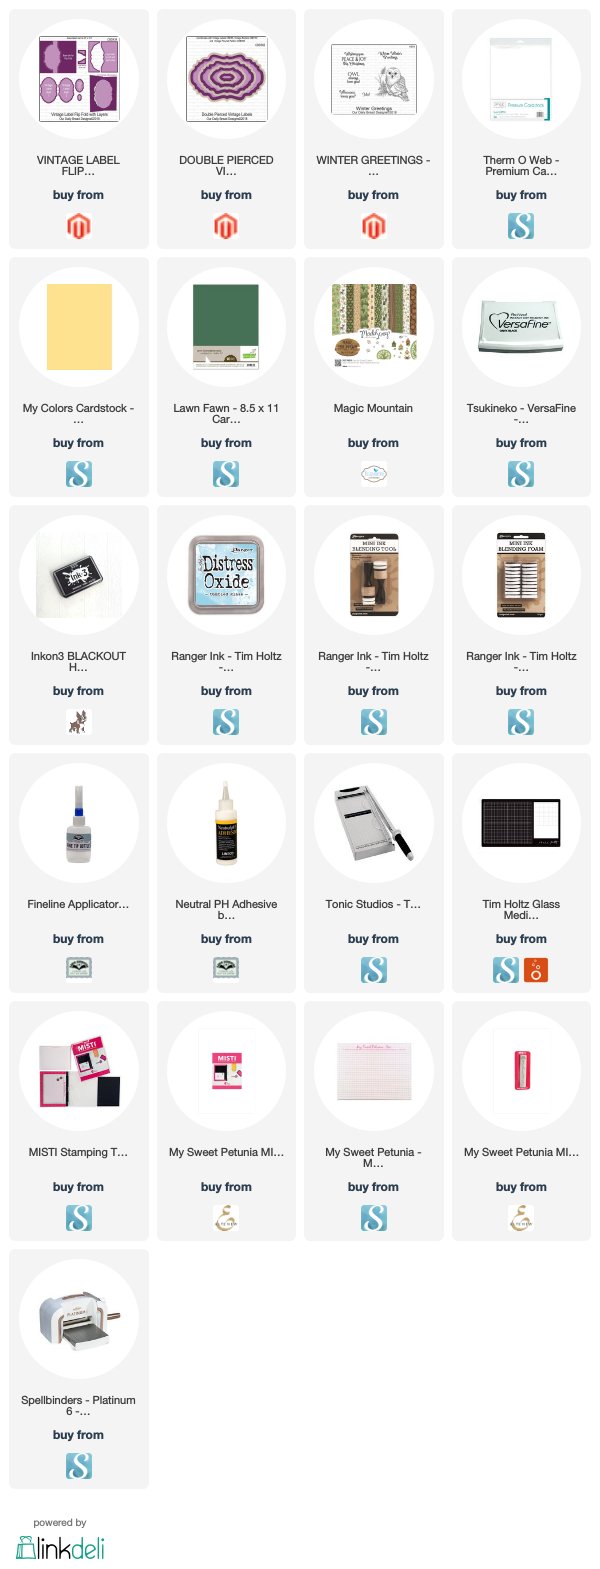
For my card today I used the Vintage Label Flip Fold with Layers die set, I love the large label shape on this card, allowing for all sorts of fun images. There is also Double Pierced Vintage Labels die set which coordinates with this die set, however I forgot to order it when I ordered these stamps/dies .... but I have it on it's way now :).

To decorate my card I used the Winter Greetings stamp set. I stamped the owl and sentiment onto white cardstock and then used the vintage label die that is included in the Vintage Label Flip Fold with Layers die set to die cut the images. I sponged on blue ink to the label, while the die was still in place which gave me the white edge.


When you 'flip' the card open it reveals another of the sentiments which are included in the Winter Greetings stamp set.

Supplies:
For your shopping convenience, all products are linked below. Compensated affiliate links are used where possible with no extra cost to you. This helps me to continue to share all the projects I include on my blog. Please note I only use and share products I love.