Showing posts with label Milk Carton Holder. Show all posts

Friday, November 22, 2019

Deer and Trees Milk Cartons


Hi Crafty Friends,

Today I have another project to share with you, using a few of the new Divinity Designs dies which are from the November release.

For my project today I have created another set of Milk Cartons and a Milk Carton Holder using the new Milk Cartons With Layers and Milk Carton Holder die sets.

I used papers from the Holly Jolly Collection Paper Pad for all the layers of my project.


To decorate the front of the Milk Carton Holder, I used the Curvy Slopes die to die cut a piece of white cardstock which had Clear Double Sided Adhesive Tape on the front. I then covered the adhesive with Warm Diamond Silk Microfine Glitter.

I added the trees and deers to the snow area which are from the Trees and Deer die set.


I die cut circles for the fronts of the Milk Cartons using the Circles and Scalloped Circles die sets.

I then used the "Merry Christmas" sentiment from the Christmas Birdhouses stamp set. I white embossed the sentiment onto red cardstock and then cut them apart so they would fit within the circles.

I added a clip to each Milk Carton to help keep it closed and added a ribbon bow to each clip.


Here is one last look at the Milk Cartons and Milk Carton Holder so you can see each of the items separately.

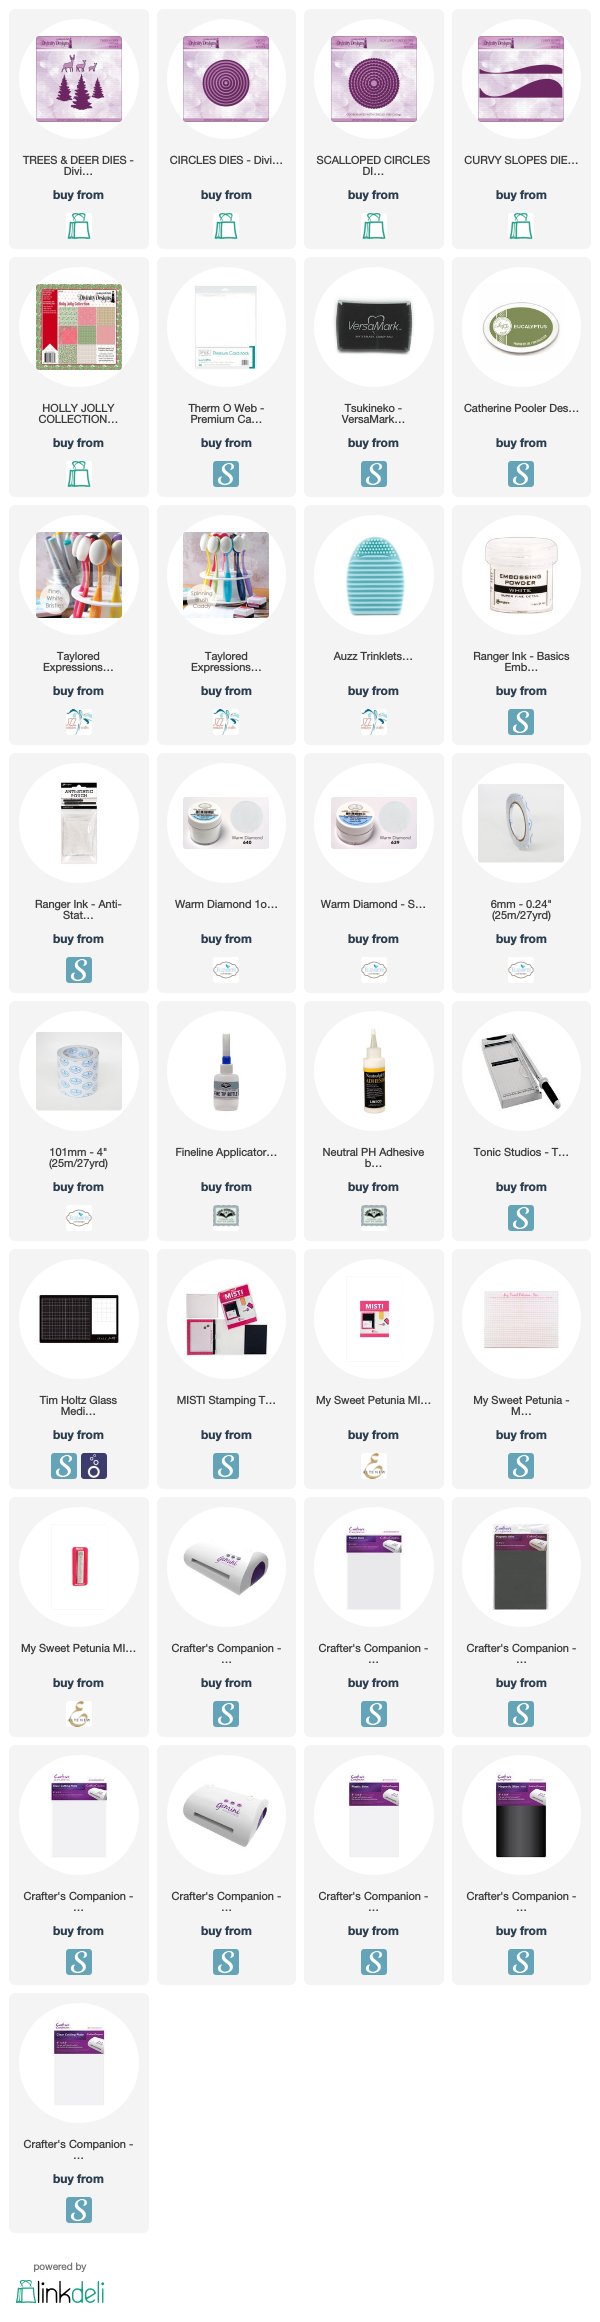
Supplies:
For your shopping convenience, all products are linked below. Compensated affiliate links are used where possible with no extra cost to you. This helps me to continue to share all the projects I include on my blog. For the benefit of my Australia readers, I have started to include some links to Australian stores when available. Please note I only use and share products I love.


Sunday, November 3, 2019

A Hug In A Cup


Hi Crafty Friends

Today I am playing along in the Fall/Winter 2019 Coffee Lovers Blog Hop which is being held from Friday 1st November to Friday 8th November.

For my project today I am using products from Divinity Designs including a few new products which were released last Friday 1st November.


I have created a Coffee Cup holder using the new Milk Carton Holder. This die set can be used to create a holder for two Milk Cartons which is another die set being released this month. Or as you can see by my project above ... it also holds two 4-ounce mini coffee cups.

I created a single Milk Carton Holder which holds the two, but you also have the option of joining two together so you can have 4 milk cartons or coffee cups in the holder.


For the layers I used the Latte Love Paper Pad.

Along the front of the milk carton holder, I used the Coffee Heartbeat die. I die cut this three times and adhered them together.


I used the new Mini Coffee Cup Wrapper & Layer to create the wrap for around the coffee cups. I then used stamps from the But First Coffee stamp set which I stamped using black ink and layered using the Stitched Circles and Circles die sets.

I stamped a sentiment "(N) A Hug In A Cup) onto two stirrers, which I placed into the opening of the mini coffee cup lids. This sentiment is from the Perk Up Stamp/Die Duos set.

Supplies:
For your shopping convenience, all products are linked below. Compensated affiliate links are used where possible with no extra cost to you. This helps me to continue to share all the projects I include on my blog. For the benefit of my Australia readers, I have started to include some links to Australian stores when available. Please note I only use and share products I love.


Friday, November 1, 2019

Divinity Designs - November Release


Hi Crafty Friends,

Today I am sharing three projects I created using new stamps, dies and papers from Divinity Designs November Release.  For more inspiration using the November Release, and to see the other designers projects, be sure to visit the Divinity Designs Blog.

There are only 55 days until Christmas, so this month the Divinity Designs release is again all about Christmas!!!! There are some amazing new stamps, dies and papers being released and I am excited to share seven of those new products with you today.


For my first two projects I created a coordinating card and gift box using the new Christmas Collection 2019 Paper Pad.


For my card I created a Four Panel Card using the new Four Panel Card With Layers die set. I have been meaning to create one of these cards for some time now, so I was excited to see that Divinity Designs was releasing a die for it. Using a die is always easier than measuring and cutting by hand.

To decorate my card I used the new Christmas Collection 2019 Paper Pad, this paper is so beautiful and I used it on it's on for the largest panel on the right hand side.

For the two centre panels I used to sentiment stamps from the new Christmas Wishes stamp set, this stamp set contains three large Christmas sentiments. I stamped the sentiments and layered using the Ovals and Scalloped Ovals die sets.

To finish off the card I added some snowflakes from the new Christmas Dove die set.


Here is a look at my Four Panel Card when it is closed. I decorated the front panel using the Peaceful Poinsettias die set and the pine branches from the Pinecones & Pine Branches die set.


Next, I created a gift box set. To create this I used the Milk Carton With Layers die set and the Milk Carton Holder.

For my project today, I created a single Milk Carton Holder which holds 2 milk cartons or you can also use 2 x  4-ounce mini coffee cups which Divinity Designs also sell. You also have the option of creating a double Milk Carton Holder which will fit 4.

To keep my milk cartons closed, I used two colored clips, you could also glue the top closed or punch a hole to the top and add ribbon. I liked the clip idea as it was easy to open and close when needed.


To decorate the front of my Milk Carton Holder I again used the Peaceful Poinsettias die set and the pine branches from the Pinecones & Pine Branches die set.


I used the new Christmas Greetings die set to add the greeting to the back of the milk carton holder. I die cut it three times and layered it up to give it some depth.


For my final project today I created a Christmas themed Tri-fold Card using the Tri-Fold Card With Layers die set.

For the layered panels, I used the Holly Jolly Paper Collection Paper Pad.


In the centre panel I added the birdhouses from the new Christmas Birdhouses stamp set. I stamped & white embossed the "Merry Christmas" sentiment from this stamp set onto red cardstock and adhered it to the bottom of the panel.

I added a few of the snowflakes from the Christmas Dove die set to the red patterned paper panels of the card.


Here is a look at my card when it is closed, ready to be placed in an envelope. 

On the top left hand corner of the card I the poinsettia from the Peaceful Poinsettias die set and the pine branches from the Pinecones & Pine Branches die set.

Supplies:
For your shopping convenience, all products are linked below. Compensated affiliate links are used where possible with no extra cost to you. This helps me to continue to share all the projects I include on my blog. For the benefit of my Australia readers, I have started to include some links to Australian stores when available. Please note I only use and share products I love.