

Hi Crafty Fiends,
It's my turn to post a tutorial on the Elizabeth Craft Designs blog today. With Valentine's Day just over a month away, I am sharing a Valentine's Day with you today using some of the new Valentines and Background dies that were released late last year.

Here is how I created my card:
Step 1.
- Using a piece of white cardstock cut the base of the card so it is 5 3/4 inches square.
- Cut a piece of red cardstock so it is 5 1/2 inches square.
- Using the largest square from the Stitched Squares die set, die cut the "love" patterned paper from the ModaScrap Cucina with Love Patterned Paper Pack.
- Layer all three pieces together to create the card base.

Step 2.
- Die cut a piece of White Soft Finish Cardstock using the Abstract Backgrounds die. Color cardstock using Warm Lipstick Distress Oxide. Trim the piece down so it is 2 1/4 inches in width.
- Cut a piece of red cardstock that is 5 1/4 inches x 3 inches. Lay the small heart border from the Valentines Edges die set on the edge of the cardstock, die cut. Remove the die and place it on the other side of the red cardstock and die cut. Note - save some of the tiny hearts that are die cut when you die cut the border.
- Adhere the Abstract Background piece to the centre of the red cardstock and adhere to the centre of the card front.
Step 3.
- Using the Puzzle Heart die, cut the inner heart from red cardstock that has Clear Double Sided Adhesive Tape on the back.
- Remove one of the centre hearts from the die cut and adhere the others onto a piece of scrap cardstock. Trim around the edge. Note - keep the heart you removed to use later on.
- Using the larger heart from the Puzzle Heart die set, die cut from White Cardstock that has Clear Double Sided Adhesive Tape on the front. Remove the protective backing from the heart and cover adhesive with Warm Diamond Silk Microfine Glitter. Return excess glitter to the jar and polish the glitter into the adhesive using your finger.
- Adhere the red puzzle heart to the centre of the white glittered heart.
- Using the inner heart from the Puzzle Heart die set, die cut a piece of scrap white cardstock that has Clear Double Sided Adhesive on the front. Note - die cut the puzzle piece from this die that you removed when you die cut the red puzzle heart.
- Cover the white puzzle piece with Warm Diamond Silk Microfine Glitter. and place this heart to the space where the red puzzle piece is missing.
- Adhere completed puzzle heart to the top left side of the card using foam tape.
Step 4.
- Using the "You Complete Me" sentiment from the Valentine's Sentiments Clear Stamp set, stamp onto White Soft Finish Cardstock using black ink.
- Die cut sentiment using the second smallest banner from the Stitched Fishtail Banners die set, so that the sentiment is towards the "fishtail" end.
- Trim the straight edge of the die cut banner so that the fishtail end is just to the right of the edge of the abstract panel when placed on the card.
- Adhere banner to card. (Note - as the card is uneven due to having the centre panel on the card, cut a scrap of cardstock to place until the part of the banner to the right of the card, so the banner will be even).
- Add the red heart that was removed from the centre of the puzzle heart to the top right side of the sentiment banner.
- Add three of the tiny hearts that were reserved from die cutting the heart border to the fishtail end of the sentiment banner (refer to photo for placement).
(Optional) - Add Rosewater Nuvo Jewel Drops over the pink dots on the patterned paper for some added texture.

Step 5 Inside of Card -
- Using the largest square from the Stitched Squares die set die cut from White Soft Finish Cardstock.
- Layer the white square onto a of red cardstock that is 5 1/2 inches square.
- Adhere panel to inside of card.
Step 6 -
- Stamp the "Love you to pieces" sentiment from the Valentine's Sentiments Clear Stamp set to the centre of the card using black ink.
Step 7 -
- Using the inner heart from the Puzzle Heart die set, die cut a piece of red cardstock.
- Adhere three of the puzzle pieces from the heart onto the card so they frame the sentiment. (Refer to photo above).
- Adhere three more of the tiny hearts reserved when die cutting the heart border for the front of the card around the sentiment. (Refer to photo above).
Thank you for stopping by today, I hope you enjoyed my tutorial.
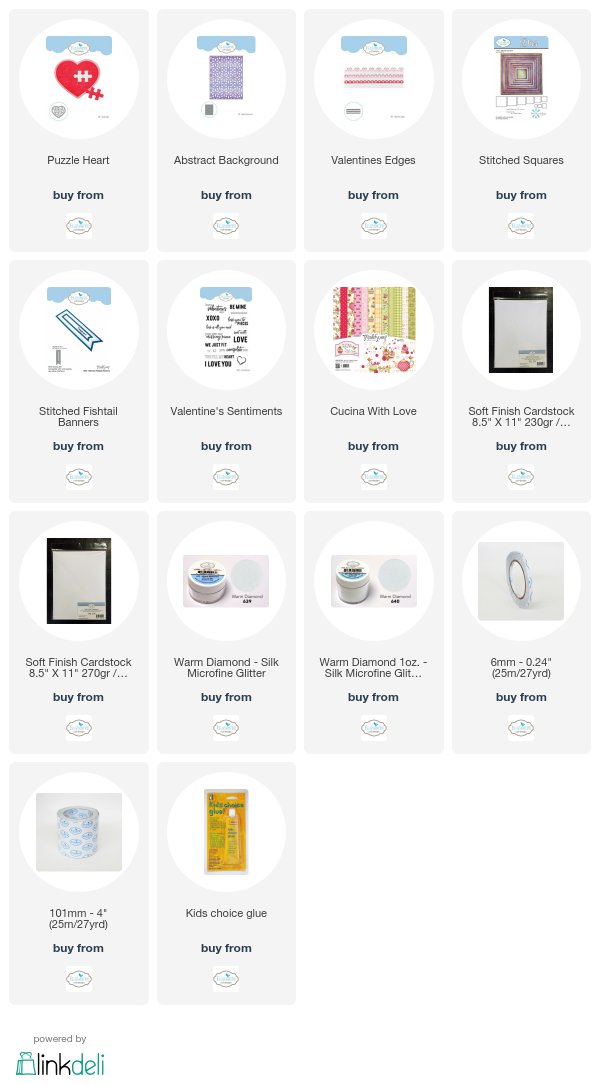
Supplies:
Elizabeth Craft Designs:
Other:
Cardstock - White; Red
Inks - Black; Warm Lipstick Distress Oxide
Rosewater Nuvo Jewel Drops
Foam Tape
1 comment:
Cute Valentine card!
Post a Comment