

Hi Crafty Friends,
It's time for our July Elizabeth Craft Designs Design Team Designer challenge. Check out the Elizabeth Craft Designs blog today to see what our talented designers created for the challenge.
Our challenge this month is .....
Classic Christmas- some of the things/traditions which always come to mind when we talk Christmas are things like …. Snowflakes; Ornaments; Christmas Trees; Toasting Marshmallows on an Open Fire or Mugs of Hot Chocolate to help keep you warm. For our challenge this month create a Christmas Card or Project using one or more of these items.

For today's challenge Elizabeth Craft Designs are giving away a $20 Gift Card to use on our website to 3 winners.
To enter simply leave a comment on the Elizabeth Craft Designs Facebook Giveaway Blog Post or the Elizabeth Craft Designs Challenge post and tell us What Elizabeth Craft Designs die or stamp set would you select if making a Christmas card.
We will select 3 lucky winners in a random drawing
The winners will be announced on Friday, September 21st on the Elizabeth Craft Designs blog and our Facebook page.

For my card today I decided to use the Snowflakes die set.
Here is how I created my card:

Step 1 -
- Using the smallest snowflake in the Snowflakes die set, die cut six solid snowflakes that have Clear Double Sided Adhesive Tape on the front, and six detailed snowflakes from White Soft Finish Cardstock.
- Remove the protective backing from the adhesive on the solid snowflake and attach the snowflake overlay on top. Be careful not to touch the adhesive.
- Cover the remaining adhesive with True Red Silk Microfine Glitter. Polish the glitter into the adhesive using your finger to help bring out the maximum sparkle.

Step 2 -
- Cut a piece of White Soft Finish Cardstock that measures 4 inches x 5 1/4 inches.
- Adhere the snowflakes to the card so that some of the snowflakes are overhanging the edge of the card.

- When the adhesive is dry, trim off the any of the snowflakes that are overhanging so they are flush with the edge.
- Use the overhanging snowflake offcuts to fill in any other areas around the card.
Step 3 -
- Cut a piece of Red Cardstock that measures 5 1/2 inches x 8 1/2 inches. Score along the long side at 4 1/4 inches to create a top folding card.
- Attach the decorated snowflake panel to the folded red card using fun foam or foam tape.
Step 4 -
- Die cut a fishtail flag using the Stitched Fishtails Banners die set. Stamp the sentiment " Tis the Season" to the banner using VersaMark ink and white embossing powder.
- Adhere the sentiment to the top right hand corner of card.
Step 5 -
- Add Red/Gold Glitter Dot Peel Off Stickers to the centre of all the snowflakes.

Step 6 - The Inside of Card:
- Die cut a rectangle using the Dashing Rectangles die set from White Soft Finish Cardstock.
- Using the medium snowflake die from the Snowflakes die set, create a snowflake as per the instructions in step 1. Adhere to centre of card.
- Die cut a double ended banner using the Stitched Fishtail Banners die set from red cardstock. Stamp the sentiment to the centre of the banner using VersaMark Ink and white embossing powder. Adhere sentiment to centre of snowflake.
- Adhere panel to inside of card.
I hope you enjoyed my project today. Don't forget to check out the Elizabeth Craft Designs blog to see all the wonderful creations by our talented designers and for a change to win the giveaway.
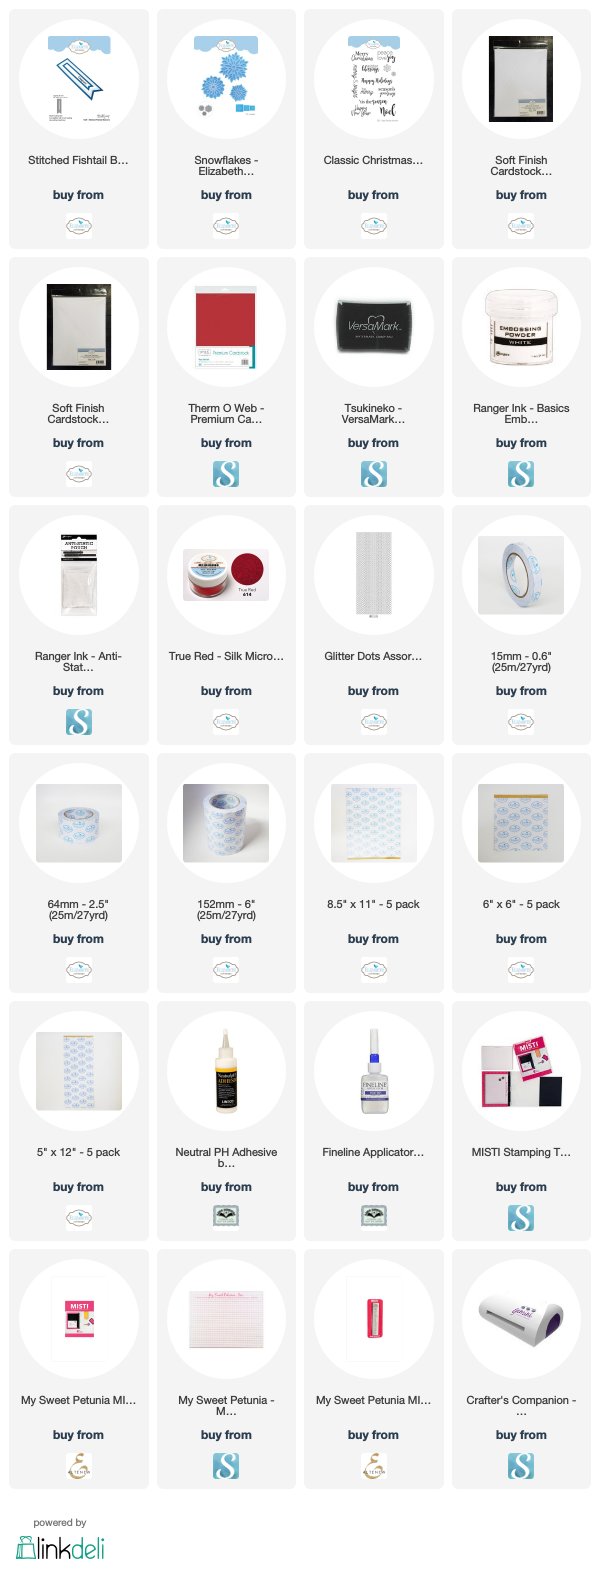
Supplies:
For your shopping convenience, all products are linked below. Compensated affiliate links are used where possible with no extra cost to you. This helps me to continue to share all the projects I include on my blog. Please note I only use and share products I love.
No comments:
Post a Comment