Showing posts with label A6 Card. Show all posts

Wednesday, August 5, 2026

Pink Poinsettia


Hi Crafty Friends,

Today I am sharing two A6 Christmas cards I created using products from Altenew.

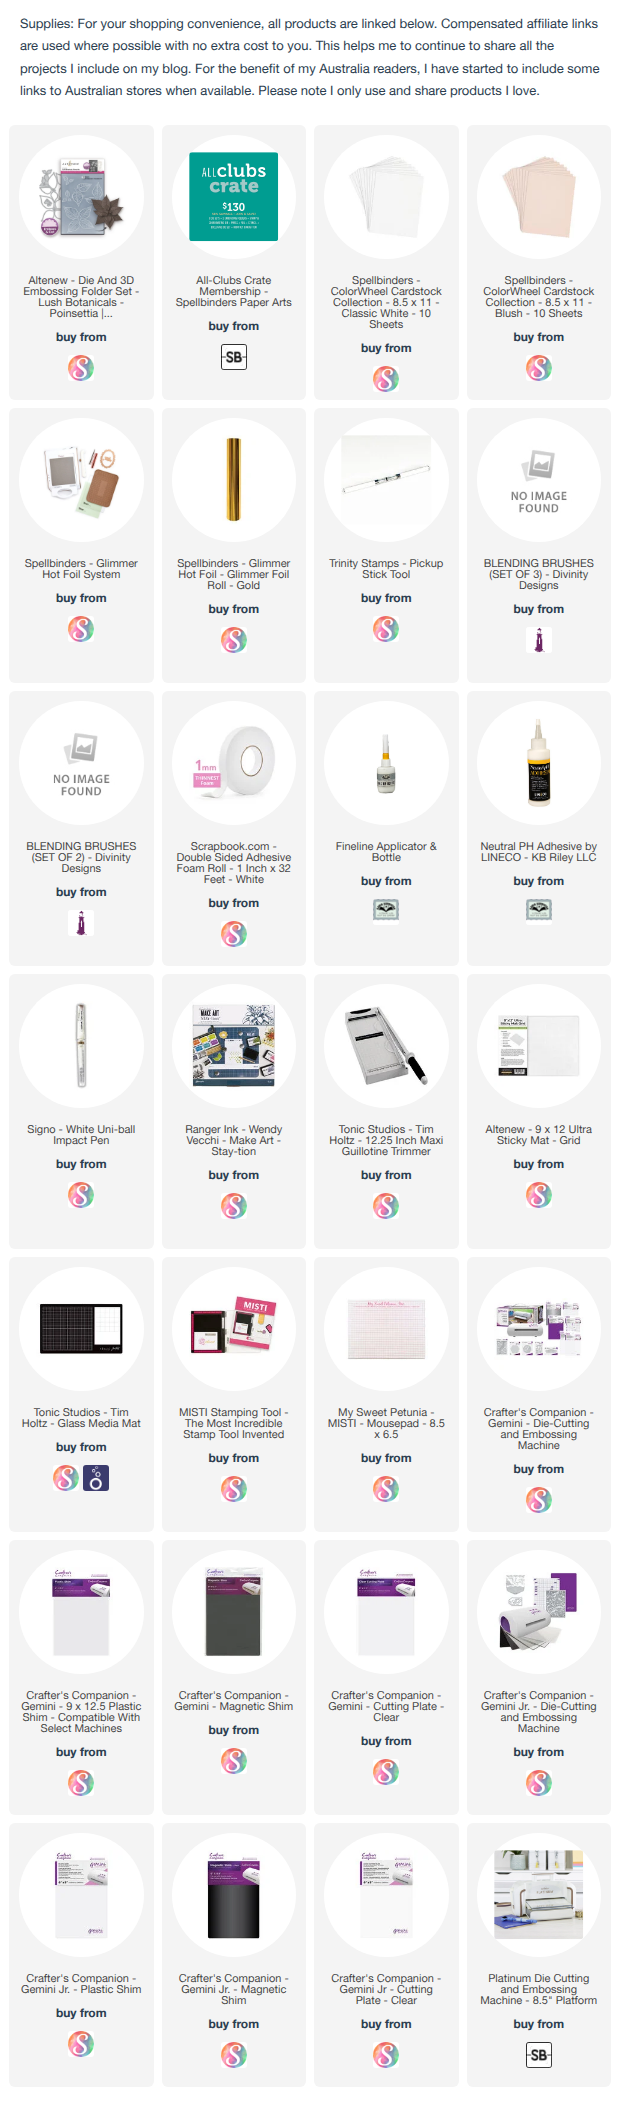
To create the poinsettia I used Altenew’s Lush Botanicals: Poinsettia Die set & 3D Embossing Folder. 

I added a textured background using Spellbinders July 2026 3D Embossing Folder of the Month … Festive Greetings.

The sentiment is from the Merry Messages Betterpress Plate which i foiled with gold glimmer foil.


I stamped an older Christmas sentiment to the inside of my card using gold ink.


Monday, June 16, 2025

Karen Burniston - KB Riley LLC June 2025 Release Blog Hop


Hi Crafty Friends, 


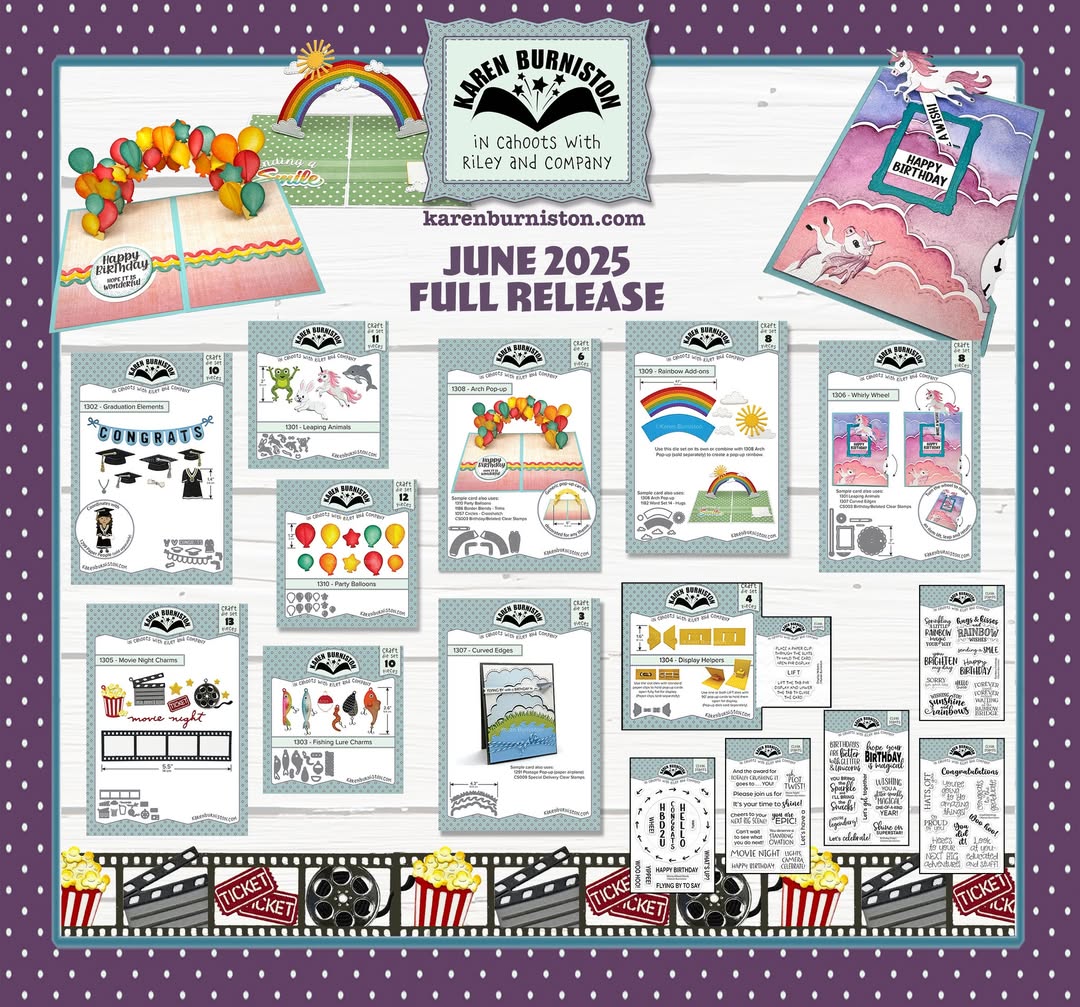
Welcome to our Karen Burniston Products - KB Riley LLC June Release Blog Hop. The Design Team have come together with Karen today for a fun blog hop to celebrate the release of 10 new dies and 5 new stamp sets. Sneak peeks of the new release started last week, and the dies are available to order NOW!


This release includes:

  • 1 new Pop-up Die Sets
  • 1 new Interactive Die Set
  • 1 new Pop-up Add-ons Die Sets
  • 2 new Charm Die Sets
  • 4 new Stand Alone Die Sets
  • 5 new Clear Sentiment Stamp Sets


Dies are available to order now on the website. 


GIVEAWAY:


To celebrate the release Karen Burniston and each of the Karen Burniston - KB Riley LLC Design Team members will be giving away a $25 Gift Certificate to some lucky person who comments on our blog posts, so make sure you join the hop and comment on everyone's blog post. Winners will be randomly chosen from ALL of the blog hop comments received on our blog posts by Monday, 23rd June 2025. Lots of chances to win some goodies, so just leave a comment on this post or any other blog hop posts to enter! Don't forget to leave some way for us to contact you, in case you are a lucky winner!


This card uses the new Arch Pop-up and the coordinating Rainbow Add-ons die sets to create the fun pop up rainbow at the top of the card. I used pastel colours to create my rainbow opting for pink rather than red.

Along the bottom edge of my card, I used the cloud die from the Curved Edges die set. I die cut the edges twice for each side of the card. I added two sentiments from the Rainbow Greetings Clear Stamp set.
 

I die cut three unicorns from the Leaping Animals die set, die cutting the mane, tail etc from different colours. I also assembled one of the unicorns so it was facing the opposite direction. 


I kept the front of the card fairy simple, repeating elements that I had used on the inside of my card ... the rainbow, unicorn and a sentiment.

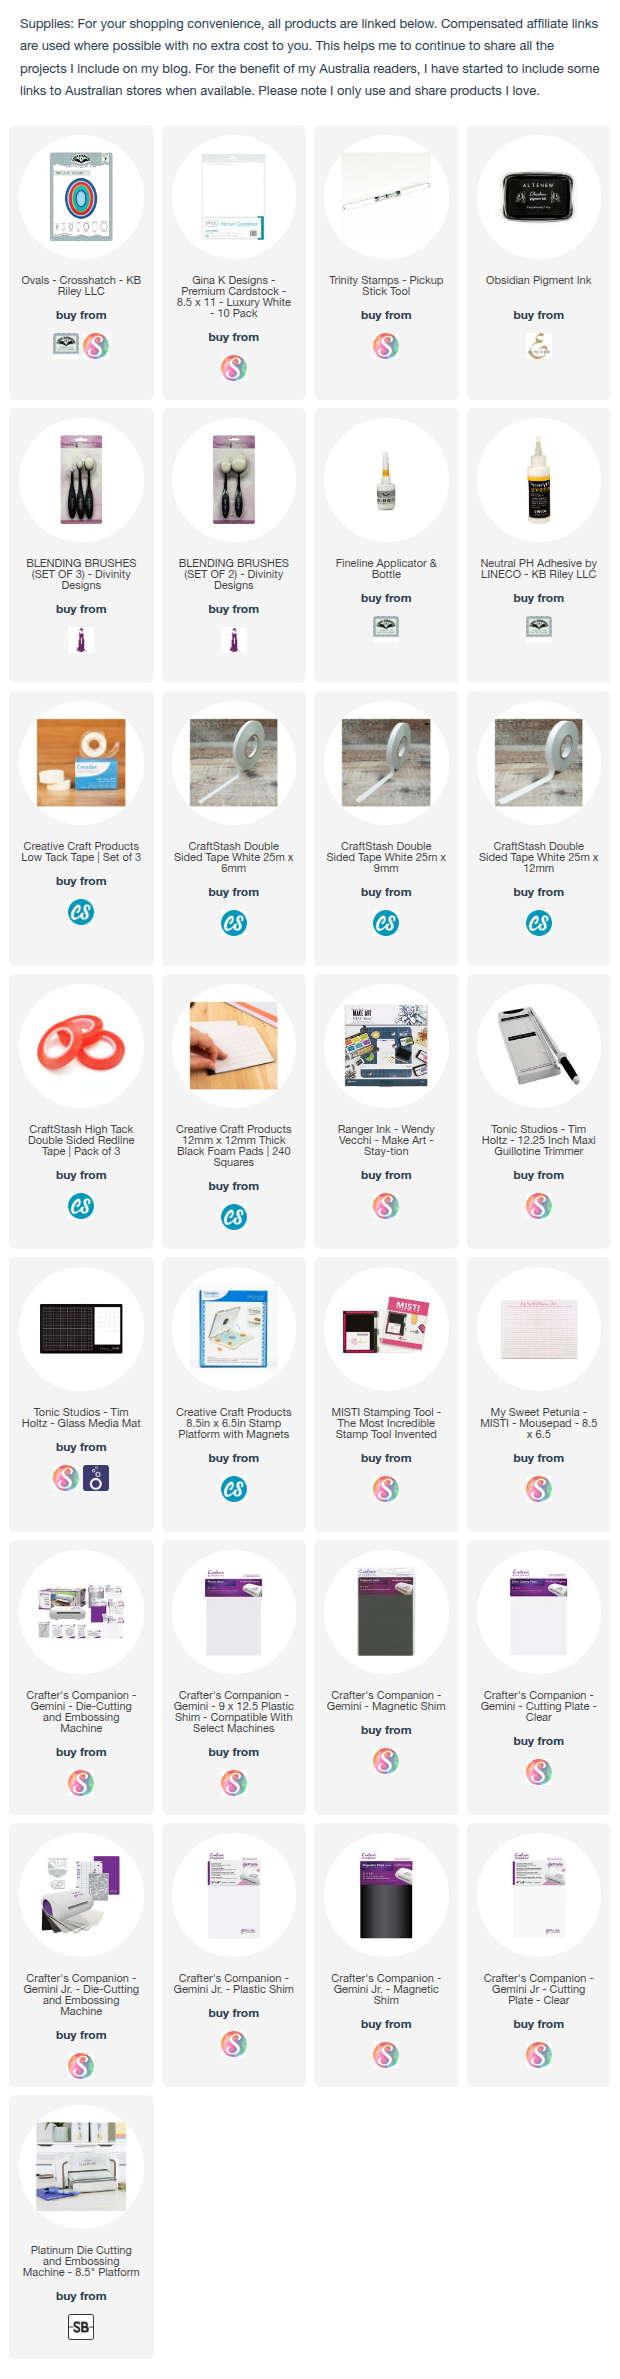
I used the Oval Crosshatch die set to layer my sentiment.

Well that's about it from me today, thank you for dropping by. To continue on the blog hop, click on the next person on the list, which is Jennifer Webster


Here is the complete blog hop list in case you need it.


Blog Hop Order


Karen Burniston

Lois Bak

Sue Small-Kreider

Frances Byrne  <<<you are here>>>

Jennifer Webster

Suzanne Smit

Nicky Foden

Sandy Diller


Tuesday, May 6, 2025

May 2025 Karen Burniston Designer Challenge


Hi Crafty Friends,

Welcome to our May Karen Burniston Designer Challenge.

Check out Karen Burniston's blog on Wednesday (US Time) when you will be able to see what all the designers created for the challenge this month, plus Karen will have an amazing video tutorial to share with us all.


Our challenge theme this month is ... "MAKE IT FLUFFY" - You decide what's fluffy - is it an animal? Clouds? Something in the Kitchen? Incorporate something fluffy into your design.


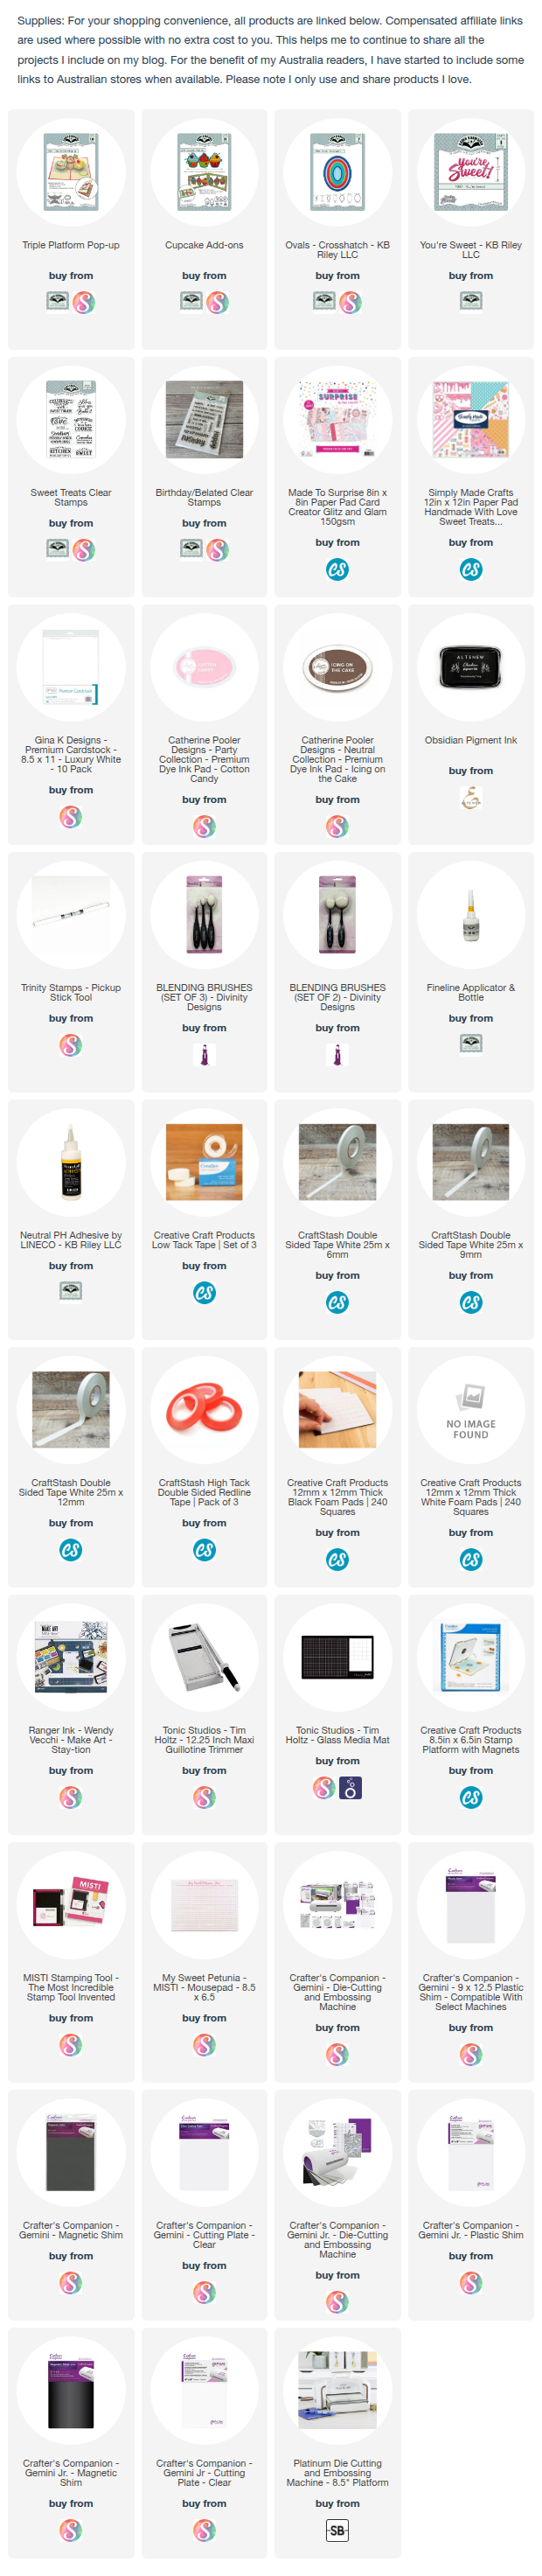
When I started thinking about what could be classed as fluffy, I decided to go with cupcakes ... you have the yummy fluffy batter the cupcakes are made from and of course the frosting! For the cupcakes I used the Cupcake Add-Ons die set. 

For the pop-up mechanism, I used the Triple Platform Pop-up die set. I used the labels that came in the die set to add to each of the platform panels, plus one for a signature. I also added a cupcake themed sentiment using the Sweet Treats Clear Stamp set.


I also added the "You're Sweet!" sentiment to the lower left hand corner of the card.

As the focus of the card is the inside, I kept the front of my card simple. Adding two sentiments to the oval panels which were die cut using the Crosshatch Ovals die set. and then adding two more cupcakes.

The Sentiments are from the Sweet Treats and the Birthday/Belated Clear Stamp sets.