Showing posts with label Cupcakes. Show all posts

Tuesday, May 6, 2025

May 2025 Karen Burniston Designer Challenge


Hi Crafty Friends,

Welcome to our May Karen Burniston Designer Challenge.

Check out Karen Burniston's blog on Wednesday (US Time) when you will be able to see what all the designers created for the challenge this month, plus Karen will have an amazing video tutorial to share with us all.


Our challenge theme this month is ... "MAKE IT FLUFFY" - You decide what's fluffy - is it an animal? Clouds? Something in the Kitchen? Incorporate something fluffy into your design.


When I started thinking about what could be classed as fluffy, I decided to go with cupcakes ... you have the yummy fluffy batter the cupcakes are made from and of course the frosting! For the cupcakes I used the Cupcake Add-Ons die set. 

For the pop-up mechanism, I used the Triple Platform Pop-up die set. I used the labels that came in the die set to add to each of the platform panels, plus one for a signature. I also added a cupcake themed sentiment using the Sweet Treats Clear Stamp set.


I also added the "You're Sweet!" sentiment to the lower left hand corner of the card.

As the focus of the card is the inside, I kept the front of my card simple. Adding two sentiments to the oval panels which were die cut using the Crosshatch Ovals die set. and then adding two more cupcakes.

The Sentiments are from the Sweet Treats and the Birthday/Belated Clear Stamp sets.


Thursday, January 18, 2024

Sweetest Birthday


Hi Crafty Friends,

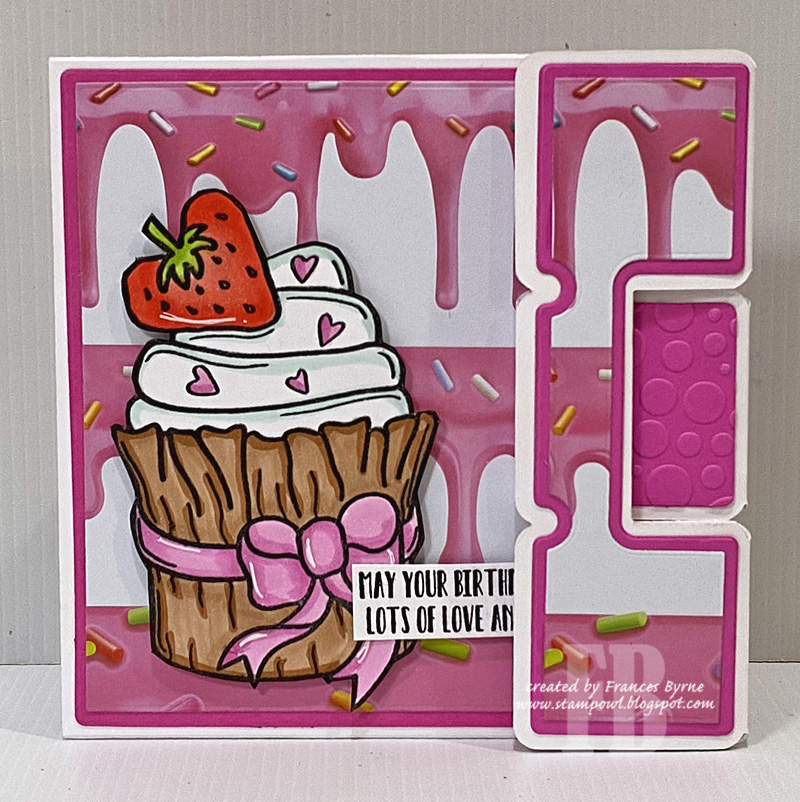
Today I am sharing a cupcake themed birthday card, using a cupcake stamp set from Creative Expressions.

I used Made To Surprise by Sam Calcott's Double Interlocking Concertina die set from the  Showstoppers 2 Collection. Most of my other cards using this die set, I have placed the large square portion of the card to the right side. Today I decided to have it on the left.

I also used a sentiment from Colorado Craft Company for the birthday sentiment.


This card can be closed two different ways, the first is by concertinaing the right side to the front as you can see above.


This is the other option of my card being closed, so either way taking it out of the envelope looks good. 

I added another Colorado Craft Company sentiment to this side of the card.


Tuesday, January 2, 2024

January 2024 Karen Burniston Designer Challenge


Hi Crafty Friends, 

Welcome to our January Karen Burniston Designer Challenge, our first challenge for 2024.

Check out Karen Burniston's blog on Wednesday (US Time) when you will be able to see what all the designers created for the challenge this month, plus Karen will have an amazing video tutorial to share with us all.

Our challenge theme this month is ... "RAISE IT UP!" - Make a card of any theme that uses the Raising Platform Pop-up.


For my card today, I decided to create a 5" x 7" landscape card. As you can see by the photo above, I added two of the Raising Platform mechanism dies to each side of my card, to create a double pop-up. I positioned the pop up at 2 1/2" from each edge as recommended in Karen Burniston's assembly video. 

However rather than use the label for the pop ups, I cut a piece of pink card that was 5 1/2" x 2 3/4" and folded it in half to make a 2 3/4" square panel. I added this panel to the pop up mechanism, lining the top of the panel slightly lower than the top of the card. I did this to both pop up mechanisms.

I then decorated each pop up piece with card layers, sentiments and cupcakes/candles.

The cupcakes are from the Cupcake Add-ons die set and the candles from the Birthday Candles Add-ons die set.


To finish off the inside of the card, I added the "You're Sweet" sentiment which I cut apart, so I can added one word at the top and one on the bottom of my card.


As the focus of my card is on the inside, I kept the front of the card fairly simple. I added three more cupcakes along the bottom of the card. I also added the Happy Birthday and Happy Birthday Shadow die sets to add the sentiment.


Tuesday, August 1, 2023

August 2023 Karen Burniston Designer Challenge


 Hi Crafty Friends, 

Welcome to our August Karen Burniston Designer Challenge.

Check out Karen Burniston's blog on Wednesday (US Time) when you will be able to see what all the designers created for the challenge this month, plus Karen will have an amazing video tutorial to share with us all.

Our challenge theme this month is ... "ACCORDIONS" - use the Landscape Rectangle, Charm Accordion on Fancy Label Accordion for a card.


For my card today, I pulled out the Landscape Rectangle Accordion Card and the Cupcake Add-Ons die set to create a Cupcake themed Christmas card.

 I used the largest rectangle die from the Short Rectangles - Crosshatch die set to create all the layered frames of my card from Christmas themed patterned paper.

I used the "Sweet" from the You're Sweet die set for the sentiment in the centre panel. I also added the stamped "Christmas Wishes" underneath the word sweet.To finish off the centre panel I added a snowflake.


The cupcakes were created using the Cupcake Add-Ons die set. I used polka dot patterned paper in red and green for the cupcake wrappers, alternating the colours. For the icing I die cut from white glitter cardstock and then after embossing using my die cutting machine, and leaving the die in place, I coloured the glitter using pink and green ink. 

I added the holly and berries from the Fireplace Add-Ons 1 die set to embellish each of the cupcakes.


Here is a look at the front of my card, when it is folded ready to be placed in an envelope. I adhered a white rectangle, also from the Short Rectangles - Crosshatch die set which serves two purposes. One it highlights the cupcakes and it also gives a place to write a personal greeting.


Monday, January 2, 2023

Wish Cupcake


Hi Crafty Friends,

Well I am finally done with Christmas and New Year cards, it is great to get back to creating cards for other occasions. Today I am sharing a shaped Cupcake card which is perfect for a birthday card.

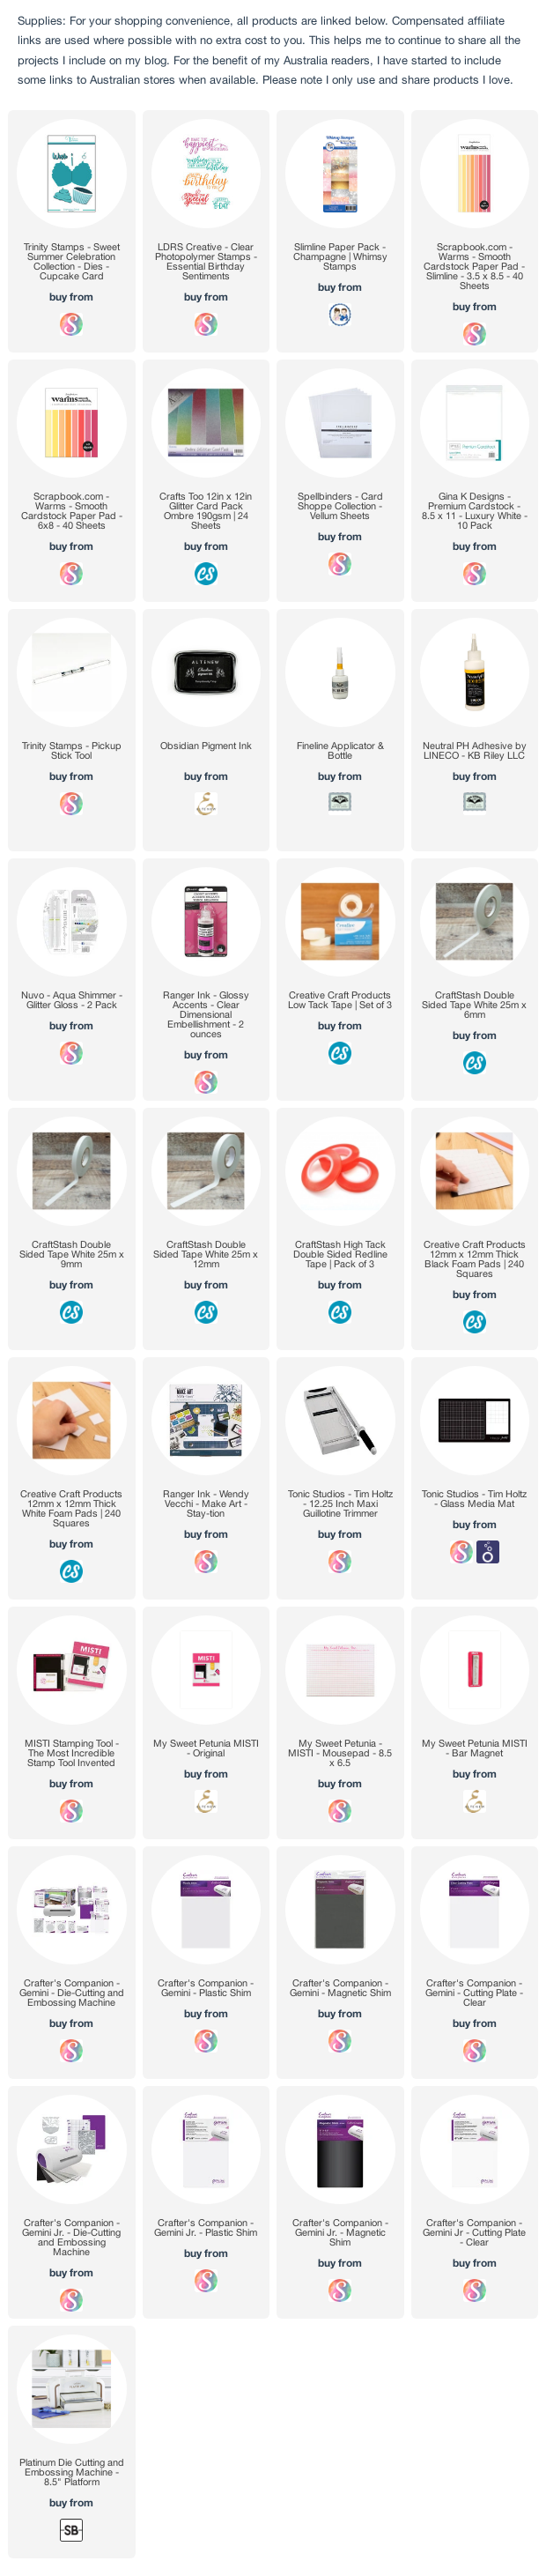
To create my card I used Trinity Stamps Cupcake Card Die set, which includes the folded Cupcake folded card base, the various layers, candle and die cut sentiment. 


The frosting on the top of the cupcake uses paper from Whimsy Stamps Champagne Slimline Paper Pad. 

For the sentiment I used glitter cardstock and vellum.


For the inside of my card, I added a birthday sentiment using LDRS Creative's Essential Birthday Sentiment stamp set.


Monday, July 12, 2021

Friendship My Favorite Recipe


Hi Crafty Friends,

I have a fun Slimline card to share with you today.

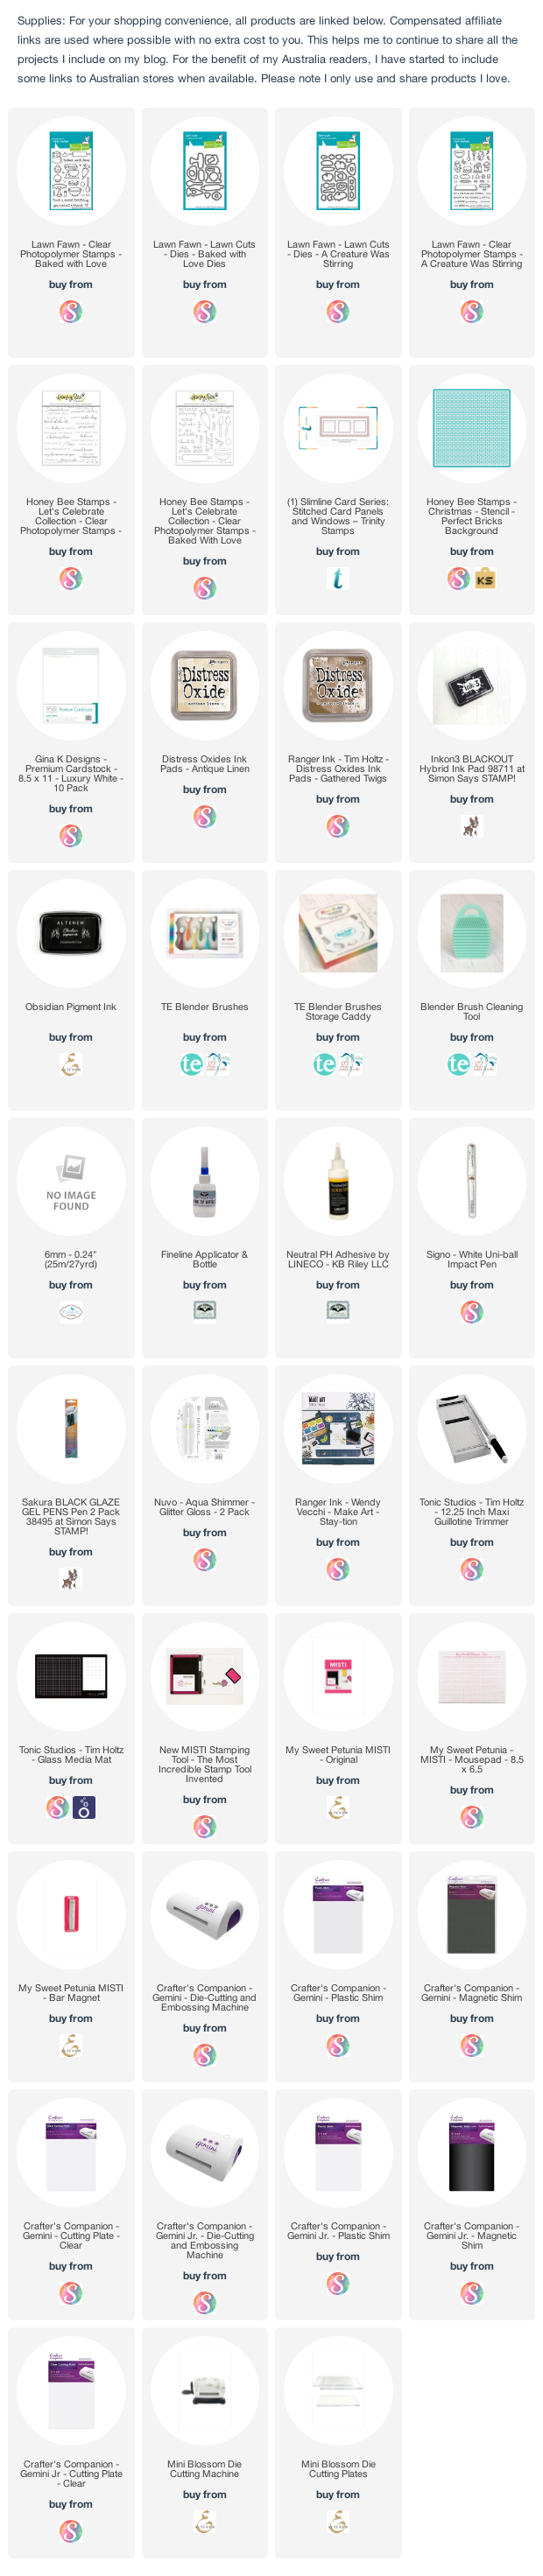
To create my Slimline Card I used Trinity Stamps Slimline Stitched Card Panels and Windows die set. I die cut the window panel from white cardstock. I die cut a rectangle panel from white cardstock and then used Honey Bee Stamps Perfect Bricks Stencil to add the brick background which shows through the windows.

I used stamp sets from Lawn Fawn including Baked with Love and A Creature was Stirring to decorate my card.

The sentiments are from Honey Bee Stamps You Bake Me Happy stamp set.


For the inside of the card I used the Trinity Stamps slimline die set to die cut the stitched slimline rectangle panel.

I added images from Lawn Fawn's Baked with Love stamp set to add along the bottom of the card.

The sentiment is from Honey Bee Stamps Baked with Love stamp set.


Saturday, June 12, 2021

Happy Cupcake Day

Hi Crafty Friends,

It’s challenge time with the “Crazies” over on the Crazy 4 Challenges blog. As challenge hostess for the month, I continue to issue the challenges.

Apparently Monday 14th June is Cupcake Day, so for our challenge this week we are adding cupcakes to our cards.


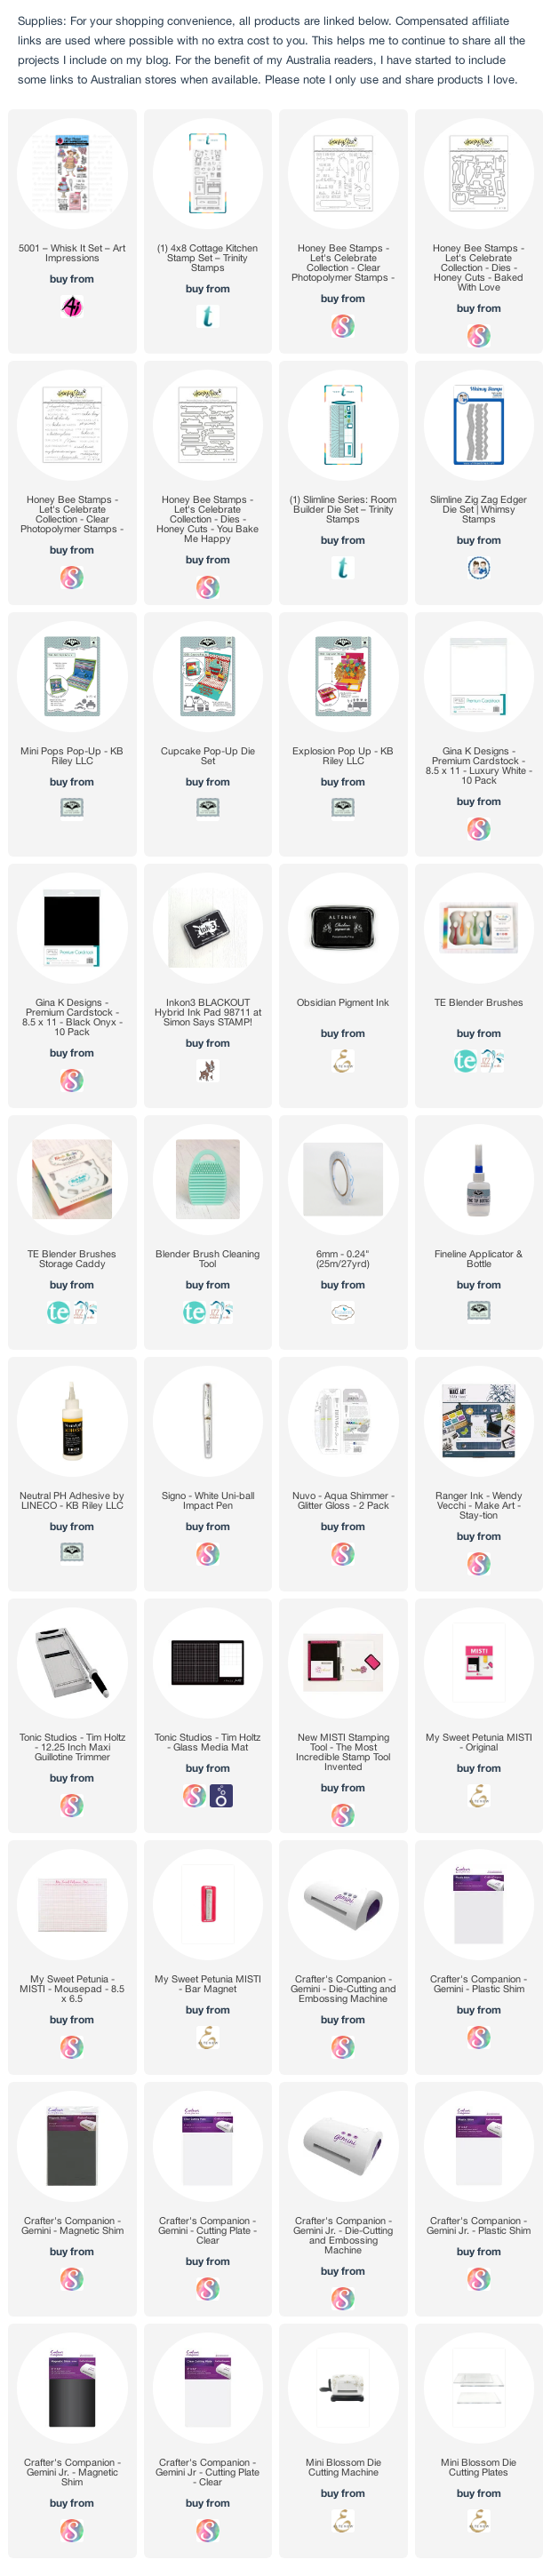
I have created a Slimline card using Trinity Stamps Room Builder die set. Ever since I received this die last year I have been wanting to create a kitchen scene using the Art Impressions Whisk It stamp set. I finally found the perfect opportunity to make it.

I die cut the main die from the Room Builder die set from white cardstock.  I then used a black marker to turn the floor boards from a wood floor to a checkerboard floor. I added patterned paper to the top portion of the card.

The fridge, oven, bench and many of the other accessories on this card are from Trinity Stamps Cottage Kitchen Stamp set. To fill in the kitchen scene with cupboards, I just used a strip of white cardstock and a sliver of black cardstock on the top and then added rectangles for the doors. I used the inner rectangles from the window die included in the Room Builder die set to add the doors.

I added the "Happy Cake Day" sentiment to the front of the island bench which is from Honey Bee Stamps You Bake Me Happy stamp set. I added the "cup" sentiment seeing this card is for Cupcake Day.


For this inside of the card I added the patterned paper I used on the front for the top and bottom edges. I used Whimsy Stamps Slimline Zig Zag Edger die set to create the zig zag border on both panels.

The cupcakes are from Karen Burniston's Cupcake Pop-up die set which I popped up using the larger of the angled pop up mechanisms from the Mini Pops Pop-up die set.


The pop up in the centre of the card is from the Explosion Pop-up die set. I added the birthday sentiment to the pop-up panel which is from Honey Bee Stamps Baked with Love stamp set.

Don't forget to check out the rest of the “Crazies” cards over on the Crazy 4 Challenges blog and also their individual blogs for more details.


Tuesday, October 6, 2020

Karen Burniston Designer Challenge - October 2020


Welcome to our October Karen Burniston Designer Challenge.


Check out Karen Burniston's blog on Wednesday (US Time) when you will be able to see what all the designers created for the challenge this month, plus Karen will have an amazing video tutorial to share with us all.

Our challenge theme this month is ...  "INSPIRED BY" - Karen Burniston put our names in a hat and drew them out in random order to determine who is each person's muse. Choose any project, color combo, technique, etc. by your muse as inspiration and then link to that person's project in your blog post with your inspired creation. 


I was happy when I found out that my muse for this challenge was to be Karen Aicken. After thinking about the challenge, I remembered that Karen had used the Explosion Pop-up on a Slimline card for our blog hop we had for Karen Burniston's birthday. As I have been wanting to make one ever since I saw her card, it was easy to decide what I was going to do for this challenge. You can see Karen Aicken's card here. 


The explosion portion of the Explosion Pop-up die set, measures 3 inches when it is made up, so it is easy to get this to fit into a 3 1/2 inches x 8 1/2 inches Slimline Card. I die cut the explosion panels from polka dot papers and adhered each completed panel to the edge of the inside of my slimline card.

I used some cupcake patterned paper I found in my stash for the centre portion of the card and used the pop-up die included in the Explosion Pop-up die set to die cut the pop-up in the centre of this paper. 

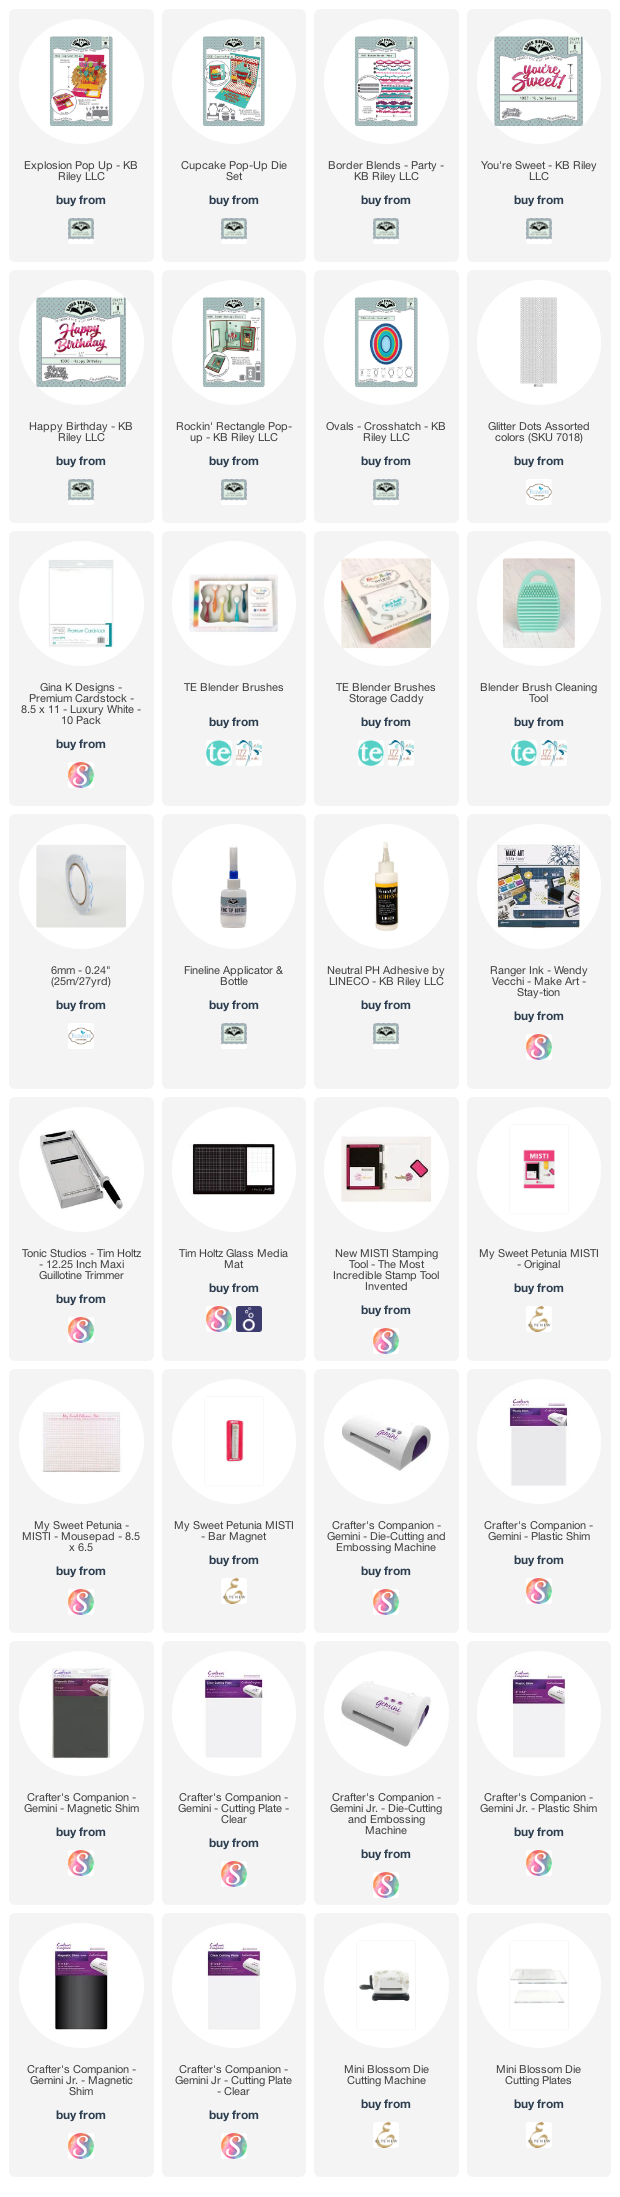
I used one of the borders from the Border Blends - Party die set to add a border along the top and bottom edges where the patterned paper ends. I added pink Glitter Dot Peel Off Stickers to each of the small dots in the border.


I used the You're Sweet sentiment die which I die cut and layered 3 times. I adhered this to a rectangle from the Rockin' Rectangles Pop-up die set and added this sentiment to the top pop-up on the card.

I then used the small cupcakes from the Cupcake Pop-up die set to decorate the bottom panel. I added gems to each of the cupcake icing.

Seeing the main focus of this card is on the inside of the card, I kept the front fairly simple. I used both papers I used on the inside of the card on the front of the card, adding the same border I used on the inside.

I then used the Crosshatch Ovals and the Happy Birthday sentiment dies to add my sentiment.

Supplies:

For your shopping convenience, all products are linked below. Compensated affiliate links are used where possible with no extra cost to you. This helps me to continue to share all the projects I include on my blog. For the benefit of my Australia readers, I have started to include some links to Australian stores when available. Please note I only use and share products I love.


Thursday, February 20, 2020

You're The Sweetest


Hi Crafty Friends,

It's challenge time with my friends over on the CCEE Stampers challenge blog. Anne Harmon our challenge hostess for the month, continues to issue the challenges.

For our challenge this week, Anne has requested that we make a card for a friend using paper piecing.

It's probably been a while since I have using the paper piecing technique on a card, but it is a fun technique and can be used on all sorts of images. Just before I made my card, Jennifer McGuire posted a video on how to do Stamped Paper Piecing using Patterned Paper. While paper piecing isn't new to me, this video inspired me to look at my stamps a little closer to see which image would work to be totally paper pieced.

For my paper piecing, I selected Colorado Craft Company's Big & Bold Sweetest Friend Stamp set, this cupcake is massive and is another of the stamps I got last year when a stamp shop was have a 40% off sale. I used papers from various companies to paper piece the cupcake line, cupcake, icing, strawberry and the calyx of the strawberry. I have included links to the papers where possible in my supply list below.


I had my card all made, photos taken and all blogged. Then I watched a video on how to create a Center Step Easel Card, which is only a matter of adding a piece of cardstock to the bottom of the back of the card and decorating however you wish. I hadn't planned on changing my card, but rather make a card using that technique in a few days, but then I looked at my card and thought .... why not! 

To create the Center Step portion of my card for my cupcake, I used Divinity Designs Center Step Card with Layers die set, this die makes easy work of creating this style of card. 

To turn it into an Center Step Easel Card, I just cut a piece of cardstock that measure 5 1/2 inches (the width of my card) x 6 inches (the height of my card at it's tallest point plus 1/2 inch. I then scored 1/2 inch in along the 6 inch side and adhered the tab to the back of my Centre Step card. 


Here is a look at my card when it is folded flat ready to be placed in an envelope.

Along the sides of the card, I added Crafter's Companion's Birthday Edge'ables die which I die cut from teal glitter cardstock. I die cut the sentiment about 3 times and layered them on top of each other for extra dimension.

I added the "You're The Sweetest" sentiment which is also included in the stamp set on top of the cupcake which I white embossed on black cardstock and then die cut using Honey Bee Stamps Banner Builder die set.


Another photo showing the back of the card when the card has been folded flat.

The two sentiments used on the Easel portion of the card are from Colorado Craft Company's Birthday Cake stamp set. 


I cut a white panel for inside my card and added the same paper I used on the front along the bottom of the card.

I added the "Happy Birthday" sentiment which is from Altenew's Birthday Builder stamp set and also the "Sweet Friend" which is from the Big & Bold Sweetest Friend stamp set.

Don't forget to check out the CCEE Stampers blog (goes live 12 AM EST) to see the rest of the creations the CCEE Stampers created this week. You can also see more details of their creations on their individual blogs:

Supplies:
For your shopping convenience, all products are linked below. Compensated affiliate links are used where possible with no extra cost to you. This helps me to continue to share all the projects I include on my blog. For the benefit of my Australia readers, I have started to include some links to Australian stores when available. Please note I only use and share products I love.

Mega Ovals Nested Dies - Spellbinders
Mega Scalloped Ovals Nested Dies - Spellbinders