Showing posts with label Place Cards. Show all posts

Tuesday, December 28, 2021

Ornament Place Cards


Hi Crafty Friends,

Today I am sharing some place cards I created, which I use to decorate the tables at a Christmas Party I  attended for a club I belong to.

This is the third year in a row I have been asked to make these and each time I try to come up with a different design. In previous years I have made Christmas Trees & Christmas Crackers. As you can see this time around I create Ornament shaped place cards.

This year I had to make about 75 place cards.


With having to make so many, I opted to use my Scan 'n Cut to scan my shape. I was then able to get 9 onto a 12 x 12 sheet of cardstock, as I had to die cut about 160 ornaments this saved a lot of time.

For the names of my place cards, I used the We R Memory Keepers Foil Quill Freestyle pens.  The foiling  looks so much better in real life, than they do on the photo above. Unfortunately is can be very hard to get decent photos of foiling. As you have to cover the green panel with foil and then write with the pen over the foil, you can't really see what you doing. So before started on the names, I created a template/jig, this makes things so much easier.

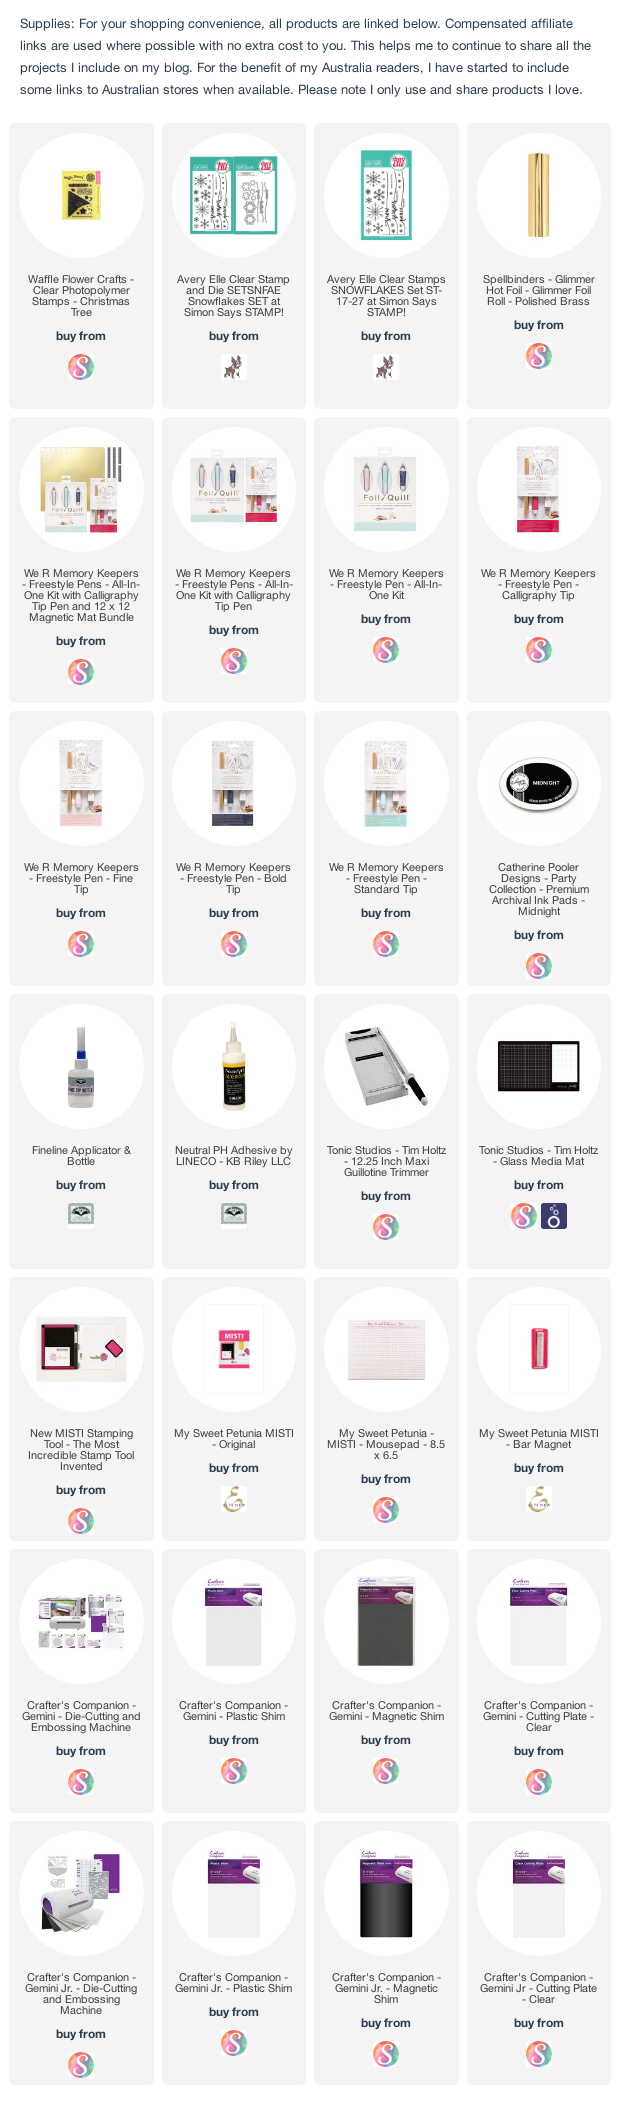
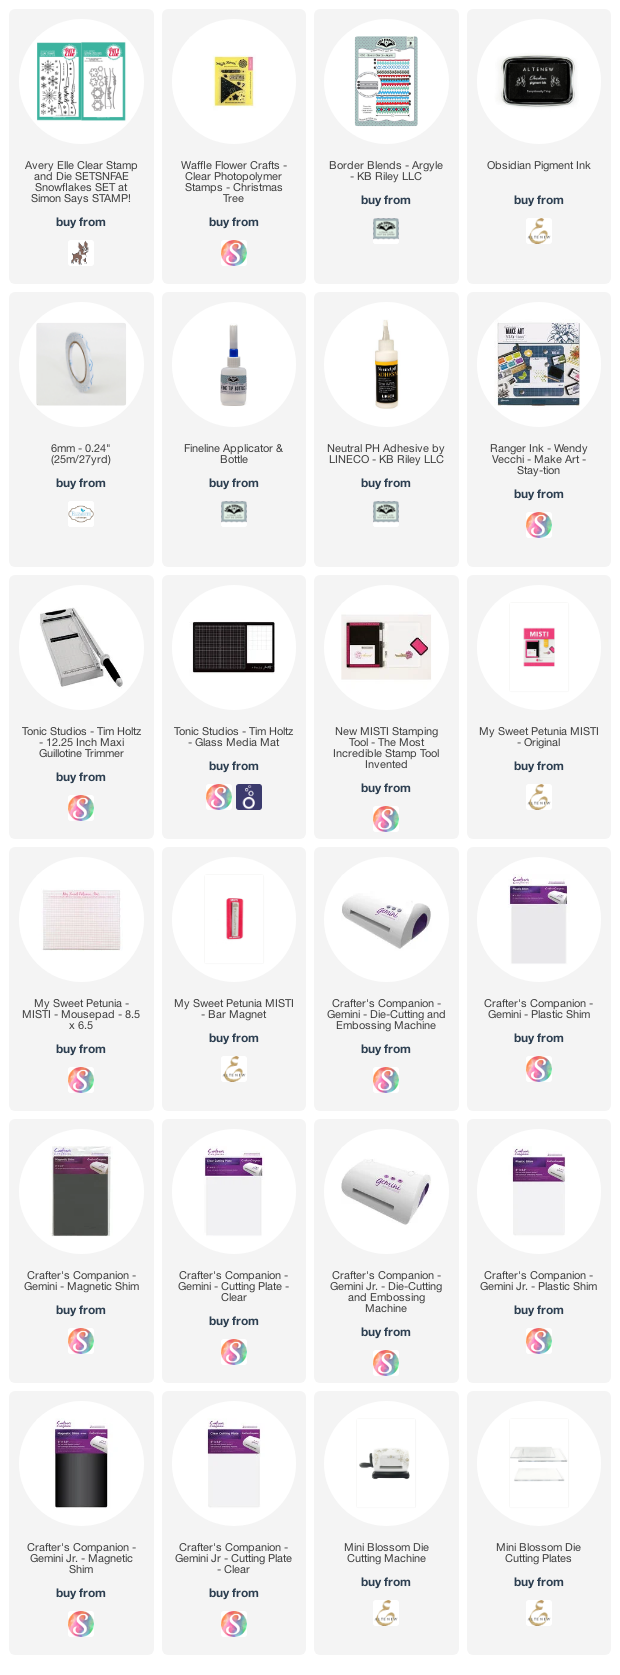
I decided to stamp a greeting on the inside of my place cards. The "Merry Christmas" is  from Waffle Flower Crafts Christmas Tree stamp set and the "From All Of Us" is from Avery Elle's Snowflakes stamp set.


Sunday, December 13, 2020

Christmas Cracker Place Cards


Hi Crafty Friends,

Today I am sharing some place cards I created, which I used to decorate the tables at a Christmas Party for a club I attend.

This time around I had to make at least 64 place cards, so seeing I had to do so many I kept the design fairly simple so it was easy to mass produce. Last year I created Christmas Trees, so this year I decided to go with a Christmas Cracker shape.


Creating the Christmas Cracker shape was fairly easy as all I had to do was cut a piece of red cardstock to 4 1/4 inches x 4 3/4 inches. I then folded this in half so it was a top folding card 2 1/8 inches x 4 3/4 inches.

Next I cut notches out of each side to create the cracker shape.

I decorated the each side of the cracker using a border die from Karen Burniston's Border Blends - Argyle die set.

I used an oval which I die cut from champagne cardstock which I used to write the names of each member on.


I decided to stamp a greeting on the inside of my place cards. The "Merry Christmas" is  from Waffle Flower Crafts Christmas Tree stamp set and the "From All Of Us" is from Avery Elle's Snowflakes stamp set.


Wednesday, December 11, 2019

Christmas Tree Place Cards


Hi Crafty Friends,

Today I am sharing some place cards I created, which I will be using to decorate the tables at a Christmas Party I am attending for a club I attend.

A few months back I offered to make the place cards and seeing I do what I do ... card making, I couldn't just to plain ones. However I also had to make at least 75, so I didn't want anything too complicated or time consuming.


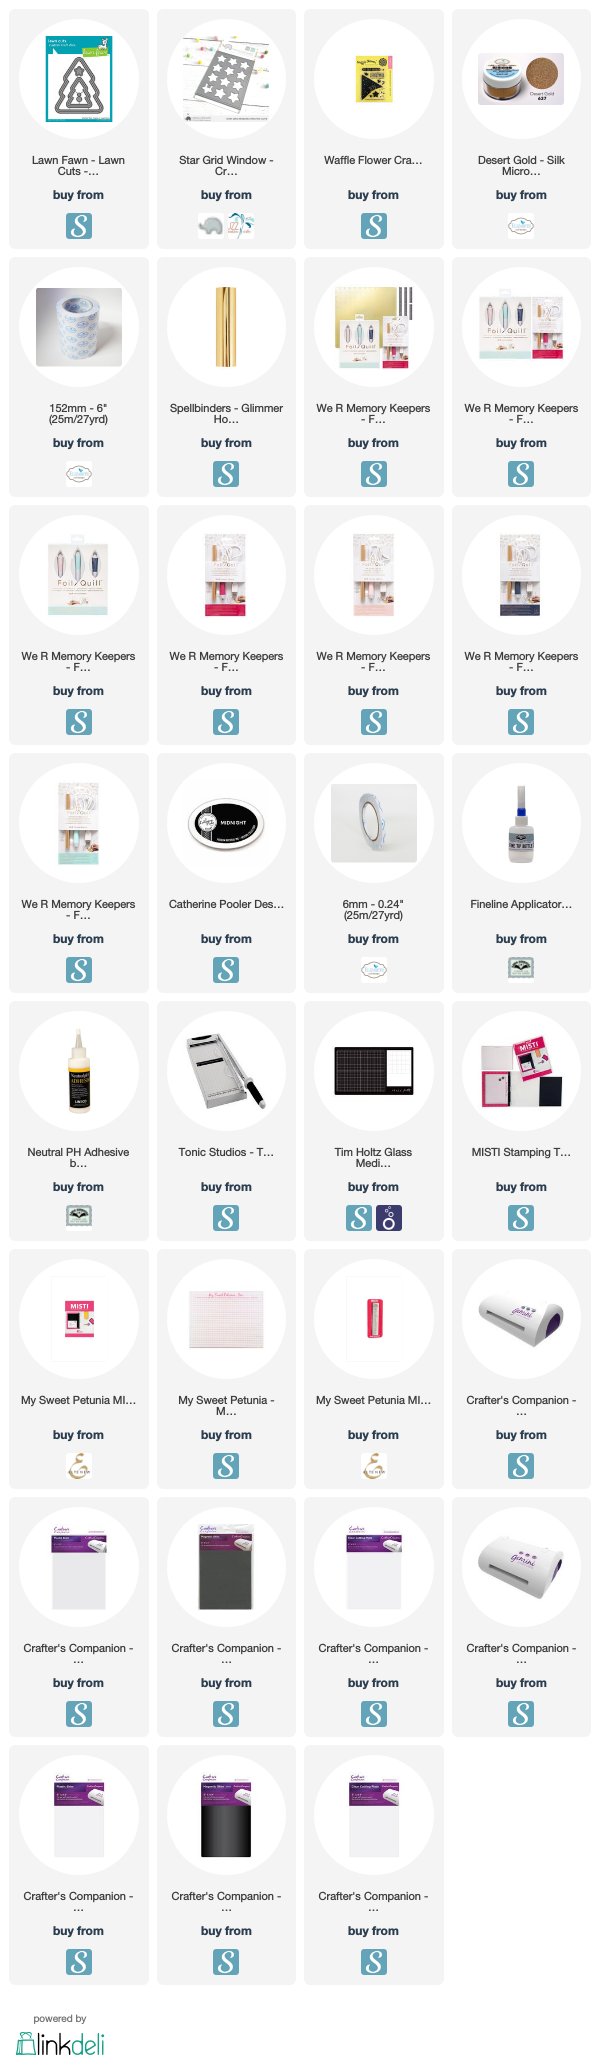
In the end I opted for this Christmas tree version. For the Christmas tree, I used the inner portion of Lawn Fawn's Stitched Christmas Tree Frames. As I was making so many and I needed to conserve my cardstock, I decided to scan the shape into my Scan and Cut and fill the mat with as many as would fit and cut them out that way. I needed two for each place card, so that was 150 I had to cut. 

For the star, I used Mama Elephant's Star Grid Window, this die cuts 12 stars at one time, so die cutting 75 wasn't too painful. Before die cutting, I covered my cardstock with Clear Double Sided Adhesive and then once die cut I covered the adhesive with Desert Gold Silk Microfine Glitter. 

For the red fish tail banner, I found this shape in the library of my Sure Cuts A Lot 5 (SCAL5) program. I made sure the the banner was the correct size for my tree and then cut out about 100 ... I only needed 75,  but I wanted spares in case I messed up the names.


For the names of my place cards, I used the new We R Memory Keepers Foil Quill Freestyle pens which I found at a really good price. Now because you have to cover the banner with foil and then write with the pen over the foil, you can't really see what you doing. So before started on the names, I created a template/jig. 

To make this I used the negative portion of the cardstock I used to die cut the banners (photo above on left). Now I just left mine on my scan n cut mat, but if you want to protect your mat from foil, tape one side down to some cardstock. You will need to be able to lift up the template to place the foil in place.

Next place your banner in one of the banner openings. It's probably a good idea to have some adhesive on the back so it stays in place. (photo above centre)

Now with the banner in place, lift up the template/jig and place your foil over the top of the banner. Close the template/jig and now you can write on your banner using your Foil Quill Freestyle pen. I used the standard size of my banners.


I decided to stamp a greeting on the inside of my place cards. I used a stamp from Waffle Flower Crafts Christmas Tree stamp set.


Supplies:
For your shopping convenience, all products are linked below. Compensated affiliate links are used where possible with no extra cost to you. This helps me to continue to share all the projects I include on my blog. For the benefit of my Australia readers, I have started to include some links to Australian stores when available. Please note I only use and share products I love.