Showing posts with label Foil Quill. Show all posts

Tuesday, December 28, 2021

Ornament Place Cards


Hi Crafty Friends,

Today I am sharing some place cards I created, which I use to decorate the tables at a Christmas Party I  attended for a club I belong to.

This is the third year in a row I have been asked to make these and each time I try to come up with a different design. In previous years I have made Christmas Trees & Christmas Crackers. As you can see this time around I create Ornament shaped place cards.

This year I had to make about 75 place cards.


With having to make so many, I opted to use my Scan 'n Cut to scan my shape. I was then able to get 9 onto a 12 x 12 sheet of cardstock, as I had to die cut about 160 ornaments this saved a lot of time.

For the names of my place cards, I used the We R Memory Keepers Foil Quill Freestyle pens.  The foiling  looks so much better in real life, than they do on the photo above. Unfortunately is can be very hard to get decent photos of foiling. As you have to cover the green panel with foil and then write with the pen over the foil, you can't really see what you doing. So before started on the names, I created a template/jig, this makes things so much easier.


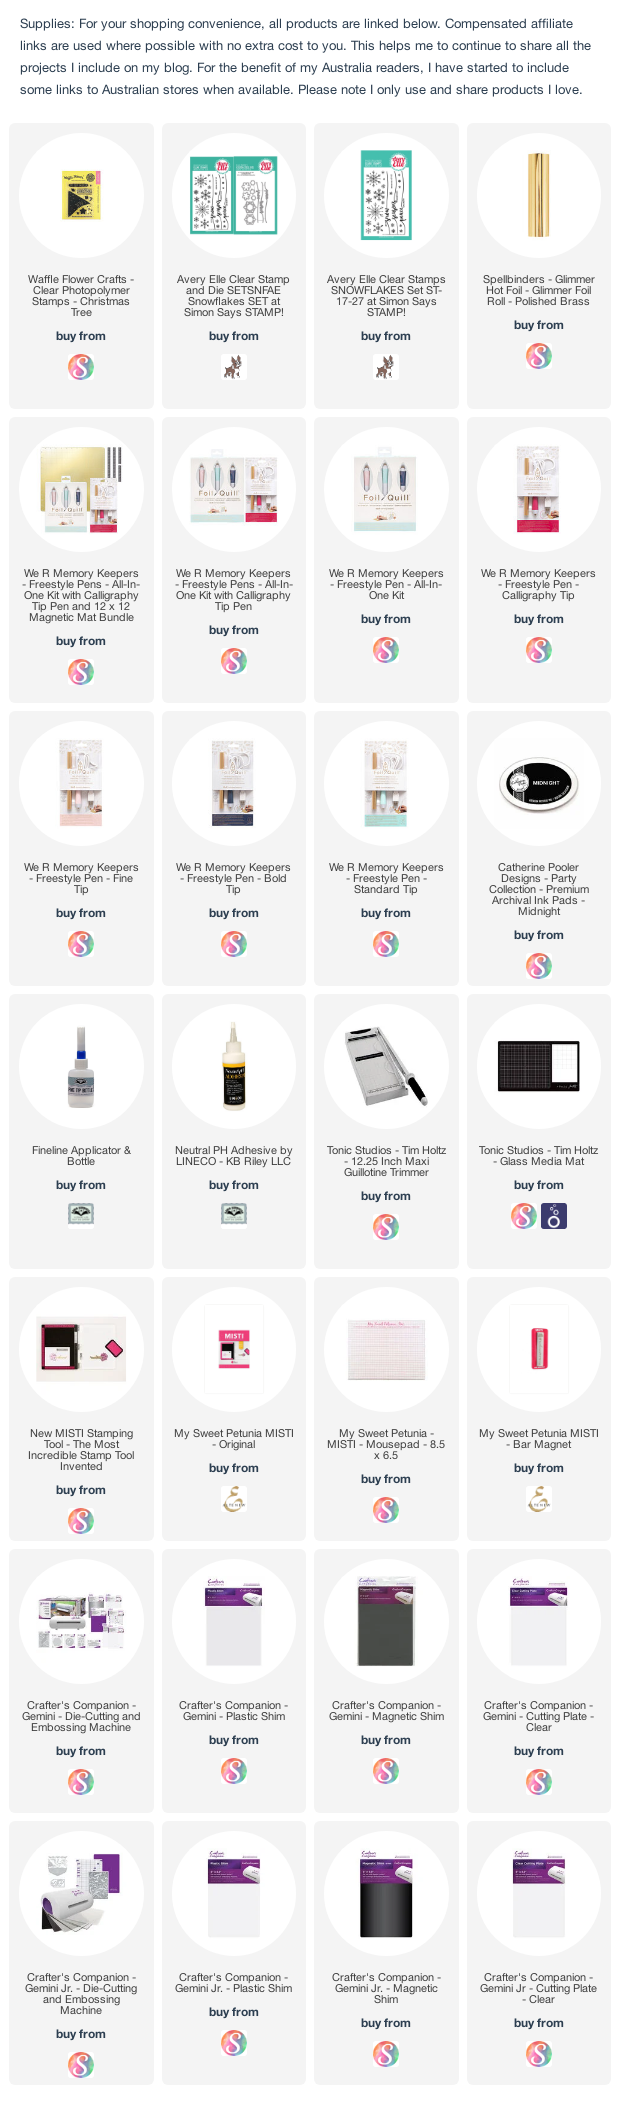
I decided to stamp a greeting on the inside of my place cards. The "Merry Christmas" is  from Waffle Flower Crafts Christmas Tree stamp set and the "From All Of Us" is from Avery Elle's Snowflakes stamp set.


Friday, January 10, 2020

Thank You Very Much


Hi Crafty Friends,

Today I have a Thank You card to share with you using gold foil. I purchased this Spellbinders Thank You  Glimmer Hot Foil Plate recently, as I thought it would make quick thank you cards when needed which still had a bit of wow! 

I used Gold Foil and my Couture Creations Go Press and Foil system to foil the sentiment. After foiling I die cut the rectangle panel using one of the rectangles from the Crosshatch - Rectangles die set from Karen Burniston. I then used Catherine Pooler Daydream ink to sponge added color around the edge. This was then layered to a rectangle using gold mirror cardstock.

Late last year I purchased We R Memory Keepers Foil Quill Freestyle pens to use with foils. As I had it I decided to pull out the bold freestyle pen and one of the stencils from La-La Land Crafts Snowy Hills stencils to create my background. I placed my card, gold foil and stencil onto my Make Art Station mat and then used the bold pen to apply the gold foil through the holes in the stencil. Some of the circles aren't perfect, but I do like how it turned out. I adhered this panel to a top folding white card.


For the inside of the card, I added a thanks sentiment using two different thank you sentiment stamp sets.


Supplies:
For your shopping convenience, all products are linked below. Compensated affiliate links are used where possible with no extra cost to you. This helps me to continue to share all the projects I include on my blog. For the benefit of my Australia readers, I have started to include some links to Australian stores when available. Please note I only use and share products I love.


Wednesday, December 11, 2019

Christmas Tree Place Cards


Hi Crafty Friends,

Today I am sharing some place cards I created, which I will be using to decorate the tables at a Christmas Party I am attending for a club I attend.

A few months back I offered to make the place cards and seeing I do what I do ... card making, I couldn't just to plain ones. However I also had to make at least 75, so I didn't want anything too complicated or time consuming.


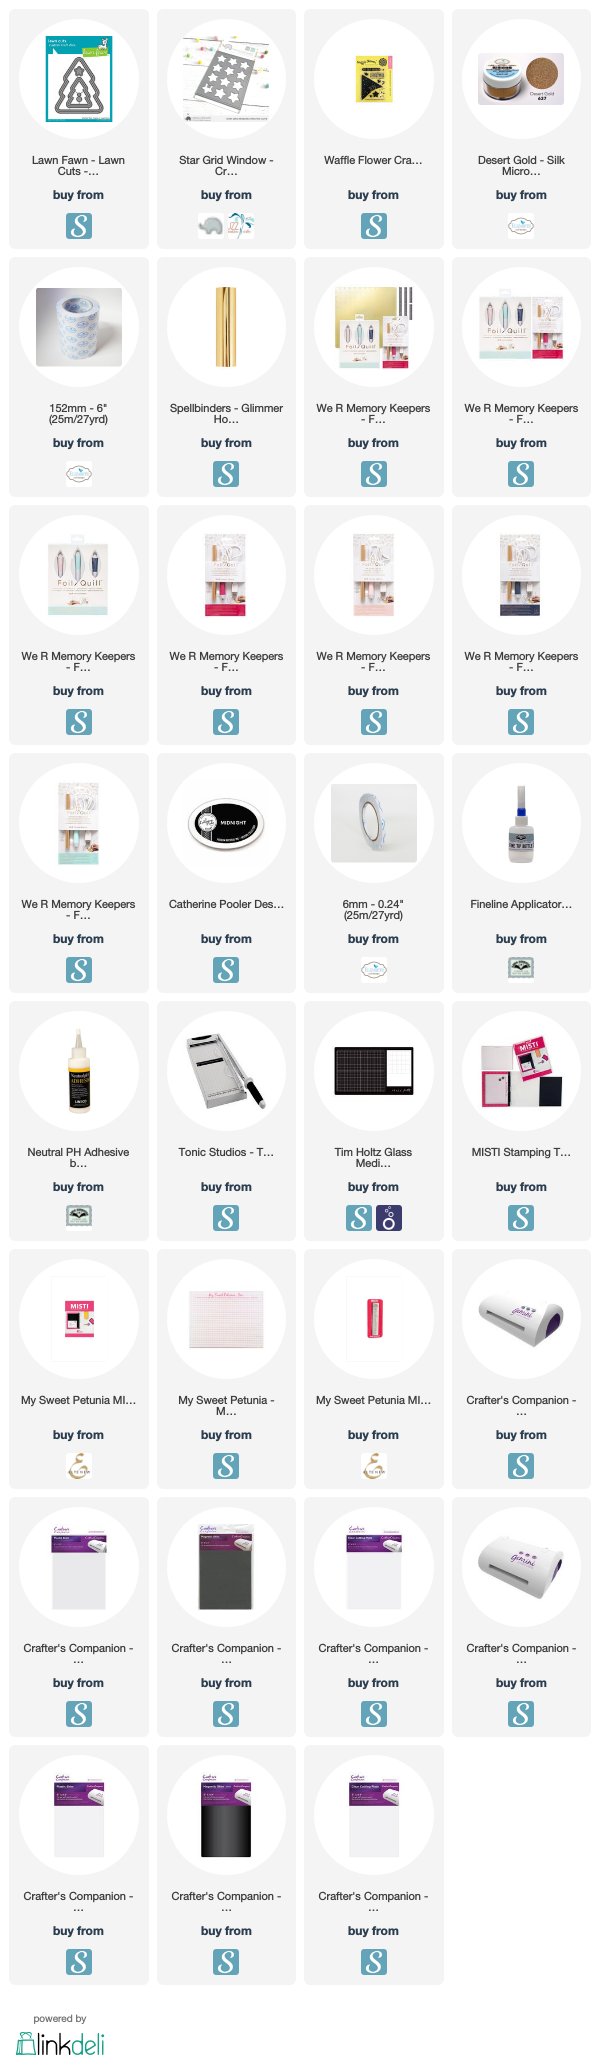
In the end I opted for this Christmas tree version. For the Christmas tree, I used the inner portion of Lawn Fawn's Stitched Christmas Tree Frames. As I was making so many and I needed to conserve my cardstock, I decided to scan the shape into my Scan and Cut and fill the mat with as many as would fit and cut them out that way. I needed two for each place card, so that was 150 I had to cut. 

For the star, I used Mama Elephant's Star Grid Window, this die cuts 12 stars at one time, so die cutting 75 wasn't too painful. Before die cutting, I covered my cardstock with Clear Double Sided Adhesive and then once die cut I covered the adhesive with Desert Gold Silk Microfine Glitter. 

For the red fish tail banner, I found this shape in the library of my Sure Cuts A Lot 5 (SCAL5) program. I made sure the the banner was the correct size for my tree and then cut out about 100 ... I only needed 75,  but I wanted spares in case I messed up the names.


For the names of my place cards, I used the new We R Memory Keepers Foil Quill Freestyle pens which I found at a really good price. Now because you have to cover the banner with foil and then write with the pen over the foil, you can't really see what you doing. So before started on the names, I created a template/jig. 

To make this I used the negative portion of the cardstock I used to die cut the banners (photo above on left). Now I just left mine on my scan n cut mat, but if you want to protect your mat from foil, tape one side down to some cardstock. You will need to be able to lift up the template to place the foil in place.

Next place your banner in one of the banner openings. It's probably a good idea to have some adhesive on the back so it stays in place. (photo above centre)

Now with the banner in place, lift up the template/jig and place your foil over the top of the banner. Close the template/jig and now you can write on your banner using your Foil Quill Freestyle pen. I used the standard size of my banners.


I decided to stamp a greeting on the inside of my place cards. I used a stamp from Waffle Flower Crafts Christmas Tree stamp set.


Supplies:
For your shopping convenience, all products are linked below. Compensated affiliate links are used where possible with no extra cost to you. This helps me to continue to share all the projects I include on my blog. For the benefit of my Australia readers, I have started to include some links to Australian stores when available. Please note I only use and share products I love.


Monday, July 22, 2019

Best Birthday Ever


Hi Crafty Friends,

Today I am sharing a card I created using my We R Memory Keepers Foil Quill in conjunction with my Scan N Cut. I received the Foil Quill for Mother's Day earlier this year and as I had only made one card, I figured it was time to play! I recently purchased some single line fonts which would work with my Scan N Cut so of course I wanted to try them out. It took me a few goes playing with the different sized tips and finally got the look I needed, while I am getting used to this tool it is a matter of trail and error until I get it right.

The background is also created using the foil quill, I found the design over on the Facebook group WRMK Foil Quill for Everyone. If you have a Foil Quill I recommend you join this group.

To decorate my card I added flowers using Altenew's Strength Blooms Clear Stamp set.


For the inside of the card I added another sentiment from the Foil Quill Mix and Match Sentiments Bundle which is the same place I got the sentiment on the front. The fun things about this set, is that you can build your own sentiment using the various words/designs included in the set. 

I also added another flower to the top of the sentiment.

Supplies:
For your shopping convenience, all products are linked below. Compensated affiliate links are used where possible with no extra cost to you. This helps me to continue to share all the projects I include on my blog. For the benefit of my Australia readers, I have started to include some links to Australian stores when available. Please note I only use and share products I love.


Wednesday, June 5, 2019

Look Whoo's Having A Birthday

Hi Crafty Friends,

Today I am sharing my first card I created using my new WRMK Foil Quill pens which works with electronic cutters including the Scan & Cut.

One of the most interesting items I saw that was shared at Creativation earlier in the year, was the Foil Quill. When I saw the videos of this online, I knew I would need it. Well it finally arrived in Australia at the end of April and I managed to get one for Mother's Day.

I spent most of the day, playing with the foil quill to make this card. Of course being an owl lover, the owl was the first thing I foiled and that only took a few minutes to do. I found the SVG file on the So Fontsy site.

The background was a freebie I found online through the WRMK Foil Quill for Everyone Facebook Group, again this didn't take long to foil.


I had wanted to create sentiments that were foiled too, however it turns out I needed a program called Inkscape to create SVG files to import into Canvas. Well believe it or not this was the hardest part of the whole process. Because I have a Mac, I first needed to download and install another program before I could download Inkscape. Well after a couple of hours and watching a few YouTube videos I finally got it all downloaded and able to open it.

I tried a few times to create my sentiments and foil them, but each time the sentiments showed an outline rather than solid which wasn't what I wanted. So I finally decided to gold emboss sentiments I have with stamp sets instead ... phew!

To finish off the front of the card I added a few jewels randomly over the card, including the owls eyes.


For the inside of the card, I decided to use the leftover foil from the foiled background used on the front. I covered a piece of black cardstock with adhesive and then placed the leftover foil over the top and used my bone folder to rub it onto the adhesive. I then used my anti static tool to remove any remaining adhesive on the panel.

I added another owl themed sentiment to the top of the panel, this sentiment is from Art Impressions Chatting Hoots stamp set, which may be discontinued now as I have had it for a number of years.

Supplies:
For your shopping convenience, all products are linked below. Compensated affiliate links are used where possible with no extra cost to you. This helps me to continue to share all the projects I include on my blog. Please note I only use and share products I love.