Hi Crafty Friends,
Today I am sharing a sparkly Christmas card I created using some new dies from Elizabeth Craft Designs. These dies were designed by a new licensed designer Becky Seddon, you are going to love her new range of dies.
Here is how I created the card:
Step 1
- Cover a piece of white cardstock with Clear Double Sided Adhesive Tape. Die cut the card using one of the squares from the Stitched Squares dies set.
- Die cut the two smaller snowflakes in the Becky Seddon Snowflakes die set a number of times from some scrap adhesive tape release sheet to use as stencils.
- Remove the release sheet from the square cardstock and then place the snowflakes onto the adhesive in an interesting pattern. (Tip: once you have added the snowflake stencils, cover the adhesive with the release sheet you took off the adhesive and rubber all over the card with either a brayer or bone folder to ensure the stencils are attached to the adhesive).
- Cover the exposed adhesive with Silver Silk Microfine Glitter. Brush off the excess and return to the jar and polish the glitter into the adhesive using your finger.
- Carefully remove the snowflake stencils and cover the adhesive with Cool Diamond Silk Microfine Glitter. Return any excess glitter to the jar and polish the glitter into the adhesive using your finger.
Step 2
- Cut a square from white cardstock using the Dotted Scallop Squares. Layer the glittered panel onto the Dotted Scallop Square.
- Adhere layers onto a folded silver base card which is 5 3/8 inches square.
Step 3
- Cover a piece of cardstock with Clear Double Sided Adhesive Tape. Die cut the three snowflakes from the Snowflakes die set so that the adhesive is on the front of the die cut.
- Use Silver Silk Microfine Glitter to cover the middle sized snowflake and Cool Diamond Silk Microfine Glitter to cover the other two snowflakes. (Don't forget to polish the glitter using your finger to get maximum shine)
- Layer the snowflakes together using foam tape in between each layer.
- Optional - I added a tiny snowflake from the Reindeer die set to the centre of my snowflake stack which I covered with silver glitter.
- Add a Transparent/Silver Glitter Dots Peel off Sticker to the centre of the snowflake
Step 4
- Die cut a circle using the Dotted Scallop Circles from White Soft Finish Cardstock and adhere to centre of card using foam tape.
- Add the stacked snowflake to the centre of the card.
Step 5 - Inside of Card
- Die cut a square from White Soft Finish Cardstock using the Dotted Scallop Squares.
- Using VersaMark ink stamp the "All is calm ..." sentiment from the Holiday Cheer Clear Stamp set to the centre of the card and cover with silver embossing powder and heat set.
- Die cut two more of the smallest snowflake from the Snowflakes die set and glitter using Silver and Cool Diamond Silk Microfine Glitter. Add to card using photo above as a guide.

Stamps:
Holiday Cheer - Elizabeth Craft Designs
|
Paper:
White Soft Finish Cardstock - Elizabeth Craft Designs; Silver
|
Dies:
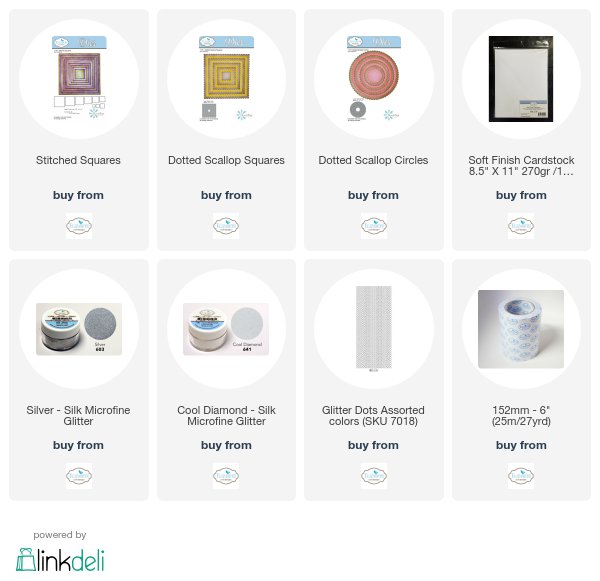
Ornate Snowflakes; Dotted Scallop Circles; Stitched Squares; Dotted Scallop
Squares - Elizabeth Craft Designs
|
Other
ECD Products: Cool Diamond Silk Microfine Glitter; Silver Silk Microfine
Glitter; Clear Double Sided Adhesive Tape 152mm; Transparent/Silver Glitter
Dots Peel Off Stickers
|
Other:
Versamark Ink; Sliver Embossing Powder; Foam Tape
|


2 comments:
great colors for this beautiful snowflake card
Such a pretty card for the holidays - so shimmery!
Post a Comment