Showing posts with label A2 Portrait Card Base with Layers. Show all posts

Friday, April 22, 2022

Best Wishes to the New Mr and Mrs


Hi Crafty Friends,

Today I am sharing another wedding themed card I created using products from Divinity Designs April release.

This time around, I created an A2 card using the A2 Portrait Card Base with Layer die set. For the background panel I used the new Pierced Wedding Ring Background which I die cut from purple cardstock. I used the Matting Rectangle die set to die cut the gold layer between the background panel and card base.

I used stamps from the Cheers Stamp set to decorate the front of the card, embossing the image and sentiment using gold embossing powder. This panel was die cut using the Double Stitched Ovals and Ovals die sets. 

To embellish the card I added some heart from the Layering Hearts die set and the bow from the Test Tube Trio die set.


For the inside of the card, I die cut another Pierced Wedding Ring Background from purple cardstock, cut it down and added it to the bottom of my card.

I gold embossed another of the sentiments included in the "Cheers" stamp set. Finally I added a few more hearts using some of the heart dies from the Layering Hearts die set.


Wednesday, September 15, 2021

Thinking of You

Hi Crafty Friends,

Today I am sharing a card I created using stamps, dies and papers from Divinity Designs.

To create my card I used the two stamp sets included in the July 2021 Blessings Box ... Already There and Better Place stamp set.

I used the Ovals and Double Stitched Ovals die to layer the images.

For the card base I used the Leaf Outline Background die layering it over the Rainbow Sherbet Slimline Paper Pad.  This was then layered onto a black cardstock layer using the Matting Rectangle and onto a top folding card base using the A2 Portrait Card Base with Layer die set.

For the inside of my card I added the two hummingbirds and sentiment from the Already There stamp set.


Friday, September 10, 2021

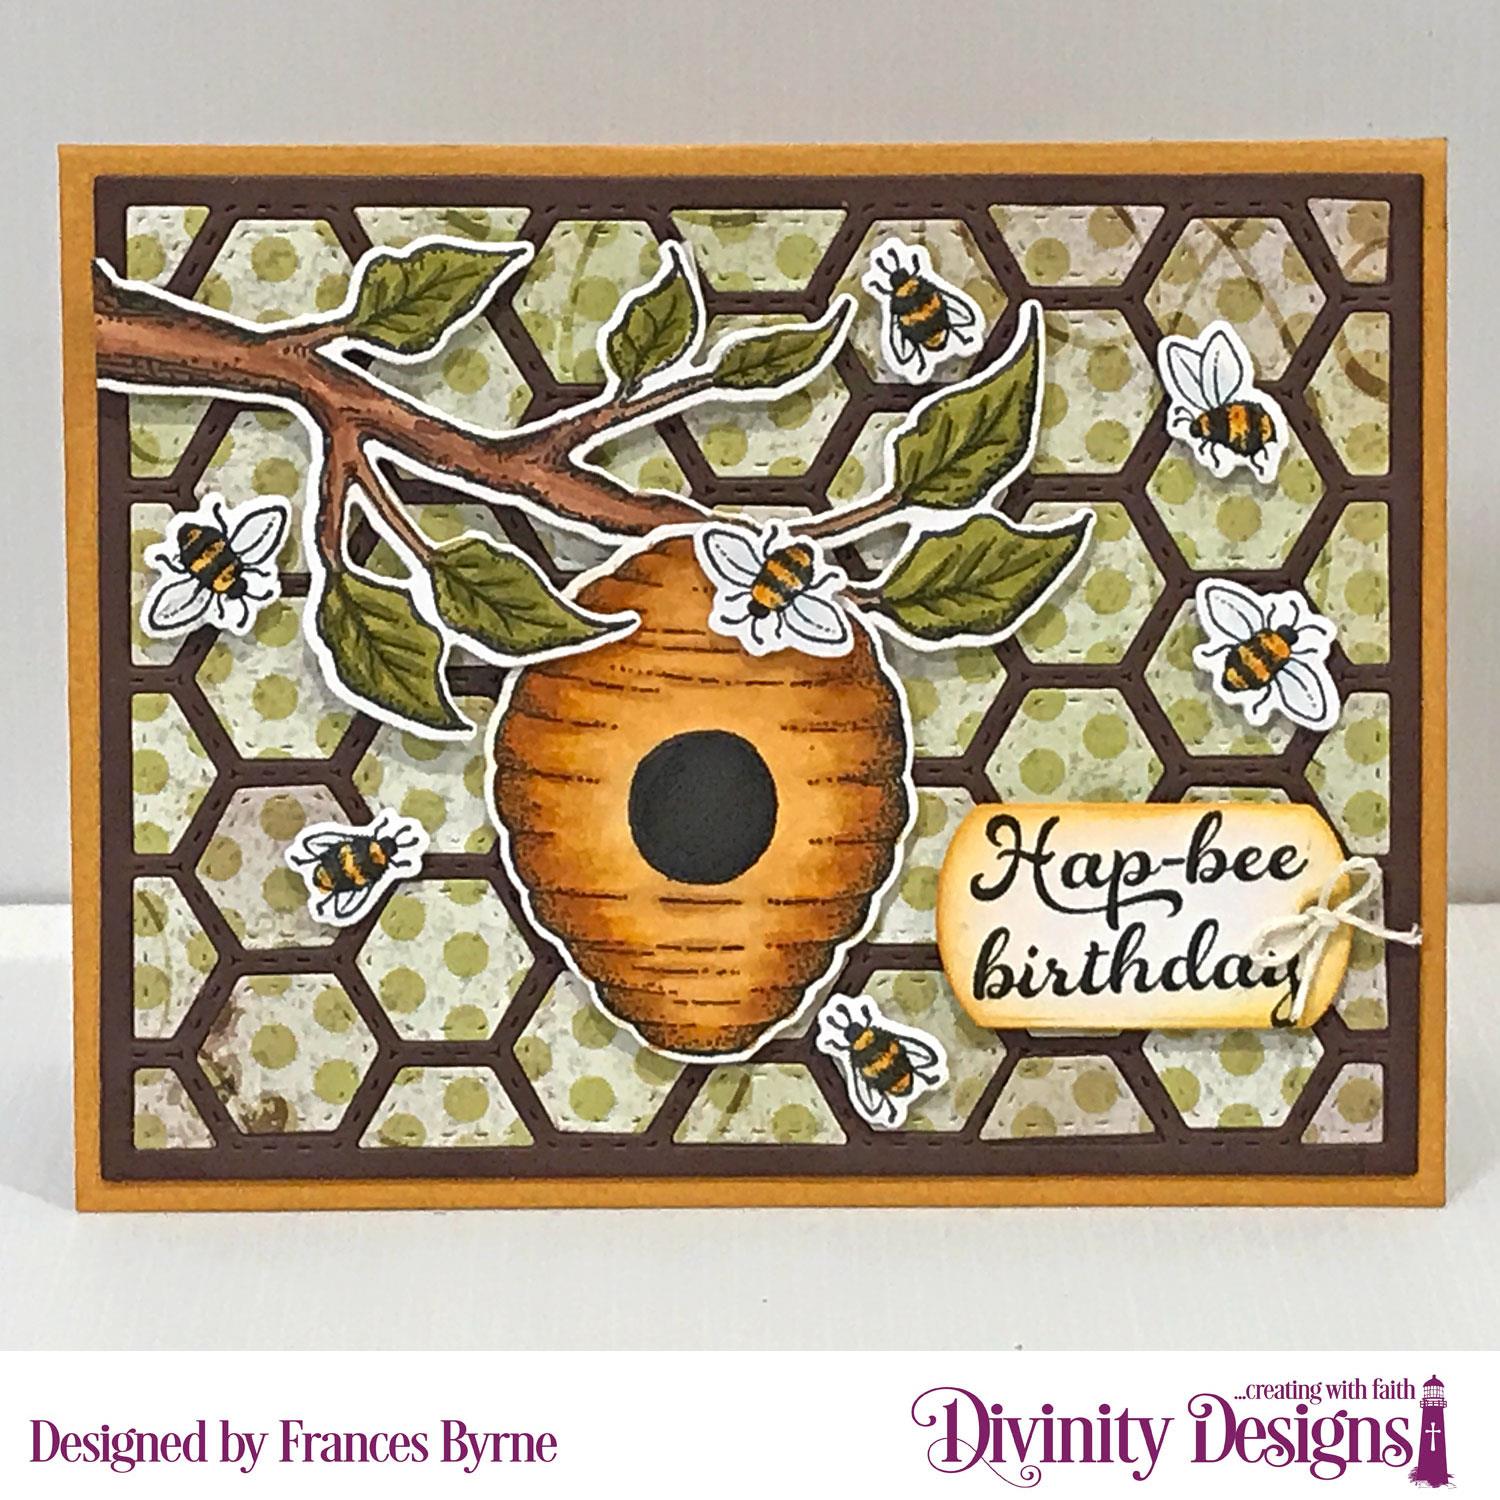
Hap-Bee Birthday

Hi Crafty Friends,

Today I am sharing a bee themed card using stamps, dies and papers from Divinity Designs including some of the new products from the September release.

I always enjoy making bee cards, and apparently this month is Honey month so how could we have honey without those fabulous bees.

To create my card today I used one of the new papers included in the Buzzing Gnomes Paper/Die Duo set. This pack is amazing!!! Not only does it have patterned papers in four different bee themed designs, but also included fully colored Gnome/Bees and a die to cut all the images included in the gnome paper out. I can't wait to play more with this set.

Also released this month is the Honeycomb Layering Combo die set which I have used for the centre frame of my card, the Buzzing Bee die set and the Bee Mine stamp set which I used for the sentiments on this card.


To create my card base, I used the Floating Frame Front die set which die cuts the patterned paper frame on the front of this card and the square holes in the front panels, so that the honeycomb & bees and can seen on my card both when it is closed or open.

I also used the A2 Portrait Card Base with Layer and Matting Rectangle die set to create the card base.


Here is a view of the inside of my card. As you can see I added another sentiment underneath the honeycomb so it is hidden when the card is closed but can be seen when it is open.

I have included links to all of Divinity Designs September release products in my supply list below.


Friday, June 12, 2020

Footsteps


Hi Crafty Friends,

Today we are taking a look back at Divinity Designs May Release. I have created two cards using the Footprints Stamp Die Duo set. For more inspiration using the May Release and to see the other designers projects, be sure to visit the Divinity Designs Blog .

For my first card I used one of the patterned papers from the Landscapes Paper Pad, I used one of the rectangles from the Double Stitched Rectangles to die cut the patterned paper. This was then adhered to a top folding card using the A2 Portrait Card Base with Layers die set.

Along the bottom of the card I die cut a piece of black cardstock using the Double Stitched Rectangles die set. I then used one of the dies from the Curvy Slopes die set to cut a small hill. I used the footprint stamps from the Footsteps Stamp Die Duo Set and black embossed the image onto the black cardstock. I also embossed another set of footprints onto black cardstock and used the coordinating die to die cut them out and then layered them with another two layers to each footprint to the ones on the black card panel.

I added one of the sentiments from the stamp set to the top right corner of the card.


For the inside of the card I added a sentiment from the stamp set using rectangles from the Double Stitched Rectangles and Rectangles die set for all the layering. I also added a couple of black footprints to the sides of the card.


For my final card I used the A2 Landscape Card Base with Layers die set to create the base of my card. I used patterned paper from the Weathered Wood Paper Pad for the background.

I cut a stripe of white cardstock 5 1/2 inches and blended Gathered Twigs Distress Oxide ink all over the panel. I then used the footprint stamp from the Footsteps Stamp Die Duo set onto the panel. I also used the edge of this stamp to add more dotted detail around the edge of this panel.

I added a sentiment to the top right hand corner of the card from the stamp set layering the sentiment onto ovals from the Double Stitched Ovals and Ovals die sets.


For the inside of the card I added another sentiment from the stamp set layering it to ovals from the Double Stitched Ovals and Ovals die set.

I also stamped a set of footprints, die cut them using the coordinating die and added them to either side of the card.

Supplies:
For your shopping convenience, all products are linked below. Compensated affiliate links are used where possible with no extra cost to you. This helps me to continue to share all the projects I include on my blog. For the benefit of my Australia readers, I have started to include some links to Australian stores when available. Please note I only use and share products I love.




Wednesday, February 19, 2020

Bee-lieve


Hi Crafty Friends,

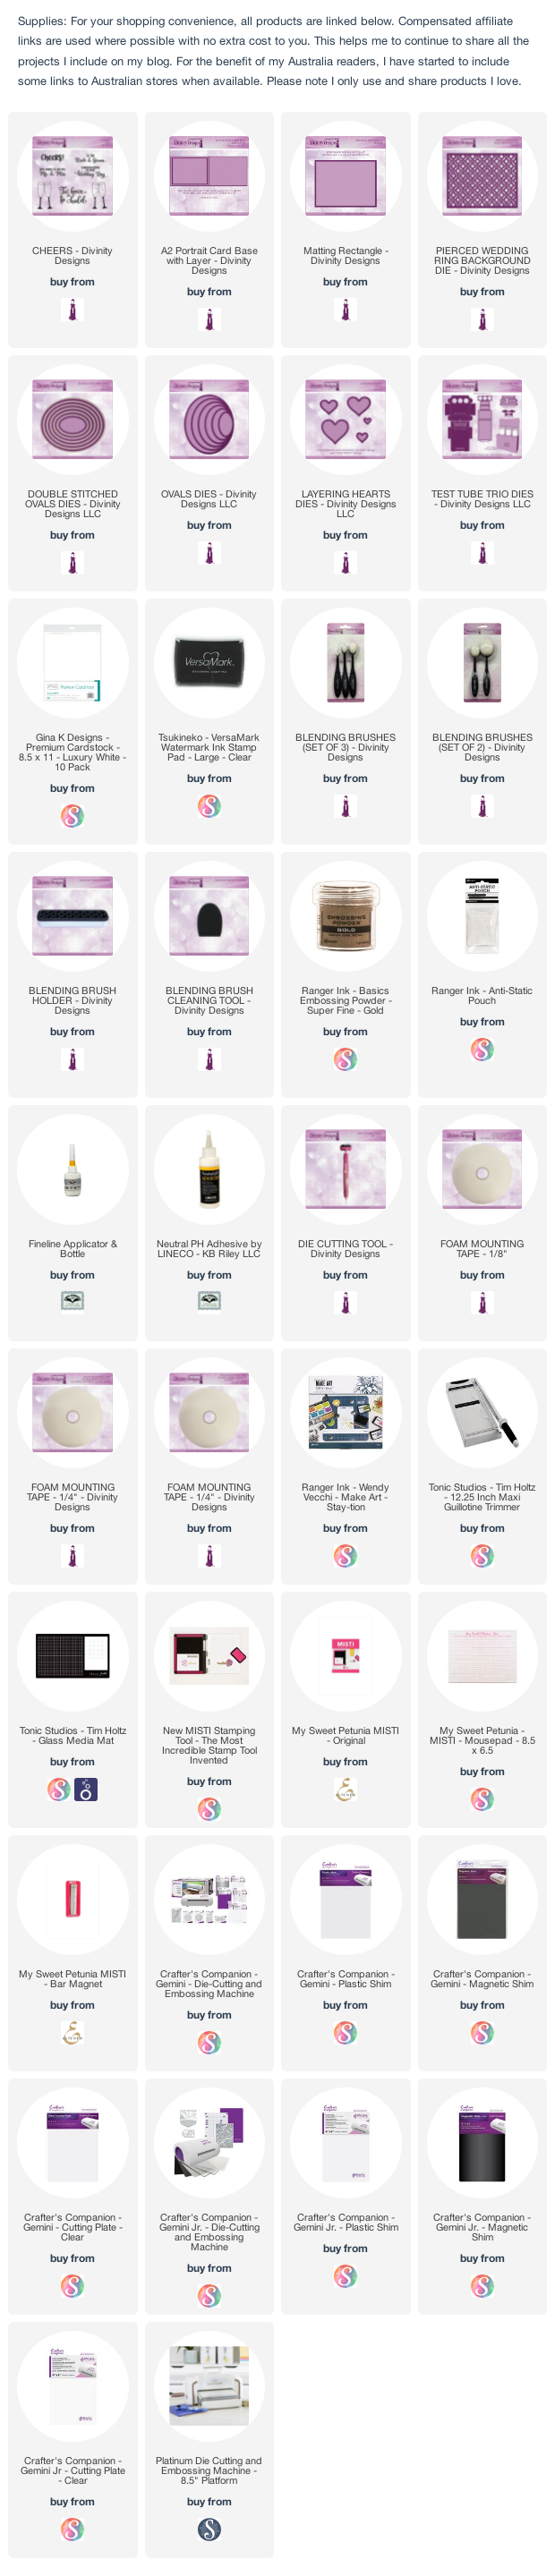
Today I am sharing a card I created using stamps and dies from Divinity Designs February release.

For the base of my card I used the new A2 Portrait Card Base with Layer die set. This die makes it really easy to ensure your card is the right size and is scored exactly in the centre. I did cut my card using black cardstock.

I used the Quilted Honeycomb Background to die card gold mirror cardstock and black cardstock. One of the features of this die is that it can also be embossed, so after die cutting the die, I put it back into my die cutting machine with the embossing sandwich and ran it through the machine. I then paper pieced the black hexagons into the Quilted Honeycomb Background frame. I omitted some of the black hexagons and added the gold instead for a little extra interest.

I stamped, die cut and colored the hive, branch and bees from the Bee-lieve Stamp/Die Duos set and added them to my card using foam tape.

To finish off the front of the card I added the sentiment which is also included in the stamp set and was die cut using a rectangle from the Sentiment Strips die set.


For the inside of my card I die cut the rectangle layer included in the A2 Portrait Card Base with Layer die set. 

I die cut the Quilted Honeycomb Background again from gold and black cardstock and adhered it to the bottom of the white panel at a diagonal. I paper pieced the black and gold hexagons into the background.

This panel was then layered using the Matting Rectangle die set, die cut from gold mirror cardstock. 

I added a sentiment to the top section of the panel and then added some more bees.

Supplies:
For your shopping convenience, all products are linked below. Compensated affiliate links are used where possible with no extra cost to you. This helps me to continue to share all the projects I include on my blog. For the benefit of my Australia readers, I have started to include some links to Australian stores when available. Please note I only use and share products I love.


Sunday, February 2, 2020

Divinity Designs - February 2020 Release


Hi Crafty Friends,

Today I am sharing two projects I created using new stamps and dies from Divinity Designs February Release.  For more inspiration using the February Release, and to see the other designers projects, be sure to visit the Divinity Designs Blog.

This month Divinity Designs are releasing one new stamp/dies duos set, an embossing folder/die duo set and four die sets. 

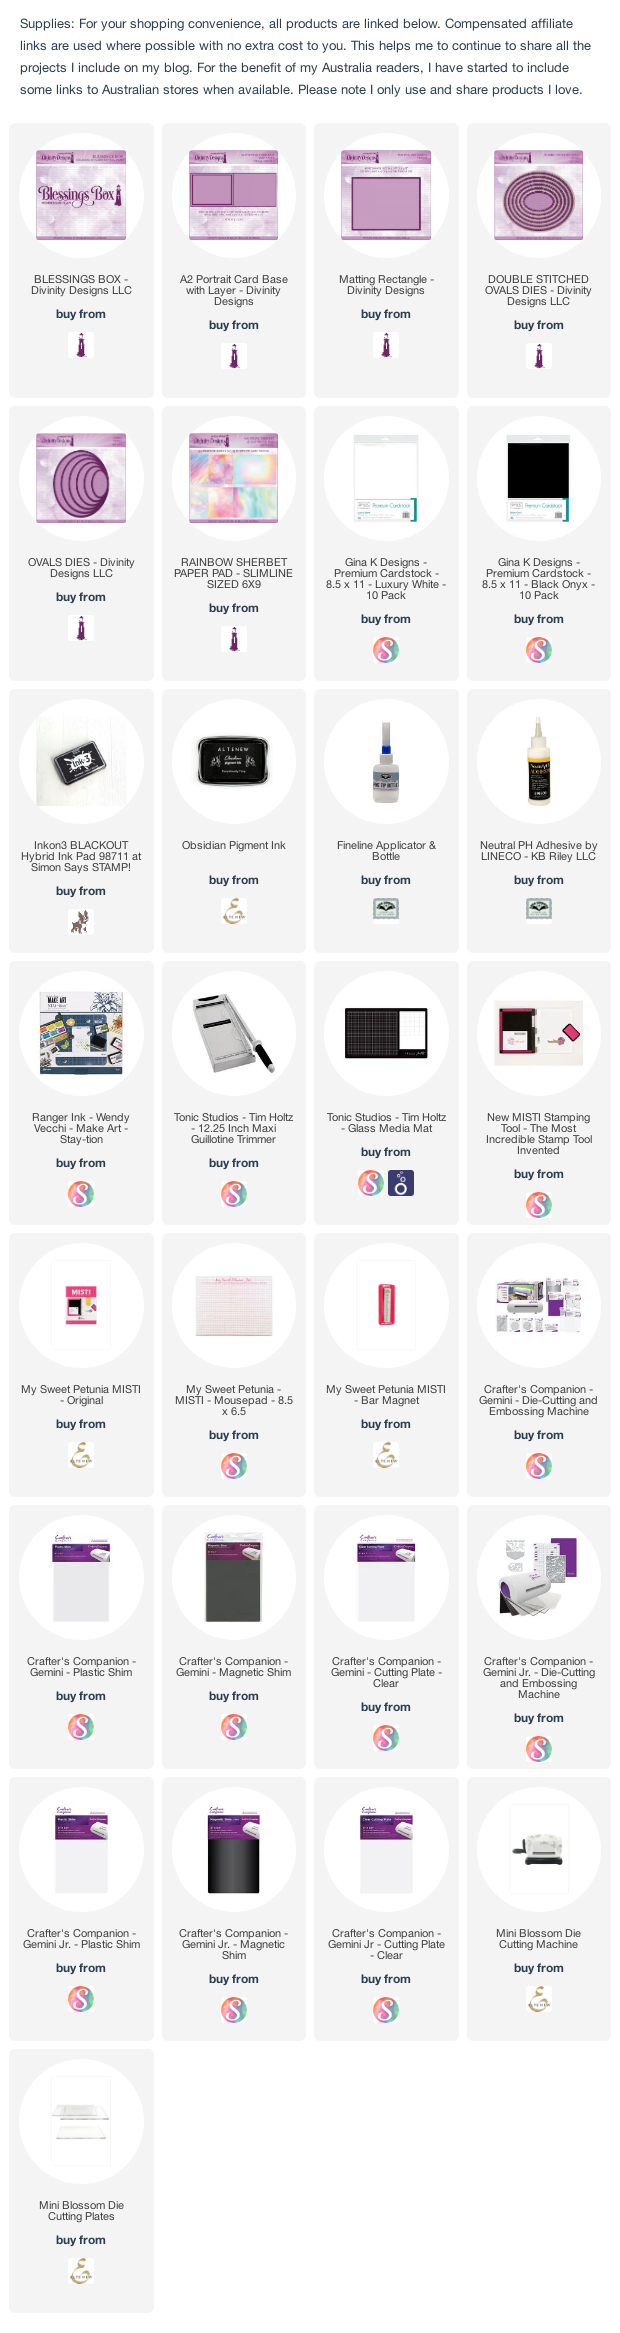
Two of the die sets being released this month are A2 Card Bases with Layers die sets. There is an A2 Landscape Card Base with Layer and an A2 Portrait  Card Base with Layer. These dies make cards that are US A2 size which is 5 1/2" x 4 1/4" and come with the layer die which is 4" x 5 1/4". Another new die this month is a matting rectangle which die cuts a rectangle 4 1/8" x 5 3/8".


For my first card today I created a birthday card using the new Bee-Lieve Stamp/Die Duos set. I created an A2 Landscape Card using the new A2 Landscape Card Base with Layers. 

I also used the new Quilted Honeycomb Background die set for my background. I die cut this from brown cardstock and also some patterned paper from the Rustic Beauty Collection Paper Pad and paper pieced all the pieces into the background.

I used one of the tags from the Mini Tags die set to add my sentiment.


For the inside of my card I used the left over patterned paper background that I had used on the front of the card. I used another of the sentiments from the Bee-Lieve Stamp/Die Duos set which is layered using the Circles die set.

To finish off the inside of the card, I added three bees to the card.


For my second card today I used the A2 Portrait Card Base with Layers die set to create my A2 card. I decorated the background layer of my card using the embossing folder from the new Quatrefoil Embossing Folder/Die Duo set. After embossing my background I used a sanding block to carefully distress the embossed panel.

I layered the embossed panel onto a rectangle die cut using the Matting Rectangle die set.

I die cut the accompanying Quatrefoil dies using red and white cardstock. I embossed the white panel and then used ink to add detail through the die. I added a rhinestone to the centre of the panel.

For the sentiment I used the "For You" sentiment from the Festive Favors die set and layered it using one of the rectangles from the Sentiment Strips die set.


For the inside of my card, I added another embossed panel using the Quatrefoil Embossing Folder. I also die cut the solid die from this set, sponged around the outside edge and added it to my card for a sentiment to be added later.

Supplies:
For your shopping convenience, all products are linked below. Compensated affiliate links are used where possible with no extra cost to you. This helps me to continue to share all the projects I include on my blog. For the benefit of my Australia readers, I have started to include some links to Australian stores when available. Please note I only use and share products I love.