Showing posts with label Wedding. Show all posts

Monday, August 7, 2023

On Your Wedding Day

Hi Crafty Friends,

Today I am sharing a Wedding card I created recently using the colours white and silver.

This card uses Chloe's Creative Card Wedding Heart die set. This die is larger than I was expecting, so my finished card measures approximately 6 3/4 inches square and will fit in a 7 inch square envelope. Lucky I had purchased a few envelopes of this size last year. I die cut the sentiment part of the Wedding Heart die set from Silver Holographic cardstock and then layered this onto a white pearl cardstock. 


I used Made To Surprise's Linen Embossing Folder to emboss the texture into the background panel. I also used Creative Craft Products Filigree Nested Squares for my layers.

I used flowers from Made To Surprise's Flowers and Foliage Stamp set, white embossing the flowers onto vellum. I added silver glittered embellishments to the centre of the three flowers and added pearls to the centre of the flowers on the holographic heart.


I kept the inside fairly simple, silver embossing the sentiment which is an older Paper Inspirations stamp. I also added to silver hearts to the top left section of my card.


I don't normally decorate the envelopes, but I did for this one. I added the Bride & Groom die cut sentiment to the centre of the front of the card and also added wedding rings to the lower left hand corner of the card.


I have recently purchased a few wax seals and seeing I was making a wedding card and was able to find a heart wax seal stamp from a local stationery shop, I decided to add a wax seal to the back of the envelope. This is the first wax seal I have done so far, but I am looking forward to making many more once my supplies arrive.


Wednesday, March 1, 2023

The One I Love


Hi Crafty Friends,

According to the Days of the Year website, today is National Wedding Planning Day. As I purchased this Crafter's Companion's "The One I Love" Intri'lace die, I decided to pull it out and make a wedding card.

For my card today I made a 5 x 7 Trifold Card with an acetate front. I die cut the wedding image into the front of a 5 x 7 Centura Pearl white card. I adhered white glitter cardstock behind the wedding dress portion of the image, I then die cut the panel using various colours so that I could add colour to the groom's suit, hair, brides hair etc. 


I added a panel of acetate behind the die cut panel.

I added a silver line sticker to the left side edge of the card.

For the sentiment I used Creative Craft Products Celebration Sentiments die set. This sentiment has a long tail on either side of the word, which I cut off.

I added Silver Matte Pearls to the centres of all of the flowers on the image.


To create the trifold card, I adhered the back of one 5 x 7 card, to the other 5 x 7 card.

For the layers of my card I used silver holographic card and pale purple cardstock. I dry embossed the pale purple panels using Made To Surprise's Ditsy 8 x 8 embossing folder.

I added the "Mr & Mrs" sentiment to the lower right hand side of the panel, so that it was hidden when the card is closed.


I added a stamped sentiment to the centre panel of my card, using an older wood mounted stamp from my stash ... Marriage Calligraphy by Paper Inspirations. I layered this sentiment using Creative Craft Products Nested Rectangles and Nested Filigree Rectangles die sets.

For the panel on the right side of my card. I added a stamped sentiment from Divinity Designs Cheers stamp set. I silver embossed each each of the stamped sentiments. On the lower right hand corner of the rectangle panel, I added two glasses of champagne using Karen Burniston's Wedding Charms die set. I made sure to leave plenty of empty space on this panel, so that there was a place to hand write a personal greeting.

I didn't like the look of being able to see the colours through the acetate on the left hand panel, so I die cut another of the "The One I Love" images from white cardstock with double sided adhesive tape on the front and paper pieced this to the back of the image.

Other Supplies:
  • Mr. & Mrs. Wedding Cake Die Set - Spellbinders Paper Crafts (discontinued)
  • Marriage Calligraphy Wood Mounted Stamp - Paper Inspirations (discontinued)


Tuesday, February 7, 2023

February2023 Karen Burniston Designer Challenge


Hi Crafty Friends, 

Welcome to our February Karen Burniston Designer Challenge.

Check out Karen Burniston's blog on Wednesday (US Time) when you will be able to see what all the designers created for the challenge this month, plus Karen will have an amazing video tutorial to share with us all.

Our challenge theme this month is ... "WEDDING, ANNIVERSARY or VALENTINES" - Love is in the card!


As you can see, I created a wedding card for the challenge, I need them more than I do either of the other options. 

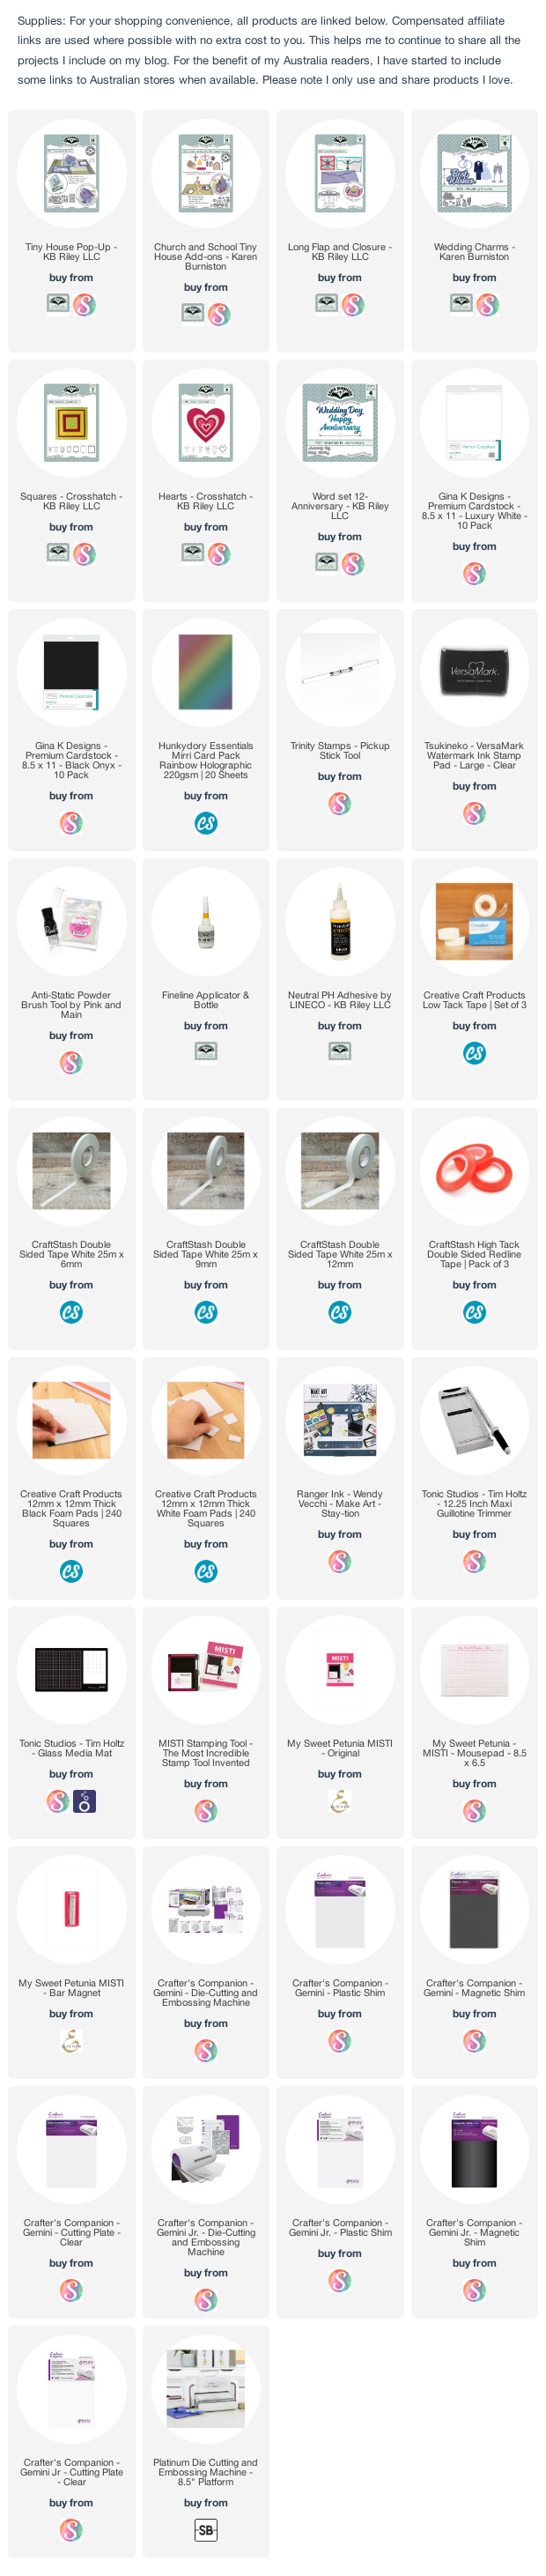
As I hadn't created a church yet using the Church and School Tiny House Add-ons die set, I pulled that out along with the Tiny House Pop-up die set to create my card. I created a square card which measures 5 1/2 inches square when closed.


I used the Long Flap and Closure die to create the border along the left and right edges of my card.


The Bride and Groom, rings and Best Wishes sentiment are all from the Wedding Charms die set. I die cut the. rings and sentiment from holographic cardstock. For the sentiment, I also die cut it from the dark pink card and layered them together offsetting slightly, this was then adhered to the shadow which was die cut from vellum. The two hearts on the top right hand side is included in the Church and School Tiny House Add-ons set and was also die cut from holographic cardstock.


I kept the front of the card simple as the focus is on the inside. I used the Squares - Crosshatch die set to die cut the hearts patterned paper, which is then layered to holographic card. 

The large heart is from the Hearts - Crosshatch die set.

Finally I created the sentiment "Happy Wedding Day" using the Word Set 12 - Anniversary die set. Again I die cut the words with holographic and dark pink cardstock and off set slightly when layering, to get a slight shadow.


I added a panel to the back of the card, to add a sentiment and have a place to write a personal message. Adding this panel, helps keep the card level when the card is opened.

Other Supplies:
Hitched Stamp Set - Craftin Desert Divas (no longer in business)


Friday, April 29, 2022

Wedding Flourished Gatefold


Hi Crafty Friends,

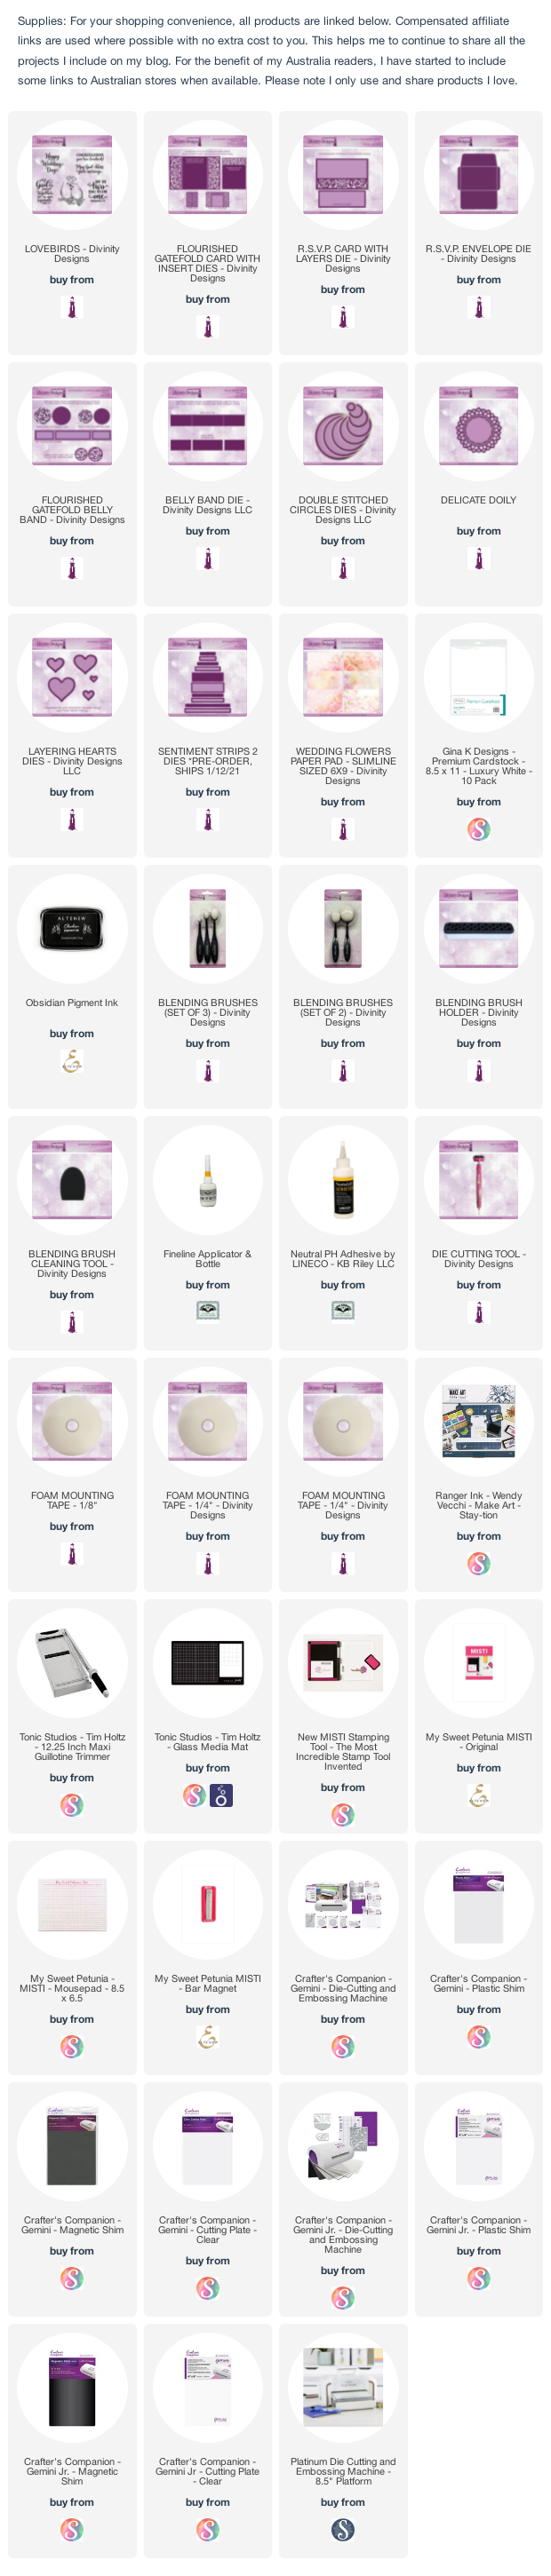
Today I am sharing another Wedding card with coordinating gift card holder and envelope using products from Divinity Designs April Release.


I used papers from the Wedding Flowers Slimline Size Paper Pad to decorate each of the pieces in this collection.


To create the card I used the new Flourish Gatefold Card with Insert die set. I die cut the card base from lavender cardstock. 

To keep the card closed I created a belly band using the Belly Band die set, there is also a new Flourish Gatefold Belly Band which has additional pieces to decorate the front of the belly band.

I used the Double Stitched Circles and Delicate Doily dies which I attached to the front of the belly band and added the stamped sentiment using dies from the Lovebirds stamp set.


When you remove the "belly band" the card can be opened to reveal the inside of the card. I have added the flourish insert that comes with the Flourish Gatefold Card, die cutting the insert from one of the patterned papers.

I added another of the stamp sentiments that is included in the Lovebirds stamp set.


Gift cards or money are popular gifts these days to give to the happy couple and the RSVP Card with Layer is a fabulous way to present either of these options and simple to create. I used a heart from the Layering Hearts die set to add to the front of the gift card holder and then added the sentiment  using the Sentiment Strip 2 die set to die cut both layers.

I used the RSVP Envelope die to die cut the envelope from matching patterned paper and then added the sentiment using the Double Stitched Circles and Delicate Doily dies for layering.


Tuesday, April 26, 2022

Faith Hope Love


Hi Crafty Friends,

Today I am sharing another wedding themed card using products from Divinity Designs April release.

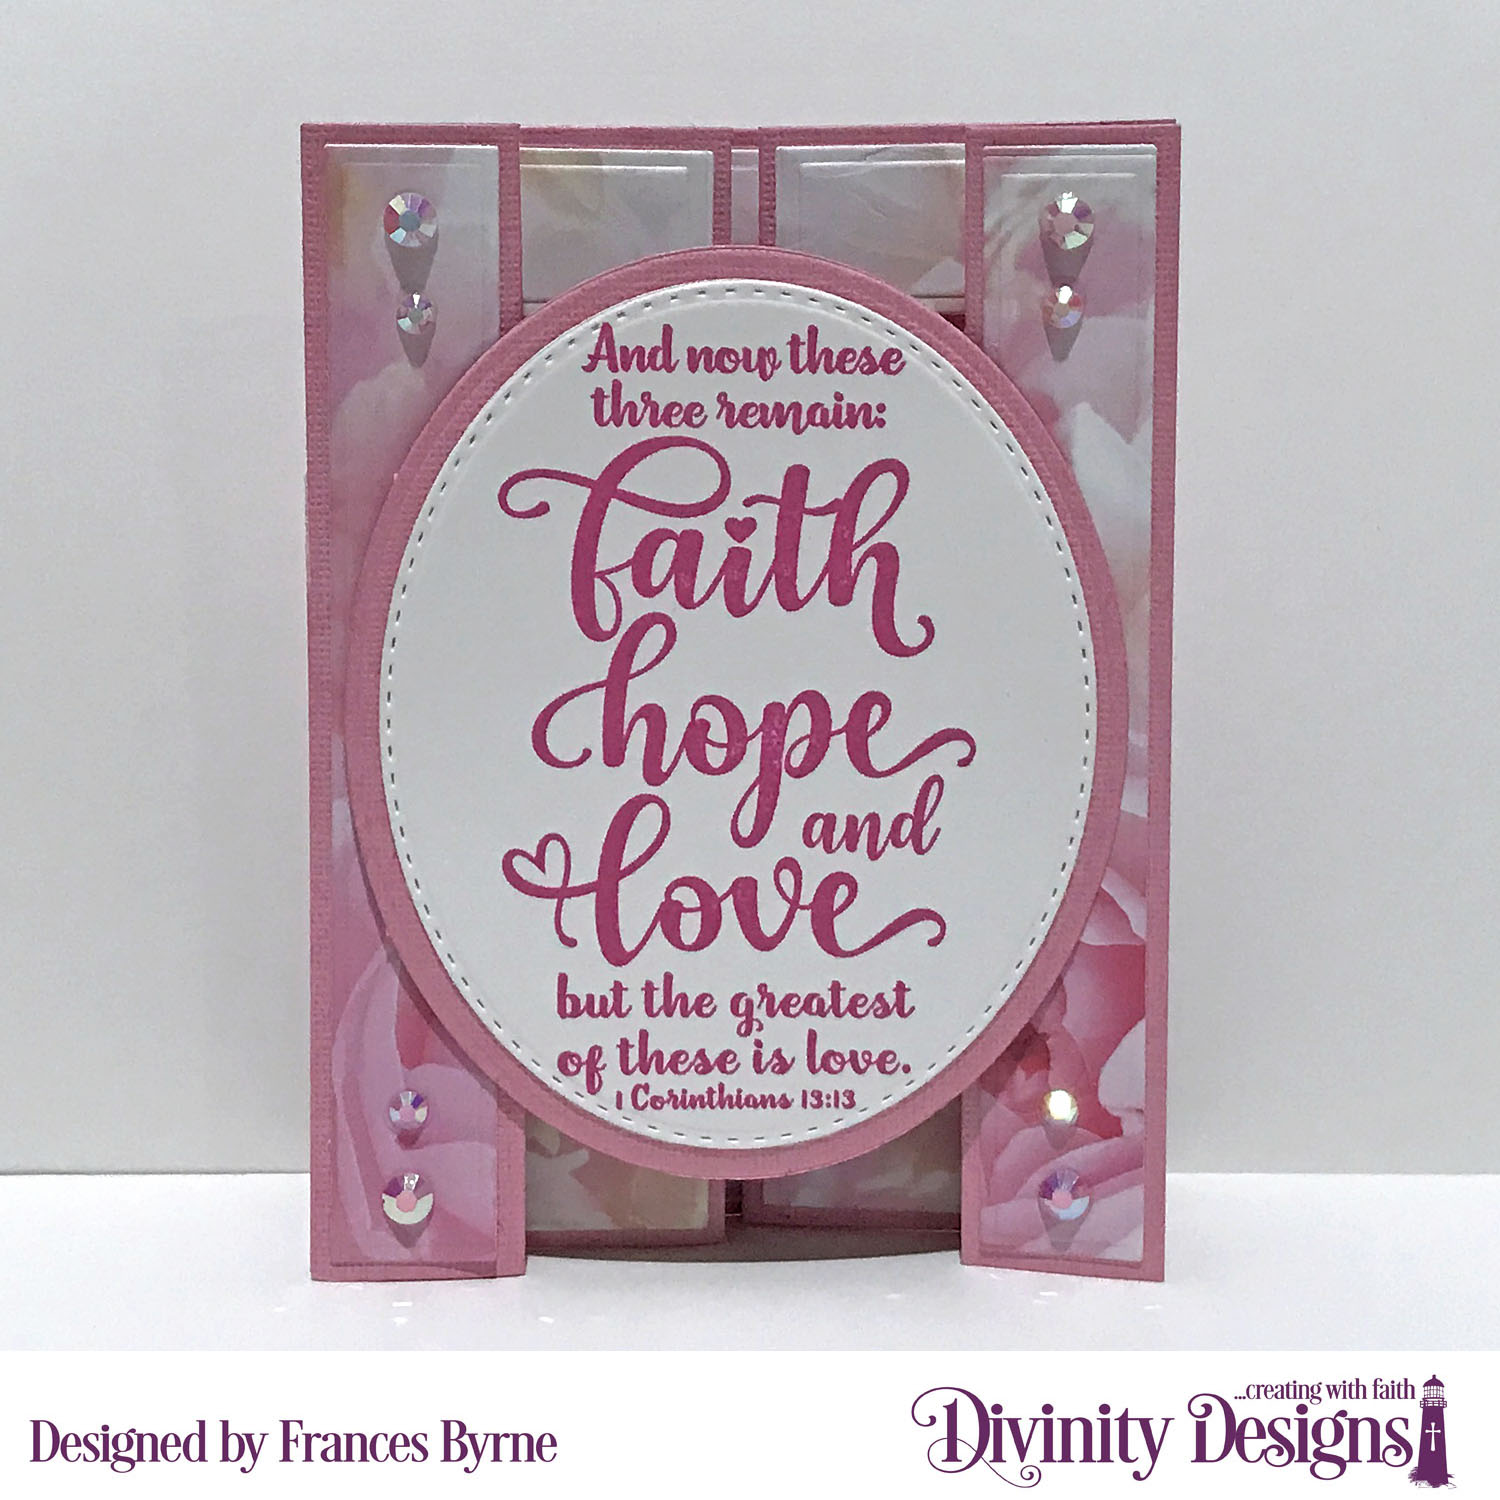
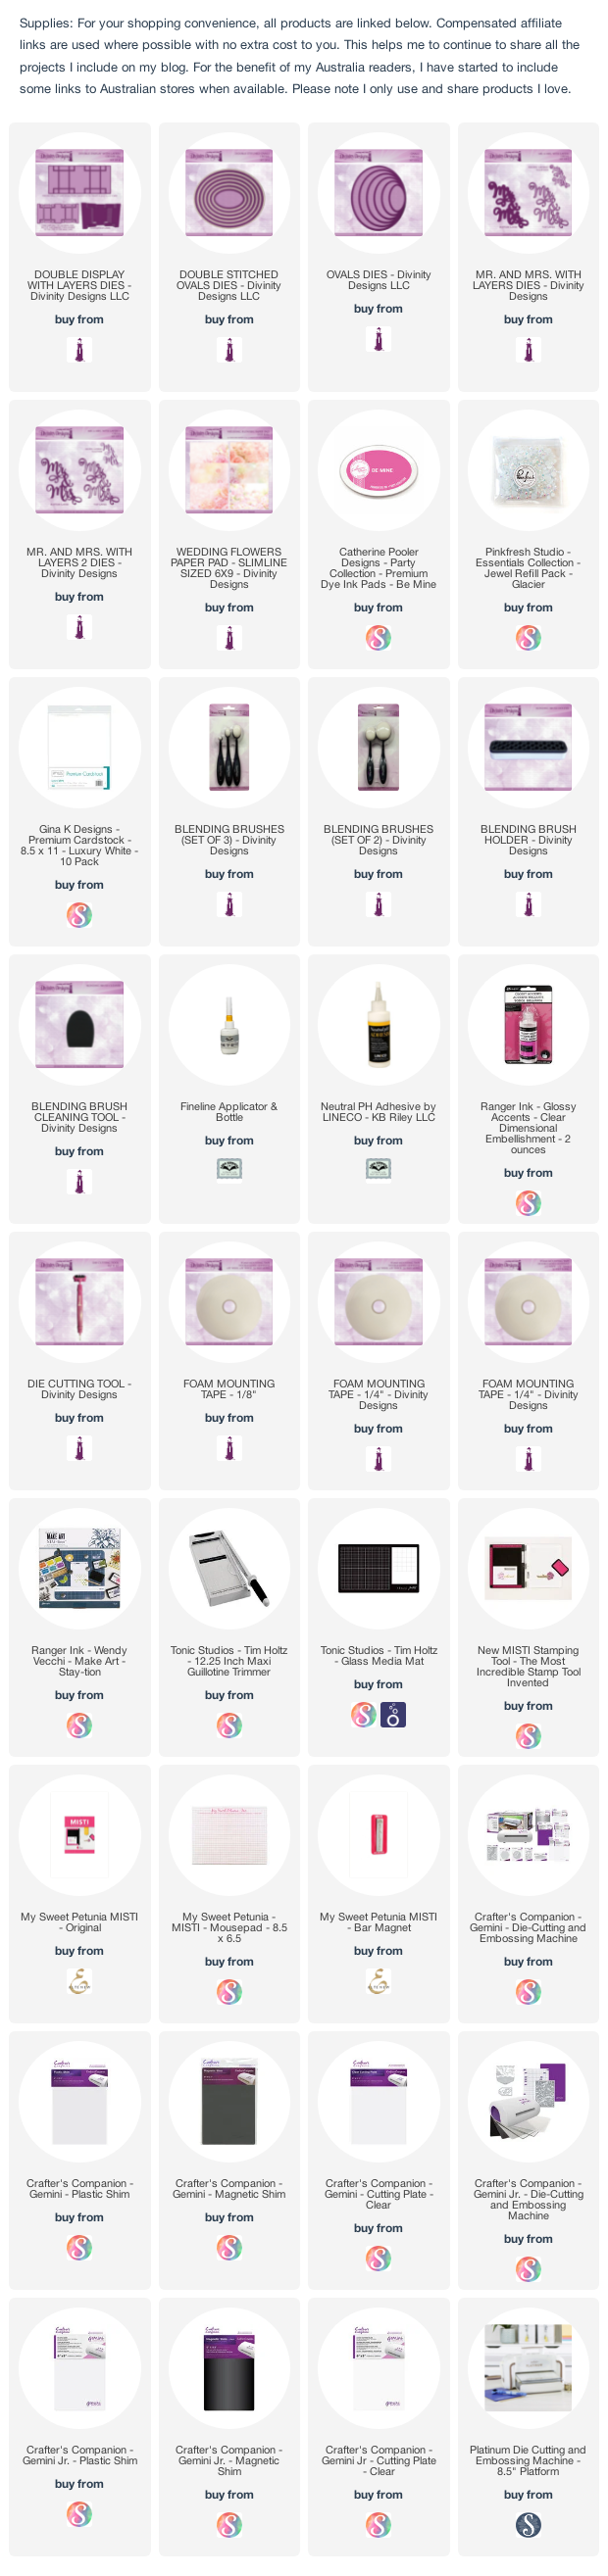
This time around I have created a Double Display card using Divinity Designs Double Display Card with Layers die set. 


I used papers from the Wedding Flowers Slimline Size Paper Pad to decorate all the layers on this card, this paper is so beautiful!

I used the Faith Hope Love Sentiment which I stamped in pink onto white card and then used the Double Stitched Ovals and Ovals die sets to layer the sentiment to the centre of the front of the card.

I added a little bit of bling to each of the corners of the card.


I added the "Mr & Mrs" sentiment to the centre of the card, which is reveal once the card is opened.


Here is one more photo of the card when it is opened, so you can see the folds in the card a little easier.


Friday, April 22, 2022

Best Wishes to the New Mr and Mrs


Hi Crafty Friends,

Today I am sharing another wedding themed card I created using products from Divinity Designs April release.

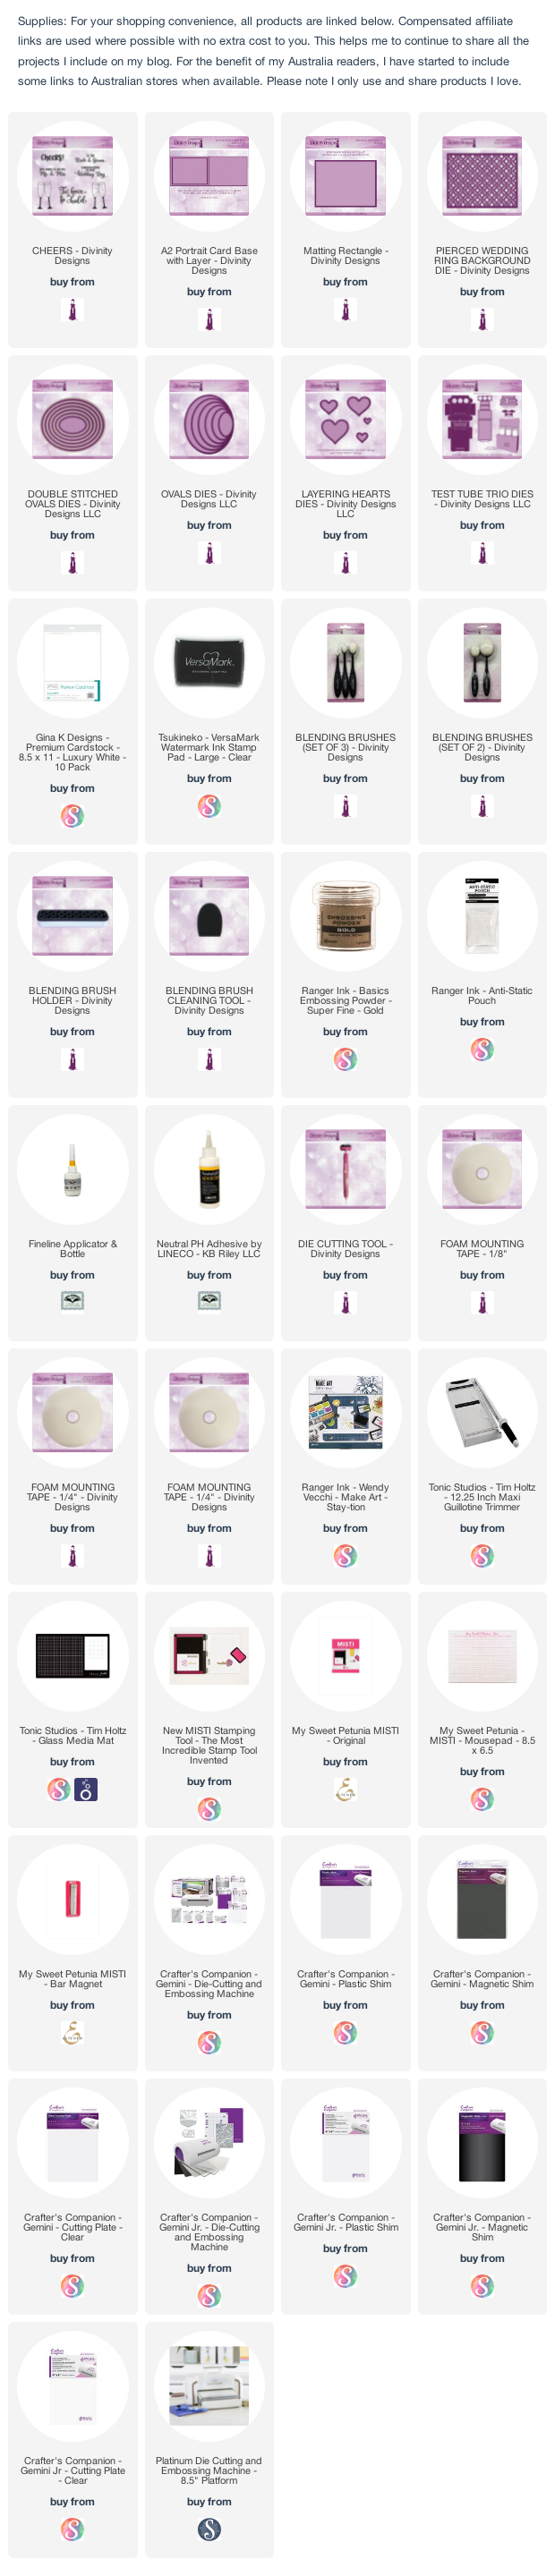
This time around, I created an A2 card using the A2 Portrait Card Base with Layer die set. For the background panel I used the new Pierced Wedding Ring Background which I die cut from purple cardstock. I used the Matting Rectangle die set to die cut the gold layer between the background panel and card base.

I used stamps from the Cheers Stamp set to decorate the front of the card, embossing the image and sentiment using gold embossing powder. This panel was die cut using the Double Stitched Ovals and Ovals die sets. 

To embellish the card I added some heart from the Layering Hearts die set and the bow from the Test Tube Trio die set.


For the inside of the card, I die cut another Pierced Wedding Ring Background from purple cardstock, cut it down and added it to the bottom of my card.

I gold embossed another of the sentiments included in the "Cheers" stamp set. Finally I added a few more hearts using some of the heart dies from the Layering Hearts die set.


Wednesday, April 20, 2022

Mr and Mrs Gatefold Card


Hi Crafty Friends, 

Today I am sharing another Wedding themed card I created using products from Divinity Designs April release.

For this card I used the new Gatefold Card with Layers die to create the gatefold card base and all the layers. It is so much easier to just die cut papers and cardstock then having to measure and cut by hand! I love my card base dies!!!!

To decorate my card I used the papers from the Wedding Flowers Slimline Size Paper Pad.

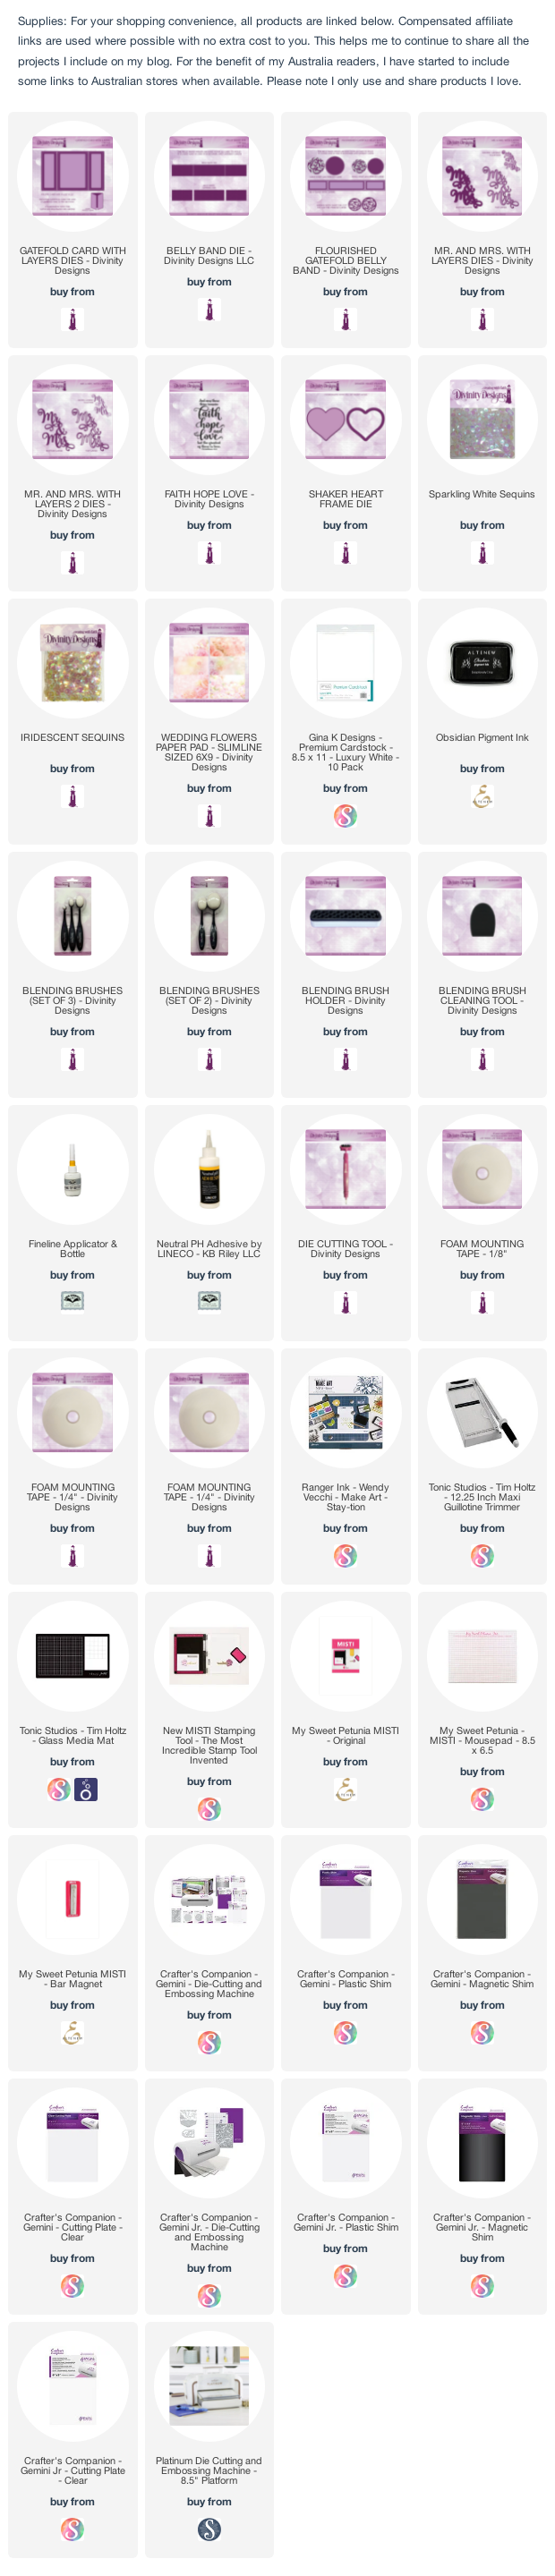
The front of the card is also a shaker card. I used the heart dies from the Shaker Heart Frame die set to create the shaker heart adding clear and white sequins inside the heart. The heart is attached to the Belly Band which was die cut using the Belly Band die set, this makes it easy to keep the card shut.

I added the "Mr & Mrs" sentiment using the new Mr & Mrs die set. 


For the inside of the card, I added more of the papers from the Wedding Flowers Slimline Size Paper Pad.

I added the Faith Hop Love Sentiment to the centre of the card.


Friday, April 15, 2022

Divinity Designs April 2022 Release

 
Hi Crafty Friends,

I have lots to share with you today as it is time for Divinity Designs April 2022 Release. The release will officially go live in a few hours (US time), however it has all be available on preorder since the beginning of the month. 

This month the release has a Wedding/Anniversary theme, you will find lots of goodies to help make some amazing wedding themed cards. 

The release this month includes 2 different styles of Gatefold Cards to create, six additional die sets; three stamp sets and a one beautiful Slimline sized paper pad.


First up today I have a wedding set I created using the Flourished Gatefold Card with Insert die set; RSVP Card with Layers and RSVP Envelope and of course the beautiful Wedding Flowers Paper Pad. I will share more details on all those projects below.


The Wedding card was created using the Flourished Gatefold Card with Insert Die Set. In the photo above you can see my card when it is closed, you can see a little of what is inside through the delicate flourished front ... which is. so beautiful!

To help hold the card closed, you can use the Flourished Gatefold Belly Band die set. This die comes with dies to create the belly band including layers and four addition circular dies to create an interesting decoration on the front. Unfortunately I didn't receive this die, so I used the Belly Band die set and then added a sentiment from the Cheer stamp set which I layered using the Double Stitched Circles and Circles die sets.


When you remove the belly band and open the card, it reveals a flourished insert in the centre. I attached mine to my card, but you could also keep it loose and have something on the back as well as the front. I added some of the pretty paper from the Wedding Flowers Slimline Sized Paper Pad. The paper was layered to the insert using the Double Stitched Squares and Squares die sets. To finish off the card I added another of the sentiments from the Cheers Stamp Set.


I used the RVSP Card with Layers die set to create a coordinating Gift Card Holder to give to the bride and groom. To decorate the gift card holder I used a heart from the Layering Hearts die set and then a sentiment which is stamped onto one of the pennants included in the Double Stitched Pennants die set. The sentiment is again from the Cheers stamp set.

As you can see in the photo above, I also created an envelope for my gift card holder using the RSVP Envelope die set. I used the same dies and stamp set to add one final sentiment to the front of the envelope.


For my second card today I used the Gatefold Card with Layers die set to create a wedding themed Gatefold Card.

To decorate my card, I used stamps from the Lovebirds stamps set. I layered the lovebirds to my card using the Double Stitched Circles die and then onto the Spiral Sphere die which was included in the January 2022 Blessings Box. For the sentiment, I masked the bottom line of the two line sentiment so I could just have "Congratulations". I die cut the sentiment using one of the sentiment strips from the Sentiment Strips 2 die set. 
The circles were then attached to a belly band which I created using the Belly Band die set.

The papers used to decorate the card are again from the Wedding Flowers Slimline Sized Paper Pad.


The beautiful floral papers are the focus on the inside of the card, simply adding a sentiment to the top right corner on the centre panel. I used another of the sentiments included in the Lovebirds stamp set layering the sentiment using the Double Stitched Circles and Circles die sets.


For my final card today I created an A2 card. I used the A2 Landscape Card Base with Layer die set to create the base of my card.

For the background I used the new Pierced Wedding Ring Background die which I die cut from a pinkish metallic cardstock. I layered this over white cardstock and then used the Matting Rectangle to die cut a dark pink cardstock for the layers.

To decorate the front of the card I used the Mr and Mrs die set to create the sentiment. You will notice on the Divinity Designs website (and my supply list below) that there are two different options for this die.

I used the flowers from the Beautiful Blossoms 3 Paper/Die Duos set which were included in the April 2021 Blessings Box ... these will be available to purchase individually in a few days once the April 2022 Blessings Box is released.


For the inside of my card I added another of the flowers from the Beautiful Blossoms Paper Pad/Die set and added a wedding sentiment from the Cheers stamp set.