Showing posts with label A2 Landscape Card Base With Layers. Show all posts

Sunday, October 10, 2021

Scraps Make Quilts

Hi Crafty Friends,

Today I am sharing a card I created using stamps, dies and papers from Divinity Designs. Some of the stamps and dies are from the October release.

I created an A2 card using the A2 Card Base with Layer and Matting Rectangle die sets. 

To create the quilted square on the top of my card I used the new Flower Petal Quilt die which I die four times from papers included in the Pretty Pink Peonies Paper Collection. This was layered to the A2 Cross Stitch Background which I die cut from white cardstock. I layered the cross stitch panel to pink paper from the patterned paper collection.

I added a sentiment from the Jesus is the Stitch stamp set to the centre of the quilt square which I die cut using the Double Stitched Circles and Circles die sets.

To finish off the front of the card I need a needle which is from the Embroidery Hoop Set. I couldn't find my embroidery thread, so I added some twine through the needle instead.


For the inside of the card, I added a scrap of patterned paper along the bottom of the card. I also added another of the sentiments from the Jesus is the Stitch stamp set.


Tuesday, July 20, 2021

Wishing You A Beautiful Day

Hi Crafty Friends,

Today I am sharing a card I created using stamps dies and papers from Divinity Designs.

To create my card base I used the A2 Landscape Card Base with Layer and Matting Rectangle die sets.

For the background layer I pulled out the Stitched Sunburst die set die cutting the die three times, once from white cardstock and two times from patterned paper using Pretty Pink Peonies paper pad. I used the white panel for the frame and then paper pieced the patterned paper pieces into the segments, alternating each one.

I created the two 3D roses using the Rolled Rose die set. I adhered the roses to the circle panel in the lower left hand corner of the card. I decorated the roses using leaves from the Bitty Blossoms die set and the Fancy Flourish die set.

The sentiment is one from the Magnolia stamp set which is part of the July 2021 Blessings Box kit.

As I had papers left for decorating the front of the card, I created the sunburst pattern for the inside of my card. I added another of the sentiments from the Stitched Sunburst stamp set.


Sunday, June 20, 2021

A Little Something


Hi Crafty Friends,

Today I am sharing a card I created using products from Divinity Designs April 2021 Blessings Box. For this kit Divinity Designs has introduced something new ... Paper/Die Duo, this set contains 2 different sets of flower sheets which contain pre-colored floral images and also includes a coordinating die set to die cut the flowers in the sheets. Blessing Box Members can also purchase additional sheets of these flower sheets if needed.

For my card today I used one of the flower sheets from the Beautiful Blossoms Paper/Die Duo Set 2, these are gorgeous and are very helpful for the busy card maker or someone who doesn't like coloring.

The background for my card uses the Leaf Outline Background which is also included in the Blessings Box.

I used two of the labels from the Vintage Labels 2 die set to arrange my flowers around.

The sentiment is from the Sweet Friend Stamp set another item included in the kit.


For the inside of my card, I added the labels I used on the front of my card and added another sentiment included in the Sweet Friend Stamp set.

I added the rose bud images that are also part of the Beautiful Blossoms Paper/Die Duo Set 2.


Wednesday, December 2, 2020

Divinity Designs December Release


Hi Crafty Friends,

Today I am sharing three cards I created using new stamps and dies from Divinity Designs December release. This month Divinity Design are releasing two new Christmas/Winter themed Stamp/Die Duo Sets and four Die Sets, including a new Slimline Die and a 3D style card.


For my first card, I created a Christmas themed Slimline Card. I used Slimline dies including the new Slimline Cubes Background; Slimline Card Base; Slimline Rectangles and Slimline Layering Rectangles to create the Slimline part of the card. I die cut the Slimline Cubes Background from red cardstock, adhered it to a panel of white cardstock that had Clear Double Sided Adhesive Tape on the front and then covered the adhesive with Warm Diamond Silk Microfine Glitter. 

I used the Snowbirds Stamp/Die Duos set to stamp and die cut the three birds. I then die cut the oval layers using the Ovals and Double Stitched Ovals die sets and added these to my card.

I stamped three of the sentiments included in the stamp set and die cut each of them using the Sentiment Strip with Layers die set. I then adhered the sentiments to the bottom portion of each of the ovals.


For the inside of the card, I added rectangle layers using the Slimline Rectangles and Slimline Layering Rectangles die sets. I then added the sentiment using the Merry Christmas & Layers die set.


For my second card, I created an A2 Center Step card using the A2 Center Step Card with Layers die set. I used papers from the Winter Collection Paper Pad to decorate the layers.

To decorate my card I used the Mandala Layering Combo die set ... I just love how this Mandala turned out. I die cut each layer from the various colors ... white glitter cardstock; Red; Gold and Green cardstocks and layered them together.

I used the "Wishing You A" sentiment from the Beary Christmas Stamp/Die Duos set to add a sentiment across the centre of the Mandala. I used dies from the Sentiment Strips with Layers die set for this.

I added a "Merry" sentiment to the bottom of the card using the Merry Christmas & Layers die set.


I added the "Merry Christmas" sentiment to the inside of the card using the Merry Christmas & Layers die set, so if you read the sentiment from the front it says ... "Wishing You A Merry Merry Christmas"


For my final card today I created a Concertina Card using the new Concertina Card with Layers die set. I used papers from the Christmas Collection 2019 and Serenity Snowflakes Paper Pads for the layers of the card.

I added snow to the bottom of the concertina panels using the Curvy Slopes die set and white glitter cardstock. To decorate each of the panels I used the cute bears from the Beary Christmas Stamp/Die Duos set.


To decorate the front of the card, I used the Snow Globe die set adding the Bears on the Sled to the inside of the Snow Globe. I also added another of the sentiments from the stamp set using the Sentiment Strips with Layers die set.


Friday, June 12, 2020

Footsteps


Hi Crafty Friends,

Today we are taking a look back at Divinity Designs May Release. I have created two cards using the Footprints Stamp Die Duo set. For more inspiration using the May Release and to see the other designers projects, be sure to visit the Divinity Designs Blog .

For my first card I used one of the patterned papers from the Landscapes Paper Pad, I used one of the rectangles from the Double Stitched Rectangles to die cut the patterned paper. This was then adhered to a top folding card using the A2 Portrait Card Base with Layers die set.

Along the bottom of the card I die cut a piece of black cardstock using the Double Stitched Rectangles die set. I then used one of the dies from the Curvy Slopes die set to cut a small hill. I used the footprint stamps from the Footsteps Stamp Die Duo Set and black embossed the image onto the black cardstock. I also embossed another set of footprints onto black cardstock and used the coordinating die to die cut them out and then layered them with another two layers to each footprint to the ones on the black card panel.

I added one of the sentiments from the stamp set to the top right corner of the card.


For the inside of the card I added a sentiment from the stamp set using rectangles from the Double Stitched Rectangles and Rectangles die set for all the layering. I also added a couple of black footprints to the sides of the card.


For my final card I used the A2 Landscape Card Base with Layers die set to create the base of my card. I used patterned paper from the Weathered Wood Paper Pad for the background.

I cut a stripe of white cardstock 5 1/2 inches and blended Gathered Twigs Distress Oxide ink all over the panel. I then used the footprint stamp from the Footsteps Stamp Die Duo set onto the panel. I also used the edge of this stamp to add more dotted detail around the edge of this panel.

I added a sentiment to the top right hand corner of the card from the stamp set layering the sentiment onto ovals from the Double Stitched Ovals and Ovals die sets.


For the inside of the card I added another sentiment from the stamp set layering it to ovals from the Double Stitched Ovals and Ovals die set.

I also stamped a set of footprints, die cut them using the coordinating die and added them to either side of the card.

Supplies:
For your shopping convenience, all products are linked below. Compensated affiliate links are used where possible with no extra cost to you. This helps me to continue to share all the projects I include on my blog. For the benefit of my Australia readers, I have started to include some links to Australian stores when available. Please note I only use and share products I love.


Friday, June 5, 2020

Teacher Stair Step Pop Out


Hi Crafty Friends,

Today I am sharing a Stair Step Pop Out using dies from the  Divinity Designs May release.

To create the Stair Step Pop Out portion of the card I used Divinity Designs Stair Step Pop Out with Layers die set. This die was designed to be placed inside a side folding A2 Card.

I used papers from the Birthday Brights Paper pad to add the layers to each of the panels.

To the centre block panels I used the new Alphabet Caps die set. As I wanted this card to be a thank you card for a Teacher I added the letters to the blocks adding two to the top three blocks and the remaining one to the bottom block.

I added the apple from the A+ Apples die set. I added the #1 onto the apple using the number and symbols from the Alphabet Caps die set.

I also added elements from the Clipboard die set. 


I used the A2 Landscape Card Base with Layers die set to create the outside base of my card.

I added the clipboard to the front of the card, added a rectangle panel from the Rectangles die set and then adding a few more of the elements from the Clipboard die set.

I used the Alphabet Caps die set to add the 'Thank You' sentiment on the clipboard.

Supplies:
For your shopping convenience, all products are linked below. Compensated affiliate links are used where possible with no extra cost to you. This helps me to continue to share all the projects I include on my blog. For the benefit of my Australia readers, I have started to include some links to Australian stores when available. Please note I only use and share products I love.


Friday, February 21, 2020

Embossed Hap-bee Birthday


Hi Crafty Friends,

Today I am sharing another card using stamps, dies and an embossing folder from Divinity Designs February Release.

I used the Quatrefoil Embossing Folder from the Quatrefoil Embossing Folder/Die Duo set to create my black and yellow background. I used a brayer to add black pigment ink to the inside of the embossing folder before adding my yellow paper to the embossing folder. The yellow paper was from Divinity Designs Birthday Brights Paper Pad.

This panel was layered onto a top folding A2 landscape card using Divinity Designs Matting Rectangles and A2 Landscape Card Base with Layer die set.

I stamped the branch, beehive and bees from the Bee-lieve Stamp/Die Duos and used the coordinating dies to die cut each of the images. These images were added to my card using foam tape.

I added the Hap-bee Birthday sentiment also included in the stamp set which is layered onto an oval from the Ovals die set.


For the inside of the card I die cut the die included in the Quatrefoil Embossing Folder / Die Duo from black and yellow card. 

I stamped the sentiment onto white cardstock and then die cut this using a circle die from the Circles die set.

Supplies:
For your shopping convenience, all products are linked below. Compensated affiliate links are used where possible with no extra cost to you. This helps me to continue to share all the projects I include on my blog. For the benefit of my Australia readers, I have started to include some links to Australian stores when available. Please note I only use and share products I love.


Sunday, February 2, 2020

Divinity Designs - February 2020 Release


Hi Crafty Friends,

Today I am sharing two projects I created using new stamps and dies from Divinity Designs February Release.  For more inspiration using the February Release, and to see the other designers projects, be sure to visit the Divinity Designs Blog.

This month Divinity Designs are releasing one new stamp/dies duos set, an embossing folder/die duo set and four die sets. 

Two of the die sets being released this month are A2 Card Bases with Layers die sets. There is an A2 Landscape Card Base with Layer and an A2 Portrait  Card Base with Layer. These dies make cards that are US A2 size which is 5 1/2" x 4 1/4" and come with the layer die which is 4" x 5 1/4". Another new die this month is a matting rectangle which die cuts a rectangle 4 1/8" x 5 3/8".


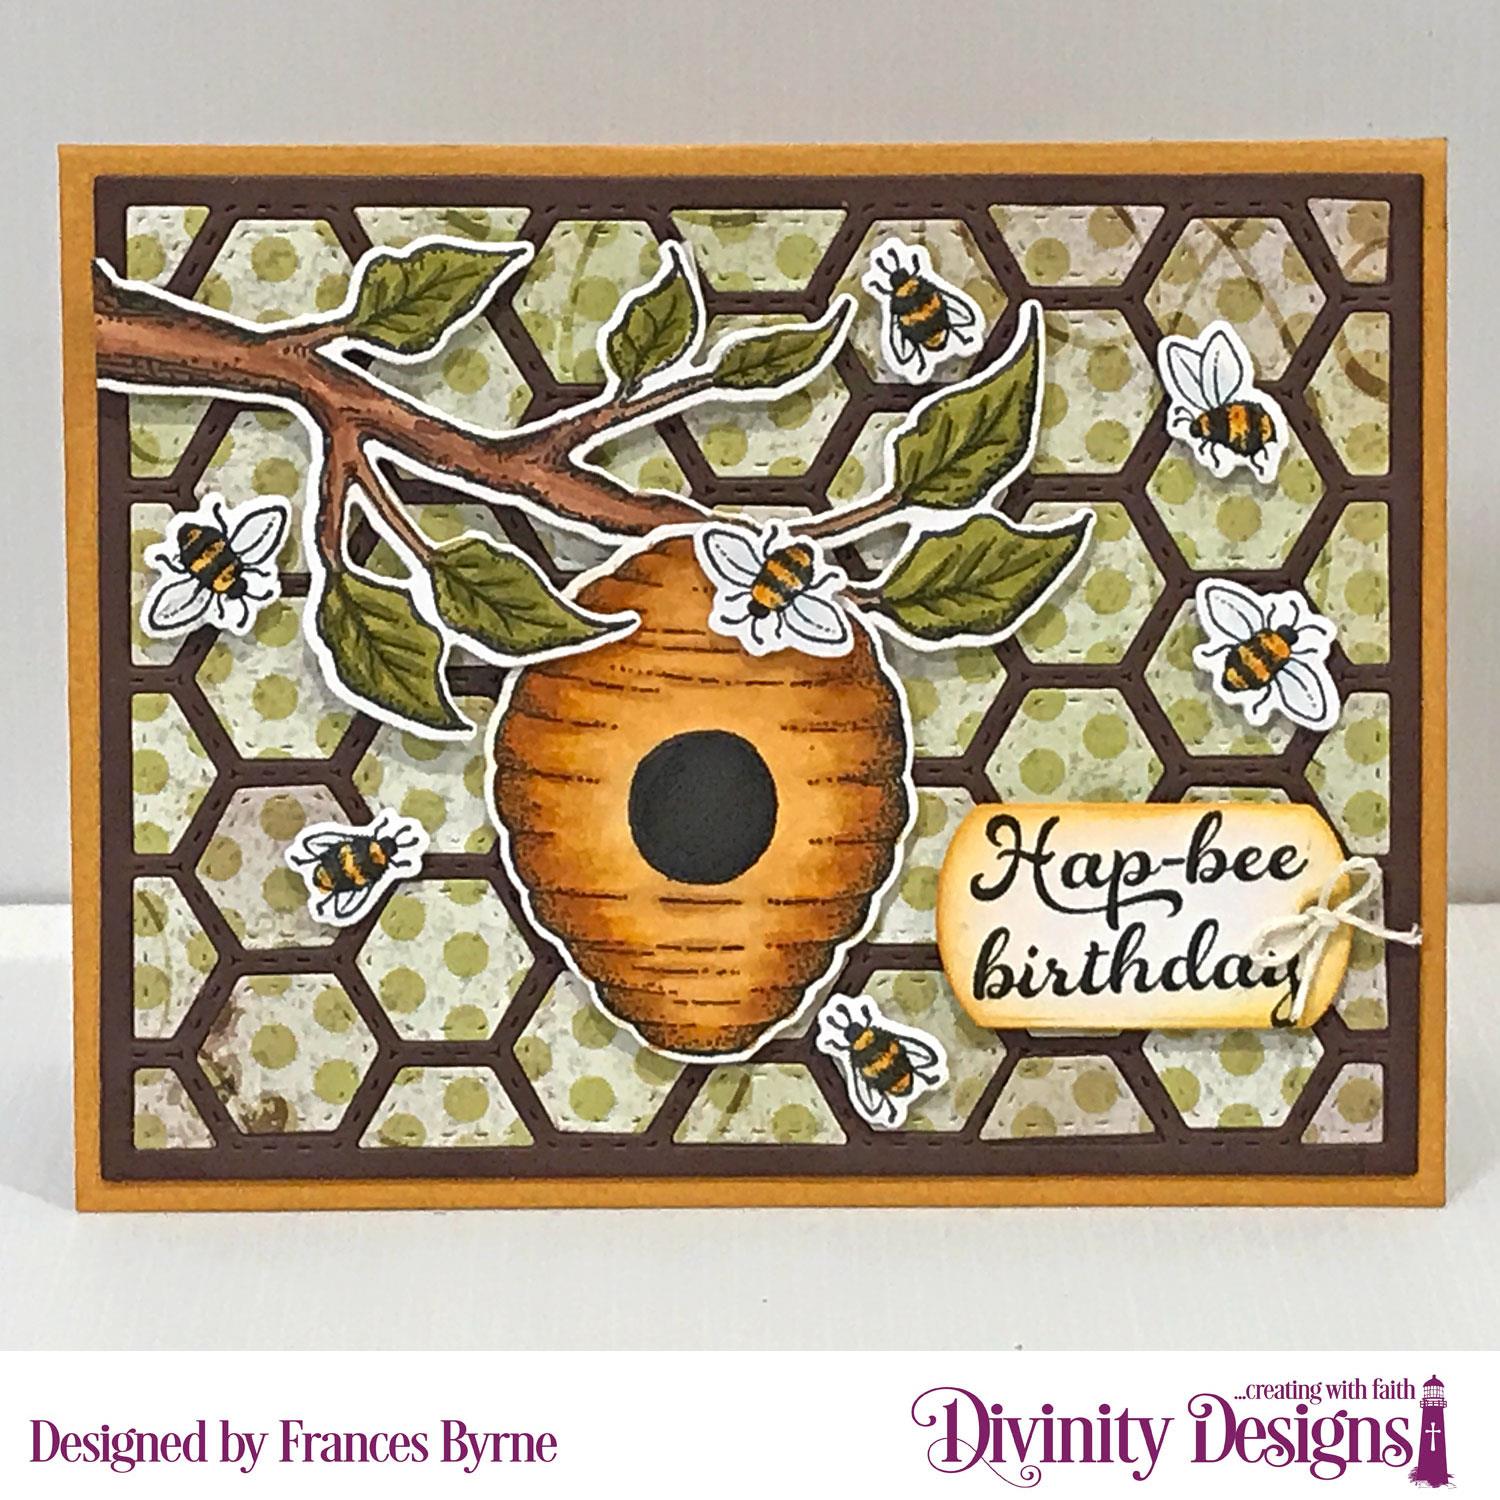
For my first card today I created a birthday card using the new Bee-Lieve Stamp/Die Duos set. I created an A2 Landscape Card using the new A2 Landscape Card Base with Layers. 

I also used the new Quilted Honeycomb Background die set for my background. I die cut this from brown cardstock and also some patterned paper from the Rustic Beauty Collection Paper Pad and paper pieced all the pieces into the background.

I used one of the tags from the Mini Tags die set to add my sentiment.


For the inside of my card I used the left over patterned paper background that I had used on the front of the card. I used another of the sentiments from the Bee-Lieve Stamp/Die Duos set which is layered using the Circles die set.

To finish off the inside of the card, I added three bees to the card.


For my second card today I used the A2 Portrait Card Base with Layers die set to create my A2 card. I decorated the background layer of my card using the embossing folder from the new Quatrefoil Embossing Folder/Die Duo set. After embossing my background I used a sanding block to carefully distress the embossed panel.

I layered the embossed panel onto a rectangle die cut using the Matting Rectangle die set.

I die cut the accompanying Quatrefoil dies using red and white cardstock. I embossed the white panel and then used ink to add detail through the die. I added a rhinestone to the centre of the panel.

For the sentiment I used the "For You" sentiment from the Festive Favors die set and layered it using one of the rectangles from the Sentiment Strips die set.


For the inside of my card, I added another embossed panel using the Quatrefoil Embossing Folder. I also die cut the solid die from this set, sponged around the outside edge and added it to my card for a sentiment to be added later.
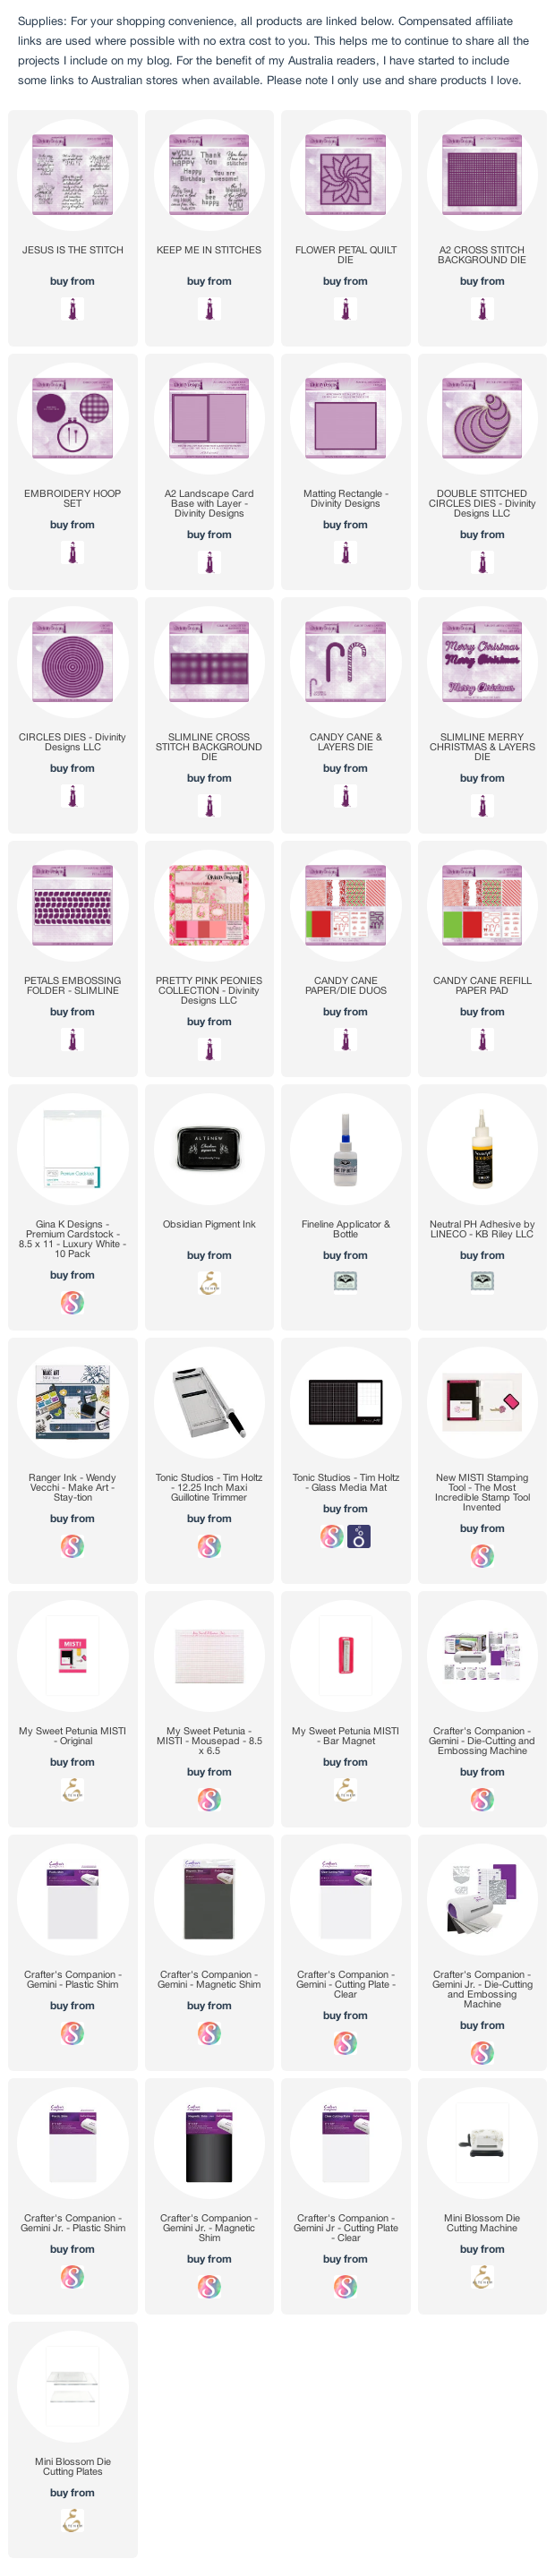
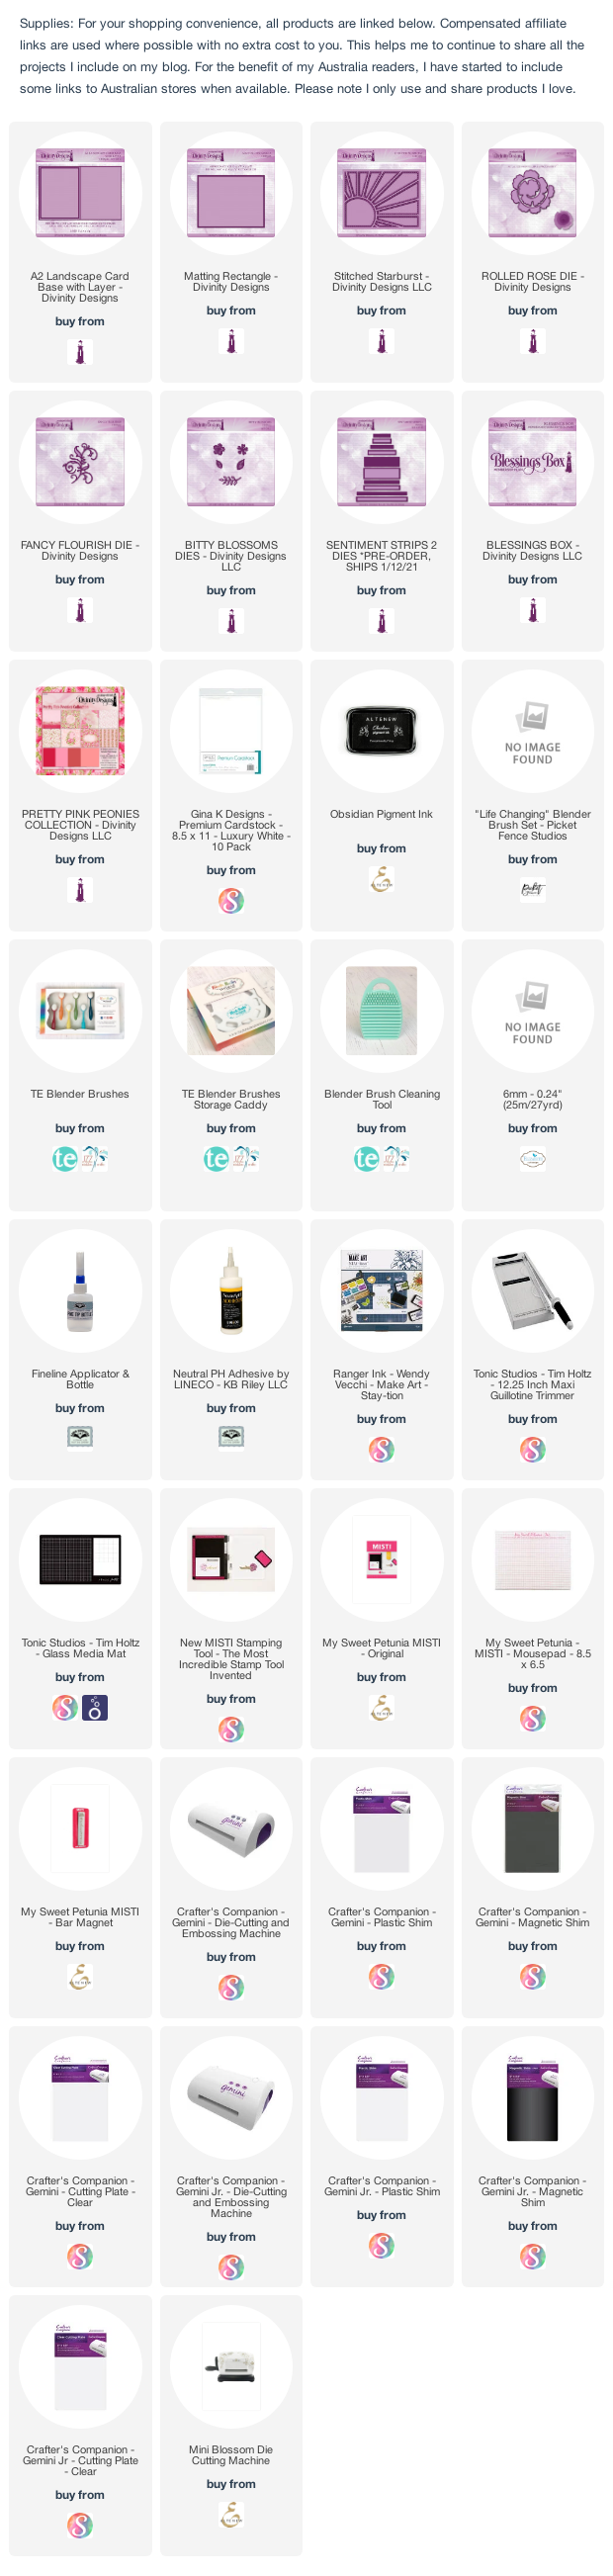
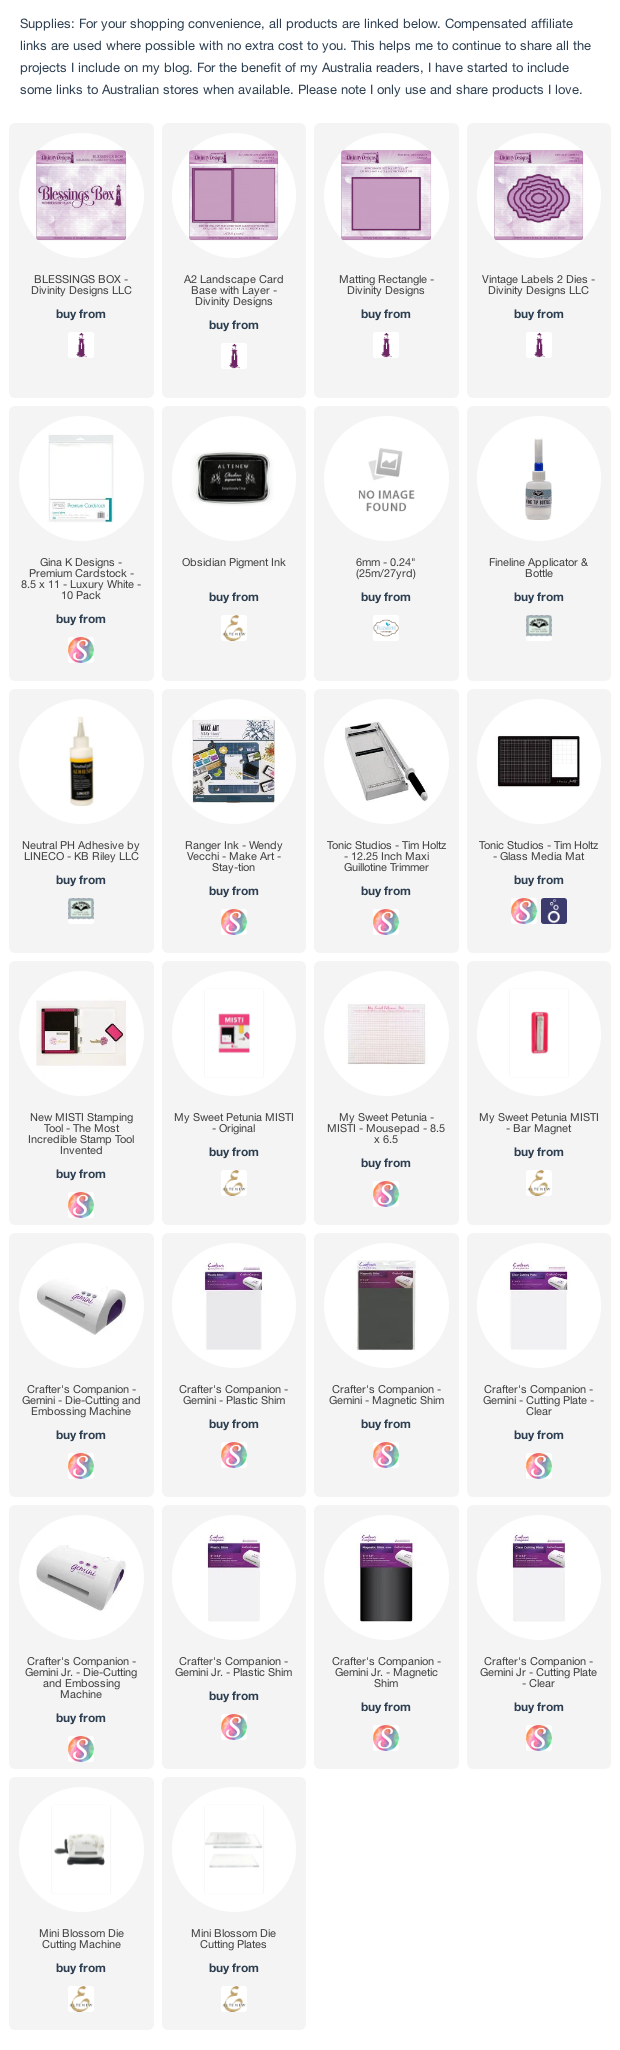
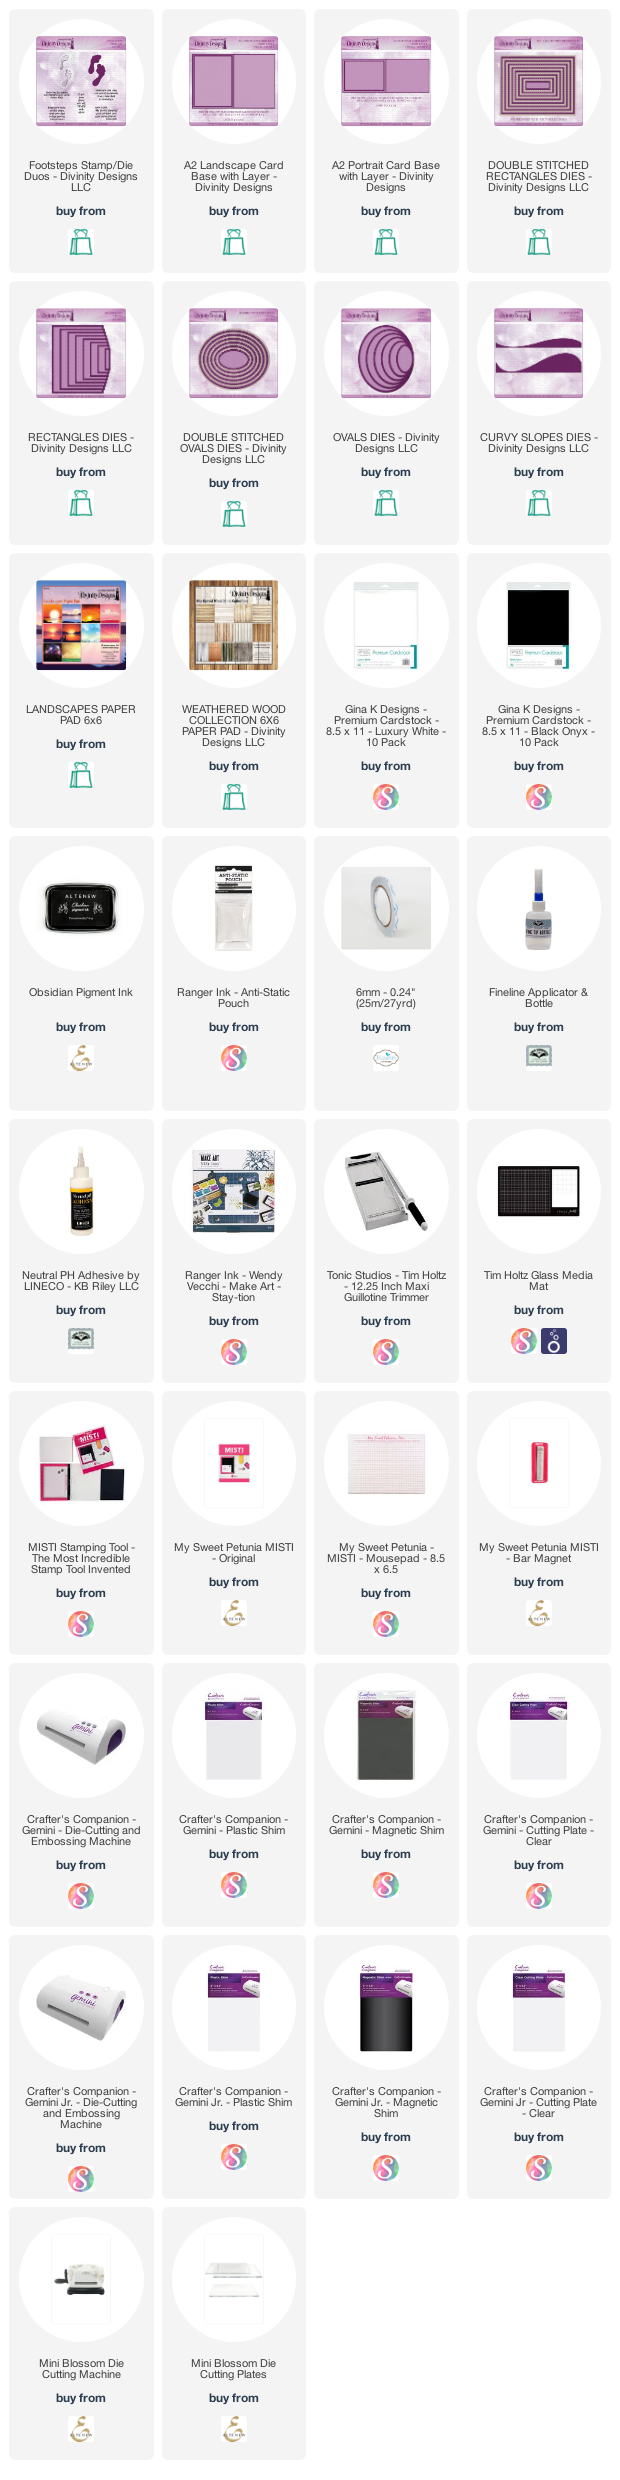
Supplies:
For your shopping convenience, all products are linked below. Compensated affiliate links are used where possible with no extra cost to you. This helps me to continue to share all the projects I include on my blog. For the benefit of my Australia readers, I have started to include some links to Australian stores when available. Please note I only use and share products I love.