Showing posts with label Centre Step Card. Show all posts

Thursday, December 25, 2025

Making Spirits Bright


Merry  Christmas Everyone!!!!

It's Christmas Day already down here in Australia! I must have been a good girl this year as I did very well! 😀

There are many of you who visit my blog regularly, so I would like to take this opportunity to thank you all so much for your support throughout the year. Hope you all have a wonderful and safe Christmas!

Today I am sharing two final Christmas cards with you that I made for my daughers, both got Ninja Slushi's this year so I know they will be making frozen cocktails today.


Both cards are Centre Step cards, and both share a lot in common including the colours and papers. Also in common are the Olive Martinis and Christmas Cocktails die sets from Spellbinders.


For my first card, I added the cute dog also from Spellbindeers ...  Deck the Paws, hopefully it looks a tiny bit like a pug as it is going to a Pug Mama!


For the second cards I pulled out the penguins from Spellbinders October 2024 Small Die of the Month -  Festive Friends and added those to my card.


I don't really have any drink related sentiments with a Christmas theme, but I did think this Making Spirits Bright worked ok for the cards which is a Spellbeinders Betterpress set.


Finally I added a sentiment to the inside of the card, another Spellbinders die set.


Wednesday, October 8, 2025

Fa La La Bear


Hi Crafty Friends,

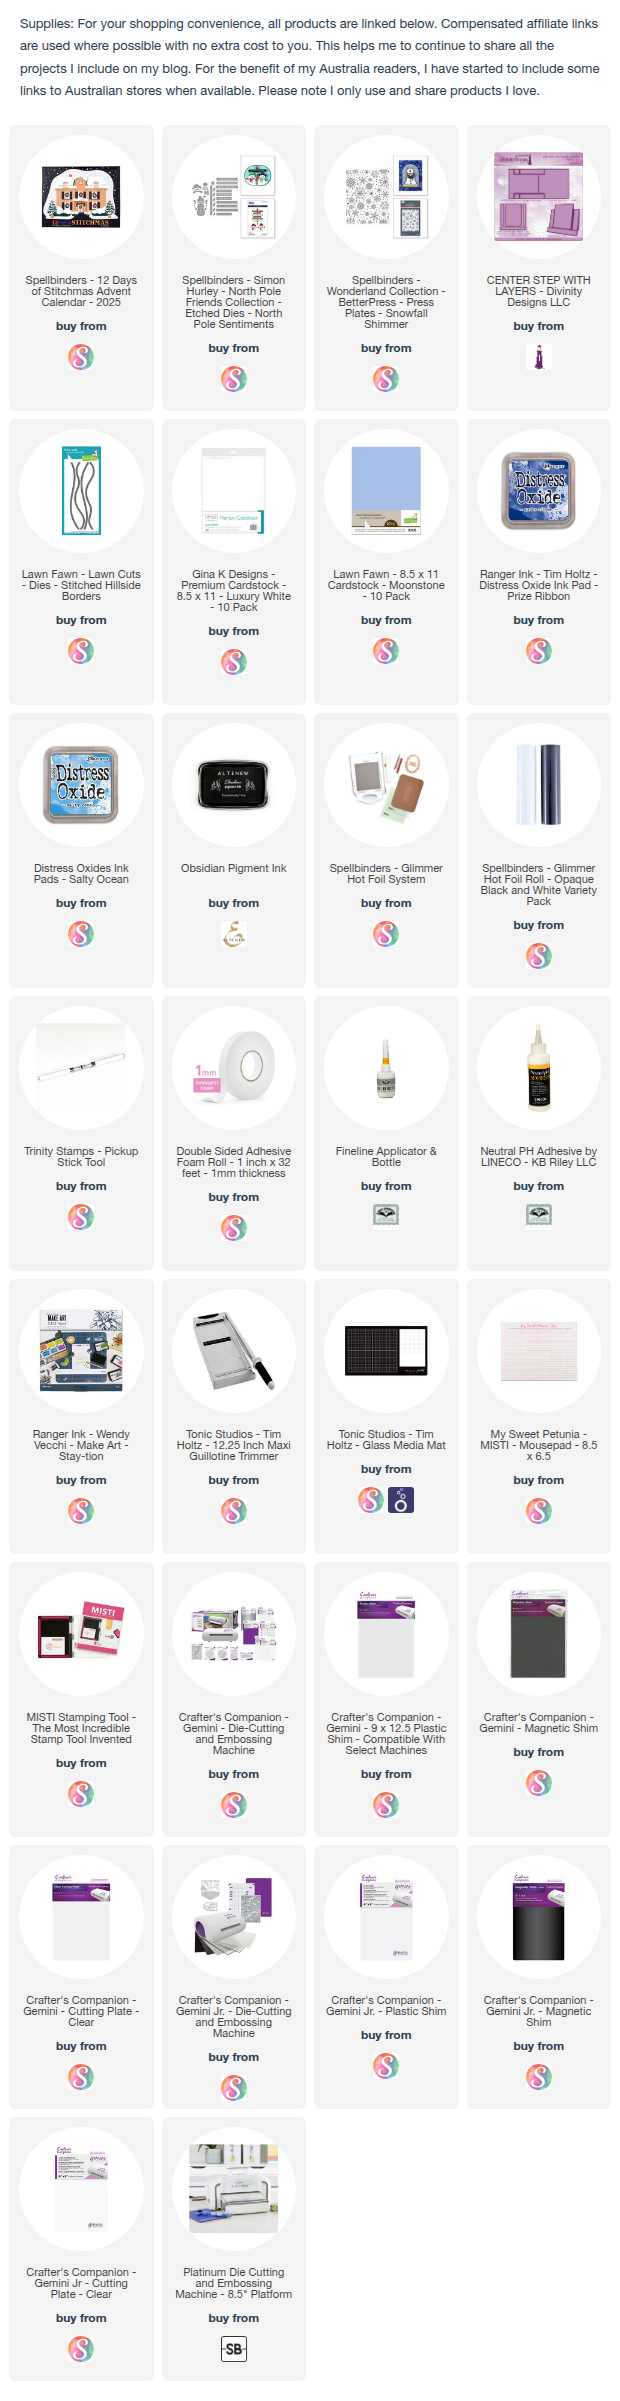
Today I am continuing sharing my cards I created using the dies from Spellbinders 12 Days of Stitchmas Advent Calendar. For this card I ended up using dies from three different days. The cute bear is from Day 6; the "Fa La La" from Day 7 and I also used the Christmas Tree from Day 3 on the inside.

For this card I created a Centre Step Card using an older die set from my stash. I also have a video tutorial on my YouTube channel showing how easy these are to make if you don't have dies.

I used the Snowflake Shimmer Betterpress plate to create the snowy background. This was white foiled onto blue cardstock and then I added darker inks to the top portion of the panels.


The sign post is from the North Pole Sentiments die set. As you can see, I did stitch the bears tummy and scarf.

I die cut the letters to spell "FA LA LA" from red and green cardstock and added them to the bottom to the card. I didn't stitch these.


For the inside of the card, I added the Christmas tree from Day 3 to the lower right hand side of the card. I also added a stamped sentiment from my stash.


Monday, September 8, 2025

Classic Father's Day Wishes


Hi Crafty Friends,

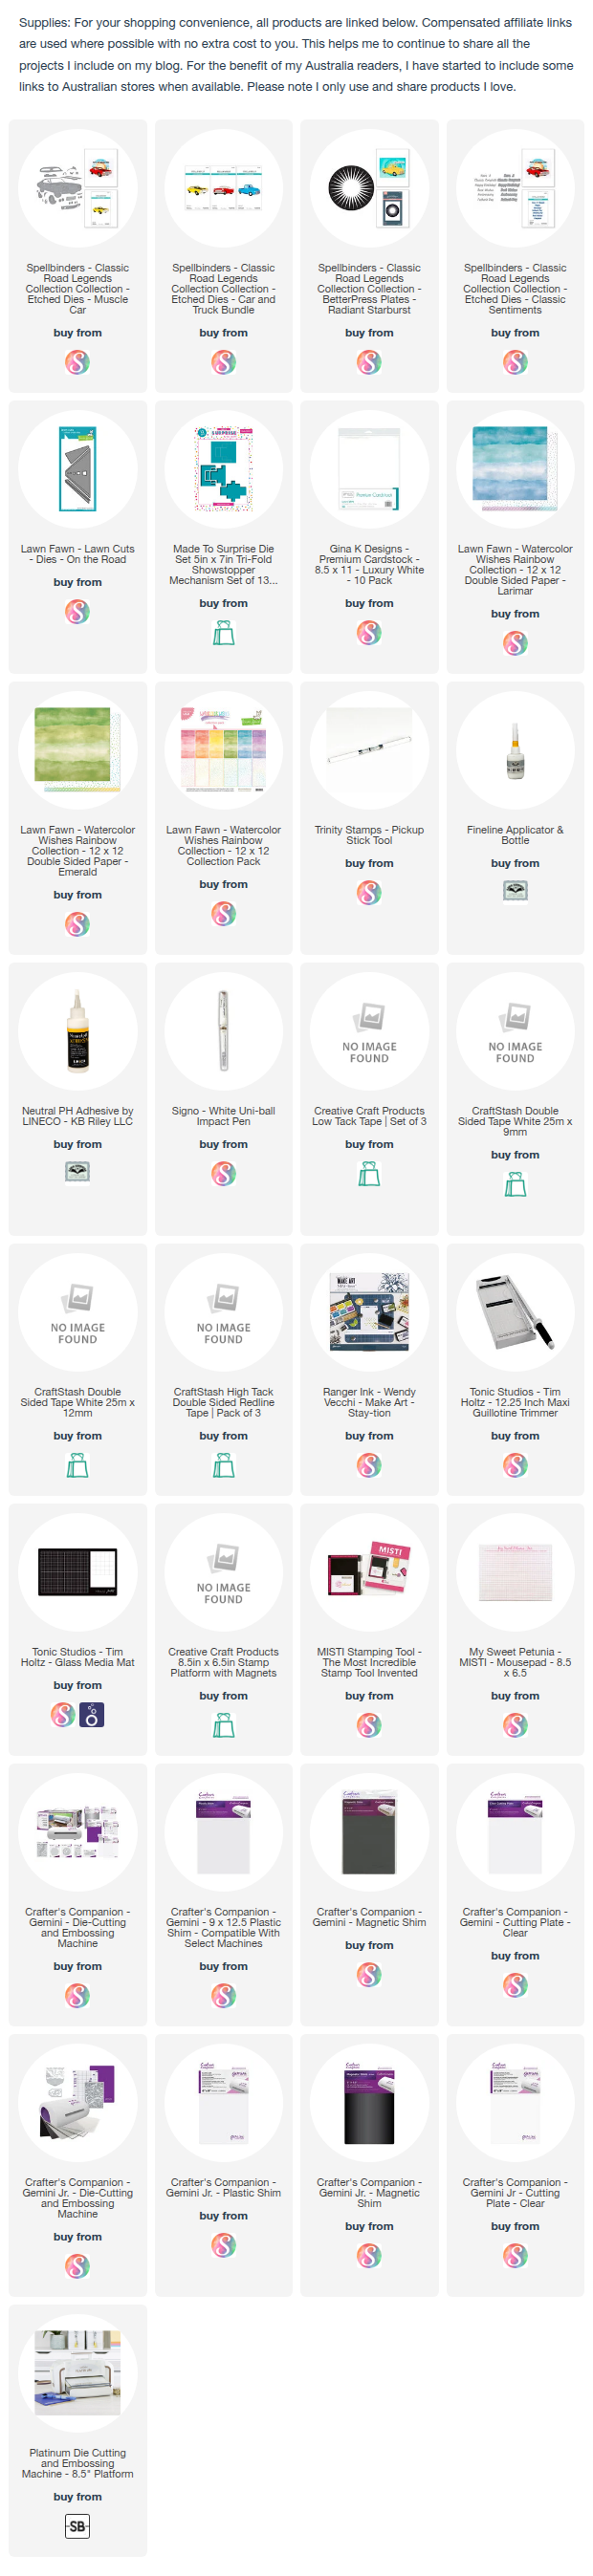
Yesterday was Father's Day for those of us that live in Australia! So of course I had to make a Father's Day card for my husband ... this is the card I came up with using some of the products from Spellbinders Classic Road Legends Collection. I modelled the card colours to one my husband had many years ago. You can see all the supplies I used in the supply list below.


Recently I came across an older Sam Calcott YouTube video on how to adapt the 5 x 7 Trifold die set from the Showstopper Collection into a Top Fold Tri-fold Stepper Card. I love been able to use my supplies in different ways, so of course I had to play with the idea. You can find Sam's video here.

I also pulled out an older Sizzix Pine Tree die & a grass die set to finish off the card.


For the inside I used a Father's Day sentiment from Lawn Fawn which I discovered when I was looking for another die. I also added the road die which is also from Lawn Fawn.


Wednesday, August 27, 2025

Book Owl Teacher Centre Step Card

Hi Crafty Friends,

I am still on my mission to create 18 teacher themed cards for my daughter to give to her fellow coworkers for Early Childhood Education Day which is in early September ... this is #17 so I am getting very close to my goal, yay!

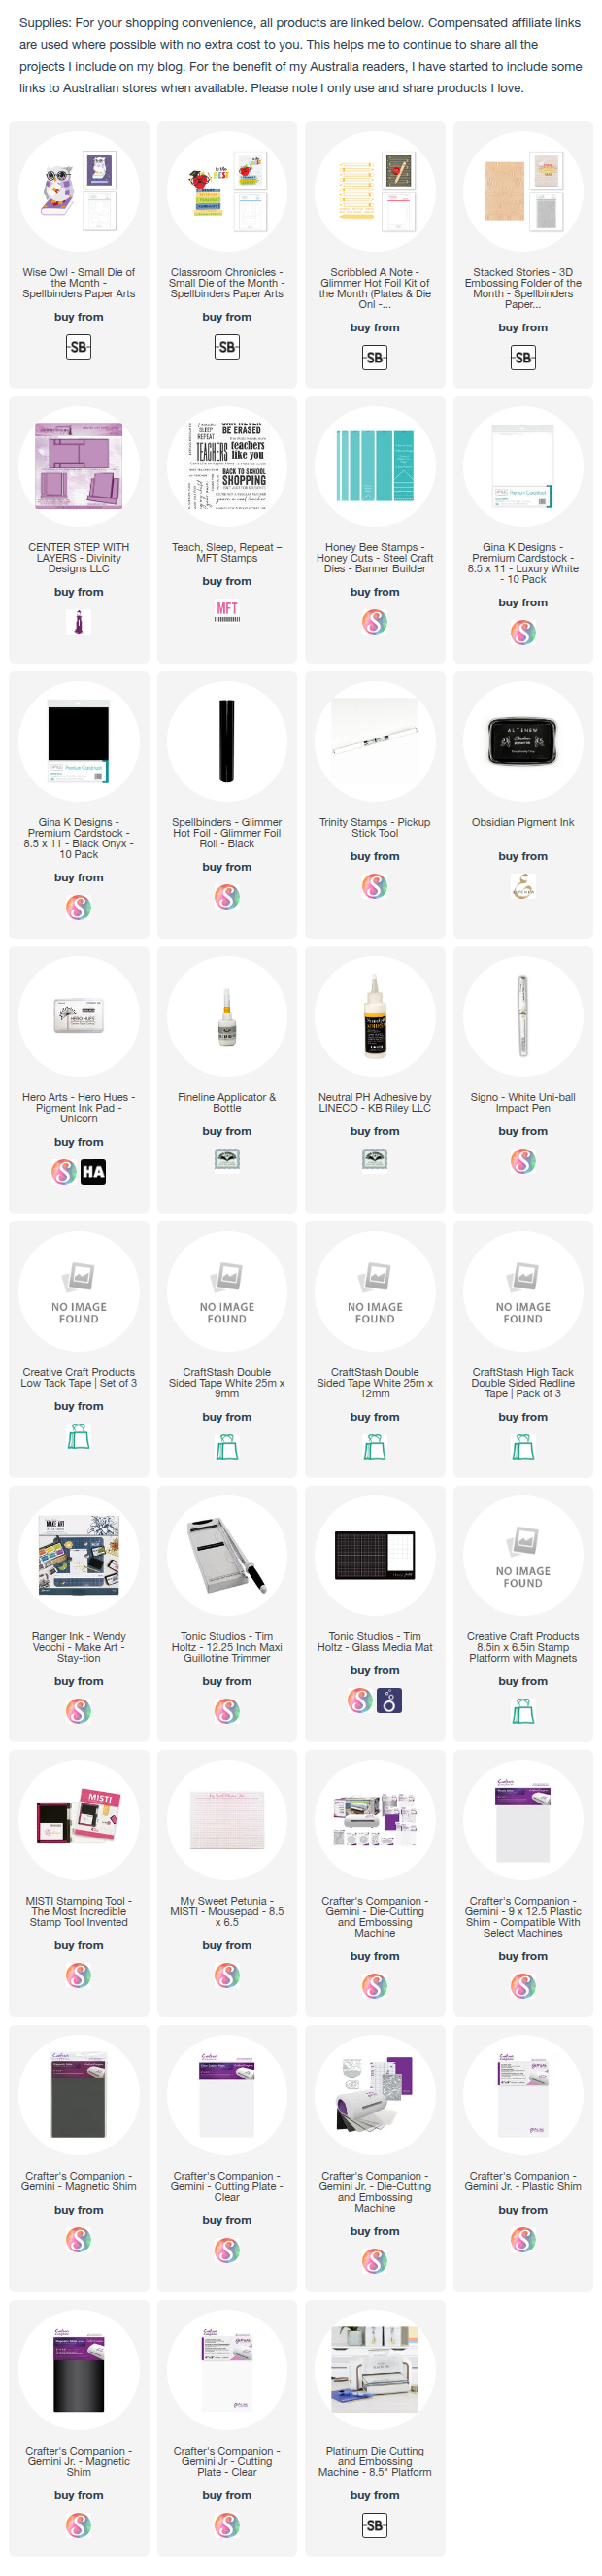
As I still had plenty of scraps after making the 5 x 7 version of this card the other day, I decided to try making a Centre Step card using the books from the Stacked Stories 3D Embossing Folder. For this I found it easier to cut a white panel the sized I needed, then layer the books onto that panel and trim around the edges if needed. 

For the Centre Step card, I used an old die I had in my stash, but I have linked to another which is very similar below in the product description page. I also have a tutorial on my YouTube Channel on making these, but these days I much prefer using a die.

To finish decorating my card, I pulled out the owl from Spellbinders March 2024 Club Kit and also the Small Die of the Month from May 2025  to add the teacher book the owl is standing on. The sentiment at the top of the card is from the Glimmer Plate of the Month for May 2025 and is actually the negative black foiled piece.


For the inside I added the stamped sentiment from MFT Stamps and added two more of the stacked books from the May 2025 Small Die of the Month.


Friday, August 22, 2025

Poinsettia Trio Christmas


Hi Crafty Friends,

As you can see, I have another Christmas themed card to share with you today. I have been having so much fun playing with my Christmas supplies.

Recently I came across an older Sam Calcott YouTube video on how to adapt the 5 x 7 Trifold die set from the Showstopper Collection into a Top Fold Tri-fold Stepper Card. I love been able to use my supplies in different ways, so of course I had to play with the idea. You can find Sam's video here.


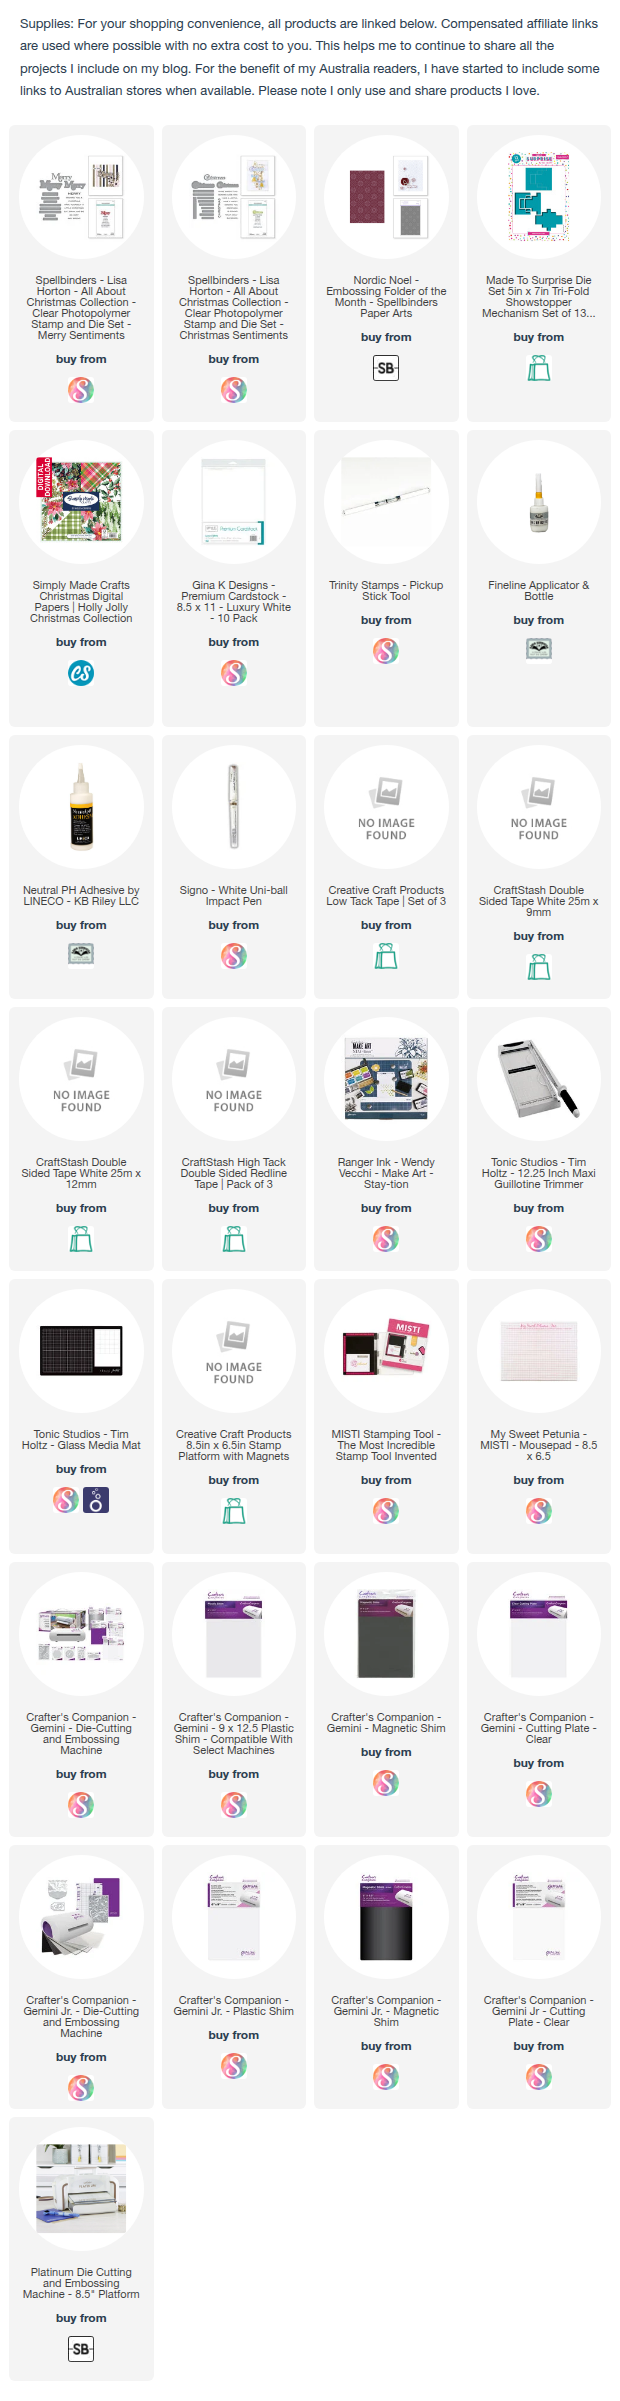
I kept my card reasonable simple. I was just playing with the idea. So I pulled out a few supplies that were sitting near my desk ... manly the new Merry Christmas sentiments, which are from two die/stamp sets, each have one of the parts of the sentiments as a die accompanied with some coordinating stamp setniments.

I used the 2D Embossing Folder from the July Spellbinders Club Kits for the white panel of my card. I then added the Merry Christmas using red glitter cardstock and white card. To finish off the card, I added some poinsettias from an older Spellbinders Glimmer/die set called Ornament.


I kept the inside of my card very simple, just adding the stamped sentiment which is from a Made To Surprise Christmas sentiment set.


Monday, July 21, 2025

Christmas Mugs


Hi Crafty Friends,

Welcome to my blog! Today I am sharing four Christmas themed A2 Centre Step cards I created on the weekend. My Spellbinders July 2025 Club Kit arrived last week, so as soon as I had a free moment I was playing with all the fun new products.


I just love all these cute mugs that the Small Die of the Month for July 25 "Cocoa Greetings" creates. I used white and red glitter on Santa's Hat to add some sparkle to the image.


For these cards,  I created A2 Centre Step cards using Divinity Designs A2 Center Step Card with Layers die set. It's been a while since I have played with this die which is always lots of fun.

The bases of all cards are the same, I just changed the mug and sentiments to suit each image.


For the background for all four cards, I used the Starry Snowfall 3D Embossing Folder, which is the 3D embossing folder for July. After embossing each of the panels, I applied white pigment ink to the raised areas.

For the card above I created a reindeer, adding a red nose to make it rudolph. 

I searched through my sentiment stash to find the best sentiments to suit each of the images for the individual cards.


For the inside of the first two cards, I added the sentiment shown above. 


Who doesn't love penguins, and it was a chance to pull out one of my penguin themed sentiments from Mama Elephant.


This is the inside of my penguin card. I used a Christmas sentiment from Waffle Flower. The other part of the sentiment is from the Stay Snuggly, sentiment set from the Club kit. Unfortunately most of the sentiments this month suit a Winter Christmas rather than one for all the world.


The caboodle product for this month is a Gingerbread man, which comes with a die to chop of it's head to turn it into a mug using the handle and accessories included in the Small Die of the Month.

I have a few gingerbread sentiments in my stash so I used some of those on my card.
 

And finally the inside of my gingerbread card.


Wednesday, July 9, 2025

Walrus Skipper


Hi Crafty Friends,

Today I have a card I created using some of the products from Spellbinders June 2025 Club kits, I just loved this theme especially that walrus.


I created a Centre Step Card using an older die set from my stash. The background panel uses the Cast Away Glimmer Plate which was the Glimmer Plate for June. The walrus & smaller seagull are from the Small Die of the month. The ships wheel & larger seagull are from the Stitched Die of the Month.

Finally the lighthouse is from the Large Die of the month.


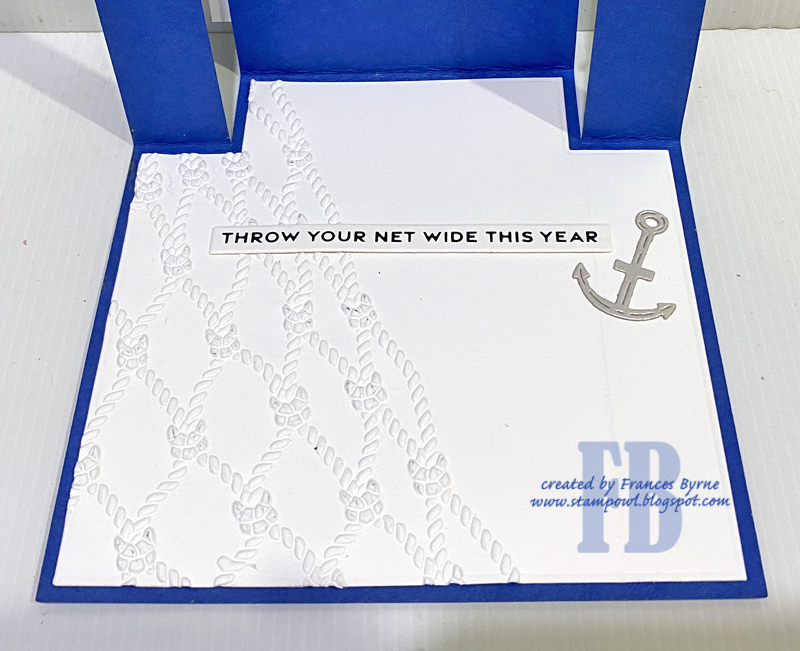
For the inside of the card, I used the Cast Away 3D Embossing Folder on the left side of the panel. I added the sentiment which is also included in the Glimmer of the Month set.


Monday, May 26, 2025

It's Beginning To Look A Lot Like


Hi Crafty Friends,

Yeah ok … so it’s not beginning to look like Christmas just yet! It’s still seven months away, we can all keep breathing haha. 

I finally got my hands on a few Christmas themed die sets I have been after from last year, so I decided to pull one out to play. This one is the Festive Friends die set which was Spellbinders October 2024 Small Die of the month, I recently came on sale on the Spellbinders web site, so I grabbed one.

For my card I created a Centre Step Card which I turned into a Centre Step Easel Card, I used an old Cheery Lynn Designs die set, which has long been retired. I have linked to a couple of others, the Divinity Designs one is exactly the same, but I like the insert for the inside on the one I used. 


To add the panel to turn my card into an Easel Card, I cut a piece of Cardstock that was 5 1/2 inches x 6 inches and then scored along the 6 inch side at 1/2 inch, I then used the 1/2 inch tab to attach to the back of the card.

I went a little crazy with the penguins, making seven all up, I assembled two upside down, so that they were facing the opposite way, so they weren’t all the same.

I used glitter cardstock to create the snowy hill at the bottom of the card, the base is also glitter.

The sentiment is one from Mama Elephant, which I have used for the stopper of the card. I layered the sentiment using Spellbinders Essential Stylish Ovals.


For the polar bears jumper, after die cutting the piece, I used an embossing folder to add texture, rubbing white ink over the raised areas.

The card folds flat and will fit in a 6 inch square envelope.


Here is a look at the inside of my card and the easel base, 

The Merriest Christmas is a Spellbinders Betterpress plate which I stamped using black ink.