It's my turn to post a tutorial on the
Elizabeth Craft Designs blog today. For my project I decided to create a nautical themed accordion card using the new Maritime Peel-Off Stickers and Fancy Label Accordion Card. I love using the colors red, white and blue for nautical themed cards so that is the colors I used for my card today.
Here is how I created my card:
The Card
Note: Karen Burniston created a video tutorial that you can see
HERE showing how to assemble an accordion card.
1. Die cut the following pieces shown below. To make adhering of the frame edges to the accordion pages easier, adhere a sheet of Transparent Double-Sided Tape to cardstock before you die cut your frame edges pieces.
- 2 Accordion Fancy Label Pages from blue cardstock
- 1 Accordion Fancy Label Page from red cardstock
- 3 large labels from the Accordion Fancy Label Card set from white cardstock
- 4 star frames from the Star Fancy Frame Edges from blue cardstock
- 12 slotted frames from the Star Fancy Frame Edges from red cardstock (tip: For the Frame Edges I use most often I buy an additional die set so it is quicker to die cut the edges.)
2. Apply Transparent Double-Sided Adhesive Tape to the long tabs of one blue and the red Fancy Label Accordion Pages. Join each page together so you have alternate colors (blue, red, blue). You can trim off the large tab from the last page.
3. Attach the red slotted frame edges to the two blue pages and also to the front of the first blue page. Attach the blue star frame edges to the centre red page.
4. Use foam tape to attach the white labels to each page.
5. Creating the images to decorate the card –
a. Before reading the instructions below, you can see a video Els created using this technique
here.
b. Place a sheet of Transparent Double-Sided Adhesive onto cardstock that is big enough for your peel-offs and remove the release sheet.
c. Be careful not to touch the adhesive or it will leave fingerprints in the glitter.
d. From the Maritime peel-offs, place the Ship; Yacht; Anchor; Ships Wheel (2); Message in a Bottle; Telescope; peel-offs onto the release sheet (sticky side up). (I used an additional Ships Wheel from a second Maritime Peel-Off Sticker Sheet.
e. Place the cardstock that has Transparent Double-Sided Adhesive on top of the peel-off. (In other words, place sticky onto sticky.)
f. Use release sheet in handling the cardstock until you cover the adhesive with glitter so you don’t leave fingerprints.
g. Cover the adhesive with Cool Diamond Silk Microfine Glitter, polish glitter with your finger and brush excess off.
h. Color your images as desired using alcohol-based markers on the glitter.
i. Cut around all peel-off pieces.
j. Color white edges with a black permanent marker to give a more finished look.
* Coloring Tips for alcohol-based markers and glitter: Remember that when using alcohol-based markers, such as Copics, work quickly and don’t let the tip of the marker linger on the glittered surface. Too much alcohol ink can dissolve the adhesive and remove the glitter. It takes very little ink to color the surface of the glittered image so work with a light touch. To get the faded look, lay a line of color down along one edge of the section you want to color and then use your Blender pen to pull the color across the rest of the image. You may have to lay more color down to get deeper shading after you blend it out.
6. Using foam tape adhere the Ship to the label on the left hand side of the card. Adhere the Yacht to the label on the right hand side of the card .
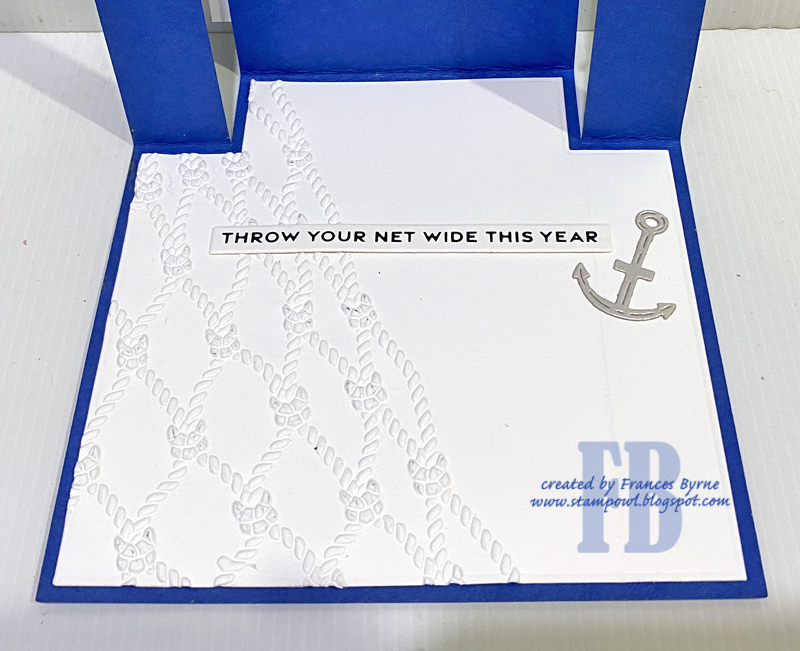
7. Using the Alphabet 1 Caps die die cut the letters “AHOY” from blue card and adhere to centre label on card. (Adhere Transparent Double-Sided Tape to cardstock before you die cut your letters). Use the knot peel-off sticker from the Maritime Peel-Off Sticker sheet and adhere to the bottom of the centre label.
8. Glue one of the Ship’s Wheel Peel-Off Stickers to the top left hand corner of the first page, adhere the second wheel to the front of the card so it is lined up behind the other. Adhere the telescope to the lower left hand corner on the front and the message in a bottle to the centre panel. The Anchor is placed on the last page. Refer to photos above for placement.
9. Apply tape to the two small tabs of the first two fancy labels. Remove the tape from the tabs of the first fancy label and join the first fancy label to the centre fancy label. The fold of the card should be a valley fold while the two fancy labels will form a mountain fold. Remove the tape from the tabs of the center fancy label and bringing the ovals behind the fancy label pages join the last two fancy labels together. The second fold on the card should be a mountain fold and the fold of the fancy labels a valley fold. Trim off the excess small tabs from the last fancy label.
Thanks for stopping by today. I hope you have enjoyed my tutorial.
Supplies:
Elizabeth Craft Designs:
2592 Maritime peel-offs Black
771 Accordion Fancy Label
976 Star Fancy Frame Edges
967 Alphabet 1 – Caps
509 Transparent Double Sided Tape 152mm
506 Transparent Double Sided Tape 6mm
641 Cool Diamond Silk Microfine Glitter
802 Fine Pointed Scissors
Other:
Cardstock: white, blue, red
Copic Markers
Foam Tape