

Hi Crafty Friends,
Welcome to our October Paper Pros challenge, we are a week early this month as we have swapped weeks with the Karen Burniston Designer Challenge. This month our challenge is Holiday Cheer.
For my card today I wanted to play with the Christmas Tree from the Christmas Tree Pop Stand die set. I used this tree a lot when it was previously released as a 3D tree on a solid background instead of the normal pop up or pop stand card, so I wanted to use it that way again.

I created a window card using the Katherine Label Pop-up die set, the Christmas Tree Pop Stand die set and the reindeer from the Christmas Animals die set.
To create the 3D Christmas tree that I added to the front (and also on the inside) follow the directions below:
Using the Tree dies from the Christmas Tree Pop Stand Card die set, die cut 1 of each of the tree pieces from green card stock. Sponge around edges of trees using green ink.
- Die cut 1 of the tree trunks using brown card.
- Assembling the Trees: Note – these are assembled slightly differently to how Karen Burniston assembles the tree for the Pop Stand Card so that we can still achieve the 3D look on a solid surface.

- Apply a thin strip of glue around the edge of the large solid tree that has a slit in the centre and adhere it to the tree with the tree shaped hole in the middle.

- Adhere the brown trunk over the green one on the outline tree. As per photo above.

- Now take the two trees with the slots and thread the tree which only has slots at the top and the bottom through the middle slot of the other tree. You may need to bend one of the top slots of the first tree to do this.

- Next thread one half of one of the 3D trees through the slot of the large tree. Turn the tree over to the back side and places some adhesive to one side of the half tree, fold this over and adhere it to the back of the tree.
- Turn tree back over and fold the inner trees so that you have the middle tree standing upright and the other two trees are sitting on either side of the tree.
- Decorate your tree as desired ... for my trees I added Red/Gold Glitter Dot Peel Off Stickers as they are so easy.

Die cut the window into the top right hand side of the front of the card using the middle label die from the Katherine Labels Pop-up die set and then add the frame by using the two larger dies to create a frame.
Add the completed tree to the left side of the card and then add a reindeer under the window.

The Katherine Label Pop-up die set was designed to cut a window into the centre of the front of the card so that the pop-up arm that holds the labels/sentiment will line up with the window. Because I added the window to the side of on longer card, I had to make an adjustment to the pop-up arm.
Basically all I did was die cut the pop-up arm and fold as normal. I then cut the box section (that holds the label/sentiment and attaches to the back of the card off the card. Trimmed a piece of cardstock the same width as the arm but longer and adhered this to the existing arm and onto the cut off box. The first time I did this I didn't cut my cardstock long enough, but it was easy enough to fix.
I added another 3D tree to the left side of the card, I also added the solid trees that come from the centre of the outline tree to the right hand side of the card and another reindeer.
You can see what the other "Paper Pros" created for this challenge on their blogs:
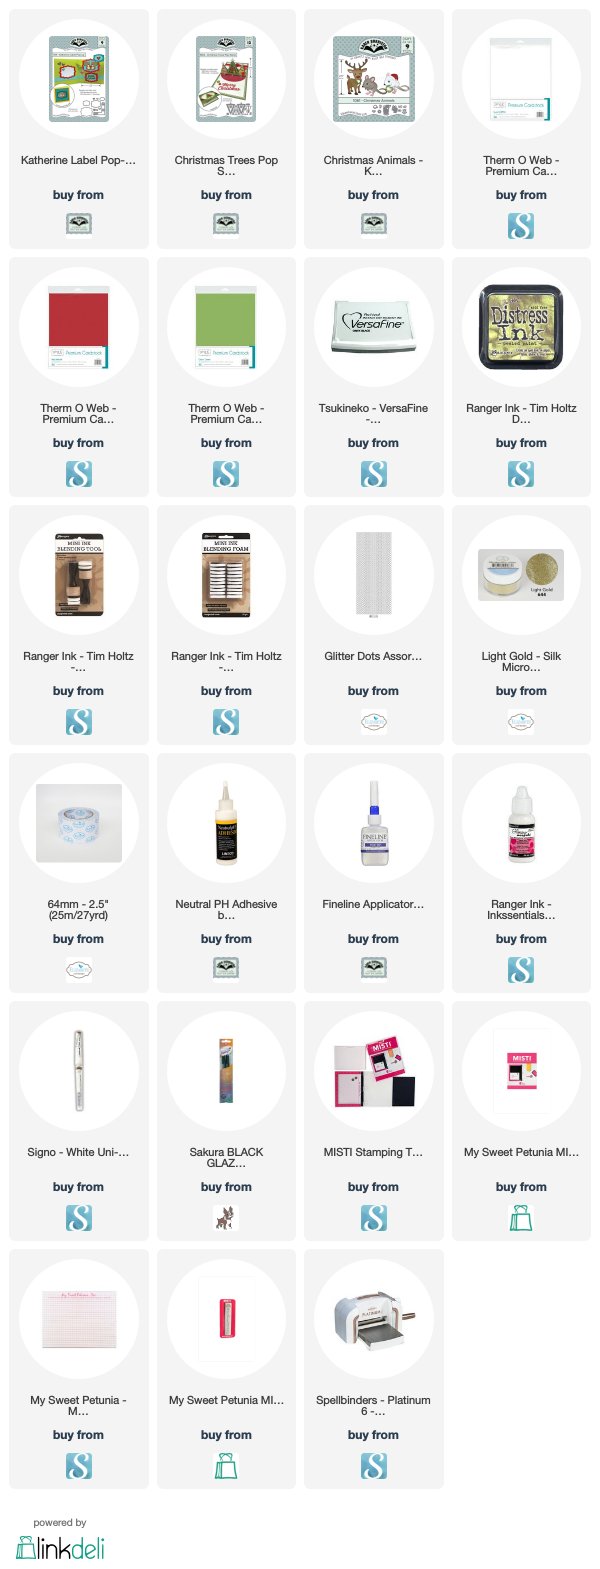
Supplies:
For your shopping convenience, all products are linked below. Compensated affiliate links are used where possible with no extra cost to you. This helps me to continue to share all the projects I include on my blog. Please note I only use and share products I love.
Jolly Sentiments Clear Stamp set - Kaisercraft
No comments:
Post a Comment