Hi Crafty Friends,
It's my turn to post a tutorial on the Elizabeth Craft Designs blog. As Christmas is now less then two months away, I thought I would create another Christmas card. For my card today I have used the new Poinsettia Clear Stamp set and coordinating dies from the new Krista Schneider Winter/Christmas collection.
Here is how I created my card:
Step 1 -
- Cut a piece of White Soft Finish Cardstock so it measures 4 1/4 inches x 11 inches. Score and fold along the 11 inches side at 5 1/2 inches to create a top folding card.
- Cut a piece of patterned paper 1 3/4 inches x 5 1/2 inches.
- Cut a piece of dark green cardstock approximately 1/2 inch x 5 1/2 inches.
- Layer the green cardstock behind the patterned paper so that there is a tiny bit of the green cardstock showing on one side of the patterned paper.
- Adhere this panel to the left side of the front of the card.
Step 2 -
- Using the Poinsettia Clear Stamp set stamp the poinsettia flower, two of the berry branches onto White Soft Finish Cardstock using black ink. Stamp three of the pine boughs onto White Soft Finish Cardstock using dark green ink.
- Color images as desired.
- Die cut all images using coordinating dies.
Step 3 -
- Adhere the Poinsettia Flower to the left side of the front of the card using foam tape, so that the flower is partly on the patterned paper and partly over the white panel. (Refer to photo above for placement).
- Add the berry branches to the card, one to the top right side of the card and the other to the lower right. Use foam tape for added dimension.
- Adhere two of the pine boughs to the centre right of the poinsettia adhering directly to the card using liquid adhesive.
- Adhere the remaining pine bough to the top left of the poinsettia using foam tape.
Step 4 -
- Apply Autumn Red Nuvo Drops to all of the berries. Set aside to dry.
Step 5 - Inside of Card:
- Cut a piece of patterned paper and a piece of green cardstock, the same size as for the front of the card and adhere to the left hand side of the inside of card.
Step 6 -
- Stamp the sentiment "Season's Greetings" from the Classic Christmas Sentiments Clear Stamp set to the centre of the white panel on the inside of card using black ink.
- Using the pine bough stamp from the Poinsettia Clear Stamp set, stamp directly over the sentiment using a dark green ink.
Thank you for stopping by, I hope you enjoyed my tutorial.
Supplies:
Elizabeth Craft Designs:
Elizabeth Craft Designs:
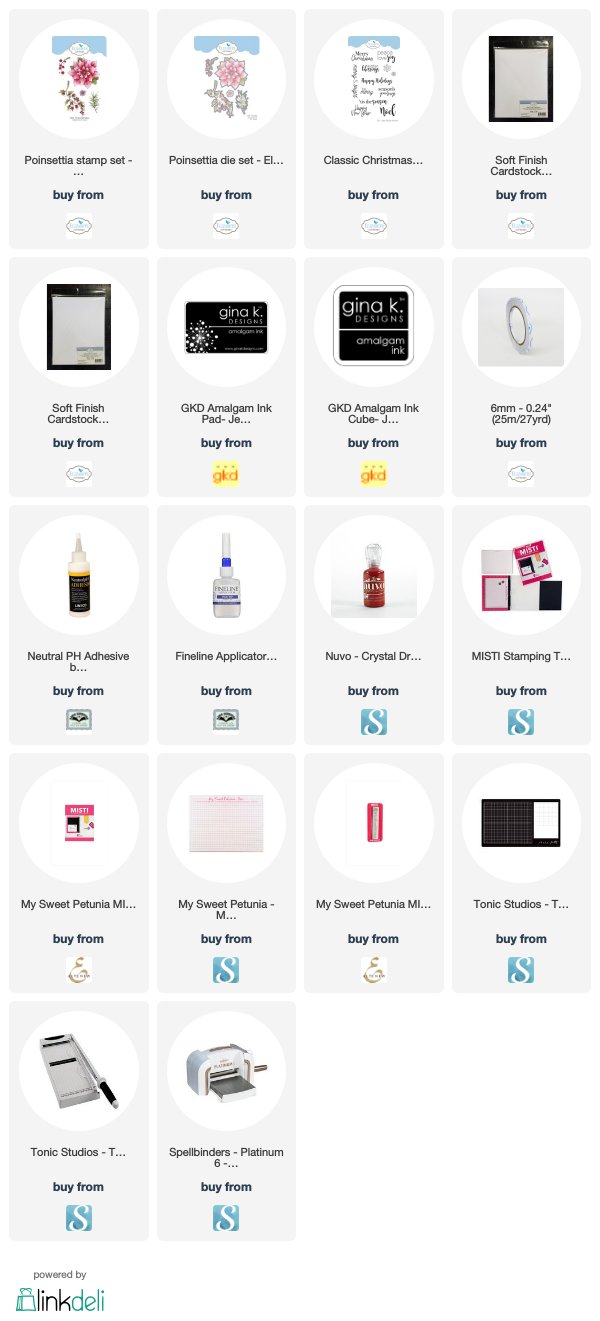
For your shopping convenience, all products are linked below. Compensated affiliate links are used where possible with no extra cost to you. This helps me to continue to share all the projects I include on my blog. Please note I only use and share products I love.


1 comment:
Such a lovely card for the holidays.
Post a Comment