Showing posts with label Elizabeth Craft Designs Blog Post. Show all posts

Tuesday, November 13, 2018

Ho Ho Ho Santa Snow Scene


Hi Crafty Friends,

It's my turn to post a tutorial on the Elizabeth Craft Designs blog. I have been having fun this year creating a lot of snowy Christmas scenes for my Christmas cards especially using distress oxides to create my skies. Christmas were I live down here in Australia is in summer, so we enjoy a hot Christmas day with cold lunches and probably swimming in a pool. As we don't experience snow, it is fun to create snowy scenes on paper instead.

Here is how I created my card:


Step 1 - 
  • Using the largest rectangle from the Dashing Rectangles die set die cut a rectangle from White Soft Finish Cardstock.
  • Using Distress Oxide inks in Tumbled Glass, Stormy Sky and Blueprint Sketch apply the ink to the rectangle using a blending tool, blending each color as you go.
  • Place a small amount of white paint onto an acrylic block or similar and water down slightly. Load a paint brush with the paint and then splatter this over the top portion of the cardstock by tapping the tip of the paintbrush with your finger. Allow paint to dry.

Step 2 - 
  • Die cut a piece of White Soft Finish Cardstock that has Clear Double Sided Adhesive Tape on the front using the rectangle die used to cut out the rectangle in step 1.
  • Use the snow border from the Adventure Edges die set, die cut two snow banks, making one higher than the other. 
  • Remove the protective backing from the adhesive and cover the adhesive with Warm Diamond Silk Microfine Glitter. Return excess glitter to the jar and then polish the glitter into the adhesive to bring out the maximum sparkle.
  • Adhere snow banks to rectangle panel, referring to photo above for placement.

Step 3 - 
  • Using the Fitted Circles die set, use the 3rd smallest circle to die cut a circle from White Soft Finish Cardstock.
  • Sponge around circle using Antique Linen Distress Oxide ink
  • Adhere the circle to the top right hand corner of card so part of the circle is overlapping the edge of the card. Trim off excess cardstock.
Step 4 - 
  • Using the Pine Tree die from the Reindeer die set, die cut two trees from green cardstock. Sponge edges with Forest Moss Distress Oxide ink. 
  • Cut the bottom quarter of tree of one of the trees and three quarters from the second tree.
  • Adhere trees to cards, so that the bottom of trees are slightly under the top of the snowbank.

Step 5 - 
  • Die cut all pieces for the Moose from White Soft Finish Cardstock. (Note: for the baubles, die cut with Clear Double Sided Adhesive on the top).
  • Color pieces using Copic Markers referring to photo above for coloring.
  • Apply True Red Silk Microfine Glitter to two of the baubles and Green Silk Microfine Glitter to the remaining two baubles.
  • Assemble as per photo above.
Step 6 - 
  • Using the Santa die set die cut the following:
  • Hat, Santa Suit and Pants from red cardstock
  • Face and Nose from Flesh Cardstock (or die cut from white and color using copic markers)
  • Hat trim and pom pom, Santa Suit trim, Pant Trim, Beard and Moustache from White Velvet Adhesive Sheet
  • Bell from gold cardstock
  • Gloves and buttons from black cardstock.
  • Assemble Santa referring to photo above for placement.
  • Add details to eyes using a black marker.

Step 7 - 
  • Adhere the moose to the card using liquid adhesive.
  • Adhere Santa to card using foam tape.
  • Wrap gold thread around the antlers of the moose and adhere glittered baubles to the ends using foam tape.
Step 8 
  • Using the Ho Ho Ho sentiment from the A Way With Words - Flourished Christmas Mini die set, die cut two sentiments from green cardstock.
  • Layer sentiments to each other for extra depth and adhere on top of moon.
Step 9 -
  • Create a card base by cutting a piece of white cardstock that measures 4 1/2 inches x 11 1/2 inches. Score along the long side at 5 3/4 inches and fold to create a top folding card base.
  • Adhere decorated rectangle panel on top of card base.

Step 10 - Inside of Card:
  • Using the snow bank from the Reindeer die set, die cut two snowbanks from White Soft Finish Cardstock that has Clear Double Sided Adhesive Tape on the front.
  • Remove protective backing and cover adhesive with Warm Diamond Silk Microfine Glitter. Return excess glitter to jar and polish the glitter into the adhesive using your finger to get maximum sparkle.
  • Adhere glittered snowbanks to bottom of inside of card referring to photo above for placement.
Step 11 - 
  • Die cut pine tree from the Reindeer die set from green cardstock. Color the trunk of the tree brown using marker. Sponge the edges of the tree using Forest Moss Distress Ink. Adhere tree to left hand side of the card referring to photo above for placement.
Step 12 -
  • Using the "Ho Ho Ho", "Merry" and "Christmas" sentiments from the A Way With Words - Christmas Collection Clear Stamp set, stamp onto the top right hand side of card using red ink.


Thank you for stopping by, I hope you enjoyed my tutorial.


Supplies:
Elizabeth Craft Designs:


For your shopping convenience, all products are linked below. Compensated affiliate links are used where possible with no extra cost to you. This helps me to continue to share all the projects I include on my blog. Please note I only use and share products I love.


Tuesday, October 30, 2018

Poinsettia Christmas Card


Hi Crafty Friends,

It's my turn to post a tutorial on the Elizabeth Craft Designs blog. As Christmas is now less then two months away, I thought I would create another Christmas card.  For my card today I have used the new Poinsettia Clear Stamp set and coordinating dies from the new Krista Schneider Winter/Christmas collection.

Here is how I created my card:


Step 1 - 
  • Cut a piece of White Soft Finish Cardstock so it measures 4 1/4 inches x 11 inches. Score and fold along the 11 inches side at 5 1/2 inches to create a top folding card.
  • Cut a piece of patterned paper 1 3/4 inches x 5 1/2 inches.
  • Cut a piece of dark green cardstock approximately 1/2 inch x 5 1/2 inches.
  • Layer the green cardstock behind the patterned paper so that there is a tiny bit of the green cardstock showing on one side of the patterned paper.
  • Adhere this panel to the left side of the front of the card.

Step 2 - 
  • Using the Poinsettia Clear Stamp set stamp the poinsettia flower, two of the berry branches onto White Soft Finish Cardstock using black ink. Stamp three of the pine boughs onto White Soft Finish Cardstock using dark green ink.
  • Color images as desired.
  • Die cut all images using coordinating dies.
Step 3 - 
  • Adhere the Poinsettia Flower to the left side of the front of the card using foam tape, so that the flower is partly on the patterned paper and partly over the white panel. (Refer to photo above for placement).
  • Add the berry branches to the card, one to the top right side of the card and the other to the lower right. Use foam tape for added dimension.
  • Adhere two of the pine boughs to the centre right of the poinsettia adhering directly to the card using liquid adhesive.
  • Adhere the remaining pine bough to the top left of the poinsettia using foam tape.
Step 4 - 
  • Apply Autumn Red Nuvo Drops to all of the berries. Set aside to dry.

Step 5 - Inside of Card:
  • Cut a piece of patterned paper and a piece of green cardstock, the same size as for the front of the card and adhere to the left hand side of the inside of card.
Step 6 - 
  • Stamp the sentiment "Season's Greetings" from the Classic Christmas Sentiments Clear Stamp set to the centre of the white panel on the inside of card using black ink.
  • Using the pine bough stamp from the Poinsettia Clear Stamp set, stamp directly over the sentiment using a dark green ink.


Thank you for stopping by, I hope you enjoyed my tutorial.


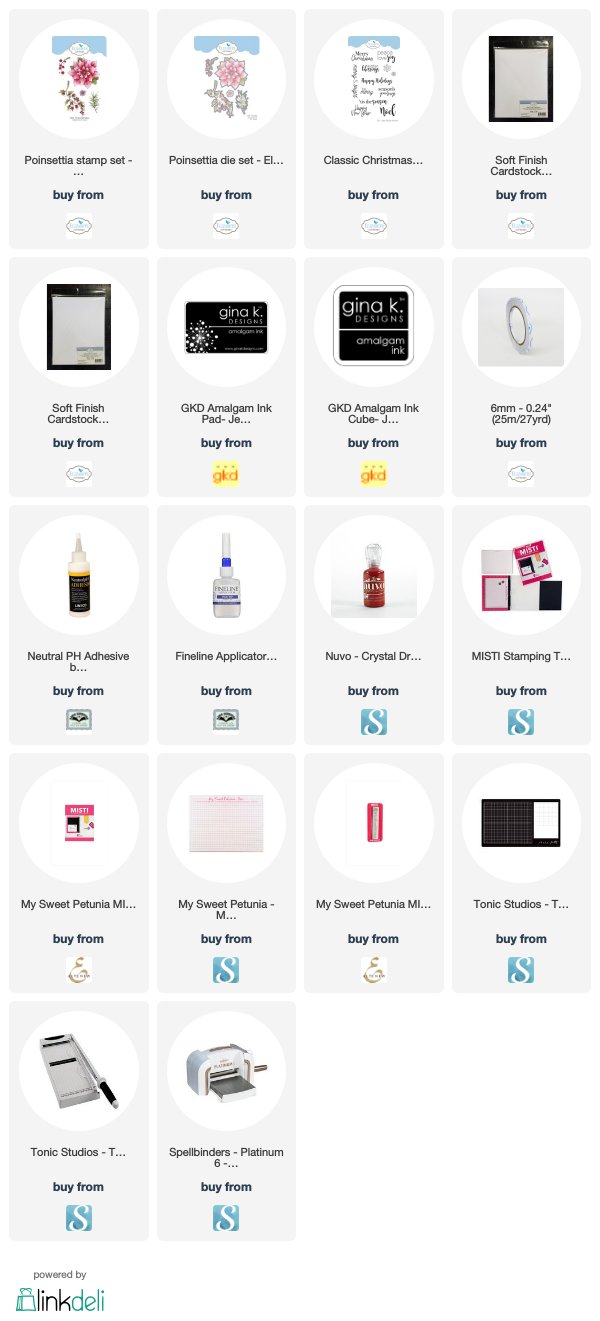
Supplies:
Elizabeth Craft Designs:


For your shopping convenience, all products are linked below. Compensated affiliate links are used where possible with no extra cost to you. This helps me to continue to share all the projects I include on my blog. Please note I only use and share products I love.


Wednesday, October 10, 2018

Christmas Elves Trifold Card


Hi Crafty Friends,

It's my turn to post a tutorial on the Elizabeth Craft Designs blog. A few weeks ago Elizabeth Craft Designs released seven new Winter/Christmas themed stamp sets with coordinating die sets from licensed designer Krista Schneider. I have used one of these stamp sets with an older set from last year to create this fun Trifold card.

Here is how I created my card:


Step 1 - 
  • Cut a piece of White Soft Finish Cardstock to measure 4 1/4 inches x 9 inches.
  • Score along the 9 inch side at 3 inches and 6 inches. Fold along these score lines so that the fold at the left of the card is a mountain fold and the other is a valley fold.

Step 2 - 
  • Using the 2 1/2 inch rectangle from the Dashing Rectangles die set, die cut three rectangles using the aqua paper from the ModaScrap Unconventional Christmas 6 x 6 Paper Pack. 
  • Using the 2 3/4 inch rectangle from the Fitted Rectangles die set, die cut three rectangles from red cardstock.
  • Layer the patterned paper onto the red rectangles.

Step 3 - 
  • Using the same Dashing Rectangle die that was used in step 2, die cut two rectangles from White Soft Finish Cardstock that has Clear Double Sided Adhesive Tape on the front.
  • Using the snow border die from the Adventure Edges die set, die cut three snowy border panels from these rectangles.
  • Remove the protective backing from the adhesive on the front of the panels and cover the adhesive with Cool Diamond Silk Microfine Glitter. Return excess glitter to the jar and then polish the glitter into the adhesive using your finger to bring out the maximum sparkle.
  • Adhere the snowy borders onto each of the rectangle panels created in step 2.
  • Adhere the rectangle panels to each of the panels of the trifold card created in step 1.

Step 4 - 
  • From the Elves Clear Stamp set, stamp three of the elf images and the sentiment panel onto White Soft Finish Cardstock using black ink. Color images as desired and die cut the images using coordinating dies.
  • From the Winter Bears Clear Stamp set, stamp the large pair of trees four times onto White Soft Finish Cardstock using black ink. Stamp the large star from this set also. Color images and die cut using coordinating dies.
  • Trim off the bottom edge of the tree images so they are even, and then adhere these flat onto the card so that the trunks of the trees are just under the snow border. (Refer to photo above for placement.)
  • Adhere elves to each panel using foam tape.
  • Adhere the "Happy Holiday" banner to the left hand panel so it is centre to the top of the panel.
  • Adhere the star to the right hand panel.
Step 5 - 
  • Stamp the "Welcome to the North Pole" from the Cute Winter Sentiments Clear Stamp set to the centre panel using black ink.
Step 6 - 
  • Add glossy accents to the light bulbs the elf is holding in the centre panel.

Here is a look at the card when it is folded ready to be placed in an envelope. The card when folded will measure 3 inches x 4 1/4 inches.


Thank you for stopping by, I hope you enjoyed my tutorial.


Supplies:
Elizabeth Craft Designs:


For your shopping convenience, all products are linked below. Compensated affiliate links are used where possible with no extra cost to you. This helps me to continue to share all the projects I include on my blog. Please note I only use and share products I love.


Friday, September 28, 2018

A Winter Ornament Christmas


Hi Crafty Friends,

It's my turn to post a tutorial on the Elizabeth Craft Designs blog. With Christmas being less then three months away now, it is time for me to start getting serious about making Christmas cards. For my card today I have used two of the new winter/Christmas themed dies from the Joset Designs collection released in August.

Here is how I created my card:


Step 1 -
  • Cut a piece of White Soft Finish Cardstock so it measures 4 1/4 inches x 11 inches. Score along the long side at 5 1/2 inches and fold to create a top folding card.
  • Using the second largest rectangle from the Dashing Rectangles die set, die cut a rectangle from the ModaScrap Wood Effects Patterned Paper (Grey wood background used here).
  • Stamp the "Merry Christmas" Sentiment from the Classic Christmas Sentiments Clear Stamp set to the bottom right hand corner of the card using VersaMark Ink and Gold Embossing Powder.
  • Adhere the patterned paper to folded white card  base.


Step 2 - 
  • Using the Winter Ornaments die set, die cut the following:
  • 3 x Solid Ornament from White Soft Finish Cardstock that has Clear Double Sided Adhesive Tape on the front
  • 1 of each of the Decorative Ornament Overlays from White Soft Finish Cardstock
  • 3 x ornament toppers from Gold Cardstock (or Gold Shimmer Sheetz)

  • Remove the protective backing from the adhesive attached to the front of each of the solid ornaments and attach one of the decorative overlays on top of the ornament being careful to not touch any of the exposed adhesive.
  • Apply True Red Silk Microfine Glitter to two of the ornaments and Forest Green Silk Microfine Glitter to the third ornament (one of the red ornaments will be for the inside of the card). Remove any excess glitter and return to the jar and then polish the glitter into the adhesive to bring out the maximum sparkle.
  • Adhere gold topper onto each of the ornaments.


Step 3 - 
  • Place foam tape to the back of two of the ornaments (one red and one green). 
  • Tread a length of gold cord through the hole of the ornament topper and secure the end of the cord behind the ornament so it can't be seen.
  • Attach ornaments to card referring to photo above for placement.
  • Secure the other end of the cord to the top of the card using Clear Double Sided Adhesive Tape.
  • Create two tiny gold cord bows and adhere them to the ornament toppers.

Step 4 - 
  • Using the Snowflake Border die set, die cut the decorative overlay from White Soft Finish Cardstock.
  • Use the other die in the set to die cut a piece of White Soft Finish Cardstock that has Clear Double Sided Adhesive Tape on the front.
  • Remove the protective backing from the adhesive and adhere the decorate overlay to the solid panel, being careful to line up die cuts and not touching the exposed adhesive.
  • Cover the adhesive with Light Gold Silk Microfine Glitter, remove excess glitter and return to the jar and then polish the glitter into the adhesive using your finger to get maximum sparkle.
  • Trim Snowflake border so it is 4 1/4 inches x approximately 1 1/2 inches. (Note: before trimming snowflake, make sure you centre it on the card so it is even once trimmed).
  • Apply foam tape to back of the Snowflake Border and adhere to the top of the card.


Step 5 - Inside of card:
  • Adhere the remaining ornament to the lower right hand corner of the inside of card. 
  • Adhere a Gold Line Border Peel Off Sticker and adhere this from under the ornament topper to the top of the inside of card.
  • Using the sentiment "Peace, Love, Joy" stamp from the Classic Christmas Sentiments Clear Stamp set to the upper portion of the card using VersaMark Ink and embossing with gold embossing powder.


Thank you for stopping by, I hope you enjoyed my tutorial.


Supplies:
Elizabeth Craft Designs:

For your shopping convenience, all products are linked below. Compensated affiliate links are used where possible with no extra cost to you. This helps me to continue to share all the projects I include on my blog. Please note I only use and share products I love.


Friday, August 31, 2018

'Tis the Season Polar Bear Christmas Card


Hi Crafty Friends,

It's my turn to post a tutorial on the Elizabeth Craft Designs blog. Today I am sharing Christmas card I created using the new Polar Bear and Snowflakes die sets from the Joset Designs releases earlier this month.

Here is how I created my card:


Step 1 - 
  • Using the 4 3/4 inches square from the Dashing Squares die set, die cut a square from the snowflake patterned paper included in the ModaScrap It's Christmas Time 12 x 12 Patterned Paper Pack.
  • Using the 5 inch square from the Dotted Scallop Squares die set, die cut a square from brown cardstock.
  • Create a card base from red cardstock that measures 5 1/2 inches x 11 inches. Score at 5 1/2 inches and fold in half to create a 5 1/2 inch square top folding card.

Step 2 - 
  • Adhere Clear Double Sided Adhesive Tape to the front of a piece of White Soft Finish Cardstock. 
  • Die cut the large and small snowflakes from the Snowflakes die set. 
  • Remove the protective backing from the adhesive and cover with Warm Diamond Silk Microfine Glitter. Polish the glitter into the adhesive using your finger to bring out the maximum shine of the adhesive.
  • Sponge blue ink around the edges of the snowflake.

Step 3 - 
  • Using the Polar Bear die set die cut the following from White Velvet Adhesive Sheet: Head; Body; Front Legs; Paw Overlay and Snout.
  • Die cut the solid back paws from grey cardstock
  • Die cut eyes and nose from black cardstock
  • Die cut inner ears from pink cardstock
Note: for a stronger image die cut the head, body, front legs. paw overlay and snout again this time from white cardstock and adhere the Velvet sheet die cut to the white cardstock die cuts.
  • Sponge blue ink around all body parts.
  • Assemble Polar Bear using foam tape for the body parts and glue for the eyes, nose and inner ears.
  • Add mouth detail to snout using black marker.

Step 4 - 
  • Adhere the small snowflake to the top right hand side of the card using glue in the centre part of the snowflake
  • Attach the large snowflake to the bottom left hand side of the card using foam tape where the polar bear will be placed so tape won't be seen.
  • Attach the polar bear to the large snowflake using foam tape.
Step 5 - 
  • Using black ink stamp the sentiment from the Classic Christmas Sentiments Clear Stamp set to a strip of White Soft Finish Cardstock. Trim ends at an angle.
  • Sponge blue ink around edges of sentiment strip.
  • Attach over the small snowflake using foam tape.

Step 6 - Inside of Card:
  • Using the 4 3/4 inch square die from the Dashing Squares die set, die cut a square from White Soft Finish Cardstock.
  • Using the 4 3/4 inch square die from the Dashing Squares die set, die cut the snowflake patterned paper included in the ModaScrap It's Christmas Time 12 x 12 Patterned Paper Pack to create a 1 1/2 inch strip.
  • Adhere a strip of brown cardstock to the top of the snowflake patterned paper and then adhere this to the bottom of the white square.
  • Using the 5 inch square from the Dotted Scallop Squares die set, die cut a square from brown cardstock.
  • Layer squares to each other and adhere to inside of card.


    Step 7 - 
    • Create a large snowflake as we did in step 2 for the front of the card. Adhere to the centre of the card.
    • Using the smallest circle from the Dashing Circles die set, die cut a circle from White Soft Finish Cardstock. Sponge around the edges using blue ink.
    • Stamp the "Be Merry" sentiment from the Classic Christmas Sentiments Clear Stamp set using black ink. 
    • Add the three snowflakes to the sentiment panel using blue ink.
    • Adhere sentiment panel to centre of the snowflake.

    Thank you for stopping by, I hope you enjoyed my tutorial.


    Supplies:
    Elizabeth Craft Designs:

    For your shopping convenience, all products are linked below. Compensated affiliate links are used where possible with no extra cost to you. This helps me to continue to share all the projects I include on my blog. Please note I only use and share products I love.


    Friday, July 27, 2018

    A Little Rain Shaker Card


    Hi Crafty Friends,

    It's my turn to post a tutorial on the Elizabeth Craft Designs blog. Today I am sharing a shaker card using the new Frame It / Stitched Ovals die set and the cute April Showers stamp set.


    Here is how I created my card:

    Step 1 - 
    • Place the third largest rectangle from the Dashing Rectangles die set onto a piece of yellow cardstock.  
    • Place the smallest oval from the Frame It / Stitched Ovals die set in the centre of the frame.
    •  Secure both dies with removal tape and run through die cutting machine.

    Step 2 -

    • Using the circle stamp from the April Showers Clear Stamp set, stamp the image all over the framed cardstock panel using dark yellow ink.
    • Sponge the outer and inner frame with the same ink.
    Step 3 - 
    • Using the same rectangle die used in step 1, die cut another rectangle using White Soft Finish Cardstock.
    • Place the white rectangle under the yellow rectangle frame, and stamp the sentiment from the April Showers Clear Stamp set onto the white cardstock through the yellow frame.
    • Stamp the cloud/sun over the word "sunshine" using yellow ink.

    Step 4 - 
    • Using the same rectangle die, die cut two rectangles from acetate.
    • Adhere one of the acetate rectangles to the black of the yellow rectangle panel.
    • Adhere foam tape to the back of the rectangle panel, ensuring that there is foam tape close to the oval opening. (Note: remove any excess adhesive from the sides of the foam tape using an anti static powder tool and also to the acetate to prevent the shaker items not to stick to these areas.
    • Remove protective backing from the foam tape and adhere the second acetate rectangle over the panel.
    Step 5 - 
    • Using the second largest rectangle from the Dashing Rectangles die set, die cut a rectangle from orange cardstock.
    • Adhere shaker panel to the centre of the orange rectangle.
    Step 6 - 
    • Cut a piece of White Soft Finish Cardstock so it measures 5 1/2 inches x 8 1/2 inches. Score at 4 1/4 inches and fold to create a top folding card.
    • Adhere shaker panel to card base.

    Step 7 - 
    • Using the April Showers Clear Stamp set, stamp the girl, raincoat; boots; duck and three ducklings onto White Soft Finish Cardstock using black ink.
    • Color images and die cut using coordinating dies.

    • Adhere the girl,  duck and ducklings to the front of the card using foam tape for the larger images and liquid adhesive for the ducklings.

    Step 8 - 
    • Adhere the raincoat and boots to the inside of card referring to photo above for placement.
    • Using a sentiment from the Banner Sentiments Clear Stamp set, stamp the sentiment to centre of card using black ink.


    Thank you for stopping by, I hope you enjoyed my tutorial.


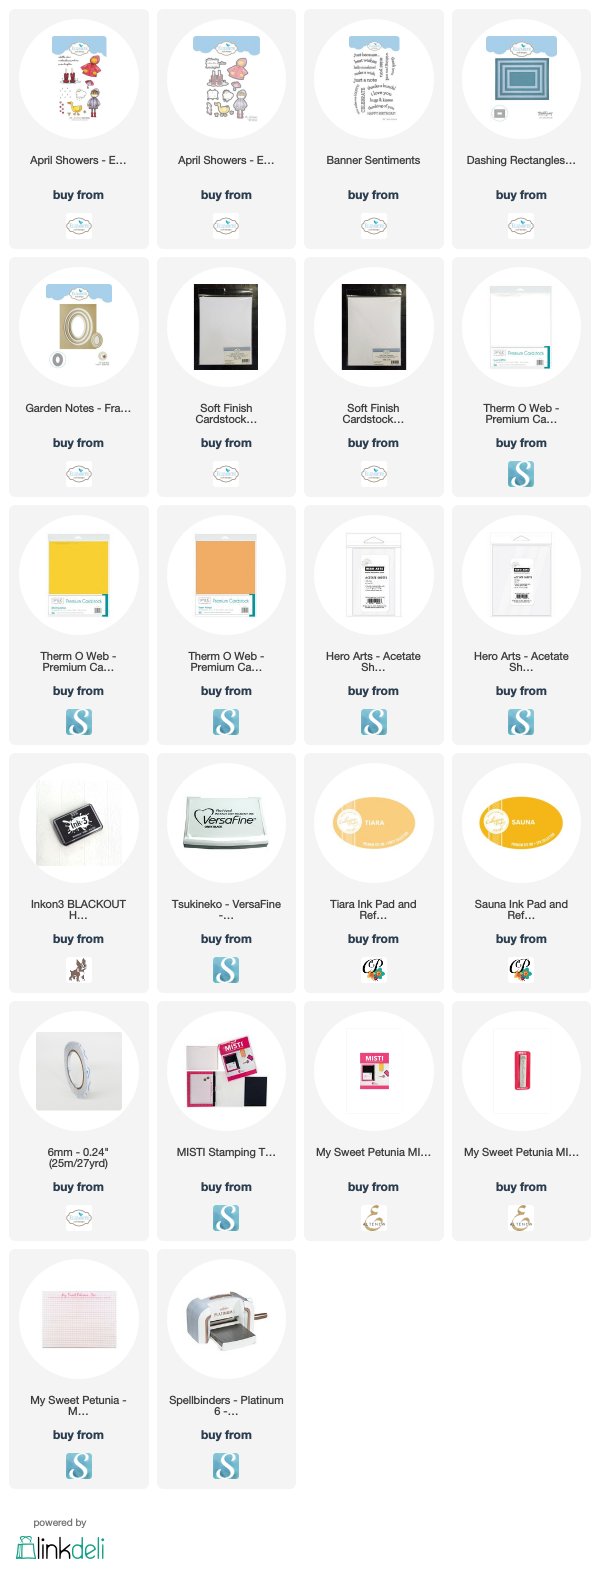
    Supplies:
    Elizabeth Craft Designs:

    For your shopping convenience, all products are linked below. Compensated affiliate links are used where possible with no extra cost to you. This helps me to continue to share all the projects I include on my blog. Please note I only use and share products I love.