Showing posts with label Krista Schneider. Show all posts

Monday, December 24, 2018

Winter Animals Christmas


Hi Crafty Friends,


It's my turn to post a tutorial on the Elizabeth Craft Designs blog. It's Christmas Eve, so Santa will be coming tonight, I hope he brings you all something nice. For my tutorial today I have another Christmas card to share  using a couple of the Kristas Schneider stamp sets. This will be my last tutorial I have for you from the Elizabeth Craft Designs Design Team.


Here is how I created my card:

Step 1 - 
  • Using the second largest rectangle die from the Dashing Rectangles die set, die cut a piece of White Soft Finish Cardstock.
  • Using the smallest circle die from the Fitted Circles die set, die cut three circle cut outs from the white rectangle panel. Tip: To work out your positioning prior to die cutting the circles, die cut a few from post it notes or similar and lay them out on your panel first. Once you are happy with positioning you can use the circle die to die cut your panel.

Step 2 - 
  • Using VersaMark ink and the snowflake group from the Snowflakes Clear Stamp set, stamp the image all over the cardstock. Cover the image with White Embossing Powder and heat set with a heat tool. 
  • Using Distress Oxide inks in Warm Lipstick, Abandoned Coral, Candied Apple and Festive Berries apply the inks all over the rectangle panel to give an ombre look.
  • Polish excess ink off the embossed snowflakes using a tissue or similar.

Step 3 - 
  • Die cut another rectangle panel from White Soft Finish Cardstock using the same die as used in step 1.
  • Lay the decorated snowflake panel over the rectangle as a guide so you know where to sponge Tumbled Glass Distress Oxide ink. Keep apply ink and repositioning the snowflake panel until you are happy with the amount of ink on the rectangle.
  • Place a small amount of white paint onto an acrylic block or similar and water down slightly. Load a paint brush with the paint and then splatter this over the blue ink on the rectangle panel by tapping the tip of the paintbrush with your finger. Allow paint to dry.

Step 4 - 
  • Using the Winter Animals Clear Stamp set, stamp each of the animals onto white cardstock using black ink. 
  • Die cut animals using coordinating dies.
  • Color images as desired.
  • Optional - Add details to animals using White Gel Pen and Black Glaze Pen.
Step 5 - 
  • Apply foam tape to the back of the snowflake panel and adhere the panel to the white rectangle panel.
  • Add foam to the top portion of the animals only and add them into each of the circles, so that the bottom part of the animals are tucked under the circle, but the top portion if on the front of the card.
Step 6 - 
  • Using VersaMark Ink, stamp the "Merry Christmas" sentiment from the Classic Christmas Clear Stamp set onto a piece of green cardstock. Cover the ink with white embossing powder and heat emboss.
  • Trim around the sentiment to create a rectangle and attach to bottom left hand corner of card.
Step 7 -
  • Cut a piece of White Soft Finish Cardstock so it measures 4 1/4 inches x 11 inches. Score along the long side at 5 1/2 inches and fold to create a top-folding card base.
  • Adhere snowflake panel to the front of the card base.

Step 8 - 
  • Stamp the sentiment "Tis the Season" to the inside of the card using black ink.
  • Randomly stamp snowflakes around the sentiment using red ink.
  • Adhere the remaining Winter Animal to the bottom right hand corner of card.
Thank you for stopping by, I hope you enjoyed my tutorial.


Supplies:
Elizabeth Craft Designs:


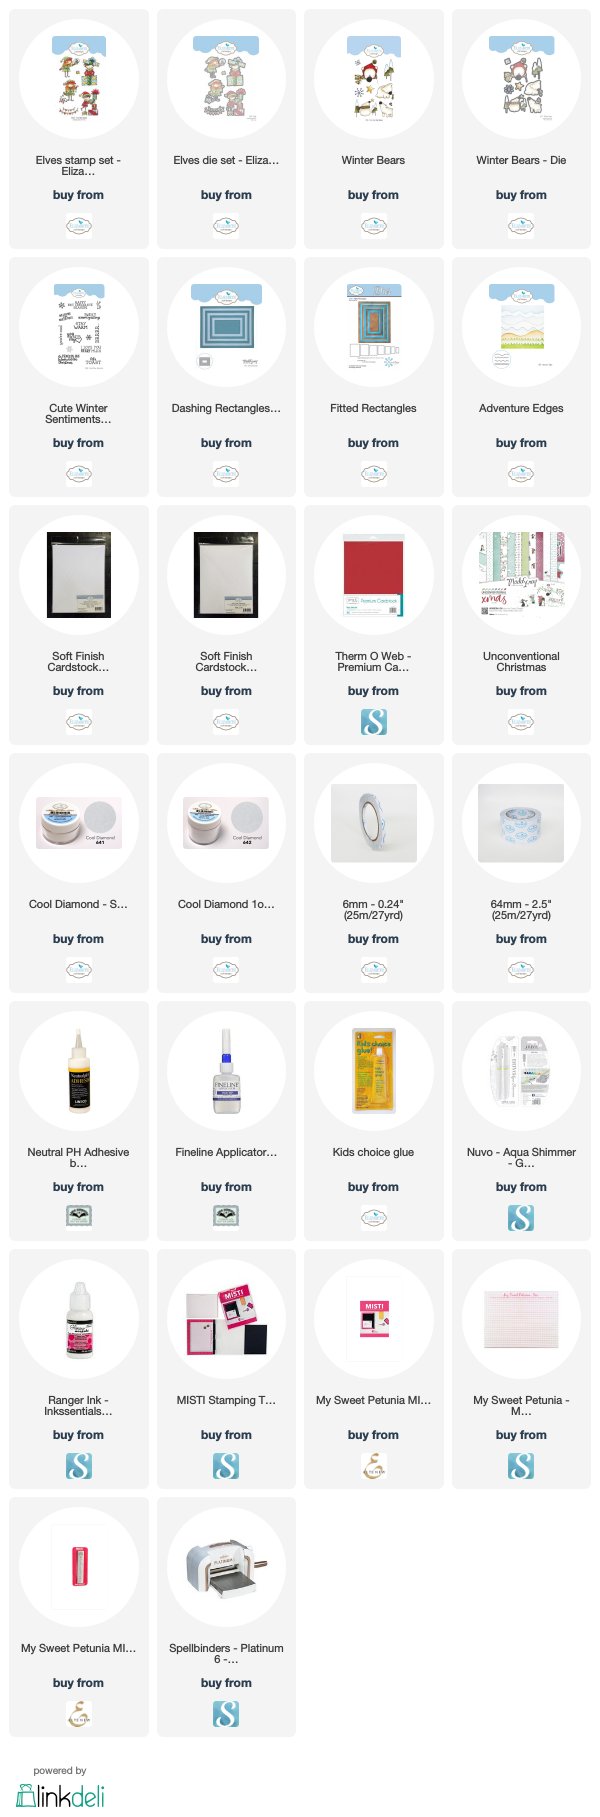
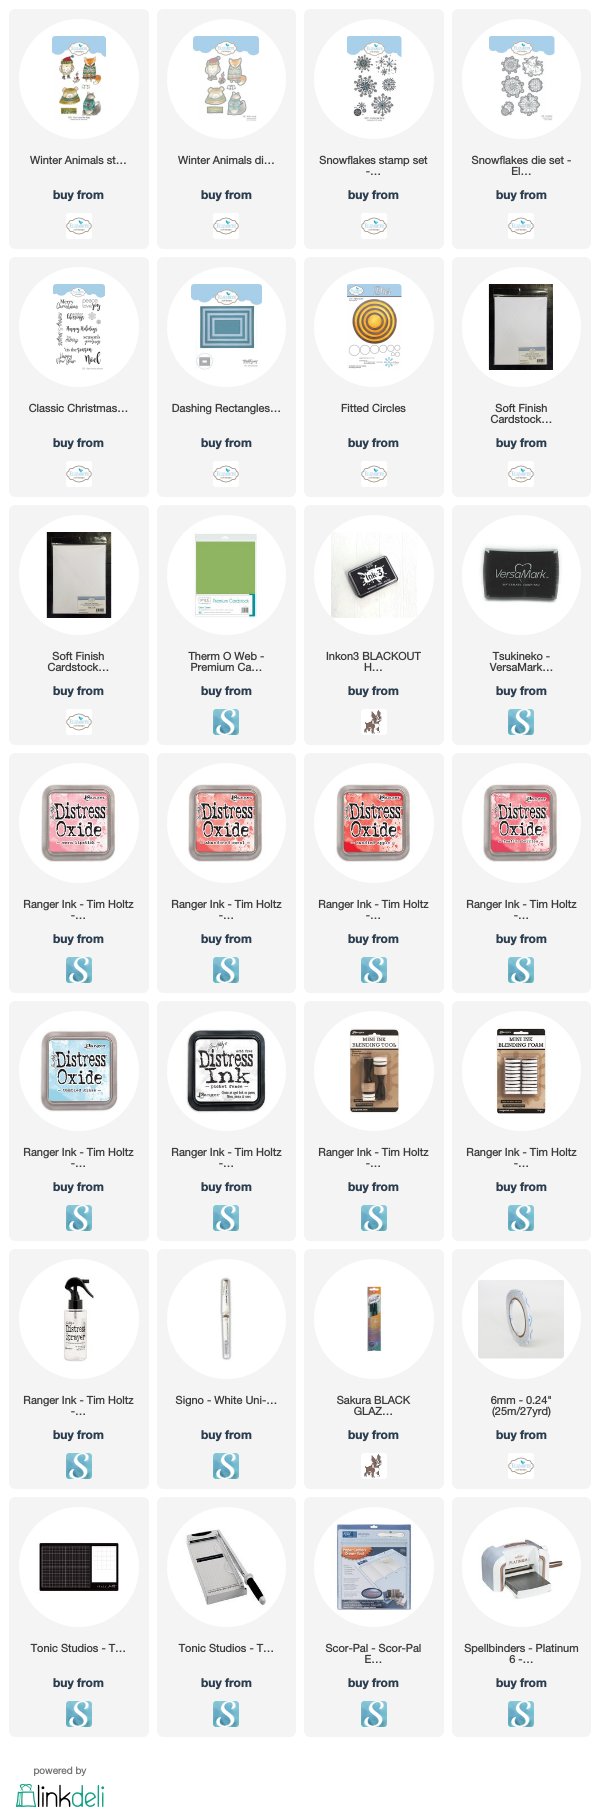
For your shopping convenience, all products are linked below. Compensated affiliate links are used where possible with no extra cost to you. This helps me to continue to share all the projects I include on my blog. Please note I only use and share products I love.






Tuesday, November 27, 2018

Jingle Bells


Hi Crafty Friends,

Today I am sharing a Christmas card I made using some stamps and dies from Elizabeth Craft Designs.

For the base of the card I used Altenew's Watercolor Nebula Washi Tape which I adhered to white cardstock. I then die cut this using a rectangle die from the Dashing Rectangles die set.

Along the bottom of the card I added some clouds using the cloud die from the Adventure Edges die set. 

I added the "Jingle Bells" sentiment to the bottom cloud.


The reindeer is from Reindeer Clear Stamp set with coordinating dies. After die cutting the reindeer, I used a kraft knife to remove some of the excess white in between the antlers and the ribbon as I wanted more of the background to show through.

I then adhere my panel to a folded white card base.


For the inside of the card I added a sentiment from the Holiday Cheer Clear Stamp set and added some bells above and below the sentiment which are also included in the Reindeer Clear Stamp set.

Stamps:
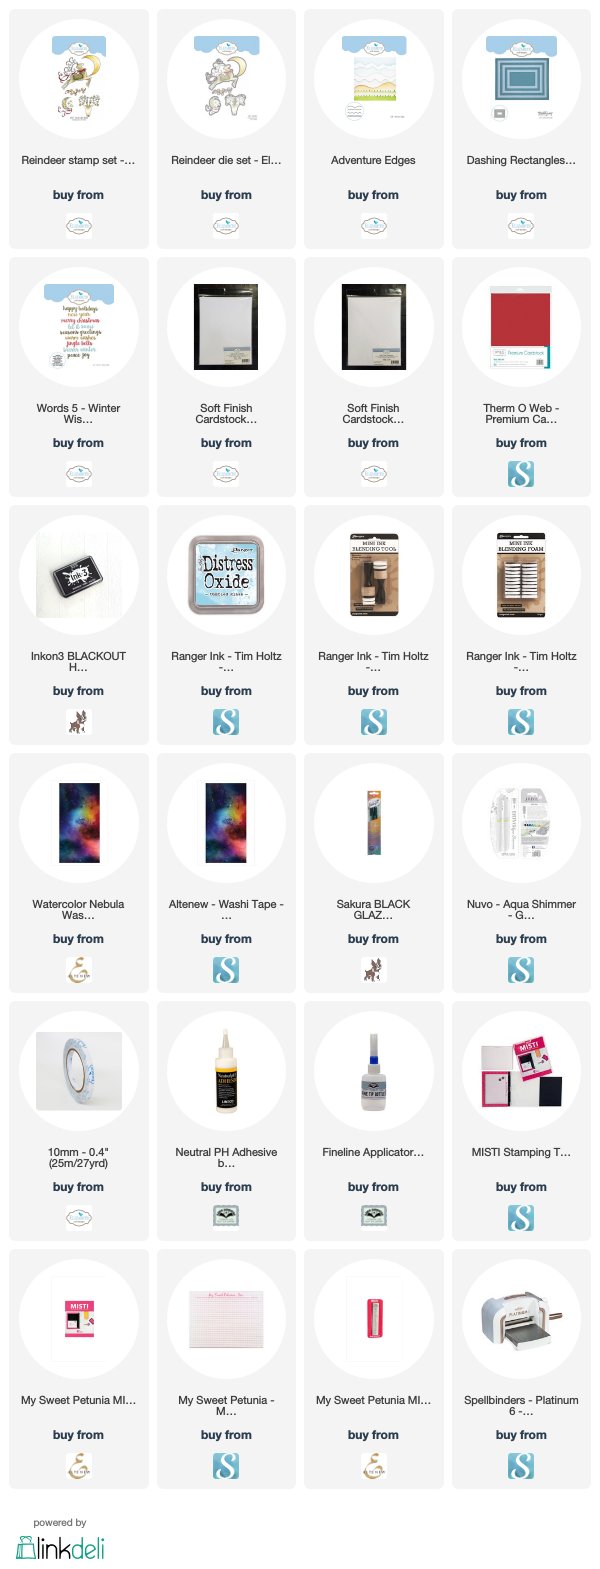
For your shopping convenience, all products are linked below. Compensated affiliate links are used where possible with no extra cost to you. This helps me to continue to share all the projects I include on my blog. Please note I only use and share products I love.


Wednesday, November 21, 2018

Elizabeth Craft Designs November Designer Challenge


Hi Crafty Friends,

It's time for our July Elizabeth Craft Designs Design Team Designer challenge. Check out the Elizabeth Craft Designs blog today to see what our talented designers created for the challenge. 

Our challenge this month is ..... 
A Floral Christmas- Flowers and foliage can play a big part in our Christmas decorating. For our challenge this month create a card or project that features either flowers, foliage etc. It can be using traditional flowers and foliage that are used at Christmas time (e.g. poinsettia's, holly, pine boughs etc.) or use something non traditional and make it Christmassy by using Christmas colors or something Christmas related on your card project.


For today's challenge Elizabeth Craft Designs are giving away a $20 Gift Card to use on our website to 3 winners

To enter simply leave a comment on the Elizabeth Craft Designs Facebook Giveaway Blog Post or the Elizabeth Craft Designs Challenge post and tell us Which flower or foliage die or stamp set would you chose to create a Christmas card or decoration.

We will select 3 lucky winners in a random drawing 

The winners will be announced on Friday, November 23rd on the Elizabeth Craft Designs blog and our Facebook page.


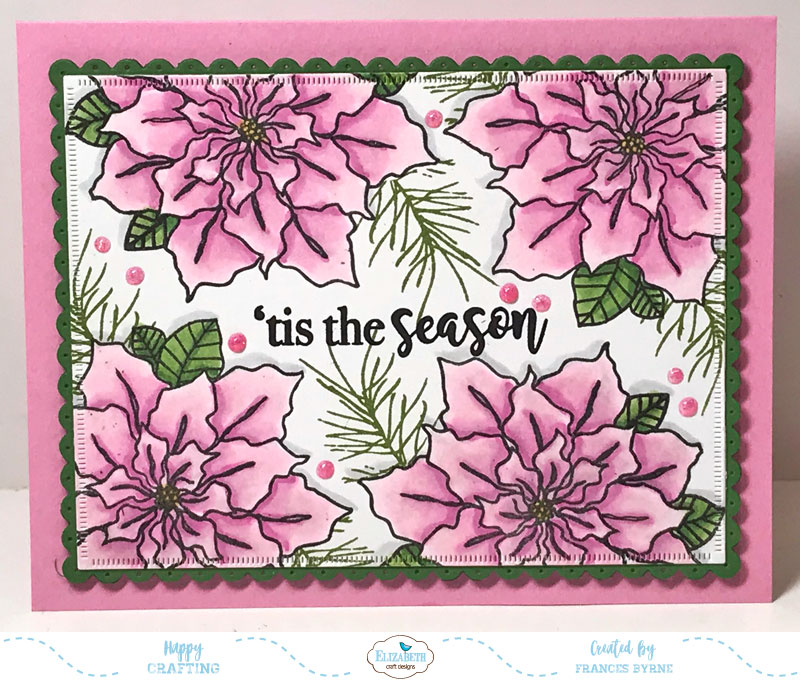
For my card today I used the new Krista Schneider Poinsettia Clear Stamp set. I die cut a piece of white cardstock using the second largest rectangle from the Dashing Rectangles die set. I then placed the rectangle in my MISTI stamp platform and positioned the poinsettia to the top right hand corner of the card using black ink.  I then turned the card around so that the bottom left corner was at the top right and stamped again.

Next I stamped the other two poinsettias onto the card using the same method as above but in a different position.

I masked the poinsettia's and stamped the green pine leaves around the card.

The card was layered onto a green panel die cut using the Dotted Scallop Rectangles and then mounted onto a folded pink card using fun foam.

I added the 'Tis the Season sentiment to the centre of the card using black ink.

To finish off the front of the card I added some pink Nuvo Drops.


For the inside of the card I stamped another poinsettia to the bottom left hand corner of the card and then used the A Way With Words - Merry Christmas sentiment to the top right corner, this was die cut using pink and green cardstock and then offset slightly when layered.


I hope you enjoyed my project today. Don't forget to check out the Elizabeth Craft Designs blog to see all the wonderful creations by our talented designers and for a change to win the giveaway.


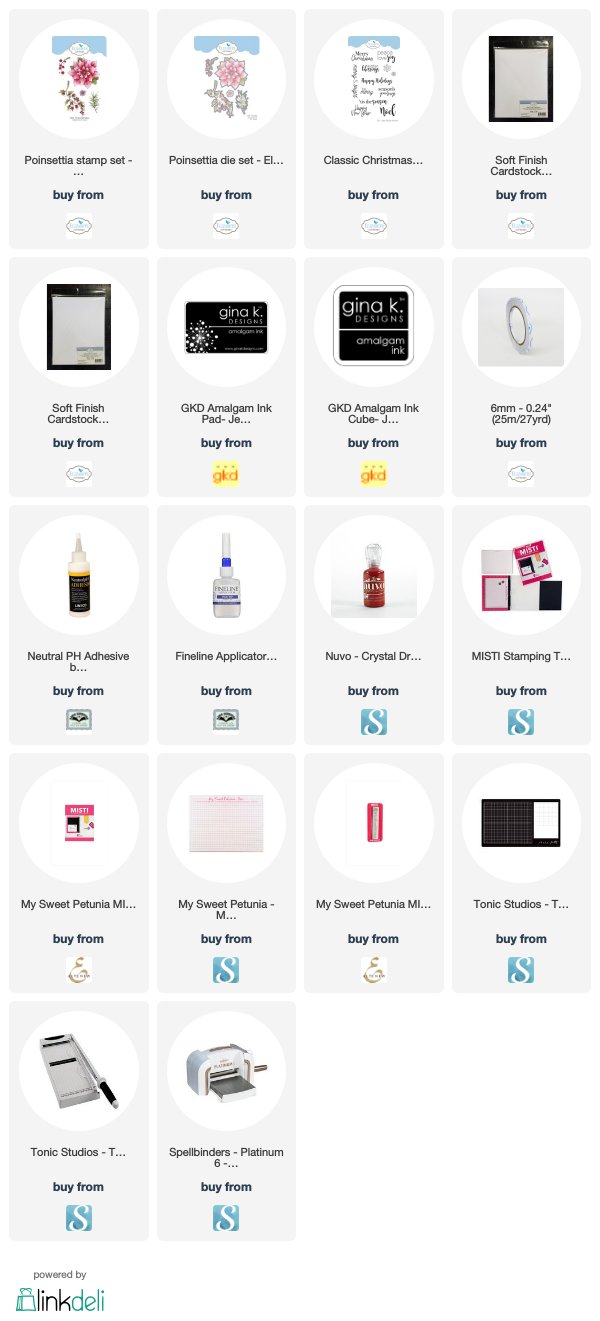
Supplies:
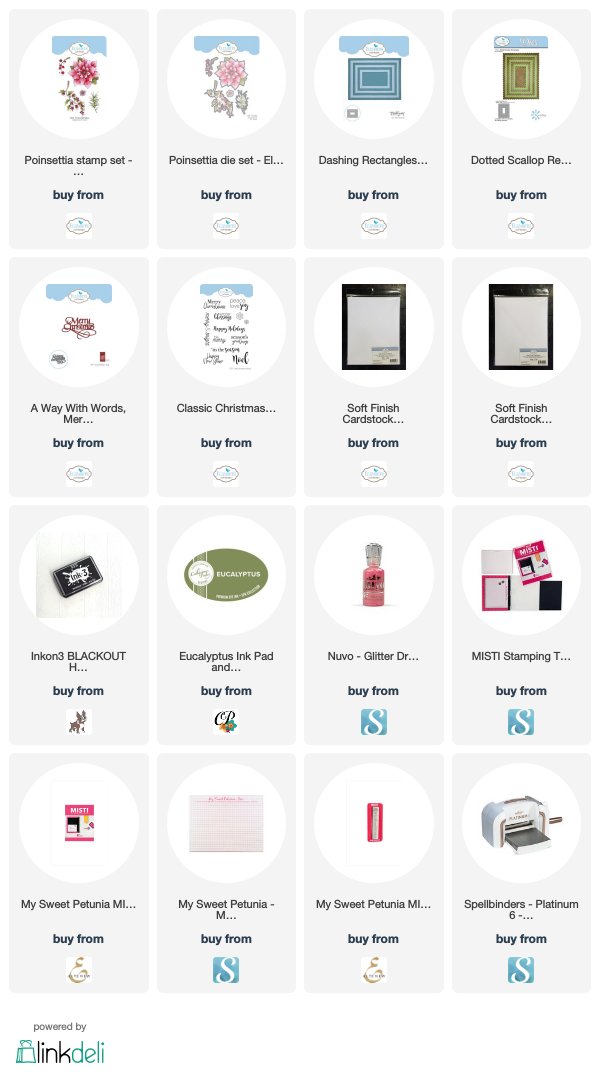
For your shopping convenience, all products are linked below. Compensated affiliate links are used where possible with no extra cost to you. This helps me to continue to share all the projects I include on my blog. Please note I only use and share products I love.


Tuesday, October 30, 2018

Poinsettia Christmas Card


Hi Crafty Friends,

It's my turn to post a tutorial on the Elizabeth Craft Designs blog. As Christmas is now less then two months away, I thought I would create another Christmas card.  For my card today I have used the new Poinsettia Clear Stamp set and coordinating dies from the new Krista Schneider Winter/Christmas collection.

Here is how I created my card:


Step 1 - 
  • Cut a piece of White Soft Finish Cardstock so it measures 4 1/4 inches x 11 inches. Score and fold along the 11 inches side at 5 1/2 inches to create a top folding card.
  • Cut a piece of patterned paper 1 3/4 inches x 5 1/2 inches.
  • Cut a piece of dark green cardstock approximately 1/2 inch x 5 1/2 inches.
  • Layer the green cardstock behind the patterned paper so that there is a tiny bit of the green cardstock showing on one side of the patterned paper.
  • Adhere this panel to the left side of the front of the card.

Step 2 - 
  • Using the Poinsettia Clear Stamp set stamp the poinsettia flower, two of the berry branches onto White Soft Finish Cardstock using black ink. Stamp three of the pine boughs onto White Soft Finish Cardstock using dark green ink.
  • Color images as desired.
  • Die cut all images using coordinating dies.
Step 3 - 
  • Adhere the Poinsettia Flower to the left side of the front of the card using foam tape, so that the flower is partly on the patterned paper and partly over the white panel. (Refer to photo above for placement).
  • Add the berry branches to the card, one to the top right side of the card and the other to the lower right. Use foam tape for added dimension.
  • Adhere two of the pine boughs to the centre right of the poinsettia adhering directly to the card using liquid adhesive.
  • Adhere the remaining pine bough to the top left of the poinsettia using foam tape.
Step 4 - 
  • Apply Autumn Red Nuvo Drops to all of the berries. Set aside to dry.

Step 5 - Inside of Card:
  • Cut a piece of patterned paper and a piece of green cardstock, the same size as for the front of the card and adhere to the left hand side of the inside of card.
Step 6 - 
  • Stamp the sentiment "Season's Greetings" from the Classic Christmas Sentiments Clear Stamp set to the centre of the white panel on the inside of card using black ink.
  • Using the pine bough stamp from the Poinsettia Clear Stamp set, stamp directly over the sentiment using a dark green ink.


Thank you for stopping by, I hope you enjoyed my tutorial.


Supplies:
Elizabeth Craft Designs:


For your shopping convenience, all products are linked below. Compensated affiliate links are used where possible with no extra cost to you. This helps me to continue to share all the projects I include on my blog. Please note I only use and share products I love.


Wednesday, October 10, 2018

Christmas Elves Trifold Card


Hi Crafty Friends,

It's my turn to post a tutorial on the Elizabeth Craft Designs blog. A few weeks ago Elizabeth Craft Designs released seven new Winter/Christmas themed stamp sets with coordinating die sets from licensed designer Krista Schneider. I have used one of these stamp sets with an older set from last year to create this fun Trifold card.

Here is how I created my card:


Step 1 - 
  • Cut a piece of White Soft Finish Cardstock to measure 4 1/4 inches x 9 inches.
  • Score along the 9 inch side at 3 inches and 6 inches. Fold along these score lines so that the fold at the left of the card is a mountain fold and the other is a valley fold.

Step 2 - 
  • Using the 2 1/2 inch rectangle from the Dashing Rectangles die set, die cut three rectangles using the aqua paper from the ModaScrap Unconventional Christmas 6 x 6 Paper Pack. 
  • Using the 2 3/4 inch rectangle from the Fitted Rectangles die set, die cut three rectangles from red cardstock.
  • Layer the patterned paper onto the red rectangles.

Step 3 - 
  • Using the same Dashing Rectangle die that was used in step 2, die cut two rectangles from White Soft Finish Cardstock that has Clear Double Sided Adhesive Tape on the front.
  • Using the snow border die from the Adventure Edges die set, die cut three snowy border panels from these rectangles.
  • Remove the protective backing from the adhesive on the front of the panels and cover the adhesive with Cool Diamond Silk Microfine Glitter. Return excess glitter to the jar and then polish the glitter into the adhesive using your finger to bring out the maximum sparkle.
  • Adhere the snowy borders onto each of the rectangle panels created in step 2.
  • Adhere the rectangle panels to each of the panels of the trifold card created in step 1.

Step 4 - 
  • From the Elves Clear Stamp set, stamp three of the elf images and the sentiment panel onto White Soft Finish Cardstock using black ink. Color images as desired and die cut the images using coordinating dies.
  • From the Winter Bears Clear Stamp set, stamp the large pair of trees four times onto White Soft Finish Cardstock using black ink. Stamp the large star from this set also. Color images and die cut using coordinating dies.
  • Trim off the bottom edge of the tree images so they are even, and then adhere these flat onto the card so that the trunks of the trees are just under the snow border. (Refer to photo above for placement.)
  • Adhere elves to each panel using foam tape.
  • Adhere the "Happy Holiday" banner to the left hand panel so it is centre to the top of the panel.
  • Adhere the star to the right hand panel.
Step 5 - 
  • Stamp the "Welcome to the North Pole" from the Cute Winter Sentiments Clear Stamp set to the centre panel using black ink.
Step 6 - 
  • Add glossy accents to the light bulbs the elf is holding in the centre panel.

Here is a look at the card when it is folded ready to be placed in an envelope. The card when folded will measure 3 inches x 4 1/4 inches.


Thank you for stopping by, I hope you enjoyed my tutorial.


Supplies:
Elizabeth Craft Designs:


For your shopping convenience, all products are linked below. Compensated affiliate links are used where possible with no extra cost to you. This helps me to continue to share all the projects I include on my blog. Please note I only use and share products I love.


Wednesday, September 26, 2018

New Release - Elizabeth Craft Designs


Hi Crafty Friends,

Today the Elizabeth Craft Designs has released seven new Christmas/Winter themed stamp and coordinating die sets from designer Krista Schneider.

 You can find the new release products on the Elizabeth Craft Designs website here.

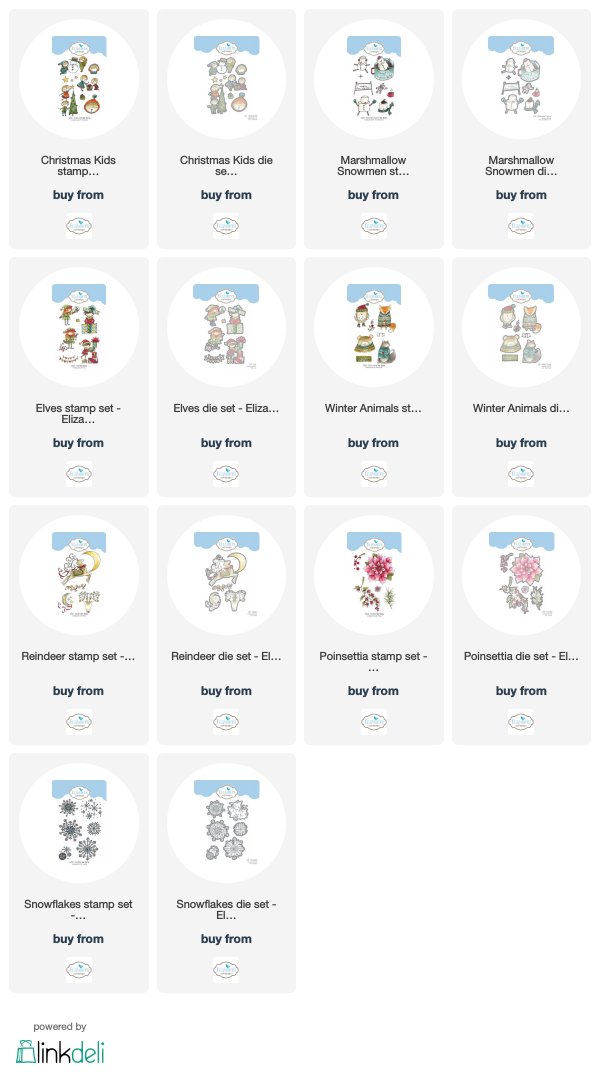
For your convenience I have included the links to each of the new release products below.


Supplies:
For your shopping convenience, all products are linked below. Compensated affiliate links are used where possible with no extra cost to you. This helps me to continue to share all the projects I include on my blog. Please note I only use and share products I love.


Wednesday, August 8, 2018

Monkey and Balloon Birthday Card


Hi Crafty Friends,

Today I have been "monkeying around" with a few stamps and dies from Elizabeth Craft Designs to make this fun birthday card.

I used Broken China Distress Oxide Ink to create my background panel and spritz it with water using a Distress Sprayer.

The balloon is one of the newest release dies from the A Way With Words die collection, which I die cut using designer papers and then adhered to the upper part of my card using foam tape. I cut the balloon down slightly as I needed to make space for the monkey.

The monkey is an older stamp from the Jungle Cuties Clear stamp set. 

I die cut the "Happy Birthday" twice .... once from White Soft Finish Cardstock and one from White Soft Finish Cardstock that had Clear Double Sided Adhesive on the top.
For the adhesive covered sentiment, I added True Red Silk Microfine Glitter to the adhesive and adhered to my card as above.

For the white sentiment I colored the sentiments in ombre fashion using Copic markers and adhered this over the top of the glittered sentiment slightly offsetting the sentiment.

To finish off the card I added some clear crystals randomly around the blue background.


For the inside of the card I added the A Way With Words - Make A Wish sentiment which I again colored using the ombre technique.

Supplies:
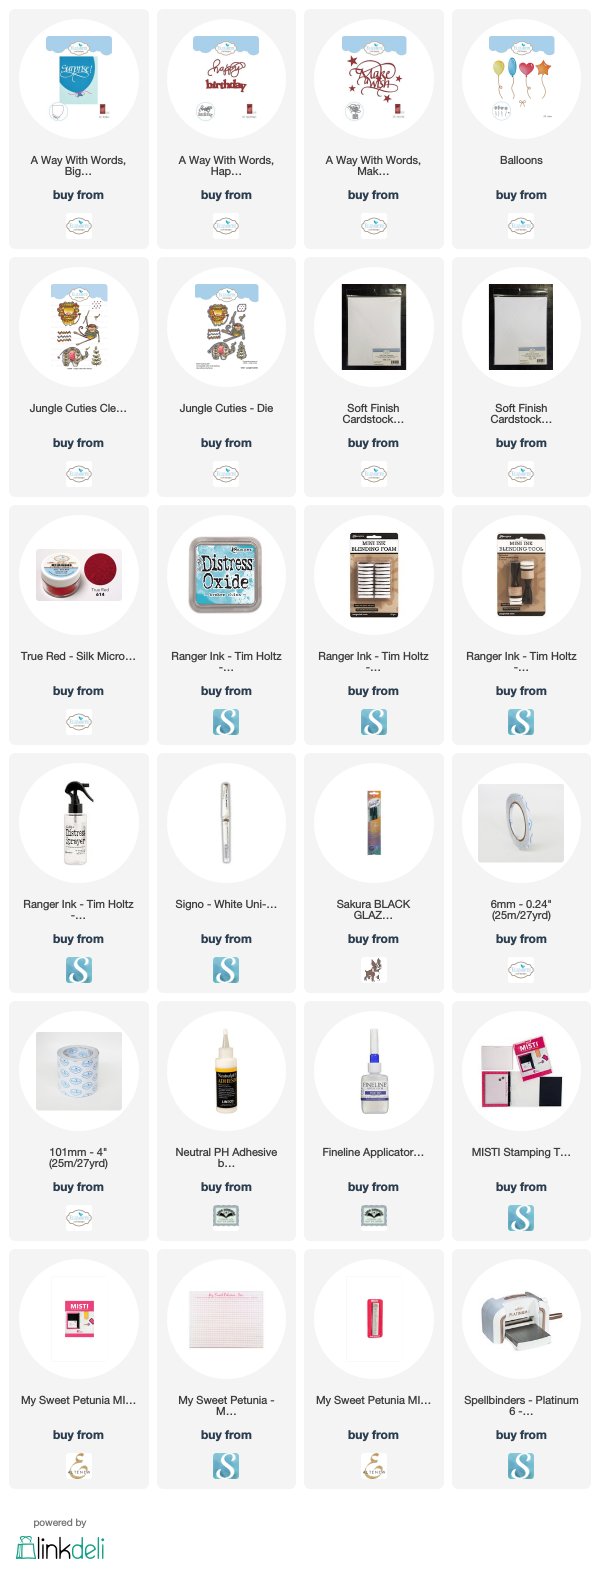
For your shopping convenience, all products are linked below. Compensated affiliate links are used where possible with no extra cost to you. This helps me to continue to share all the projects I include on my blog. Please note I only use and share products I love.


Friday, July 27, 2018

A Little Rain Shaker Card


Hi Crafty Friends,

It's my turn to post a tutorial on the Elizabeth Craft Designs blog. Today I am sharing a shaker card using the new Frame It / Stitched Ovals die set and the cute April Showers stamp set.


Here is how I created my card:

Step 1 - 
  • Place the third largest rectangle from the Dashing Rectangles die set onto a piece of yellow cardstock.  
  • Place the smallest oval from the Frame It / Stitched Ovals die set in the centre of the frame.
  •  Secure both dies with removal tape and run through die cutting machine.

Step 2 -

  • Using the circle stamp from the April Showers Clear Stamp set, stamp the image all over the framed cardstock panel using dark yellow ink.
  • Sponge the outer and inner frame with the same ink.
Step 3 - 
  • Using the same rectangle die used in step 1, die cut another rectangle using White Soft Finish Cardstock.
  • Place the white rectangle under the yellow rectangle frame, and stamp the sentiment from the April Showers Clear Stamp set onto the white cardstock through the yellow frame.
  • Stamp the cloud/sun over the word "sunshine" using yellow ink.

Step 4 - 
  • Using the same rectangle die, die cut two rectangles from acetate.
  • Adhere one of the acetate rectangles to the black of the yellow rectangle panel.
  • Adhere foam tape to the back of the rectangle panel, ensuring that there is foam tape close to the oval opening. (Note: remove any excess adhesive from the sides of the foam tape using an anti static powder tool and also to the acetate to prevent the shaker items not to stick to these areas.
  • Remove protective backing from the foam tape and adhere the second acetate rectangle over the panel.
Step 5 - 
  • Using the second largest rectangle from the Dashing Rectangles die set, die cut a rectangle from orange cardstock.
  • Adhere shaker panel to the centre of the orange rectangle.
Step 6 - 
  • Cut a piece of White Soft Finish Cardstock so it measures 5 1/2 inches x 8 1/2 inches. Score at 4 1/4 inches and fold to create a top folding card.
  • Adhere shaker panel to card base.

Step 7 - 
  • Using the April Showers Clear Stamp set, stamp the girl, raincoat; boots; duck and three ducklings onto White Soft Finish Cardstock using black ink.
  • Color images and die cut using coordinating dies.

  • Adhere the girl,  duck and ducklings to the front of the card using foam tape for the larger images and liquid adhesive for the ducklings.

Step 8 - 
  • Adhere the raincoat and boots to the inside of card referring to photo above for placement.
  • Using a sentiment from the Banner Sentiments Clear Stamp set, stamp the sentiment to centre of card using black ink.


Thank you for stopping by, I hope you enjoyed my tutorial.


Supplies:
Elizabeth Craft Designs:

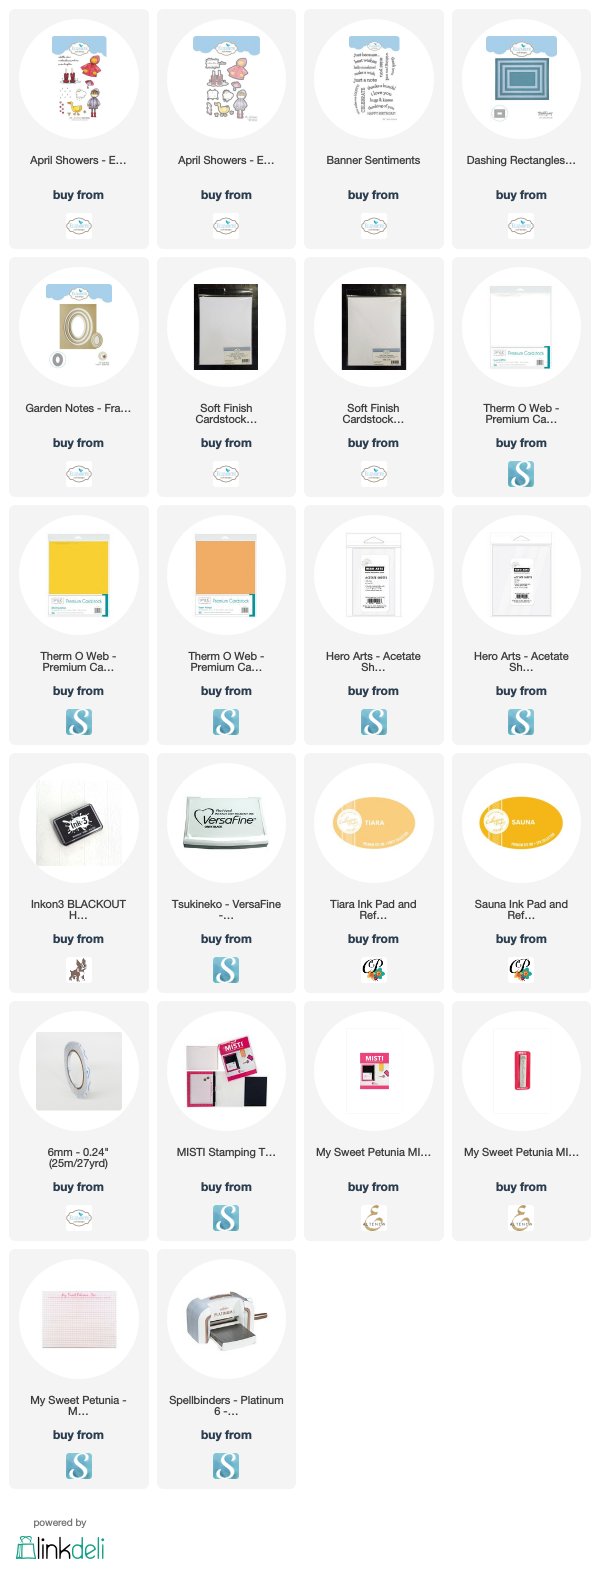
For your shopping convenience, all products are linked below. Compensated affiliate links are used where possible with no extra cost to you. This helps me to continue to share all the projects I include on my blog. Please note I only use and share products I love.