

Hi everyone,
It's my turn to post a Pop it Ups Wednesday tutorial on the Elizabeth Craft Designs blog today. This will be my final Pop it Ups Wednesday post, but of course I will still be continuing with the other Elizabeth Craft Designs tutorials I create.
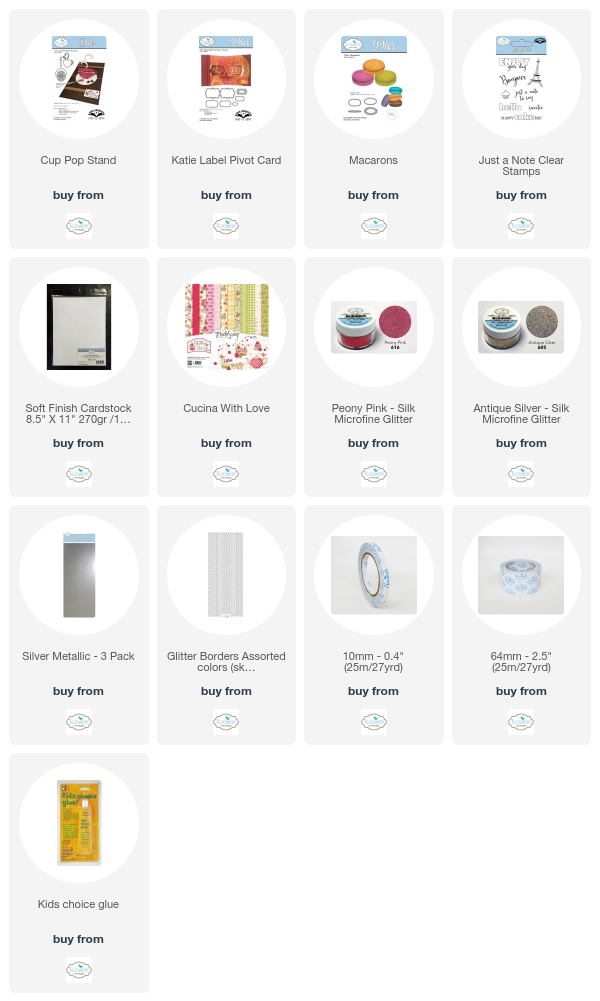
This time round I decided to pull out my Pop it Ups Cup Pop Stand Card dies set combining it with the new Moda Scrap Patterned Paper and Joset Designs Macaron die set.
Here's how I created my card:

Step 1 -
- Cut a piece of green cardstock so it measures 4 1/4 inches x 11 inches. Score and fold along the 11 inch side at 5 1/2 inches to create a top folding card.

- Cut two pieces of patterned paper (ModaScrap Cucina with Love used here) that measures 4 1/4 inches x 5 inches. Adhere panels to either side of the inside of the green card base, so that the paper it up close to the fold line.

- Cut two pieces of red polka dot patterned paper that measures 4 1/4 inches x 3/4 inches and adhere to each end of the card so there is a 1/4 inch gap between the patterned paper and edge of card.
- Adhere Gold/Silver Glitter Border Peel Off Stickers to each of the edges of the red patterned paper.
Step 2 -
- Using the Cup Pop Stand Card die set, die cut two cups from patterned paper (note - you will need to place the die on the back of the cardstock for one of the cups so that you have a mirror image of the cup to enable to have them be placed back to back on the card). To make the card a little strong die cut additional cups from green cardstock and adhere the patterned paper cups to cardstock cups.
- Create the "pop stand" panel from green card (refer to Karen Burniston's video on how to create the Cup Pop Stand Card for how to do this.
- Adhere cup pop stand panel to centre of card.
- Attach the two cups to the tabs of the pop stand panel, leaving the top of the cups open for now.
Step 3 -
- Using the steam flourish included in the Cup Pop Stand Card die set, die cut two from white cardstock that has Clear Double Sided Adhesive Tape on the front. (Note - you will be die cutting one steam flourish so that the adhesive is on the front and one where the adhesive is on the back.
- Remove the protective backing from the adhesive and cover adhesive using Antique Silver Silk Microfine Glitter. Return excess glitter to the jar and then polish the glitter into the adhesive with your finger.
- Glue the two flourishes together so you have glitter on either side. attach this to the inside of one of the cups and then place Clear Double Sided Adhesive Tape to the top of the cup to join both cups together.

Step 4 -
- Die cut a spoon from Silver Metallic Shimmer Sheetz that has Clear Double Sided Adhesive Tape on the back (note - you will need to use a Metal Adaptor plate for your die cutting machine to cut the Shimmer Sheetz). For extra strength, die cut an additional spoon from green cardstock and layer the two together.
- Adhere the spoon in the front of the cup using foam tape (Note - make sure the spoon does not interfere with the card opening and closing by overlapping the fold).
Step 5 -
- Using the Macarons die set, die cut one of the scallop ovals from white cardstock that has Clear Double Sided Adhesive on the front.
- Remove the protective backing from the adhesive and cover adhesive with Peony Pink Silk Microfine Glitter. Return excess glitter to the jar and then polish the glitter into the adhesive with your finger.
- Die cut two of the ovals from dark pink cardstock.
- Create the macaron by sandwiching the glittered panel between the two pink ovals. (refer to photo above as a guide)
Step 6 -
- Using the "Enjoy the Day" sentiment from the Just a Note Clear Stamp set, stamp the sentiment onto white cardstock using black ink. Color sentiment as desired.
- Use the small label die from the Katie Labels Pivot Card die set to die cut the sentiment. Sponge around edge of label.
- Place on the front part of the inside of card.
- Die cut an additional label using the same die to cut a second label which is left blank and adhere to the back panel to be used for the hand written sentiment.

Step 7 - Front of Card
- Cut a piece of patterned paper that measures 4 1/4 inches x 4 inches and adhere to the centre of the front of card.
- Cut two pieces red polka dot patterned paper 4 1/4 inches x 1/2 inch and adhere to each edge of the patterned paper on card.
- Adhere Gold/Silver Glitter Border Peel Off Stickers to each of the edges of the red patterned paper.
Step 8 -
- Die cut a label from white cardstock using the second largest label in the Katie Label Pivot Card die set.
- Die cut a label from green cardstock using the largest label in the Katie Label Pivot Card die set.
- Stamp the "Just a Note to Say" from the Just a Note Clear Stamp set onto the white label using black ink.
- Adhere to centre of front of card.
Step 9 -
- Die cut and create an additional spoon and macaron that we created for the inside of the card (steps 4 & 5) and attach to the card using foam tape.
Thanks for stopping by today, I hope you enjoyed my tutorial.
Elizabeth Craft Designs -
Other:
Cardstock - White; Green; Dark Pink
Inks - Black; Worn Lipstick Distress Ink; Peeled Paint Distress Ink
Foam Tape
3 comments:
The only thing better than a cup of tea, is a cup of tea with cookies! Wonderful card.
Your CCEE creation isn't up yet so I am going to do some lovin' on this amazing creation!! What awesomeness here, Frances. Who wouldn't love to open up this card and be surprised by this delightful cup of tea and macarons!!!
love your popping coffee cup.....clever
Post a Comment