Hi Crafty Friends,
It's time for our March Elizabeth Craft Designs Design Team Designer challenge. Check out the Elizabeth Craft Designs blog today to see what our talented designers created for the challenge.
Our challenge this month is .....
Frame It - There are so many options to include frames when we are creating either cards, scrapbook layouts or home decor items. For our challenge this month please include a frame of some type when creating your project.
For today's challenge Elizabeth Craft Designs are giving away a $20 Gift Card to use on our website to 3 winners.
To enter simply leave a comment on the Elizabeth Craft Designs Facebook Giveaway Blog Post or the Elizabeth Craft Designs Challenge post and tell us What Elizabeth Craft Designs dies or stamp sets would you use to frame something on a card, scrapbook layout of home decor item?
We will select 3 lucky winners in a random drawing
The winners will be announced on Friday, March 23rd on the Elizabeth Craft Designs blog and our Facebook page.
For my project today, I decided to pull our the ModaScrap Happy Frame die to make another framed art piece. I love how versatile this die set is.
As I have already written two tutorial on how to assemble the Happy Frame to create a frame for a wall or a card, instead of repeating myself again I am linking to both my previous tutorials.
You can find my "Let Your Dreams Soar Wall Art Frame" here.
and
my "Framed Love Card" here.
To create my framed wall art project today, I started by die cutting from sides using the ModaScrap Happy Frame die set from paper from the ModaScrap Magic Mountain Patterned Paper Pack.
Before assembling the frame, I cut each of the frame sides to 6 1/2 inches (when you trim the sides make sure you trim the straight edge).
Assemble frame.
I used paper from the ModaScrap Fly & Scrap Patterned Paper Pack to line the back of the frame.
Using the Butterfly Aperture die, die cut the solid butterfly from White Soft Finish Cardstock.
Using both the decorative layer and the butterfly outline together, die cut one butterfly from black cardstock and another from silver pearl cardstock.
Add color to the white solid butterfly by applying Carved Pumpkin and Abandoned Coral Distress Oxide inks.
Adhere the black decorative butterfly over the silver pearl butterfly offsetting slightly and then adhere this to the solid butterfly.
Stamp the sentiment from the A Way with Words - Soar Collection Clear Stamp set to the upper left hand corner of the inside of the framed piece using black ink.
Adhere Butterfly using Clear Double Sided Adhesive Tape and Foam Tape to the lower right hand corner adhering it at a slight angle.
Using Garden Notes - Leafy Berry Branch 1 die, die cut three times from green cardstock. Sponge lightly with green ink and then apply berries over the die cuts using Nuvo English Mustard Crystal Drops.
Once the "berries" are dry, cut apart the berries and adhere to the lower portion of the frame.
Finally die cut the A Way With Words - Soar die three or four times and layer to each other and attach to top of frame.
I hope you enjoyed my project today. Don't forget to check out the Elizabeth Craft Designs blog to see all the wonderful creations by our talented designers and for a change to win the giveaway.
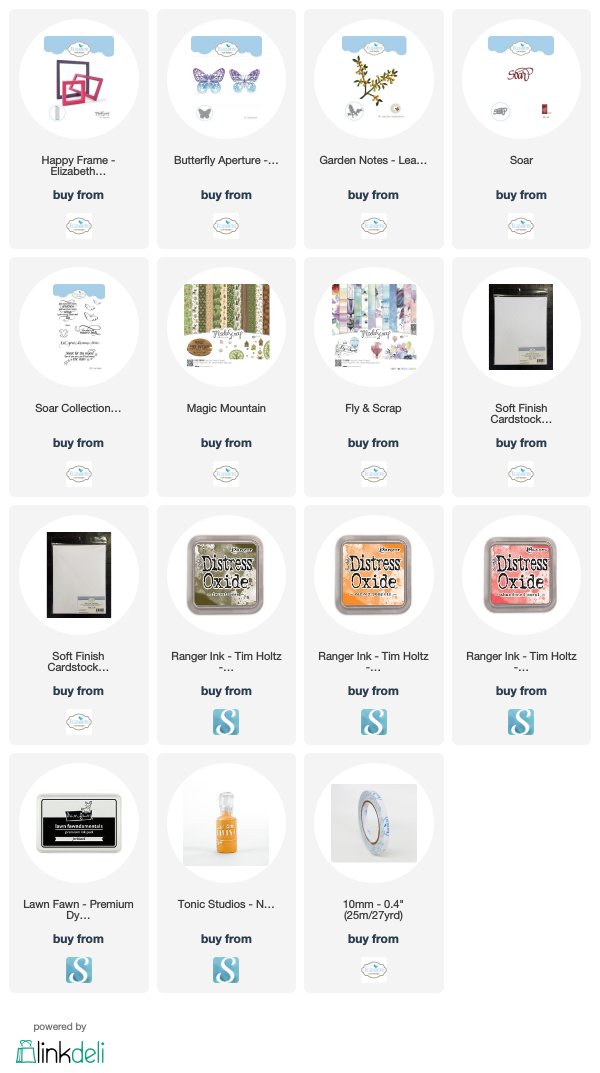
Supplies:
Elizabeth Craft Designs:

Other:
Cardstock - Black; Silver Pearl


2 comments:
Beautiful piece and I love that it's lightweight too.
wonderful....love the butterfly
Post a Comment