Showing posts with label Shadowbox. Show all posts

Tuesday, January 9, 2024

Love and Best Wishes


Hi Crafty Friends,

Today I am sharing a Shadow Box Card I created using dies from Paper Discovery.

Back in August Craft Stash has a fabulous special on some of Paper Discovery's die sets and this was one of them. I put it away so I could receive it for Christmas. The die set includes a frame die, background die, three flower dies and a concertina piece for the side panels. I used all the pieces to make my card.


I used a sentiment from Card Making Magic's Large Sentiments stamp set for the sentiment in the centre of the card.

The flowers are die cut and then added to the card using foam tape. I also added some leaves using a My Creative Life die set.


I added a panel to the back of the card, for a place to add another sentiment and a personal greeting. I also added a few more the the individual flowers.


Wednesday, December 19, 2018

Elizabeth Craft Designs December Designer Challenge


Hi Crafty Friends,

It's time for our December Elizabeth Craft Designs Design Team Designer challenge. Check out the Elizabeth Craft Designs blog today to see what our talented designers created for the challenge. 

Our challenge this month is ..... 
Garden Notes - Frame It/Stitched Inspiration. For our challenge this month use any of the Garden Notes - Frame It/Stitched nested dies when you create your card or project. There are four different die sets in this collection … squares; rectangles; ovals and circles.


For today's challenge Elizabeth Craft Designs are giving away a $20 Gift Card to use on our website to 3 winners

To enter simply leave a comment on the Elizabeth Craft Designs Facebook Giveaway Blog Post or the Elizabeth Craft Designs Challenge post and tell us Which of the Garden Notes - Frame It/Stitched die sets would you use on a project and how would you use it.

We will select 3 lucky winners in a random drawing 

The winners will be announced on Friday, December 21st on the Elizabeth Craft Designs blog and our Facebook page.


For my card today I decided to create a Diorama or Shadow Box card using the Garden Notes - Frame It/Stitched Circles die set to die cut the centre circles out of the front of the Diorama and the patterned paper on the front of the card.

Here's how I created my card:

Step 1 - 

  • Cut two pieces of red cardstock that measured 4 1/2 inches x 6 1/2 inches.  Score each panel at 1/2 inch and 2 inches.
  • Using the 4 1/4 inch square from the Dashing Rectangles die set, die cut a rectangle from patterned paper. 
  • Centre the 3/12 inch circle from the Garden Notes - Frame It/Stitched Circles and die cut the centre of the square. 
  • Position the square onto the front of one of the red pieces cut earlier and then centre the 3 inch circle from the Garden Notes - Frame It/Stitched Circles in the circle area and die cut.
Step 2 - 
  • Apply adhesive to the tab of what will be the back panel and attach it to the front. 
  • Cut a panel of patterned paper 4 1/2 inch square and adhere to the back of the the inside of the card.
  • Using white cardstock, die cut a snow drift using the Adventure edges die set and adhere to the back over the bottom of the patterned paper.
Step 3 - 
  • Cut two pieces of white cardstock that are 5 1/2 inches x whatever height works for your design.
  • Using the Adventure Edges snow border to die cut both panels. Score each end at 1/2 inch.
  • Adhere the left hand side tabs of both snow drifts to the left hand panel of diorama card.
  • Apply adhesive to the right hand side of both snow drifts and close right hand side panel over the tabs.
  • Apply adhesive to final tab and adhere to the front.
Step 4 -
  • Decorate card as desired. For my card I used the Elf Clear Stamp set and coordinating dies which I adhered to the inside of the diorama. 
  • The North Pole sign was created using the sign from the Igloo die set and the sentiment from the Cute Winter Sentiments Clear Stamp set. I die cut the sign from white cardstock and colored using Copic markers.
  • I also added the Happy Holidays Banner to the front of the diorama at the top of the circle.

Here is a look at my card when it is folded flat ready to be placed in an envelope.


I added two square panels using the Dashing Squares die set to the back of the diorama and added a sentiment and another of the elves. This gives a place for the giver to write a personal message.


I hope you enjoyed my project today. Don't forget to check out the Elizabeth Craft Designs blog to see all the wonderful creations by our talented designers and for a change to win the giveaway.


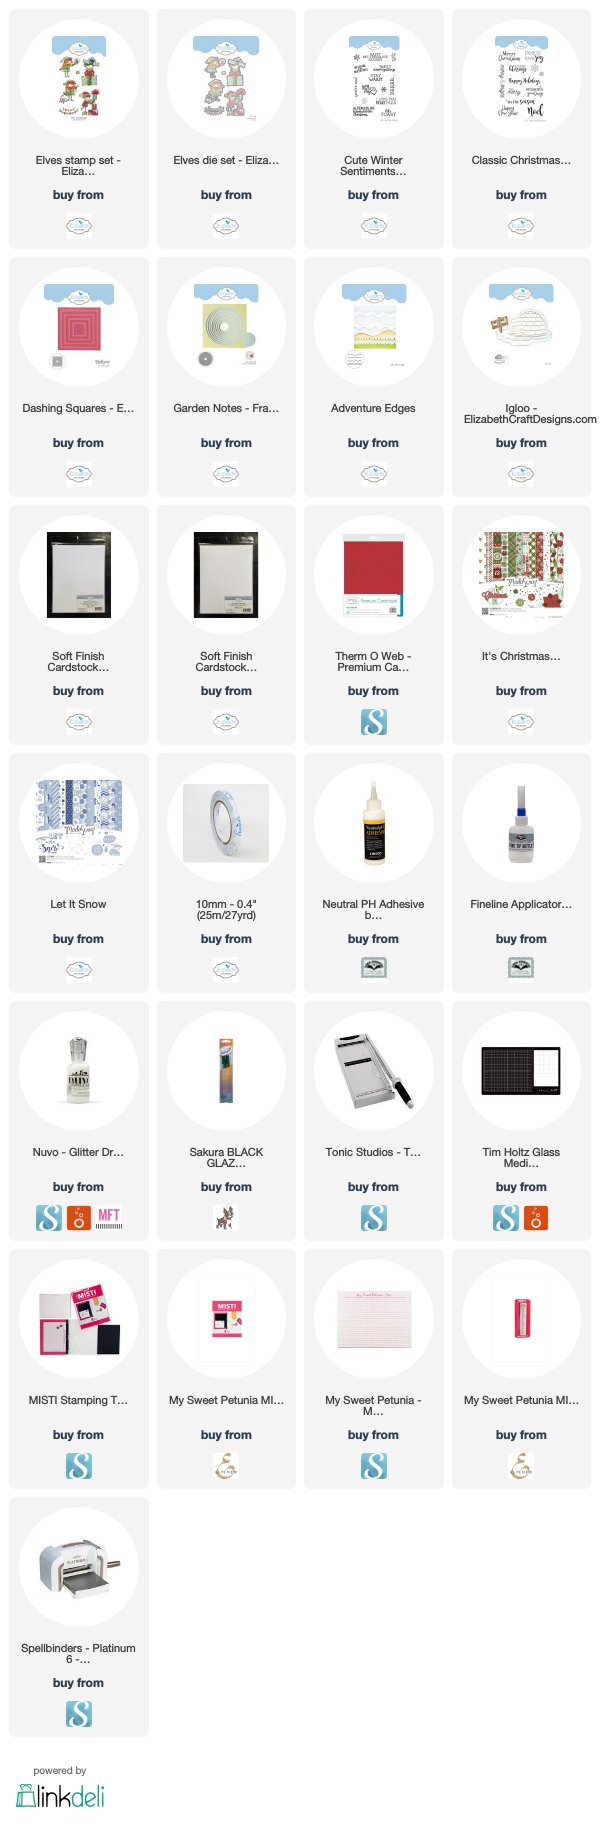
Supplies:
For your shopping convenience, all products are linked below. Compensated affiliate links are used where possible with no extra cost to you. This helps me to continue to share all the projects I include on my blog. Please note I only use and share products I love.




Thursday, September 6, 2018

Welcome to the North Pole


Hi Crafty Friends,

It's challenge time with my friends over on the CCEE Stampers challenge blog. Being a brand new month it is time to introduce our new challenge hostess which is Maryann Einam.

Our challenge this week is ......
Shadow box card - This card has been around for a lot of years but lately I have noticed some modern twists to it, so give us your version of a shadow box card.


For my card today I decided to use the Lawn Fawn Shadow Box die set and create a similar card that I made in July where I placed the shadow box die cut into the card. You can see my previous card here

The finished size of my card is 14.8cm (5 7/8inches)  x 7cm (2 7/8inches), I was able to use Australian A4 card, however if you are in the USA you would probably need to use 12 inch cardstock.


To decorate my card I used a stamp set I purchased last year which came with Simon Says Stamps Card Kit, I knew when I purchased the the stamp set that it would arrive too close to Christmas to use so it was good to be able to get it out to create this card today.

For the back of the shadow box part of the card I created sky panels by using distress oxide inks and then splatting the panels with white paint to give the look of falling snow.


I added a sentiment panel with another Christmas tree to the left hand side of the shadow box.

On the right hand side of the card I added the "Welcome to The North Pole" which is from Elizabeth Craft Designs.


Here is an overhead view of my card so you can see a little more of inside of the shadow box.


For the front of the card, I created another sky background and added a snow border. I added Santa, a Christmas Tree and another welcome sign.


Don't forget to check out the CCEE Stampers blog (goes live 12 AM EST) to see the rest of the creations the CCEE Stampers created this week. You can also see more details of their creations on their individual blogs:

Vicky Gould
Kelly McKown-Santi


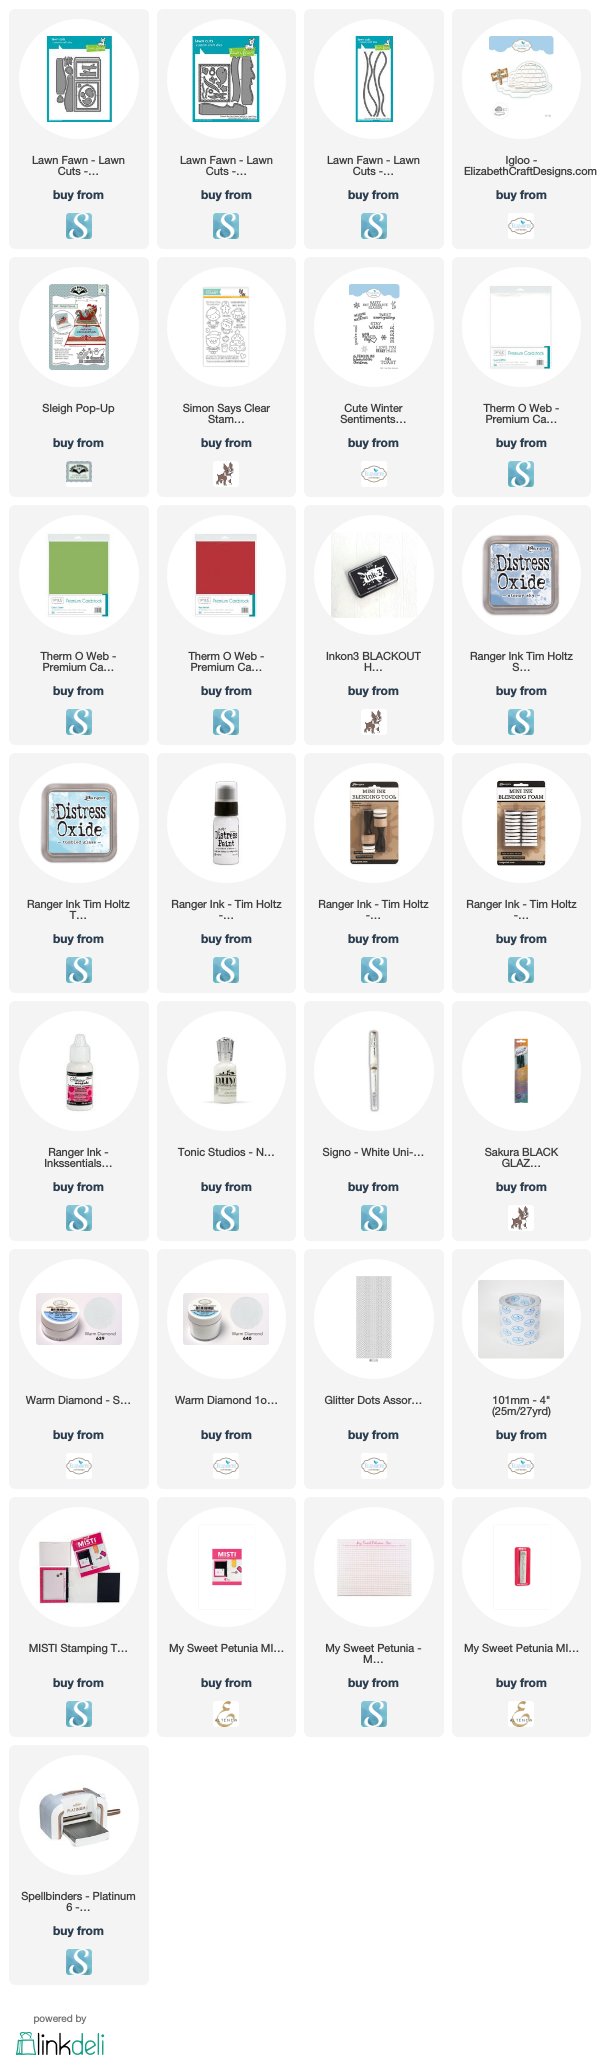
Supplies:

For your shopping convenience, all products are linked below. Compensated affiliate links are used where possible with no extra cost to you. This helps me to continue to share all the projects I include on my blog. Please note I only use and share products I love.


Monday, July 23, 2018

A Splash of Fun!


Hi Crafty Friends,

Today I am sharing a card using Lawn Fawn's Shadow Box Card and Shadow Box Card Ocean Add On die sets.


I decided to create something a little different to the standard shadow box and turned it into a card with the shadow box inside it.


To create my card I started by assembling the Shadow Box Card using the two die sets from Lawn Fawn. I added a couple of extra fish which are from one of my very first Spellbinders die sets, some  clouds, seagulls etc.

Once I had made the shadow box, I cut a piece of cardstock the same height as the shadow box and folded it in half.

I applied adhesive to the back and left hand side of the shadow box and then attached it to the centre of the card.


The sentiment on the left side of the card is from a Your Next Stamp Clear Stamp set, which was stamped onto the negative panel die cut using the frame from the Shadow Box Card Ocean Add On die set.

The other sentiment is from a Honey Bee Stamps Clear Stamp set and die cut using a couple of circle dies.


One last photo of the card taken from over head so you can see a few more details of the card.


For the front of the card, I created a background using Honey Bee Stamps Ocean Borders Clear Stamp set sponging two colors of inks from Catherine Pooler.

The sentiment is another from the Honey Bee Stamps Mermaid Song Clear Stamp set which has been stamped onto an older label die set.

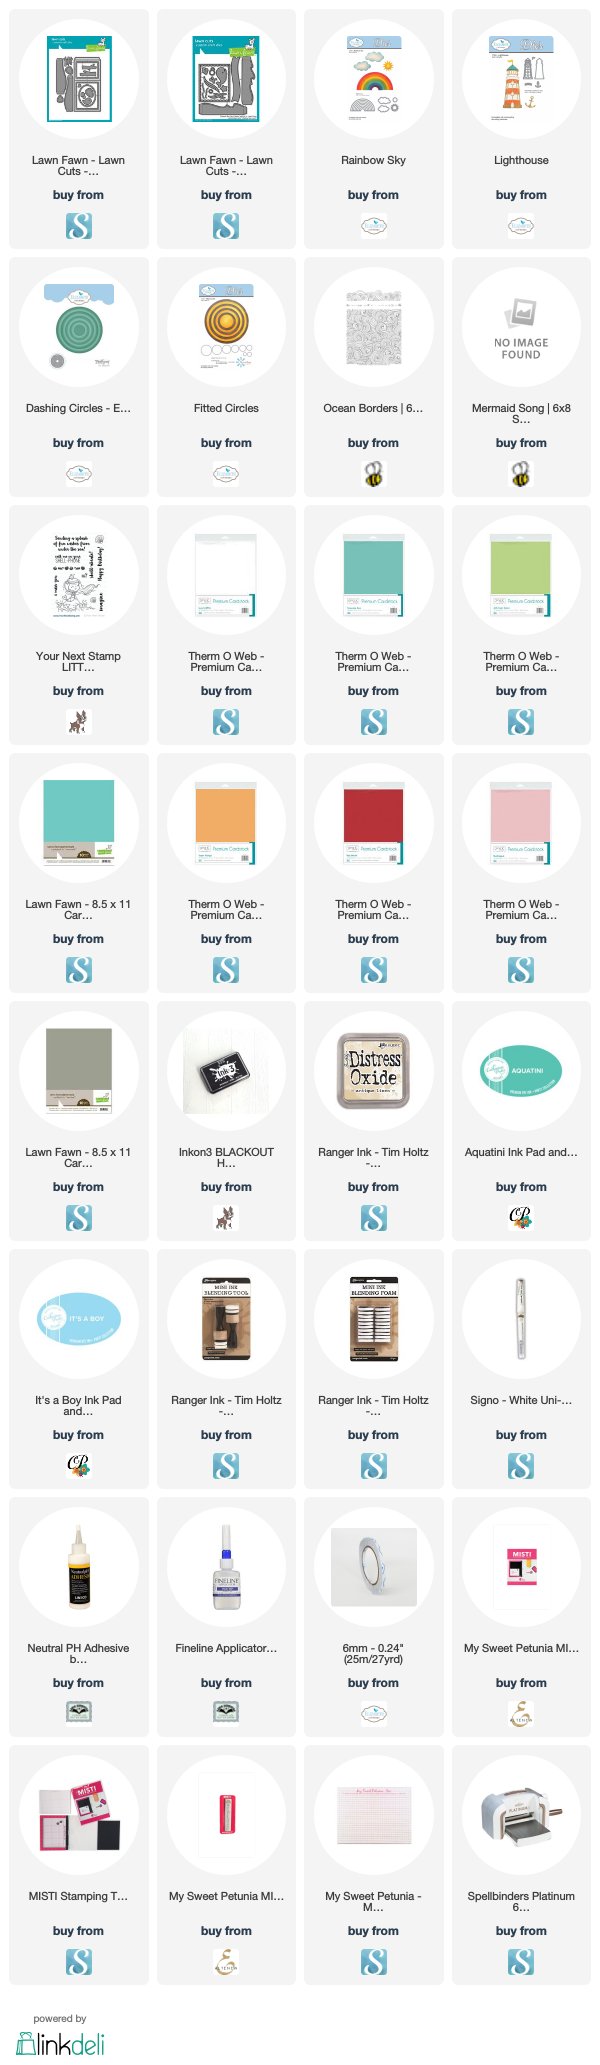
Supplies:
For your shopping convenience, all products are linked below. Compensated affiliate links are used where possible with no extra cost to you. This helps me to continue to share all the projects I include on my blog. Please note I only use and share products I love.


Wednesday, March 21, 2018

Butterfly Framed Wall Art


Hi Crafty Friends,

It's time for our March Elizabeth Craft Designs Design Team Designer challenge. Check out the Elizabeth Craft Designs blog today to see what our talented designers created for the challenge. 

Our challenge this month is .....
Frame It - There are so many options to include frames when we are creating either cards, scrapbook layouts or home decor items. For our challenge this month please include a frame of some type when creating your project.


For today's challenge Elizabeth Craft Designs are giving away a $20 Gift Card to use on our website to 3 winners

To enter simply leave a comment on the Elizabeth Craft Designs Facebook Giveaway Blog Post or the Elizabeth Craft Designs Challenge post and tell us What Elizabeth Craft Designs dies or stamp sets would you use to frame something on a card, scrapbook layout of home decor item?

We will select 3 lucky winners in a random drawing 

The winners will be announced on Friday, March 23rd on the Elizabeth Craft Designs blog and our Facebook page.


For my project today, I decided to pull our the ModaScrap Happy Frame die to make another framed art piece. I love how versatile this die set is.

As I have already written two tutorial on how to assemble the Happy Frame to create a frame for a wall or a card, instead of repeating myself again I am linking to both my previous tutorials. 

You can find my "Let Your Dreams Soar Wall Art Frame" here.
and
my "Framed Love Card" here


To create my framed wall art project today, I started by die cutting from sides using the ModaScrap Happy Frame die set from paper from the ModaScrap Magic Mountain Patterned Paper Pack.

Before assembling the frame, I cut each of the frame sides to 6 1/2 inches (when you trim the sides make sure you trim the straight edge). 

Assemble frame.

I used paper from the ModaScrap Fly & Scrap Patterned Paper Pack to line the back of the frame.


Using the Butterfly Aperture die, die cut the solid butterfly from White Soft Finish Cardstock.
Using both the decorative layer and the butterfly outline together, die cut one butterfly from black cardstock and another from silver pearl cardstock.

Add color to the white solid butterfly by applying Carved Pumpkin and Abandoned Coral Distress Oxide inks.

Adhere the black decorative butterfly over the silver pearl butterfly offsetting slightly and then adhere this to the solid butterfly.

Stamp the sentiment from the A Way with Words - Soar Collection Clear Stamp set to the upper left hand corner of the inside of the framed piece using black ink.

Adhere Butterfly using Clear Double Sided Adhesive Tape and Foam Tape to the lower right hand corner adhering it at a slight angle.


Using Garden Notes - Leafy Berry Branch 1 die, die cut three times from green cardstock. Sponge lightly with green ink and then apply berries over the die cuts using Nuvo English Mustard Crystal Drops.

Once the "berries" are dry, cut apart the berries and adhere to the lower portion of the frame.

Finally die cut the A Way With Words - Soar die three or four times and layer to each other and attach to top of frame.

I hope you enjoyed my project today. Don't forget to check out the Elizabeth Craft Designs blog to see all the wonderful creations by our talented designers and for a change to win the giveaway.

Supplies:

Elizabeth Craft Designs:


Other:
Cardstock - Black; Silver Pearl


Tuesday, February 27, 2018

Let Your Dreams Soar Frame


Hi Crafty Fiends,

It's my turn to post a tutorial on the Elizabeth Craft Designs blog today. The new ModaScrap Happy Frame and Happy Frame XL which were released in January are so much fun and versatile. These can be used for cards, frames and lots of other fun things. One of the fun things about these dies is that you can create frames any size you wish up to approximately 8 inches and can be either square or rectangular. All you need to do is cut the die cut pieces to the size you wish to make.

For my project today I decided to create a framed art piece which can be used for a child's room using the Happy Frames XL  and Vintage Hot Air Balloon Race die sets.

Here is how I created my framed art piece:


Step 1 -

  • Using the Happy Frame die, die cut 4 frames from your desired paper or cardstock (ModaScrap Back To School Patterned Paper Pack used here). 
  •  Note if you are using a patterned paper that has a definite direction of the pattern like the one used in the photo above, you need to think before die cutting your papers ... Looking at the photo above, note how each time one of the frames was die cut, the direction in which the frame was placed onto the patterned paper was changed prior to die cutting so that the finished frame would be have the pattern all going in the same direction. Of course using plain or an generic pattern (as I have used for my project today) is much easier to do.

  • Fold each of the frames along the four score lines of each panel. Note - it is easier to fold along each fold line in a valley fold first and then fold it into a mountain fold once you have folded along each fold line.
  • Place a piece of Clear Double Sided Adhesive Tape along the tab (shortest edge).
  • Remove the protective backing from the adhesive and bring the other edge over and secure to the adhesive.
  • Form a box shape with each of the frame panels.
Note - if you were wanting to change the size of the finished frame, you would trim the the straight edge of either two or four of the frame panels before adhering each frame panel to form a box shape.

  • Arrange each of the frames to form a square (or rectangle) so that each of the pointed edges are all going in the same direction. (This is also a good time to make sure the pattern on your paper is all going the correct way if your frame has a pattern).
  • Apply some adhesive to the three inner sides of the pointy end of one of the box frame pieces and place the square end of the other into it. Ensure that you have a neat corner.
  • Repeat the last step until you have all four corners glued to form a frame.
Step 2 -
  • Cut a piece of White Soft Finish Cardstock that 7 3/4 inches square and adhere to the back of the frame.
  • Using the cloud patterned paper from the ModaScrap My Little Boy 6 x 6 Patterned Paper Pack, adhere to centre of frame.

Step 3 - 
  • Using the Vintage Balloon Race die set, die cut two each of the detail balloon layers (one from white cardstock and one from colored cardstock). Color the basket and ropes of each hot air balloons using brown copic markers. 
  • Cut off the rope/basket from the colored cardstock die cut pieces and adhere over the white hot air balloons.
  • Die Cut the large and medium solid balloon dies using coordinating cardstock and adhere to the back of the colored hot air balloons.
  • Stamp the "heart with wings" from the A Way With Words - Soar Collection Clear Stamp set directly onto the small orange hot air balloon using black ink. Color image using colored pencils. 
  • Decorate all balloons with various colors of Glitter Dots.

Step 4 -
  • Using the cloud die from the Adventure Edges die set, die cut a piece of White Soft Finish Cardstock so that the cloud is 6 inches long and approximately 1 1/2 inches in height. 
  • Sponge the edge of the clouds using blue ink.
  • Stamp the sentiment "let your dreams soar" from the  A Way With Words - Soar Collection Clear Stamp set to the centre of the cloud using Black VersaFine Ink, cover sentiment with Clear Embossing Powder and heat set. 
  • Adhere the cloud to the bottom of frame using foam tape.

Step 5 - 
  • Adhere the hot air balloons inside the frame using foam tape.
Step 6 - 
  • Using the A Way With Words - Soar die, die cut the sentiment four times from red cardstock. Adhere each of the sentiments onto each other to form a thick sentiment.
  • Adhere sentiment to lower right hand corner of frame.
Thank you for stopping by, I hope you enjoyed my tutorial.

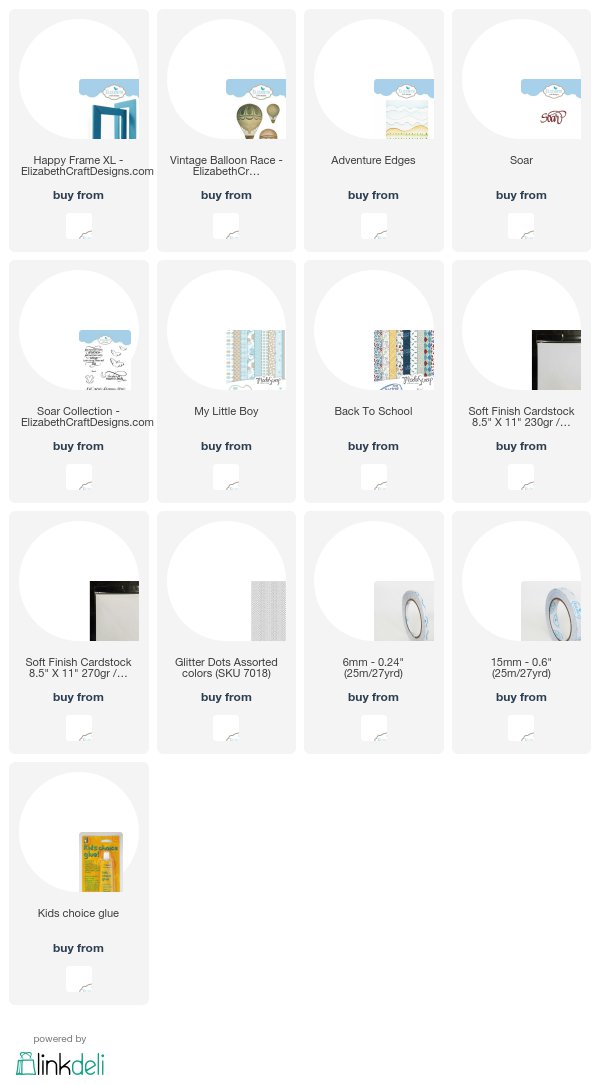
Supplies:
Elizabeth Craft Designs:


Other:
Cardstock - Red; Yellow; Orange; Blue; Green
Inks - Black VersaFine Ink; Tumbled Glass Distress Ink
Clear Embossing Powder
Heat Gun
Copic Markers
Pencils
Foam Tape


Thursday, September 28, 2017

Thankful for Each Moment with You


Hi Crafty Friends,

It's challenge time with my friends over on the CCEE Stampers challenge blog. Kelly McKown-Santi our challenge hostess for the month finishes off the month with one last challenge.

In honour of Johnny Appleseed day and his kindness and generosity, create a card with anything apple related ... apple trees, apple pies etc.


Seeing I had just received my order of Lawn Fawn stamps/dies the week I made my challenge card of course I had to play with some of the new products. 

I knew I wanted to make a Shadow Box card using the new die set, and one of the new stamp sets (Forest Feast) contained an apple image ... so I decided to do something with those .... plus the fox from Upon a Star just for good measure!


For the background (the blue) ... I used Distress Oxides to create the sky. As can see by the angle of this photo I added apples to a couple of the creatures and onto the grassy hills.


Another view of my shadow box.


I added a sentiment to the back of the shadow box.


Of course the shadow box folds flat, so you can place it in an envelope for posting!


Don't forget to check out the CCEE Stampers blog (goes live 12 AM EST) to see the rest of the creations the CCEE Stampers created this week. You can also see more details of their creations on their individual blogs:


Vicky Gould
Kelly McKown-Santi


Stamps: Forest Feast; Upon a Star - Lawn Fawn
Paper: White; Green; Tan; Knock on Wood Coffee Table DP - Lawn Fawn
Dies: Shadow Box Die; Birch Trees - Lawn Fawn
Other: Black Ink; Broken China Distress Oxide; Peacock Feathers Distress Oxide; Peel Paint Distress Oxide; Copics