Hi Crafty Friends,
Today I am sharing a card I created using some of the new ModaScrap dies which are being released by Elizabeth Craft Designs today.
Over the next few weeks this month Elizabeth Craft Designs will be releasing dies and clear stamp sets from five of their Licensed Designers. This year with each release we will be having a Design Team Focus on New Release day on the Elizabeth Craft Designs blog to showcase some of the wonderful products being released.
Today Elizabeth Craft Designs will be releasing new products from ModaScrap which includes twelve brand new die sets and one new stamp set.
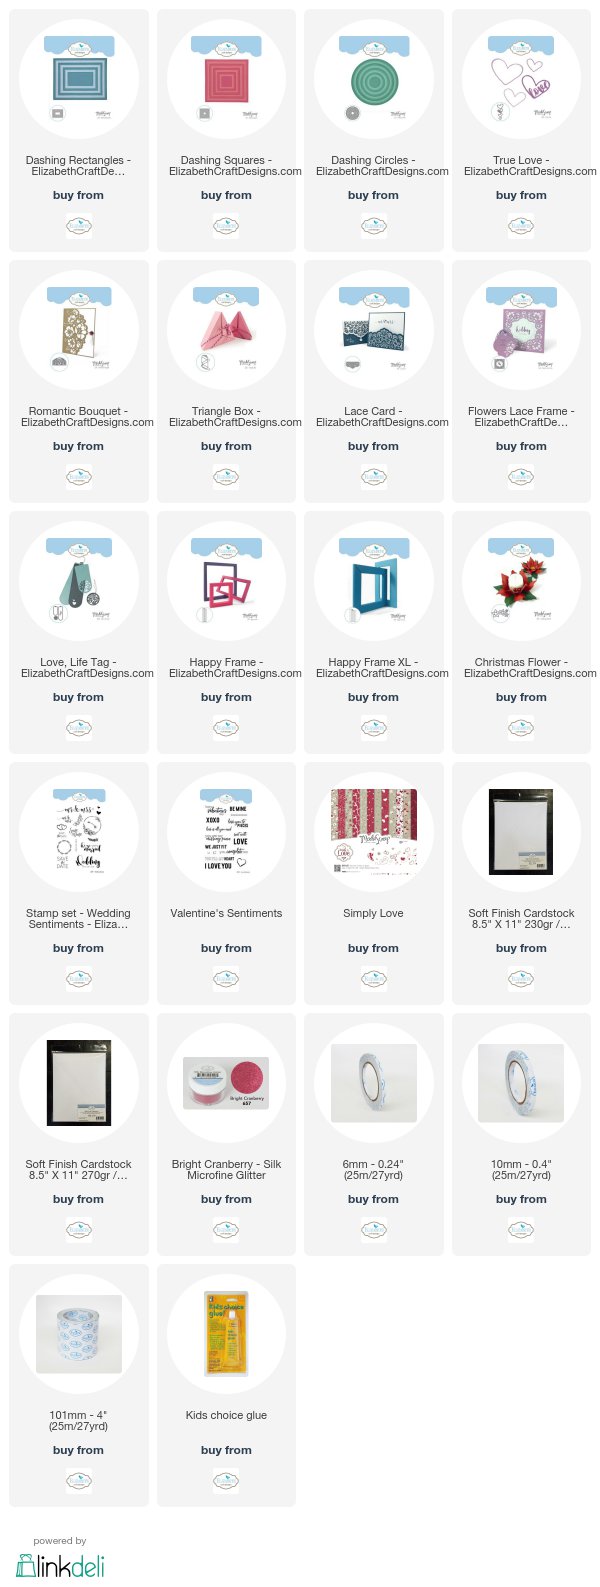
I only received my ModaScrap dies on Sunday afternoon, but I wanted to share something I had made so I quickly made my card using the new ModaScrap Happy Frame; True Love; Dashing Squares; Flowers Lace Frame and Love, Life Tag die sets.
The Happy Frame die set can create frames up to 7 1/2 inches square, which would be suitable for so many different things. Just by changing the length of the frames once they are die cut, you can create either square or rectangle frames to any size you desire. There are actually two different versions of the Happy Frame ... the one I used here called Happy Frames the width of the frame is about 1cm wide. The Happy Frame XL die set allows you to make frames which are about 1 inch wide.
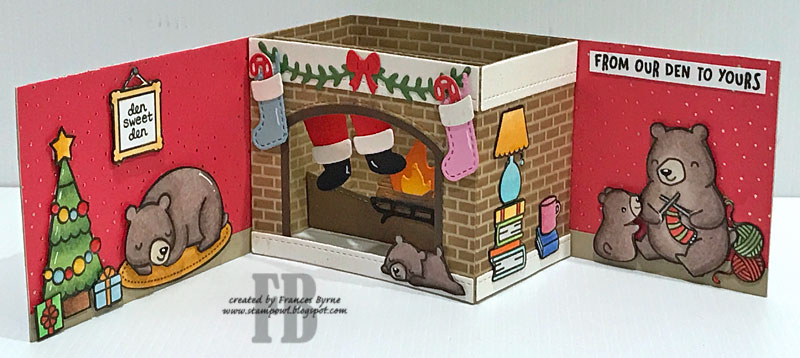
Today I have used the Happy Frame to create a Shadow Box Frame Card. Here is how I created my card.
Step 1 -
- Using the Happy Frame die, die cut 4 frames from your desired paper or cardstock. Note if you are using a patterned paper that has a definite direction of the pattern you need to think before you die cut your papers ... If you look at the photo above you can see that I changed the direction of how I placed the die onto my cardstock prior to die cutting so that the finished frame would be have the pattern all going in the same direction. Of course using plain or an generic pattern is much easier to do.
- Trim the straight edge of each of the frame die cuts to the desired length. For my card I cut them all to 5 3/8 inches.

- Fold each of the frames along the four score lines of each panel. Note - it is easier to fold along each fold line in a valley fold first and then fold it into a mountain fold once you have folded along each fold line.
- Place a piece of Clear Double Sided Adhesive Tape along the tab (shortest edge).
- Remove the protective backing from the adhesive and bring the other edge over and secure to the adhesive.
- Form a box shape with each of the frame panels.

- Arrange each of the frames to form a square (or rectangle) so that each of the pointed edges are all going in the same direction. (This is also a good time to make sure the pattern on your paper is all going the correct way).
- Apply some adhesive to the three inner sides of the pointy end of one of the box frame pieces and place the square end of the other into it. Ensure that you have a neat corner.

- Repeat the last step until you have all four corners glued to form a frame.
Step 2 -
- Cut a piece of white cardstock so it measures 5 3/8 inches x 10 3/4 inches. Score and fold along the long side at 5 3/8 inches to form a side folding 5 3/8 inch square card.
- Apply adhesive to the back of the frame and adhere to the front of the folded card.
Step 3 -
- Using the Dashing Squares die set die cut a square from red cardstock (5th square counting from the centre die)
- Die cut the next smallest square from White Soft Finish Cardstock.
- Adhere the white square so it looks like a diamond shape to the red square using foam tape.
- Adhere the red square to the centre of the card using foam tape.
Step 4 -
- Using the "love heart" die from the True Love die set die cut heart from red and also gold cardstock. Adhere the red heart shape to a piece of scrap white cardstock, trim around edge of gold heart. Now paper piece the red pieces where the white cardstock is revealed.
- Adhere heart to centre of squares using foam tape.
Step 5 -
- Using the heart die from the Love, Life Tag die cut the larger heart from white cardstock and adhere each heart into the corners of the red square,
- Adhere the smaller hearts from red cardstock and adhere around large "love heart" referring to photo above.
Step 6 -
- Adhere a piece of Clear Double Sided Adhesive Tape to the front of a piece of red cardstock. Die cut four of the smallest hearts from the True Love die set.
- Remove the protective backing from the tape and cover the adhesive with Bright Cranberry Silk Microfine Glitter. Polish adhesive into adhesive using your finger.
- Adhere hearts to the outer frame using photo at top of post as a guide.
Step 7 Inside of Card -
- Using the Dashing Squares die set, die cut the second largest square from red cardstock.
- Die cut another square from white cardstock which is slightly smaller.
- Place the decorative die from the Flowers Lace Frame die set to the lower right hand corner of the white square and die cut.
- Adhere white square to red square.
- Using the sentiment from Valentine's Sentiments, stamp onto the centre of white square using black ink.
- Die cut three hearts from the Love, Life Tag die set from red cardstock and adhere to the top left hand corner of card.
Don't forget to check out the Elizabeth Craft Designs blog to see all the wonderful creations our Design Team have created using the new dies.
Supplies:
Elizabeth Craft Designs:
 Other:
Cardstock - White; Red; Gold
Black Ink


