Hi Crafty Friends,
There are only a few days left of 2019, so today I am sharing a calendar I created to use for 2020.
I used Karen Burniston's Surprise Ball Pop-up to create my calendar. It is free standing, as I wanted something that I could put on my desk and refer to when needed throughout the year. I have my computer to tell me the date when I need it, but this will be useful when I am looking for what day a particular date falls on, or how many weeks to ..... etc.
Here is a quick video to see my calendar in action. As I love owls, it wasn't hard to decide to add an owl to the top of the calendar.
As you can see in the video, the owl and the top portion of the calendar, can turn so that the owl aligns with the current month. Once July arrives, it is just a matter of removing the brad which holds the owl section to the top of the surprise ball calendar, and placing on the bottom section, so that the bottom portion is now visit at the top.
Edit: A few people have asked about the calendar I used to create this. So I have decided to attach the jpg of the one I used for any of you who wish to replicate this idea. One tip .... make sure when you are die cutting all the individual calendars that you line the narrower end of the die to where the name of the month is, so the calendars are in the correct orientation.
Supplies:
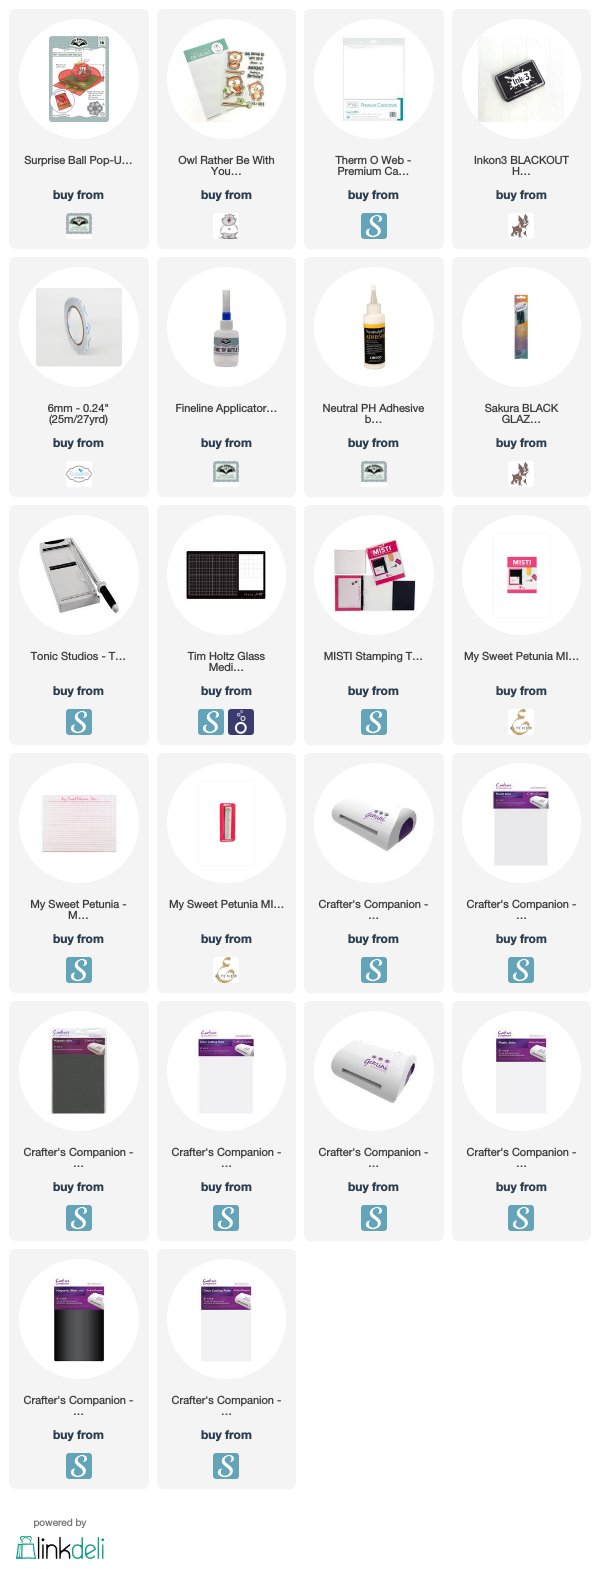
For your shopping convenience, all products are linked below. Compensated affiliate links are used where possible with no extra cost to you. This helps me to continue to share all the projects I include on my blog. For the benefit of my Australia readers, I have started to include some links to Australian stores when available. Please note I only use and share products I love.


11 comments:
What a neat project! Thank you so much for sharing.
Love your calendar pop-up!
How does it work from July to December? How can I bring the owl to the other side?
This is SO creative and clever ... love love love it.
Doris the owl is only attached to the top of the calendar using a split pin. It is easy enough to remove this in the flattened position and place it at the bottom ... then you have access to the last half of the year.
These are just darling. What a wonderful teacher's gift they would make. Would you please elaborate on how or where you got the little calendars? This is such an awesome project/
How do we get the calendar print out? I just love this idea! Great job?
Hi all, I have just updated my blog post to include the calendar for you to print out. Save it to your computer and print it out.
Thank you so much for the calendar! My next project!
What a fun idea for a calendar! On to my "to do " list!
I love this project. I would love to use your calendar but when it is copied and print it comes out fuzzy. Got any ideas to help this?
oh that is annoying Beejay. The only thing I can suggest is that you email me .... using the email me link on my side bar and I can try sending it to you as a pdf rather than a jpg
Post a Comment