Showing posts with label Gerda Steiner Designs. Show all posts

Thursday, November 3, 2022

Dog-Gone Happy Birthday


Hi Crafty Friends,

It's challenge time with my friends over on the CCEE Stampers challenge blog. Being a brand new month, it's time to introduce our new challenge hostess which is Maryann Einam.

According to the days of the year calendar it is walk your dog week. Walk you dog week is a week holiday dedicated to bringing your dog a healthier lifestyle. Make a card with your furry friend in mind.


For my card today, I have created a pull card using Made To Surprise by Sam Calcott's Everyday Pop Up die set. I recently also got the coordinating Perky Pooches die set that coordinates with the Everyday Pop Up die set and the Perky Pooches stamp set which is now only available as a digital stamp set. I did end up ordering the digital set seeing I had the dies and I was originally going to use that on my card but decided to go with these cute Gerda Steiner Dachshunds instead.

This is a 5 x 7 inch card. I die cut the grass included in the Perky Pooches die set twice from green cardstock to create the layered grass look on the front of the card.

I used three of the dachshunds on the front of the card with one of the dogs playing with a ball.


When you pull the tab at the top of the card, it reveals a bunch of colourful balloons and other of the dachshunds. I added some acetate on the back of the balloons/dog, to help give this piece a little strength and to help it more smoothly. 

I added a birthday sentiment using one of the sentiments from the LDRS Designs Essential Birthday Sentiments stamp set, this is one of my new favourite birthday sentiment sets. I also added a couple of birds using Hero Arts Beach Heroscape stamp set.


On the inside of the card, I added some more of the grass along the bottom of the card. I then added another of the dachshunds.

The birthday sentiment is an older Penny Black wood mounted stamp I have had in my stash for years.

Don't forget to check out the CCEE Stampers blog (goes live 12 AM EST) to see the rest of the creations the CCEE Stampers created this week. You can also see more details of their creations on their individual blogs:
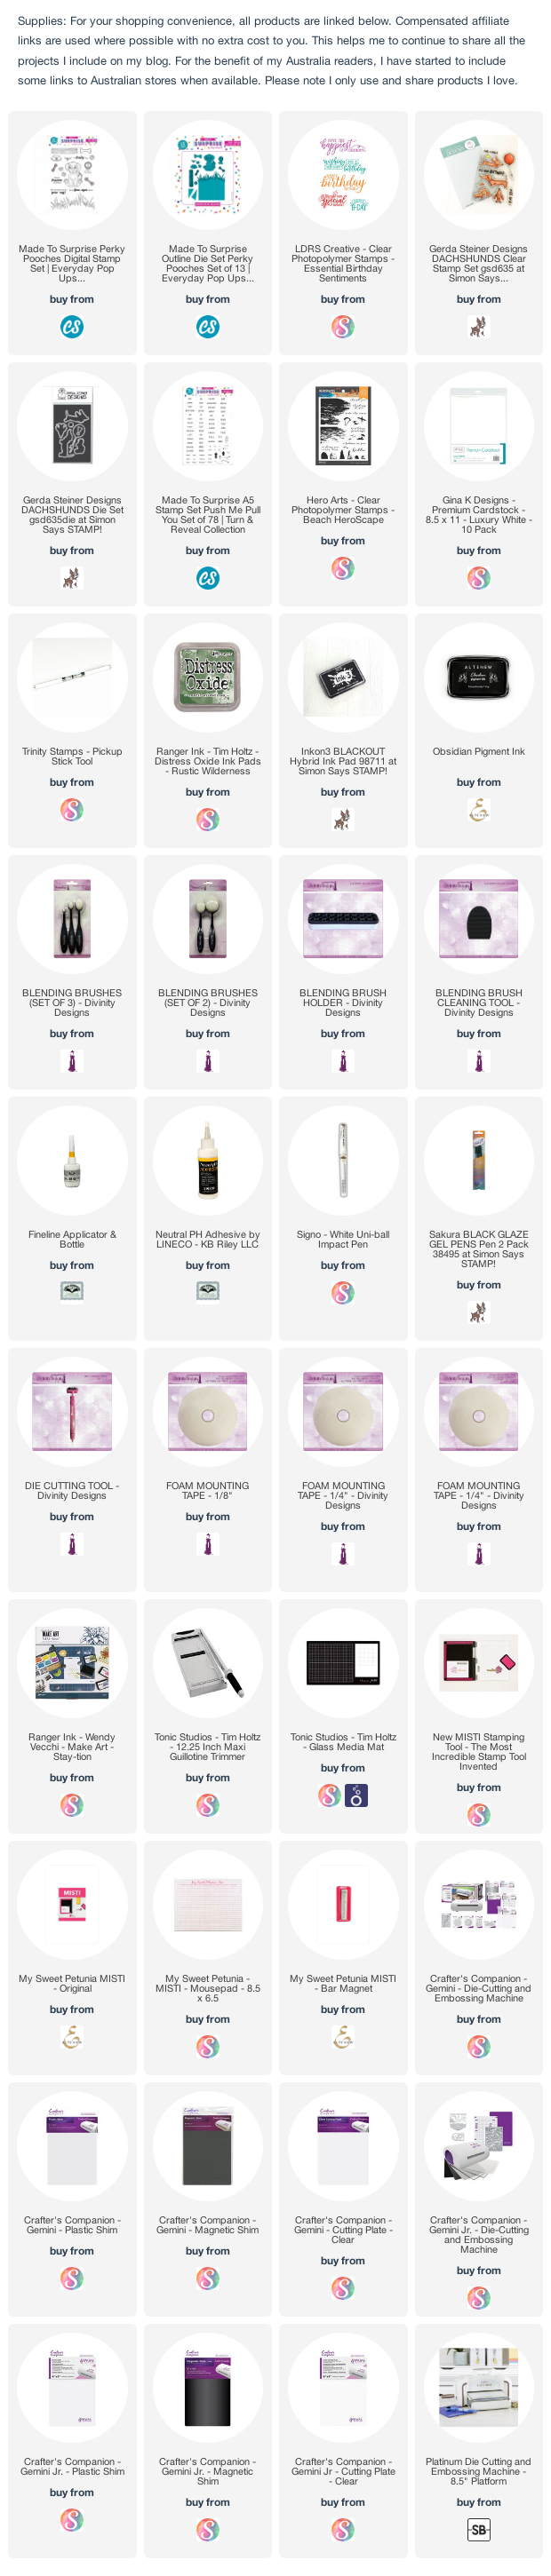


Other Supplies:
Everyday Pop Ups 6 x 6 & 5 x 7 Pop Up die set - Made to Surprise
Dog Gone Birthday - Penny Black (discontinued)


Wednesday, March 25, 2020

On The Lookout For


Hi Crafty Friends,

My card today is for a challenge I do with a friend of mine. Each month we challenge each other to create something using supplies we all own.

As we both purchased Lawn Fawn's new Magic Iris dies last month when it was released, it made perfect sense for us to use that for our challenge this time around.


Here is a quick video to see my card in action.


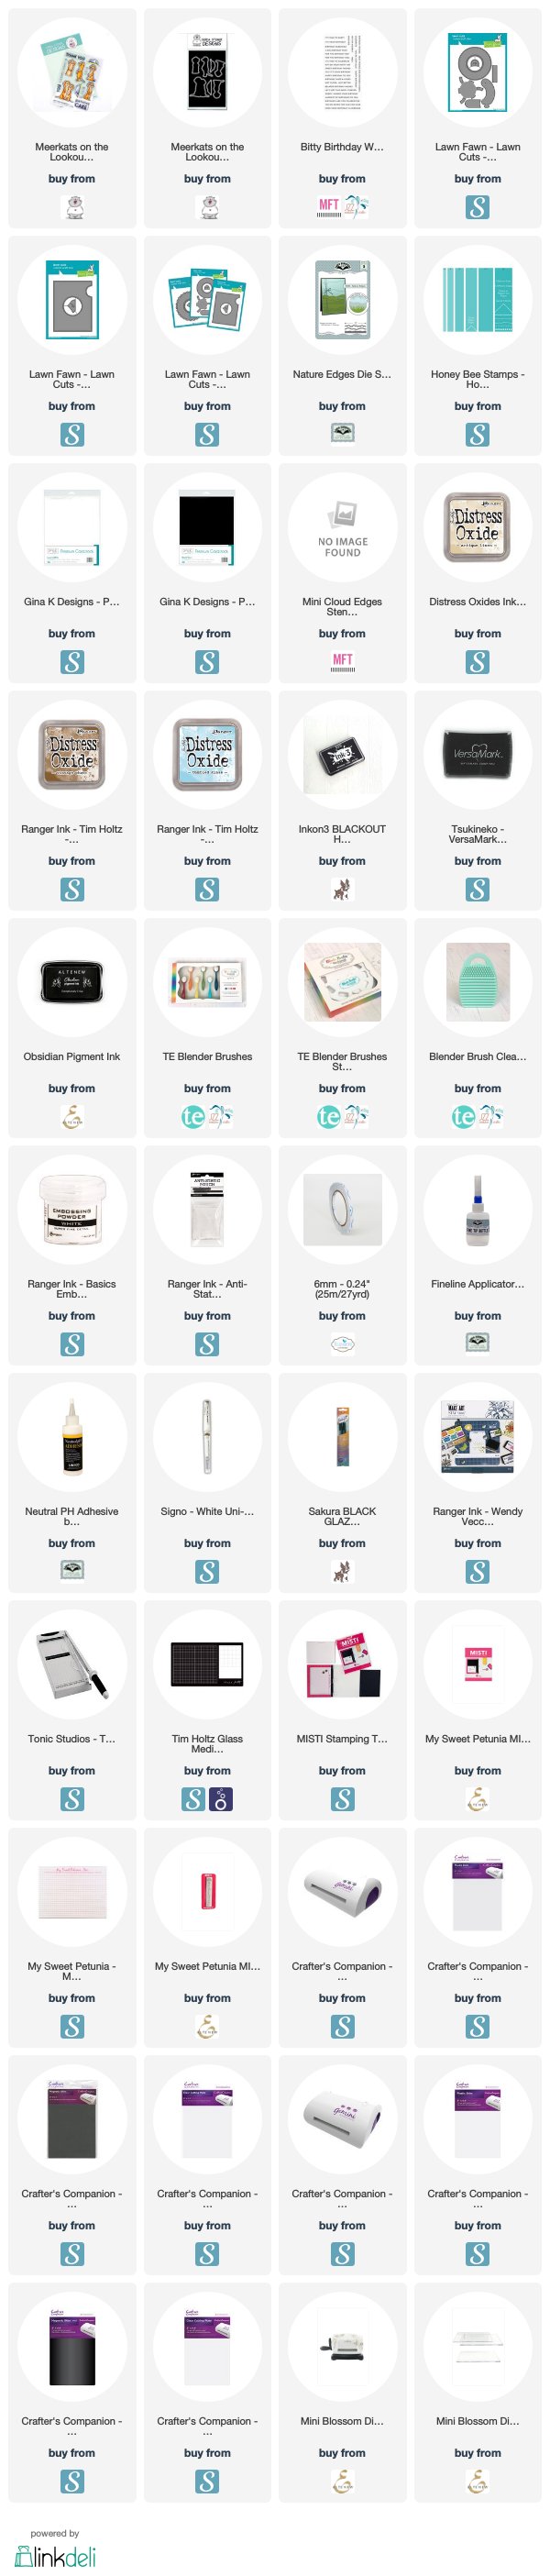
To decorate my card, I used Gerda Steiner's Meerkats on the Lookout stamp set. This is such an adorable stamp set,


I used Distress Oxide inks in Antique Linen & Vintage Photo to create my sand along the base of my card.

I used Tumbled Glass Distress Oxide ink for the clouds, using MFT Stamps Mini Cloud Stencil.


Here is a quick look at my card showing the Magic Iris closed, partly open and then fully open.

I used one of the sentiments included in the stamp set, to add my sentiment on the front of the card.


On the inside of my card, I continued the sentiment on the front by adding the ... the birthday boy. I added a second sentiment underneath the first one. These sentiments are from MFT Stamps Birthday Birthday Sentiments stamp set.

I also added a couple of meerkats and a rock along the bottom of the card.

Supplies:
For your shopping convenience, all products are linked below. Compensated affiliate links are used where possible with no extra cost to you. This helps me to continue to share all the projects I include on my blog. For the benefit of my Australia readers, I have started to include some links to Australian stores when available. Please note I only use and share products I love.


Wednesday, March 11, 2020

Hopping By To Say Hi


Hi Crafty Friends,

Today I am sharing an Easter card I created recently.

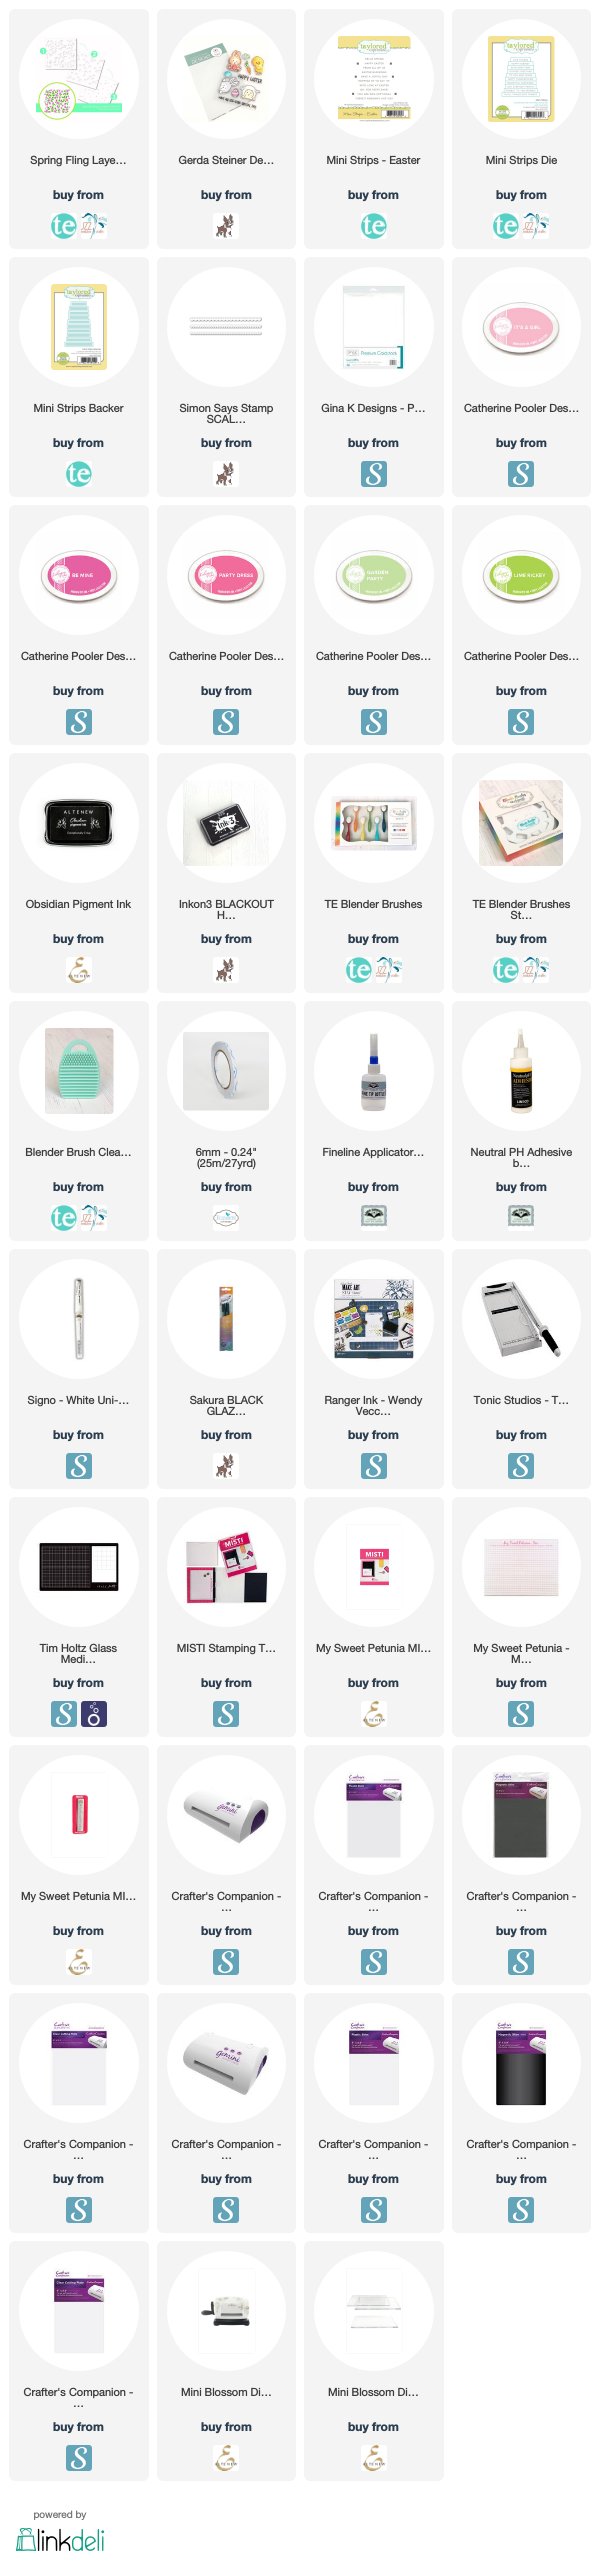
For the background of my card I used Taylored Expressions Spring Fling Layered Stencil. This is a set of three stencils which allow you to create a stencil background using three colors. I had purchased their previous layered stencil that was a Christmas theme and loved that, so was excited when I saw that they had released a floral version.

I used Simon Says Stamp's Scallop Stitches Border die for the border along the top and bottom of the stencilled panel.

I wanted to make use of Taylored Expressions Mini Strips - Easter stamp set and the new Mini Strips Backer die set, so went with an Easter them for this set. I used a rabbit from a Gerda Steiner Easter set to add to my card.


I added a panel to the inside of the card, similar to what I did on the front. However this time I did add a strip of the stencilled panel at the bottom.

I also used to more of the Taylored Expressions sentiment to my card.

Supplies:
For your shopping convenience, all products are linked below. Compensated affiliate links are used where possible with no extra cost to you. This helps me to continue to share all the projects I include on my blog. For the benefit of my Australia readers, I have started to include some links to Australian stores when available. Please note I only use and share products I love.


Wednesday, February 12, 2020

Hugs and Kisses


Hi Crafty Friends,

Today I have another card that could be used for Valentine's Day. As I really don't need anymore Valentine cards I decided to keep this one generic, so it could be used for any occasion.

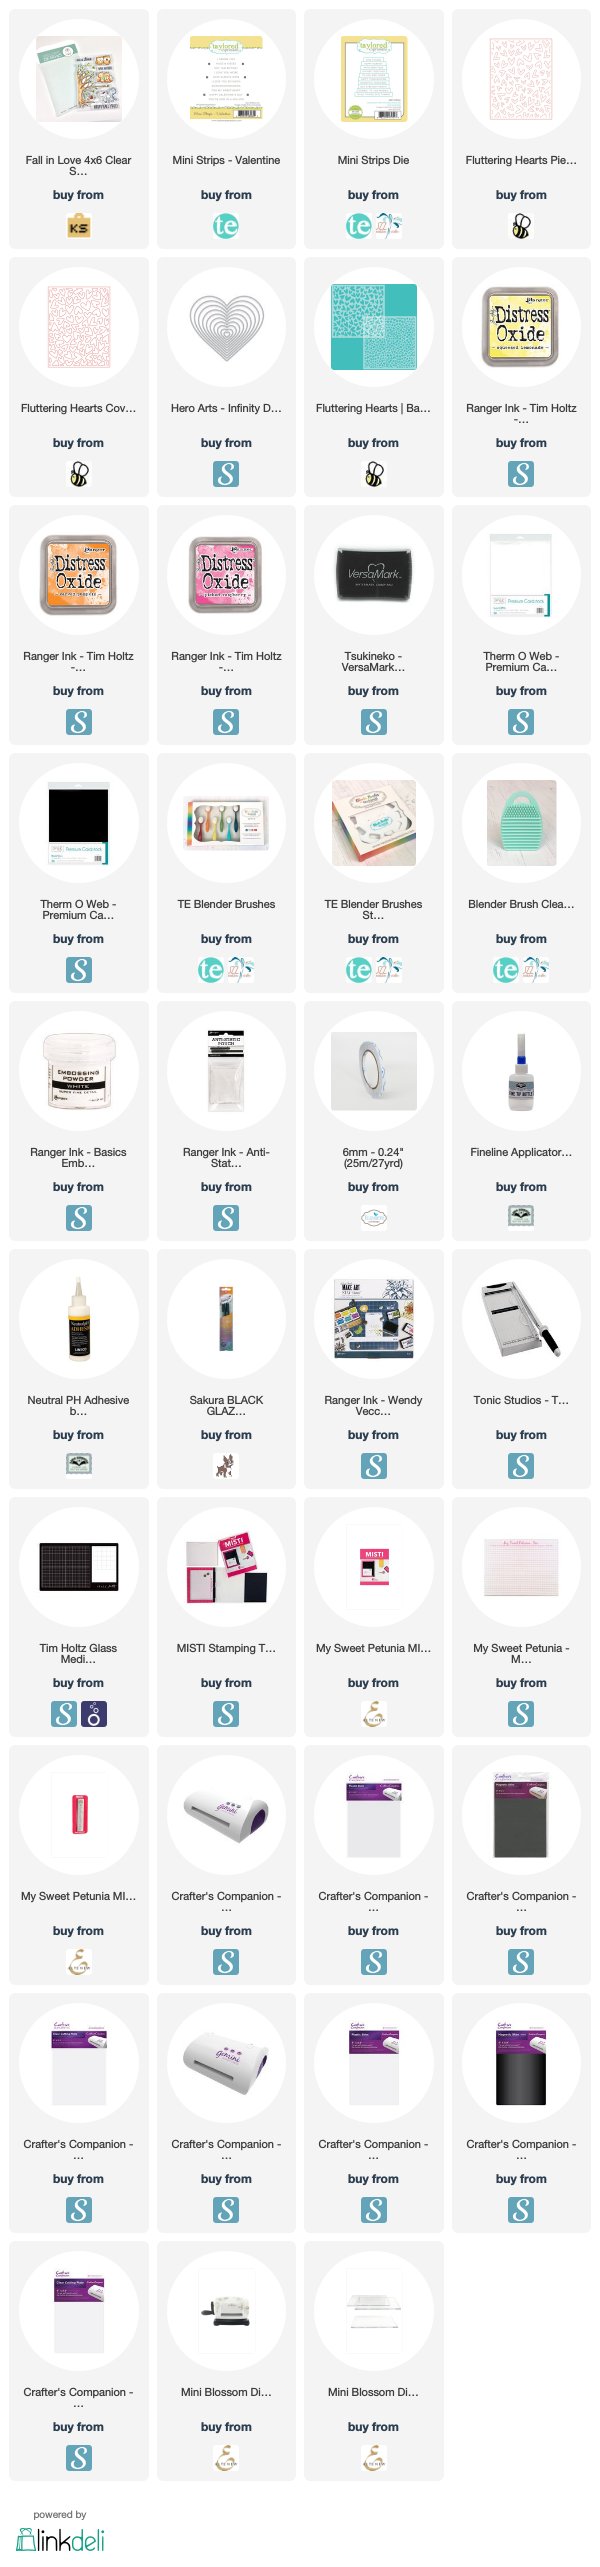
I recently purchased Honey Bee Stamps Fluttering Hearts Pierced Coverplate, Fluttering Hearts Coverplate and the coordinating Fluttering Hearts Stencils. Of course I have been wanting to use these since I received them, so decided to pull them out to create this card.

I die cut both the Fluttering Hearts Pierced Coverplate and Coverplate from white cardstock. I then placed the coordinating stencil over the pierced cover plate and added color to the hearts using Distress Oxide inks in Squeezed Lemonade; Carved Pumpkin and Picked Raspberry. I layered the panels together and then added them to a top folding card.

I die cut a heart from white cardstock and used the same colors of Distress Oxide inks to the heart. I then added the owl couple which is from a Gerda Steiner stamp set.

I also added the sentiment which uses Taylored Expressions Mini Strips - Valentine and the coordinating die.


For the inside of the card I used the same stencil and inks to add some hearts in a diagonal to the bottom portion of the card.

I then added another sentiment from the Mini Strips - Valentine stamp set.

Supplies:
For your shopping convenience, all products are linked below. Compensated affiliate links are used where possible with no extra cost to you. This helps me to continue to share all the projects I include on my blog. For the benefit of my Australia readers, I have started to include some links to Australian stores when available. Please note I only use and share products I love.


Saturday, December 28, 2019

2020 Surprise Ball Pop-up Calendar


Hi Crafty Friends,

There are only a few days left of 2019, so today I am sharing a calendar I created to use for 2020.

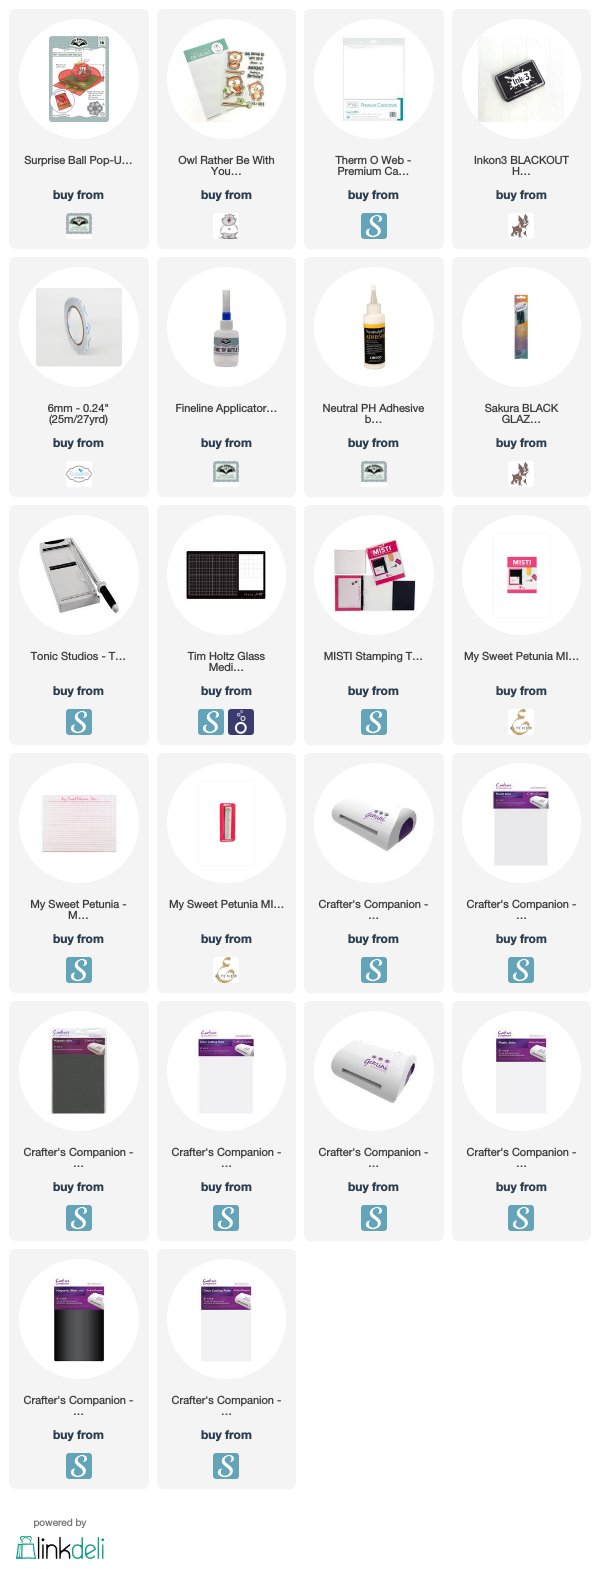
I used Karen Burniston's Surprise Ball Pop-up to create my calendar. It is free standing, as I wanted something that I could put on my desk and refer to when needed throughout the year. I have my computer to tell me the date when I need it, but this will be useful when I am looking for what day a particular date falls on, or how many weeks to ..... etc.


Here is a quick video to see my calendar in action. As I love owls, it wasn't hard to decide to add an owl to the top of the calendar.

As you can see in the video, the owl and the top portion of the calendar, can turn so that the owl aligns with the current month. Once July arrives, it is just a matter of removing the brad which holds the owl section to the top of the surprise ball calendar, and placing on the bottom section, so that the bottom portion is now visit at the top.


Edit: A few people have asked about the calendar I used to create this. So I have decided to attach the jpg of the one I used for any of you who wish to replicate this idea. One tip .... make sure when you are die cutting all the individual calendars that you line the narrower end of the die to where the name of the month is, so the calendars are in the correct orientation.


Supplies:
For your shopping convenience, all products are linked below. Compensated affiliate links are used where possible with no extra cost to you. This helps me to continue to share all the projects I include on my blog. For the benefit of my Australia readers, I have started to include some links to Australian stores when available. Please note I only use and share products I love.


Monday, July 15, 2019

So Fly


Hi Crafty Friends,

Today I am sharing another pop-up card I created recently. Last week I shared a card I created using Karen Burniston's Rocket Pop-up die set that will be shipping mid July. Well after making that card I was wondering whether it could be used with a plane rather than a rocket. Of course I had to disguise the flames and moon surface, so I cover those up using clouds.


Here is a quick video to see my card in action.


The pop-up clouds, look greyish on this photo but they are white in real life, with a little blue around the edges. 

The plane is Neat and Tangled's So Fly Clear stamp set.

To create the background I used Distress Oxide Inks in Tumbled Glass, Stormy Sky and Chipped Sapphire. After adding the colors to my panels, I then used MFT Stamps Mini Cloud Stencil and Hero Arts Unicorn White Pigment ink to add clouds over the panel.


Along the bottom of the card, I used the scallop/cloud border from Karen Burniston's Nature Edges die set to create bushes and then I added grey cardstock for a road.


On the left hand side of the card I added this cute dog riding a scooter, this is from Gerda Steiner Designs VROOMING Clear Stamp set. 

I added a couple of large clouds to the background panels and then added two sentiments from the So Fly stamp set.


For the front of the card, I repeated a few of the elements used on the inside of the card and added a little girl with binoculars.

Supplies:
For your shopping convenience, all products are linked below. Compensated affiliate links are used where possible with no extra cost to you. This helps me to continue to share all the projects I include on my blog. For the benefit of my Australia readers, I have started to include some links to Australian stores when available. Please note I only use and share products I love.


Sunday, April 7, 2019

Wishing You A Hootiful Day Shaker


Hi Crafty Friends,

Today I am sharing a Shaker Card I created recently. Shaker Cards have come a long way since when I first started creating these about 25 - 30 years ago. Now there are so many wonderful products to use that makes creating Shaker Cards easy.

For the March Release, MFT Stamps released two new products which help make Shaker Cards. The first is the A2 Rectangle Frames which have a lot more uses other than for shakers, but using the largest frame with the other new product the A2 Rectangle Pouches definitely make Shaker Cards so easy. 

For my card today I decided to create a scene inside my Shaker Card Window using the cute owls and tree from Gerda Steiner's Fall In Love Stamp set. I stamped the owls and tree, masked both and then added the clouds and grass area using stencils.

I used Heffy Doodles Hootiful Clear Stamp set for my sentiments and also added a few Doodle Bug Designs Puffy Heart Stickers.


I die cut the largest rectangle from the A2 Rectangle Frames 3 times, once from blue cardstock and the other from white to give a little extra depth inside the shaker and adhered the shaker pouch between two of the frames.

I added some sequins and beads inside the Shaker Pouch and then adhered the scene over the top of the shaker pouch.


I used one of the rectangle panels which came out of the white rectangle frames I did cut for the inside of the card. I stamped the "Hip Hip Hoo-ray" sentiment which is also from the Heffy Doodle Stamp set and then the "Happy Birthday" from the Altenew Birthday Builder Stamp set.

I also added the owls and a tree trunk to the lower left hand side of the card.

Supplies:
For your shopping convenience, all products are linked below. Compensated affiliate links are used where possible with no extra cost to you. This helps me to continue to share all the projects I include on my blog. Please note I only use and share products I love.


Saturday, February 23, 2019

Way To Go!


Hi Crafty Friends,


It’s challenge time with the “Crazies” over on the Crazy 4 Challenges blog. Kathleen Adams our challenge hostess for February finishes off the month with one last challenge.

Apparently today is National Dog Biscuit Day so for our challenge this week we are to put a pet on your card.  It doesn’t have to be a dog.


For my card today I decided to pull out a Gerda Steiner Stamp set that I got for Christmas ... just love those cute little Dachshunds.

For the Happy Birthday sentiment I used Karen Burniston's Word Set 2 - Birthday die set.


I used one of Karen Burniston's new die sets that were released earlier in the month, this is the Rockin' Rectangles Pop-up I flipped the card around so that card was in landscape format rather than portrait, so the pop up portion of the card is at the very bottom of the card rather than at the side.

On the pop-up arm above the dog, I added a sentiment from the new Word Set 8 - Congrats die set. 

For the rectangle panel I also added some grass at the bottom of the rectangle using the grass die from the Nature Edges die set.


Here is a quick video to show my card in action.


Don't forget to check out the rest of the “Crazies” cards over on the Crazy 4 Challenges blog and also their individual blogs for more details.


Supplies:

For your shopping convenience, all products are linked below. Compensated affiliate links are used where possible with no extra cost to you. This helps me to continue to share all the projects I include on my blog. Please note I only use and share products I love.


Thursday, February 7, 2019

Easter Waterfall Card


Hi Crafty Friends,

It's challenge time with my friends over on the CCEE Stampers challenge blog. Being a brand new month it is time to introduce our new challenge hostess for the month which is Maryann Einam.

The birthstone for February is Amethyst use a shade of purple and include gem stones or charms on your card.

I had so much fun a couple of weeks ago making a waterfall card by using a tutorial by Karen Burniston showing how to convert the Frame Pull die set and make a Waterfall card, that I just had to make another.


Here is a quick video to see my waterfall card in action.


I used the small rectangle die included in the Frame Pull Pop-up die set to die cut the pieces of patterned paper that are in each of the waterfall panels. I also added some grass along the bottom of each panel using the Nature Edges die set.


I love all the fun animals peeking out from each of the waterfall panels. These stamps are from the Gerda Steiner Peeking Easter Friends stamp set


Here is a look at the final waterfall panel as you pull the tab further out.


For the back of the card I added rectangle panel, and some grass using the grass die from the Nature Edges die set and added a few more eggs and a sentiment.

Don't forget to check out the CCEE Stampers blog (goes live 12 AM EST) to see the rest of the creations the CCEE Stampers created this week. You can also see more details of their creations on their individual blogs:

Supplies:
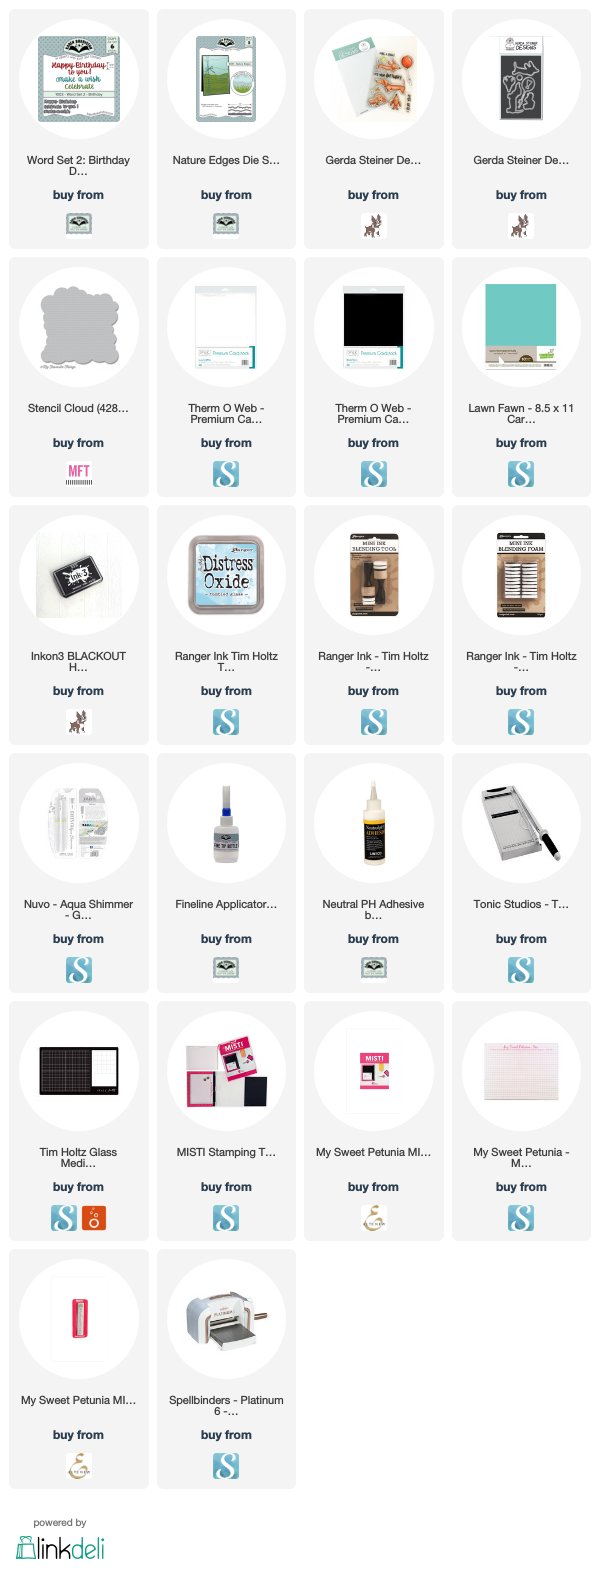
For your shopping convenience, all products are linked below. Compensated affiliate links are used where possible with no extra cost to you. This helps me to continue to share all the projects I include on my blog. Please note I only use and share products I love.