Tuesday, September 30, 2025

Rebus - American Indians


Hi Crafty Friends,

It's time to share another rebus swap with you. This month the theme is "Names of American Indian Tribes or name of famous American Indians"

If you would like to solve my rebus puzzle, why not post a comment on my blog post with your answers. I will let you know what the correct answers are next time I post a rebus card here.

How did you go solving my August Rebus which was "Minerals'"

 Here are the correct answers so you can check how you did.
  1. Magnesium
  2. Titanium
  3. Zinc
  4. Copper
  5. Platinum
  6. Potassium
  7. Iodine
  8. Tungsten
  9. Potash


You can find all my past Rebus Cards here.


Monday, September 29, 2025

Sending Gingerbread Hugs


Hi Crafty Friends,

Welcome to my blog. Today I am sharing another Christmas card with you, I still have lots of Christmas cards I need to make before December, so you will probably see more popping up on my blog during the next few months.

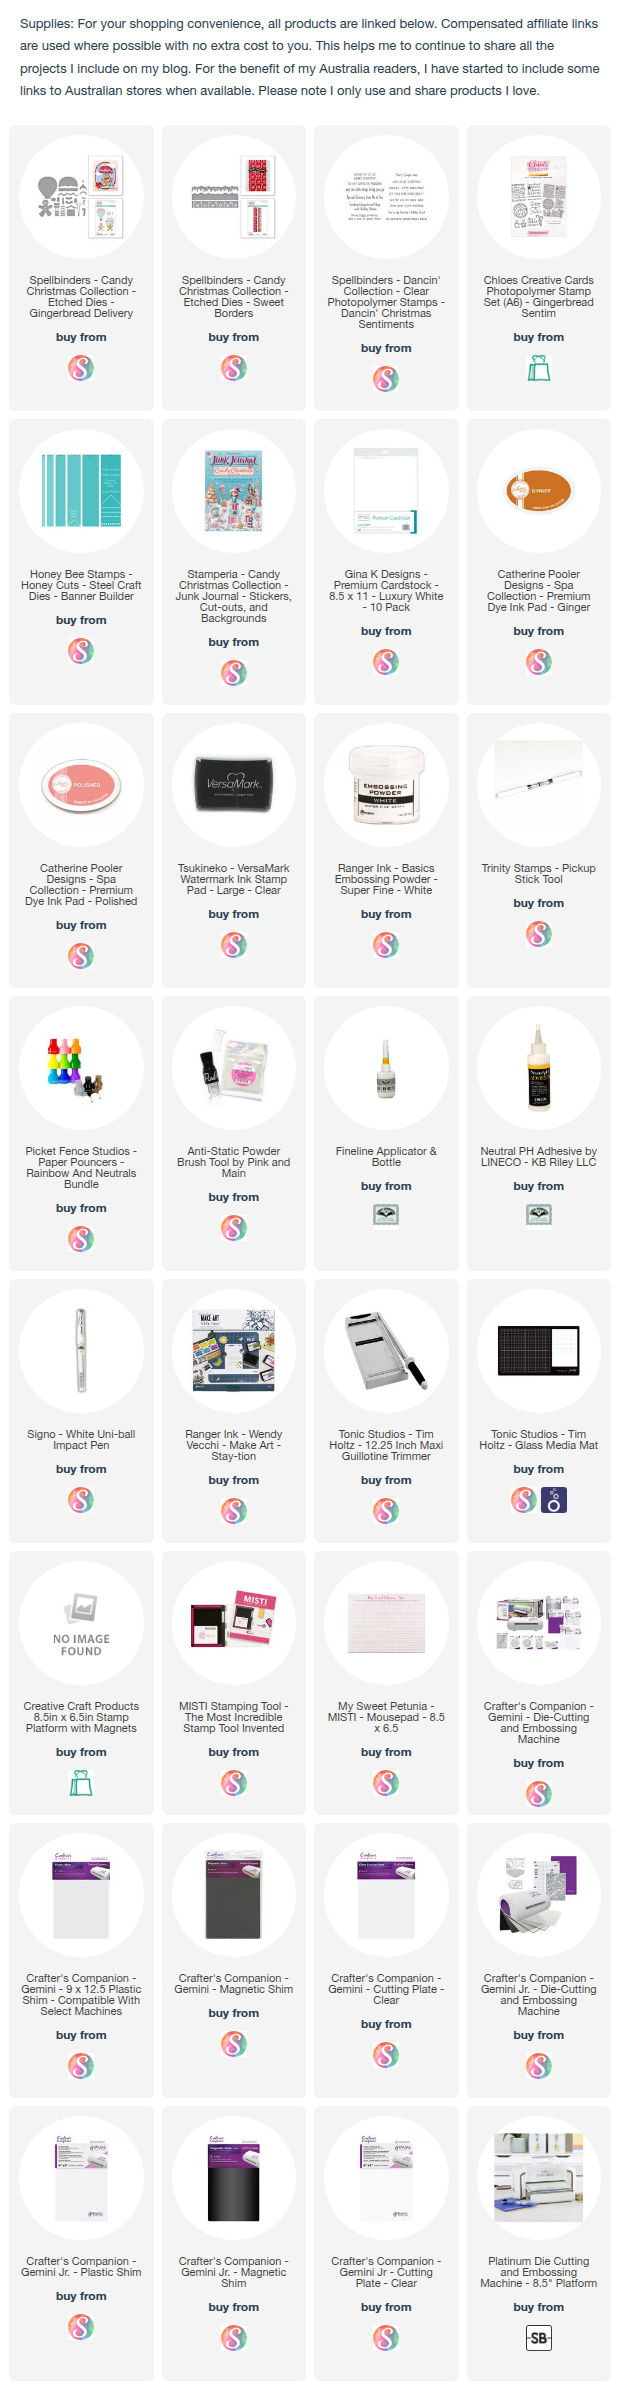
Today I have a Puzzle Slider Card using some of the Gingerbread themed products from Spellbinders/Stamperia Candy Christmas Collection, this is such a fun collection. I have been wanting to make this card for over a month, so it was great to finally find some time to be able to get it made.


I prefer 5 x 7 cards most of the time, which is the size I selected for this card. All the images are from the Gingerbread Delivery die set. The papers are from the Junk Journal pad which is also included in the collection. 

For the sentiment on the front I used a gingerbread themed sentiment from Spellbinders Dancin' Christmas Sentiments stamp set.

Directions - 5 inch x 7 inch version:

1.    Cut a piece of cardstock to measure 5 inches x 11 inches, this will be the card base. Score along the long side at 1 inch; 2 inches; 9 inches and 10 inches. Fold on all score lines so you have a mountain, valley, valley & mountain folds.

2.    From the same colour cardstock as the card base above, cut two rectangles that are 4 inches x 2.5inches and two rectangles that are 3 inches x 2.5inches.

3.    Apply glue along the 1 inch panel on the left. Starting from the bottom adhere one of the 4 inch rectangles to this panel, making sure to line up with the left and bottom edges. Next adhere one of the 3 inch rectangles to the same left panel, making sure that it lines up with all edges including the bottom rectangle.

4. Using the remaining rectangles, adhere these in the opposite way as step 3 onto the right hand panel. So the 4 inch rectangle is on top and 3 inch on bottom.

5. Cut your layering pattern papers so they are 3 3/4 inches x 2 1/4 inches and 2 3/4 inches x 2 1/4 inches and adhere to relevant rectangles on card base.

6. Decorate card as desired. If you wish to add a panel to the inside of card, this will be 6 3/4 inches x 4 3/4 inches.


Here is a look at the inside of my card, I added a border from the Sweet Borders die set, as I needed it longer than the die size, I used partial die cutting to extend the length of the border. I also added another of the gingerbread men to the lower right hand side of the card.

For the sentiment I pulled out another gingerbread themed sentiment, this time from Chloes Creative Cards. I love using sentiments that match the theme of the card.


Friday, September 26, 2025

Santa in Chimney

Hi Crafty Friends,

Today I am sharing a Christmas card I created recently. This one is an Arch shaped card and uses dies from Spellbinders. The cute Santa stuck in the Chimney is called Chimney Capers from the Merry Mischief Collection. This is a pretty simple card to create.

For the sentiment along the bottom of the card I used Spellbinders Christmas Cheer Sentiments Betterpress Plate from the City Holiday Collection. 


To create the Arch shaped card, I used Trinity Stamps Arch Shaped Card die set.


For the inside of the card, I added a sentiment which is included in the Chimney Capers die/stamp set.


Wednesday, September 24, 2025

Space Penny Slider Card


Hi Crafty Friends,

Today I am sharing a Penny Slider Card using new products from Made To Surprise by Sam Calcott. Sam's latest release was called Worth Every Penny and included dies to make various different Penny Slider Cards. There are also a number of different stamp/die sets of different themes,  the one I used for my card is a space themed set called Up Above.

I also pulled out an older Made To Surprise die set, the 6 x 6 Terrific Towers die set to use as the base of my card. 

I didn't take a video of this card in action, sorry. But you call tell by the two photos above how the images move and turn etc.

I used a Trinity Stamps Stencil called Crater Layers to create the planet surface for the alien to be standing on.

Here is another view of the front of the card. I added a sentiment included in the stamp set to the lower left hand side of the card.


Here is a look at the card when it is sitting on the desk, it does fold flat for mailing and would fit in a 6 x 6 envelope.


And finally the back of the card. I added a white panel and added a few more of the images, along with a sentiment. There is plenty of room to add a personal message.


Monday, September 22, 2025

Thinking of You Slimline


Hi Crafty Friends,

Today I am sharing two Slimline cards I created to add to my stash of male Thinking of You / Get Well Cards. It seems it is easy to make these for women, but making for men not so much. 

I recently received my Spellbinders September Caboodle Club kit which is mostly a fall/autumn theme. I love the pattern on the new 3D Embossing Folder to use on this card. I also used Sellbinders Postage Edge Slimlines die set for the layers.


For the sentiment, I used LDRS Creatives Big Word Thinking die set. I die cut the layer from vellum and the word die from either dark blue or black Cardstock.


For the inside of the card I used two stamps from Whimsy Stamps Boo Boo Manflu stamp set.


Friday, September 19, 2025

Triple Panel Box Card

Hi Crafty Friends,

Welcome to my blog. Today I have another Christmas card to share with you. This card is a Triple Panel Box Card and you will find a tutorial for it on Sam Calcott's Mixed Up Craft YouTube Channel here.


To decorate my card I pulled out the Christmas Cracker die set from Spellbinders. I love Christmas Crackers and have been making my own for nearly 50 years, so of course I had to get this set.

I die cut the crackers from green, red and gold cardstock as I wanted traditional Christmas colours for this particular card.


This card has extra panels attached to the left and right side of it panels to give it an interesting look.


A look at the right hand side, so you can see those extra panels a little easier.


The card folds flat, so it will fit inside a 5 x 7 envelope.


And finally the back of the card. I added white panels, one for the sentiment and the other to add a personal message.

The sentiment and cracker images are from Hero Arts A Little Nuts stamp set.


Wednesday, September 17, 2025

Joy

Hi Crafty Friends,


Today I am sharing two Christmas cards using products from Spellbinders Paper Arts. For this card I used the Shadow Joy die set from Yana Smakula’s City Holiday Collection, I used three different colours for all the layers of this card.


For my background I used the Falling Stars Betterpress Plate to gold foil onto a piece of teal Cardstock. Once I had finished foiling I used the coordinating Wishing Stars 3D Embossing Folder to add some star texture to my panel.

For the sentiment under the “JOY”, I used the City Holiday Sentiments Betterpress Plate, this is the negative piece you get when you use the leftover foil pieces with a solid foiling plate. 

For the inside of the card, I added another of the sentiments from the City Holiday Sentiments Betterpress Plate. I alas added three good glitter stars which were included in the Shadow Joy die set.


Monday, September 15, 2025

70th Birthday


Hi Crafty Friends,

A good friend recently celebrated her 70th birthday, so of course I had to make her a card. This one got made a little too close for comfort for me, due to being ill and ended up in hospital for about 4 days. It was the first card I made once I came back home and caught my breath.


For my card today, I created a Winged Pop-up Card using die from Made To Surprise by Sam Calcott's Showstopper 3 Collection.  The die used here is called 5in x 7in Showstoppers Winged Pop Up Card die set,  this die set can be used to make a number of different styles of card.


Here is an overhead view of the card, so you can see the winged portion of the card a little easier. The sentiment and numbers on the pop up portion of the card are also from Made To Surprise.


This is a look at the card when it is closed (so the front of the card). As the focus is on the inside, I kept this simple by just adding the birthday sentiment from Papertrey Ink.


And finally the back of the card. I wanted to add some info about what happened back in 1955 when my friend was born. I wasn't able to create this in the format I wanted as the panels are only 2 inches wide.  But I was happy I was able to get it all in!


Monday, September 8, 2025

Classic Father's Day Wishes


Hi Crafty Friends,

Yesterday was Father's Day for those of us that live in Australia! So of course I had to make a Father's Day card for my husband ... this is the card I came up with using some of the products from Spellbinders Classic Road Legends Collection. I modelled the card colours to one my husband had many years ago. You can see all the supplies I used in the supply list below.


Recently I came across an older Sam Calcott YouTube video on how to adapt the 5 x 7 Trifold die set from the Showstopper Collection into a Top Fold Tri-fold Stepper Card. I love been able to use my supplies in different ways, so of course I had to play with the idea. You can find Sam's video here.

I also pulled out an older Sizzix Pine Tree die & a grass die set to finish off the card.


For the inside I used a Father's Day sentiment from Lawn Fawn which I discovered when I was looking for another die. I also added the road die which is also from Lawn Fawn.