Showing posts with label Double Display Card. Show all posts

Tuesday, April 26, 2022

Faith Hope Love


Hi Crafty Friends,

Today I am sharing another wedding themed card using products from Divinity Designs April release.

This time around I have created a Double Display card using Divinity Designs Double Display Card with Layers die set. 


I used papers from the Wedding Flowers Slimline Size Paper Pad to decorate all the layers on this card, this paper is so beautiful!

I used the Faith Hope Love Sentiment which I stamped in pink onto white card and then used the Double Stitched Ovals and Ovals die sets to layer the sentiment to the centre of the front of the card.

I added a little bit of bling to each of the corners of the card.


I added the "Mr & Mrs" sentiment to the centre of the card, which is reveal once the card is opened.


Here is one more photo of the card when it is opened, so you can see the folds in the card a little easier.


Friday, February 15, 2019

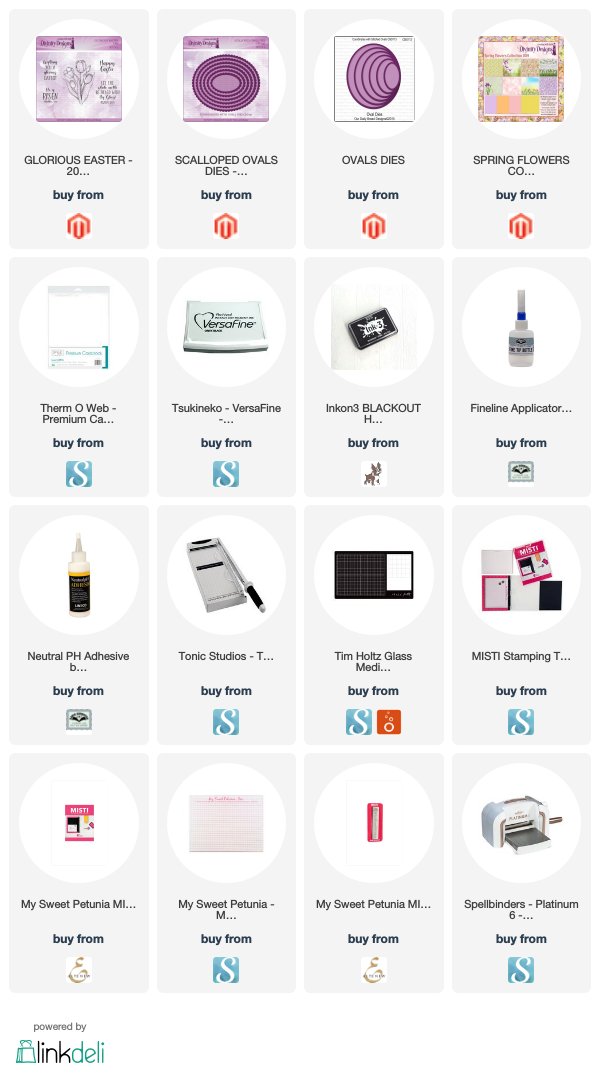
Divinity Designs - Glorious Easter


Hi Crafty Friends,

Today I am sharing two cards I created using some of the new products released this month from Divinity Designs (previously known as Our Daily Bread Designs).

Both cards feature the new Glorious Easter Stamp set and the Spring Flowers Collection 2019 Paper Pack.


For my first card today I have used Divinity Designs Half-Shutter Card with Layers die set. This die was released in January and I am hoping lots of fun playing with it.

To decorate my card I used some of the new papers from the Spring Flowers Collection 2019 6 x 6 Designer Paper Pack. This pack contains 24 designer papers and 12 solid colors and there are 3 of each color/pattern in the set. These papers are absolutely gorgeous and I couldn't wait to use them on some cards. For this card I decided to go with the paper that had the tulip border along the bottom.


On the front portion of the card I stamped the tulip from the Glorious Easter Stamp set layering the image onto the card using the Ovals and new Scalloped Ovals die set.


I added two of the sentiments from the stamp set to the inside of the card again using the Ovals & Scalloped Ovals die sets for layering.


For my second card today I created a Double Display Card using the Double Display Card and Double Display Layers die set.

I again used some of the beautiful patterned papers from the Spring Flowers Collection 2019 Paper Pack.


To layer the flower image and sentiment in the centre of the card I used the Rectangles & Scalloped Rectangles die set.

For the Happy Easter Sentiment on the front of the card I used the Double Stitched Circles die set.


Here is a look at my card when it is closed ready to be placed in an envelope.

Supplies:
For your shopping convenience, all products are linked below. Compensated affiliate links are used where possible with no extra cost to you. This helps me to continue to share all the projects I include on my blog. Please note I only use and share products I love.


Thursday, November 29, 2018

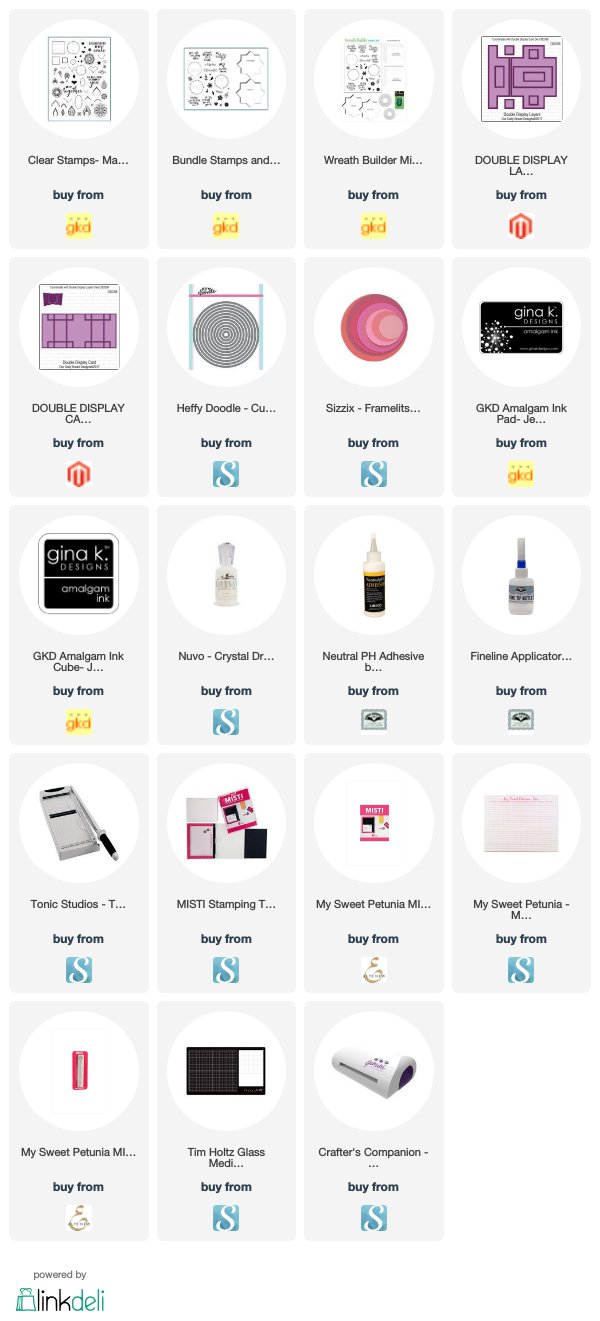
Circles and Squares


Hi Crafty Friends,

It's challenge time with my friends over on the CCEE Stampers challenge blog. Anne Harmon our challenge hostess for the month finishes off the month with one last challenge.

Circles and squares are simple  geometric shapes. Make a card using at least one of each.


I recently viewed a YouTube video where Rina Krupsky shared how to create a mandala using mostly squares and circles from her Mandala Maker Clear Stamp set available from Gina K Designs. As I purchased this stamp set a month or so ago, I thought it was the perfect set to use for this challenge. My mandala is inspired by the one Rina created with maybe a tiny change in the centre.

I did change up the colors for my mandala to what Rina used as I was using mine for a Christmas card. The colors on the mandala match the colors used on the card a lot better than show in the photo. Sometimes you can't get the colors to be true when taking photos.

After creating the mandala, I cut it around around the edge of the mandala.


Here is an overhead view of my card so you can see the folds in the card a little better.

In the centre of the card I added a Christmas sentiment from a retired Kaisercraft stamp set.


Here is a look at my card when it is closed ready to be placed in an envelope.

Don't forget to check out the CCEE Stampers blog (goes live 12 AM EST) to see the rest of the creations the CCEE Stampers created this week. You can also see more details of their creations on their individual blogs:


Supplies:
For your shopping convenience, all products are linked below. Compensated affiliate links are used where possible with no extra cost to you. This helps me to continue to share all the projects I include on my blog. Please note I only use and share products I love.

Traditional Sentiments - Kaisercraft


Saturday, September 8, 2018

Thank You For Your Kindness


Hi Crafty Friends,

It’s challenge time with the “Crazies” over on the Crazy 4 Challenges blog. Raquel Mason our challenge hostess for the month continues to issue the challenge.

 Apparently It’s Grandparents Day tomorrow – so our challenge is to make a card to show someone you love them or to show appreciation for what they do for you……basically a thank you.


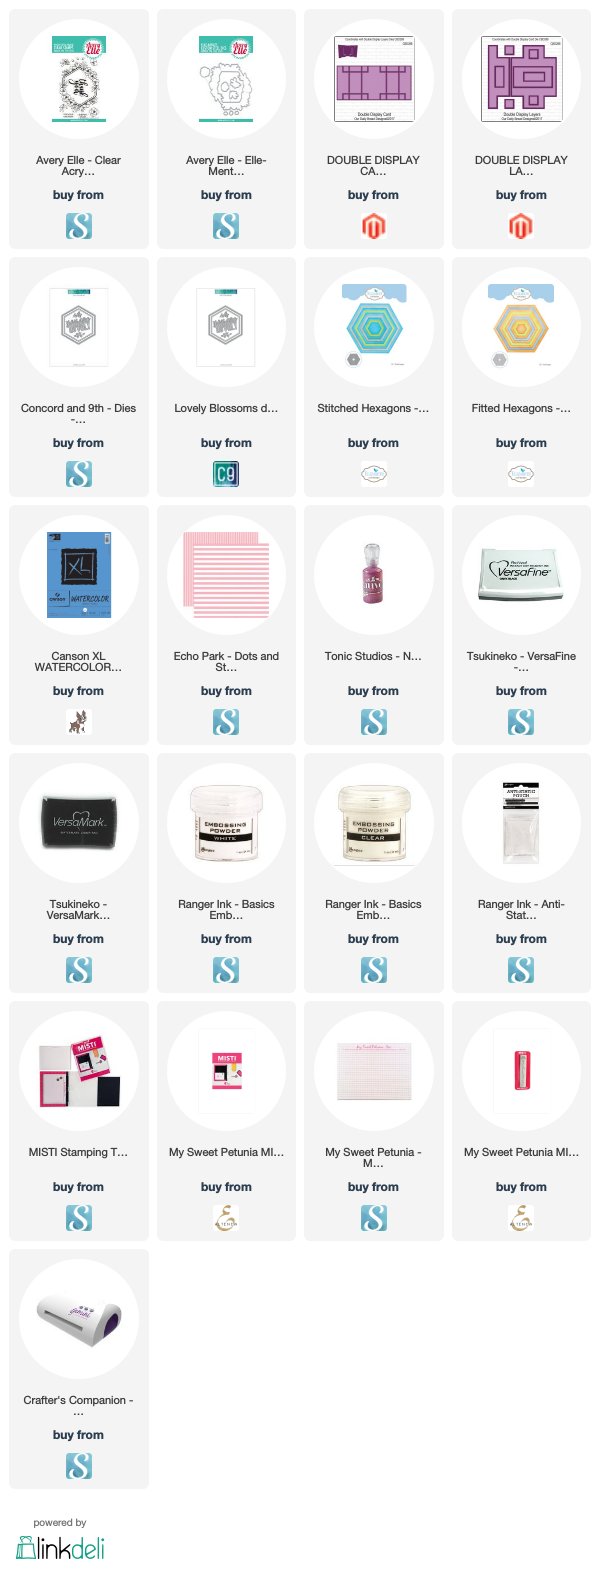
For my card today, I pulled out the Avery Elle Blooming Clear Stamp set, which I have been wanting to use for a month or two now, it includes three sentiments that are thank you related so it was perfect for this challenge.

I stamped the floral frame onto watercolor paper and embossed the image using black ink and clear embossing powder. I then used my Zig Clean Color Real Brush Markers to color in the image.

For the card I used Our Daily Bread Designs Double Display Card and the coordinating Double Display Layers die set.


For the sentiment on the inside of the card I used Elizabeth Craft Designs Fitted Hexagons and Stitched Hexagons die sets and the sentiment from the Concord and 9th Lovely die set. I also added a few of the single flowers around the hexagon.

To finish off the card I added Nuvo Drops to the top and bottom striped panels.


Here is another look at my card, this time when it is closed ready to be placed in an envelope.

Don't forget to check out the rest of the “Crazies” cards over on the Crazy 4 Challenges blog and also their individual blogs for more details.


Supplies:
For your shopping convenience, all products are linked below. Compensated affiliate links are used where possible with no extra cost to you. This helps me to continue to share all the projects I include on my blog. Please note I only use and share products I love.


Friday, August 17, 2018

Saddle Up & Celebrate


Hi Crafty Friends,


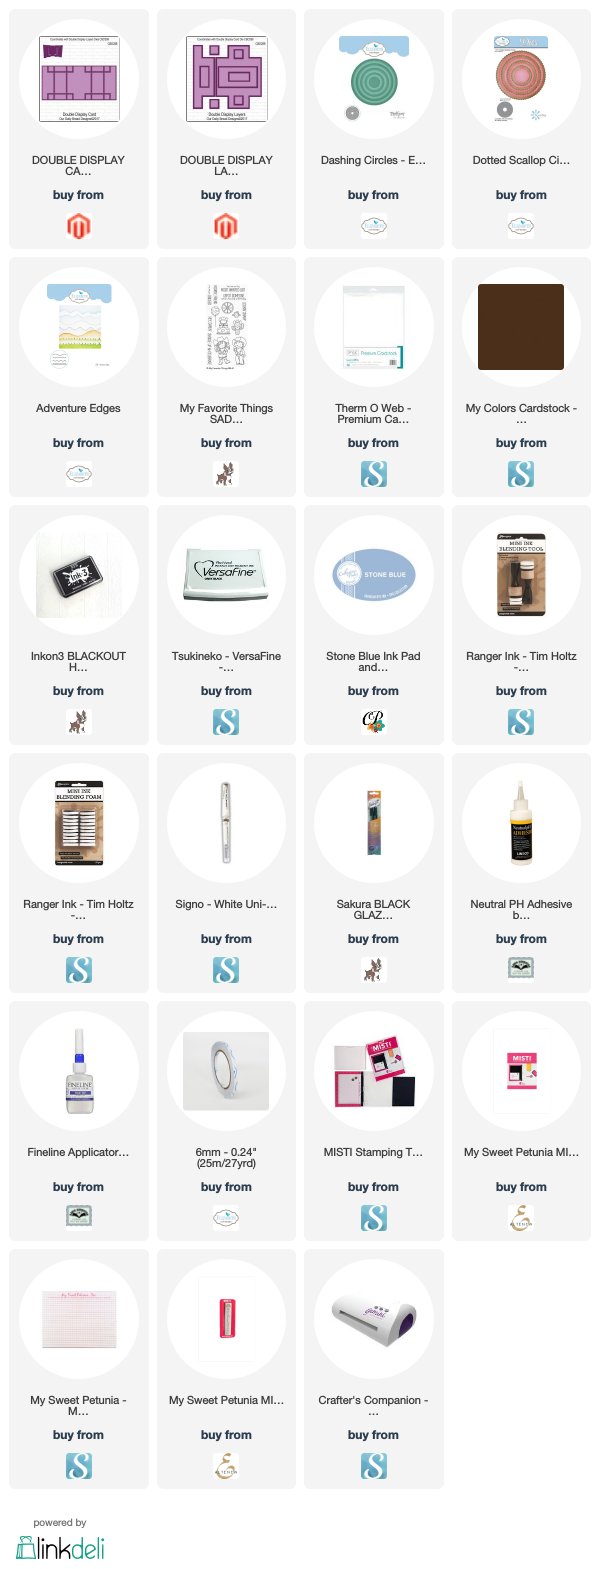
Those of you who know me, know how much I love interactive or construction style of cards. I recently discovered a few new dies from Our Daily Bread Designs which I had to add to my stash. My card today uses one of those dies .... the Double Display Card die and it's coordinating Double Display Layers die set.


To decorate my card I used an new MFT Stamps stamp set called Saddle Up & Celebrate. I layered the cowboy and cowgirl and three balloons onto a circle panel which I then adhered to the left hand side of the card so that it was centred when the card is closed.


When you open the card up it reveals the rest of the cowboy scene ... the cacti; cowboy cake; wagon wheels and sentiments.


Here is another look at my card when it is opened so you can see how I have added the cacti images to both inner panels of the card.

Supplies:
For your shopping convenience, all products are linked below. Compensated affiliate links are used where possible with no extra cost to you. This helps me to continue to share all the projects I include on my blog. Please note I only use and share products I love.

Homemade 6 x 6 Paper Pad - Kaisercraft