Showing posts with label Wreath Builder. Show all posts

Monday, June 1, 2020

A Happy Hello


Hi Crafty Friends,

Today I am sharing a set of cards I created using Gina K Designs Wreath Builder Template.


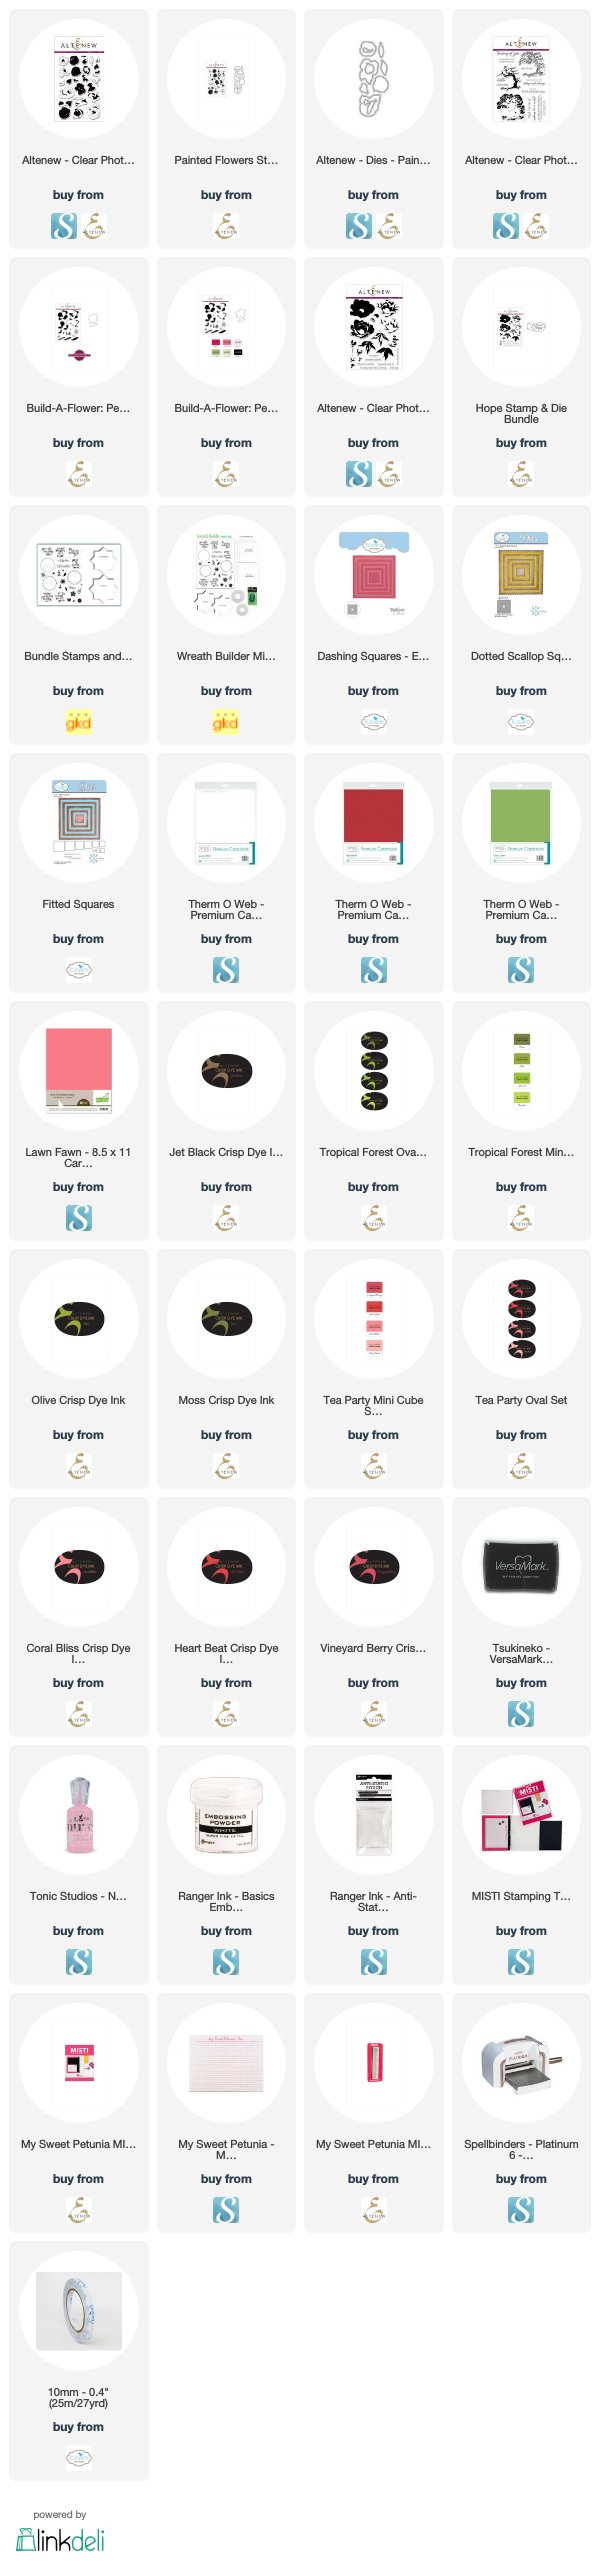
I used flowers from Altenew's Painted Flowers stamp set which I stamped onto a square card using the Wreath Builder Template.

I used Altenew inks for the flowers and leaves, you can see all the colors I used in the supply list below.

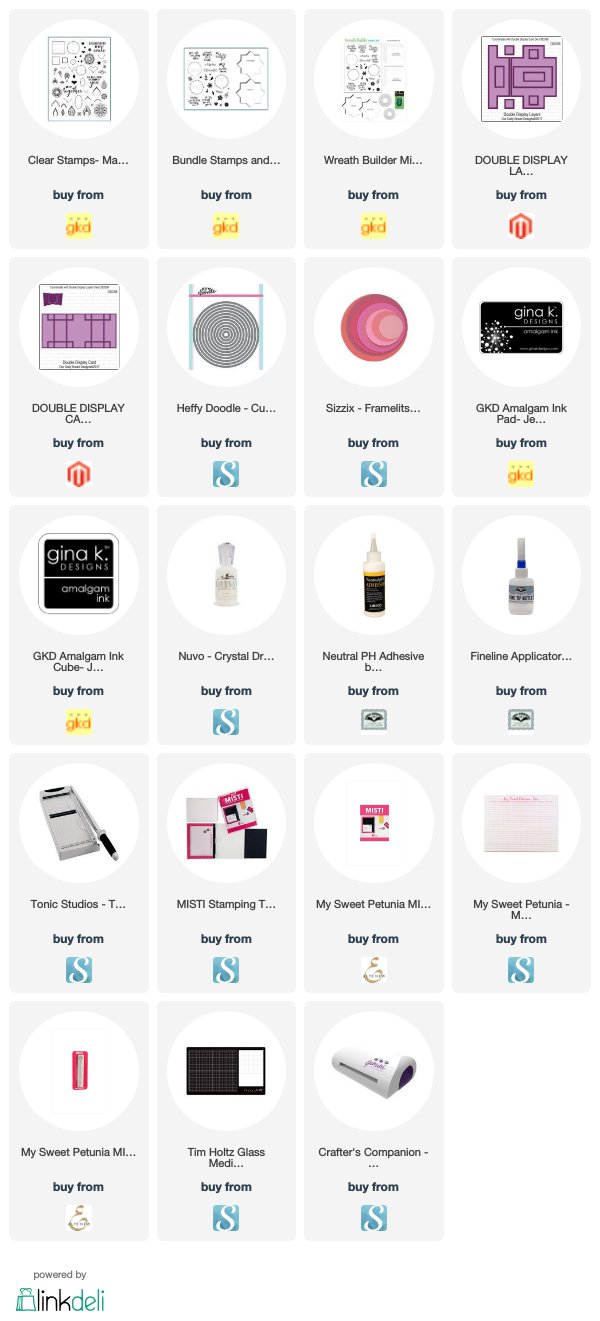
For the sentiment I used Gina K Designs A Happy Hello stamp set. This was stamped and die cut using circle dies.


For the inside of the cards I used a sentiment from Concord & 9th's Retro Petals Turnabout stamp set.

Supplies:
For your shopping convenience, all products are linked below. Compensated affiliate links are used where possible with no extra cost to you. This helps me to continue to share all the projects I include on my blog. For the benefit of my Australia readers, I have started to include some links to Australian stores when available. Please note I only use and share products I love.


Thursday, November 29, 2018

Circles and Squares


Hi Crafty Friends,

It's challenge time with my friends over on the CCEE Stampers challenge blog. Anne Harmon our challenge hostess for the month finishes off the month with one last challenge.

Circles and squares are simple  geometric shapes. Make a card using at least one of each.


I recently viewed a YouTube video where Rina Krupsky shared how to create a mandala using mostly squares and circles from her Mandala Maker Clear Stamp set available from Gina K Designs. As I purchased this stamp set a month or so ago, I thought it was the perfect set to use for this challenge. My mandala is inspired by the one Rina created with maybe a tiny change in the centre.

I did change up the colors for my mandala to what Rina used as I was using mine for a Christmas card. The colors on the mandala match the colors used on the card a lot better than show in the photo. Sometimes you can't get the colors to be true when taking photos.

After creating the mandala, I cut it around around the edge of the mandala.


Here is an overhead view of my card so you can see the folds in the card a little better.

In the centre of the card I added a Christmas sentiment from a retired Kaisercraft stamp set.


Here is a look at my card when it is closed ready to be placed in an envelope.

Don't forget to check out the CCEE Stampers blog (goes live 12 AM EST) to see the rest of the creations the CCEE Stampers created this week. You can also see more details of their creations on their individual blogs:


Supplies:
For your shopping convenience, all products are linked below. Compensated affiliate links are used where possible with no extra cost to you. This helps me to continue to share all the projects I include on my blog. Please note I only use and share products I love.

Traditional Sentiments - Kaisercraft


Saturday, November 17, 2018

So Glad You're In My Circle


Hi Crafty Friends,

It’s challenge time with the “Crazies” over on the Crazy 4 Challenges blog. Joanne Grzelak our challenge hostess for the month continues to issue the challenges.

Being the third Saturday of the month it is time for a sketch challenge.


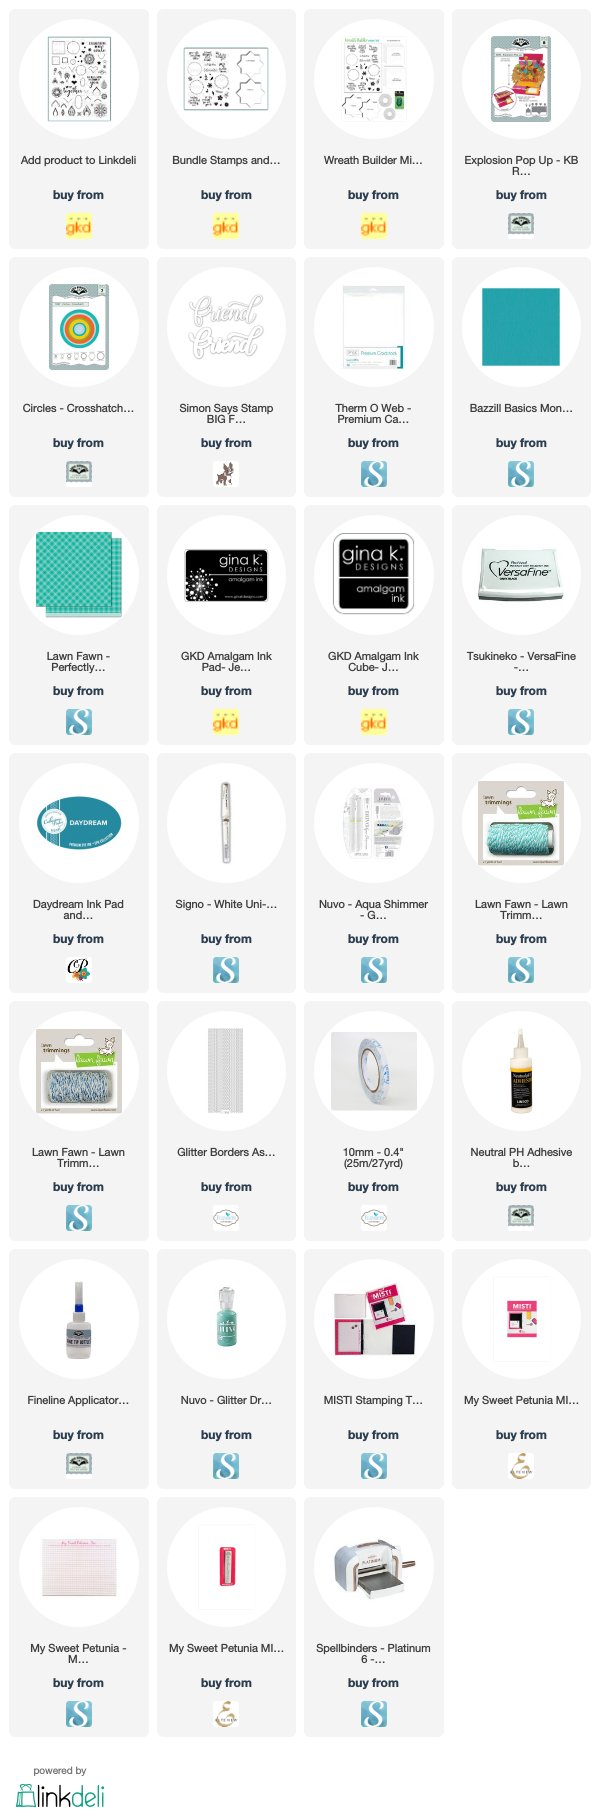
For my card today I decided to pull out my new Gina K Designs Mandala Maker Clear Stamp set. Once I had stamped all the images to make up my design I colored the image using Copic Markers and then used a circle die to die cut it into a circle to suit the sketch.

I added Nuvo Drops to the centre circle and then added jewels to all the outer circles to add a little more bling to the card.

I added the Simon Says Stamp "Friend" sentiment to the bottom of the card.

I added twine in around the lower portion of the mandala to represent the brown border shown on the sketch.

To finish off the card I added a few random jewels around the card.


I have created a pop-up card for the inside, using the pop up die from Karen Burniston's Explosion Pop-up die set. Instead of die cutting directly into the base card I decided to cut a smaller cardstock panel  and add my pop-up to this and adhere this to the centre of the card. I then adhere Turquoise/Silver Glitter Border Peel Off Stickers around the edge of this panel.

I die cut two circles from the Crosshatch Circles die set and added the sentiment also from the Mandala Maker stamp set to the centre. I trimmed off the bottom edge so I could add it to the pop up step of the card.


Along the top and bottom edges of the card I added a decorative border which I stamped again using stamps from the Mandala Maker Stamp set.

Don't forget to check out the rest of the “Crazies” cards over on the Crazy 4 Challenges blog and also their individual blogs for more details.


Supplies:
For your shopping convenience, all products are linked below. Compensated affiliate links are used where possible with no extra cost to you. This helps me to continue to share all the projects I include on my blog. Please note I only use and share products I love.


Friday, August 24, 2018

Just to Say Hello


Hi Crafty Friends,

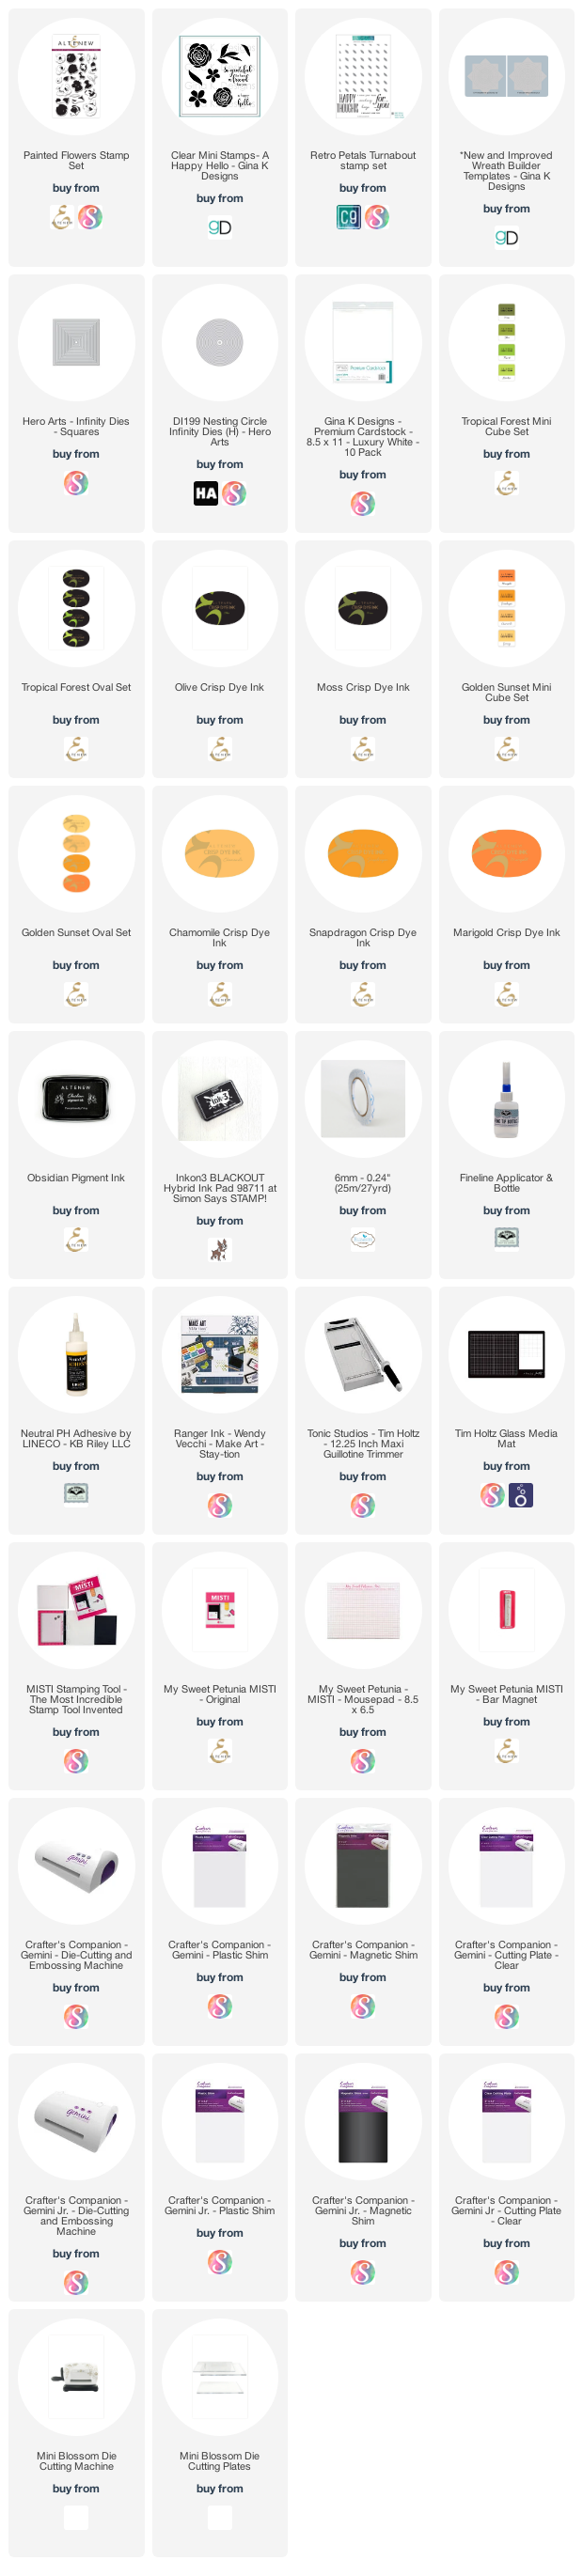
Today I am sharing a floral card I created recently using Gina K Designs Wreath Builder stencil. This is such an amazing stencil.

For my card today I used the Altenew Painted Flowers Clear Stamp set to create my flowers. This set is a layering set which contains a solid, overlay and outline stamp of each of the four different flowers and leaves.


I used Elizabeth Craft Designs Dashing Squares and Dotted Scallop Squares die set to layer all my square panels.

The "Hello" sentiment is from Altenew's Build - A - Flower Peruvian Lily Clear Stamp set. I found the "Just to Say" from the Altenew's In My Thoughts Clear Stamp set.

To finish off the card I added Nuvo Drops.


I added three more of the flowers from the Painted Flowers Clear Stamp set and then adding the sentiment which is from Altenew's Hope Clear Stamp set.

Supplies:
For your shopping convenience, all products are linked below. Compensated affiliate links are used where possible with no extra cost to you. This helps me to continue to share all the projects I include on my blog. Please note I only use and share products I love.


Sunday, April 29, 2018

You are so Awesome


Hi Crafty Friends,

Today I am sharing another card I created using Gina K Designs Wreath Builder kit I received earlier in the month. The wreath builder is such fun as it allows you to create awesome patterns on either 4 inch or 3 3/4 inch square of cardstock using the wreath builder stencils included in the kit and a MISTI.


This time around I used one of the circles included in the stamp set to create my "wreath" which creates an awesome pattern.

I decided to stamp the circles in rainbow colors and as I needed to stamp 8 times and there are only 7 colors in a rainbow I added pink to the mix.

I added a sentiment to the centre of the card using Color in Sentiments from Right at Home. 


For the inside of the card I stamped another set of 8 rainbow circles and then added another sentiment directly over the top ... this sentiment is from The Stamps of Life.

Supplies:


Other: 

Stamps:  Color in Sentiments - Right at Home; Words4Crayons - The Stamps of Life
Paper: White; Blue; Yellow; Red; Black
Inks: Black VersaFine Ink
Other: Red Rhinestones; Foam Tape

Sunday, April 8, 2018

Best Birthday Ever


Hi Crafty Friends,

A while ago Gina K Designs released a fabulous new product called the Wreath Builder, it was sold out but as they were taking preorders for more I had to place an order for a set as what I had seen it can do was simply awesome.

My order arrived earlier in the week and of course I had to have a play. The wreath builder contains two stencils which is used in conjunction to the MISTI to create a wreath design on either a 4 inch or 3 3/4 inch square of cardstock.


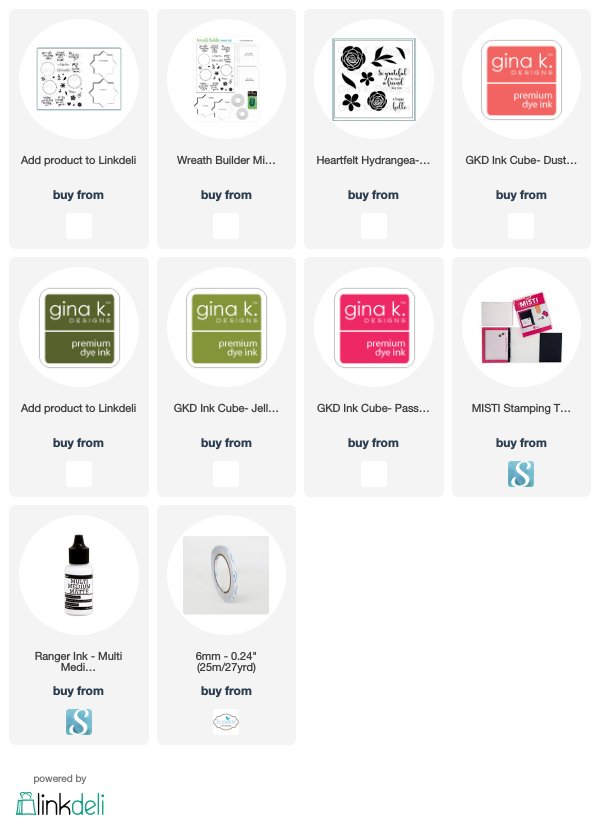
To create my card I used stamps from Gina K Designs A Happy Hello and the Wreath Builder Clear Stamp set as well as the 4 inch Wreath Builder Stencil needed to create this wreath.


For the inside I used the wreath builder to stamp the rose and leaves to the top and bottom corners of the card and also added a sentiment.

Supplies:


Paper: White; Dark Pink; Pink
Ink: Black VersaFine Ink
Other: Pink Rhinestones; Foam Tape