Showing posts with label Glitter Paste. Show all posts

Sunday, January 17, 2021

Hello Friend


Hi Crafty Friends,

Today I am sharing a Slimline card I created recently. 

For the background of my card I used Picket Fence Studio's Slim Daisy Burst Stencil. I blended Catherine Pooler inks in Sauna, Tiki Torch, It's A Girl, It's A Boy and Garden Party. Once I had blended the colors on my card, I then applied Gina K Designs White Glitter Glitz Gel over the background with the stencil still in place.

I used Trinity Stamps Slimline Stitched Card Panels and Windows die set to cut out the rectangle panel from the glittered background.

For the sentiment I used the "friend" sentiment from  Trinity Stamps Slimline Envelope Builder die set.

I added the "Hello" sentiment from an older Simon Says Stamp's stamp set.


For the inside of the card, I used the same stencil to apply a pattern to both edges of my card.

I added the "hello" sentiment using the dies from Trinity Stamps Slimline Envelope Builder die set.

Finally I stamps a sentiment from a Catherine Pooler stamp set.
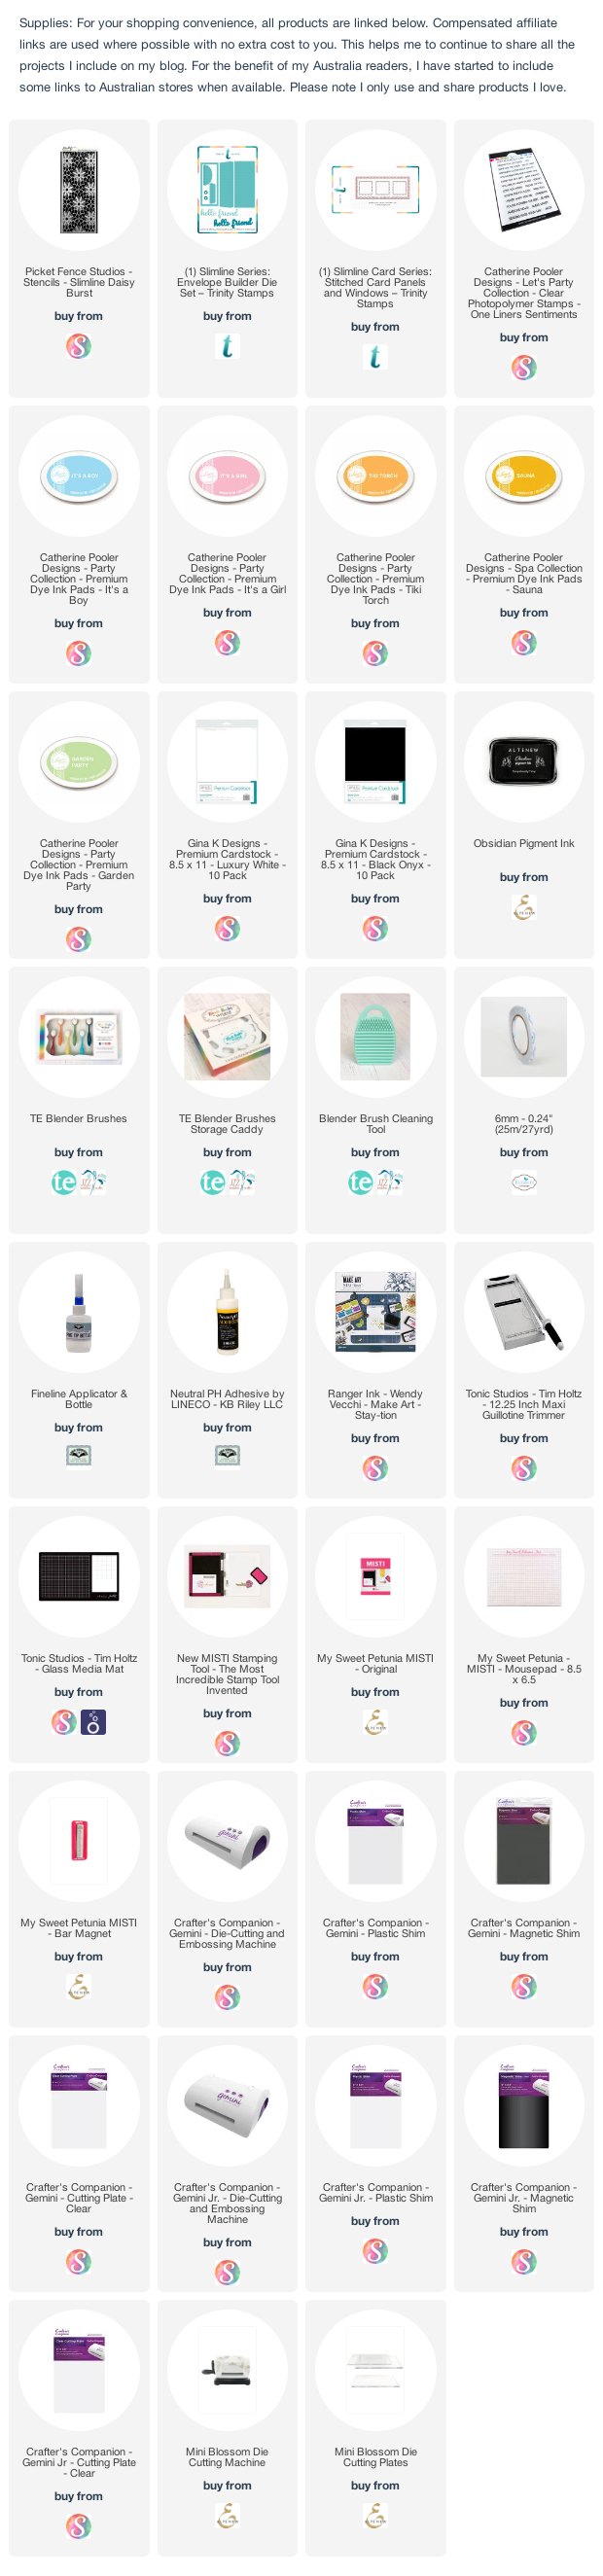

Other:

Gina K Designs White Glitter Glitz Gel
Square Sayings - Simon  Says Stamp! (discontinued)


Sunday, December 29, 2019

2020 Cheers


Hi Crafty Friends,

Well there are only a few more days before we bid farewell to 2019 and welcome in 2020. So today I am sharing a New Years card I created.

About a month or so ago, I purchased some of the new Taylored Expressions Masking Stencils, now that I have stopped making Christmas cards I got to play with the Rectangle Masking Stencils to create this card.

I used the etched lines on the stencil to line up my cardstock, but then I ended up using a Stitched Rectangle die to die cut the panel anyway. I used Distress Oxide inks in Picked Raspberry and Wilted Violet, to add color to the centre rectangle. I spritzed this inked panel slightly with water. I then used Altenew's Warp Speed Stencil and Gold Glitter Glitz to add a gold glittered burst to the panel.

MFT Stamps recently released the Ala Mode Cheers stamp set in one of their From the Vault releases ... I already had this stamp set from it's original release, so I pulled mine out to use on this card.

I die cut the word "Cheers" from Gold Glitter Cardstock and purple card and layered these together, offsetting slightly so I purchase border can be seen. 

I die cut the 2020 from glittered cardstock and added to the bottom of the card.


For the inside of my card, I again used Taylored Expressions Rectangle Masking Stencil to add the inked panel. I then added the "Happy New Year!" sentiment to the centre of the panel.


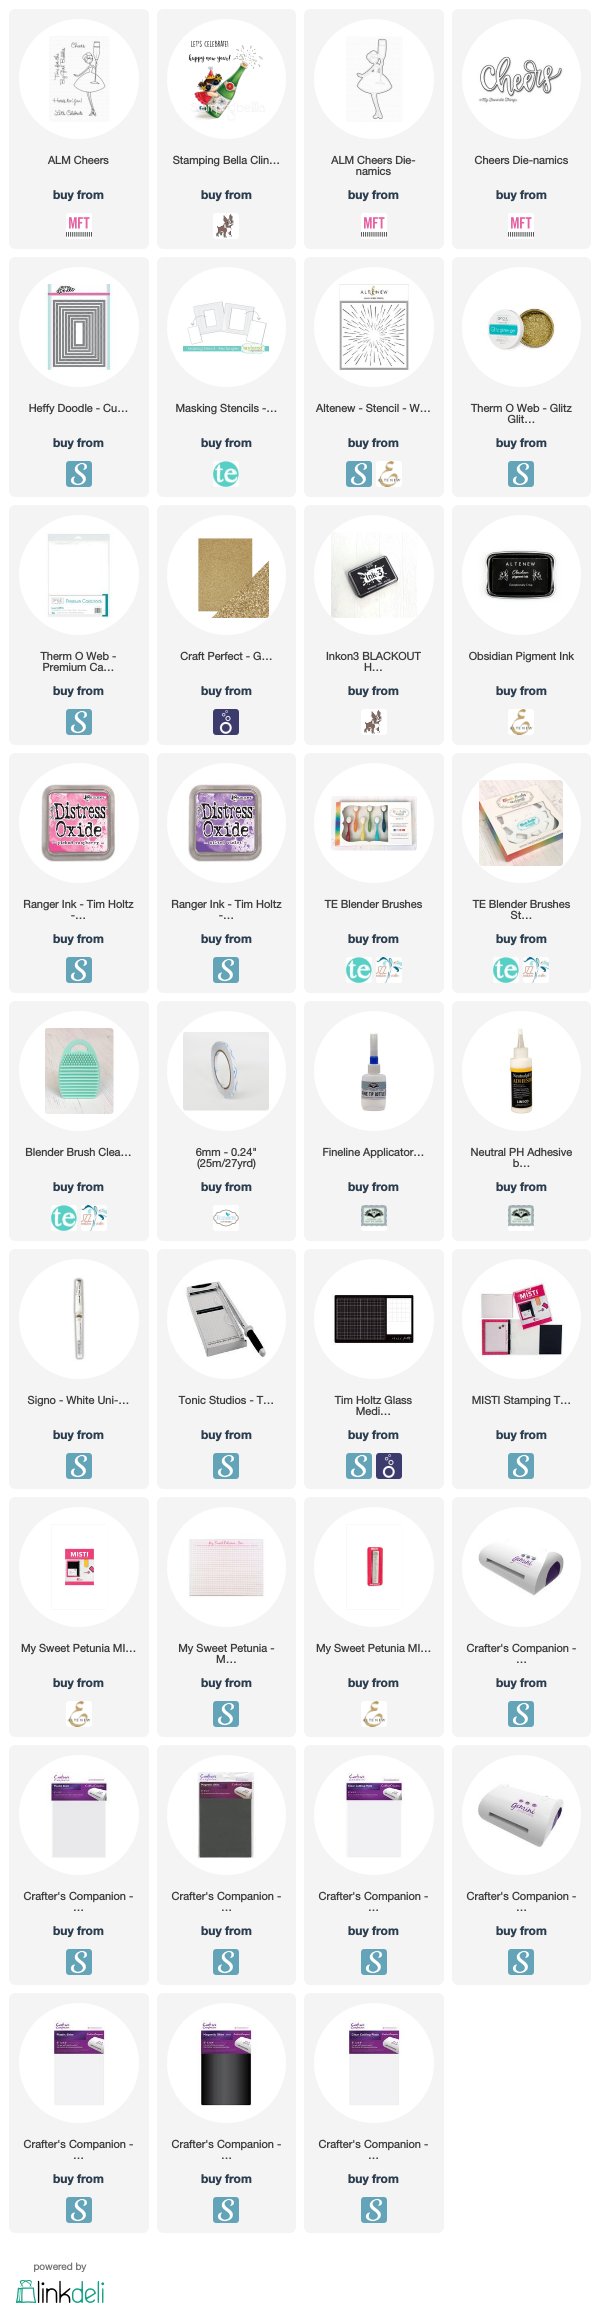
Supplies:
For your shopping convenience, all products are linked below. Compensated affiliate links are used where possible with no extra cost to you. This helps me to continue to share all the projects I include on my blog. For the benefit of my Australia readers, I have started to include some links to Australian stores when available. Please note I only use and share products I love.


Tuesday, July 30, 2019

Hello A Big Birthday Wish


Hi Crafty Friends,

I have a birthday card to share with you today.

I recently received my new Taylored Expressions Blending Brushes and of course I just had to play with them.


To create my card I die cut rectangle panel from the Mama Elephant Hexastar die set. 

I masked the scallop edges and covered the panel with the Mosaic Leaves Stencil. I added color through the stencil using yellow, orange and green inks. Next I covered the panel through the stencil using Gina K Designs Glitz Glitter Gel.

I used the Taylored Expressions Framed Script - Hello die to create the framed sentiment panel, die cutting from white and black cardstock and layering together.

The birthday sentiment is from the Bitty Birthday Sentiments, white embossing onto black cardstock and then die cutting using Honey Bee Stamps Banner Builders die set.


For the inside of my card I die cut the Hexastar Panel once more from white cardstock. On a scrap of cardstock I sponged another Mosaic Leaves Stencil panel and once dry attached it to the base of the Hexastar panel.

To finish off my card, I stamped two more sentiments from the Bitty Birthday Sentiments stamp set.


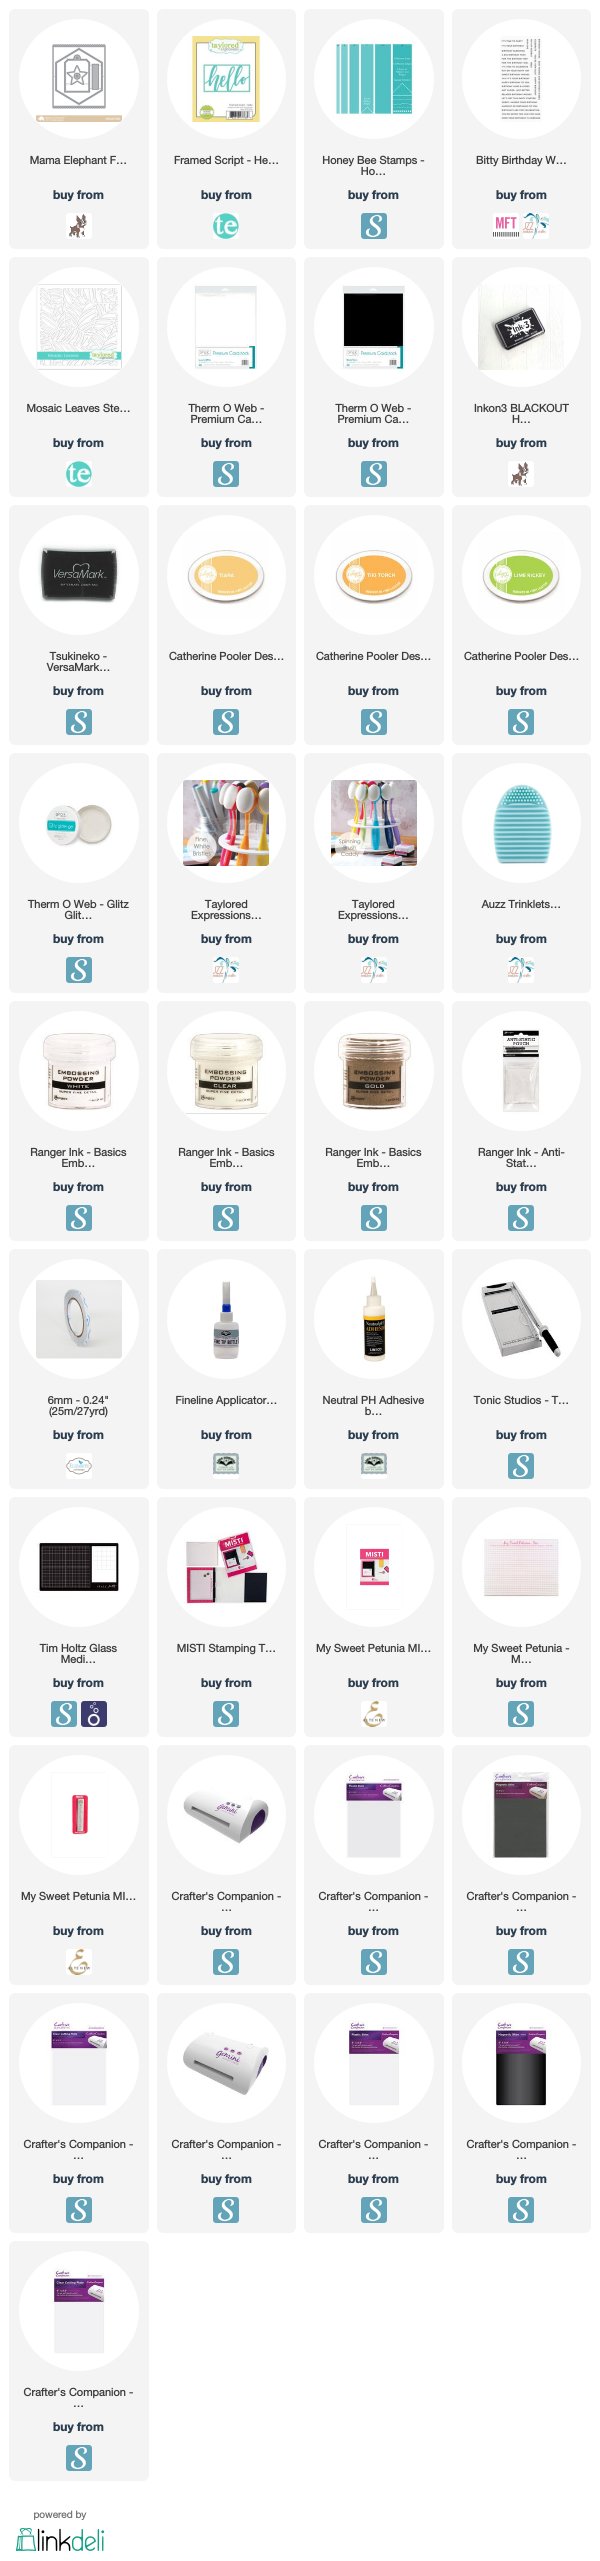
Supplies:
For your shopping convenience, all products are linked below. Compensated affiliate links are used where possible with no extra cost to you. This helps me to continue to share all the projects I include on my blog. For the benefit of my Australia readers, I have started to include some links to Australian stores when available. Please note I only use and share products I love.


Sunday, February 18, 2018

Celebrate Your Day


Hi Crafty Friends,

Today I am sharing a card I created recently using a Hero Arts stencil and Glitter Paste. I used three different colors of blue and green glitter paste to add color to the card.


I love the way this turned out, and I didn't want to cover the design up with sentiments etc, so I kept it very simple adding just a smallish sentiment to the lower front of the card.


For the inside of the card I added a white panel. Die cut the "birthday" sentiment from a Simon Says Stamp sentiment die and stamped the "wishes". I also added another flower trimmed from another panel I stencilled with glitter paste.


Stamps: Sentimental - Avery Elle; Happy Happy Happy - Lawn Fawn
Paper: White; Black; Blue; Vellum
Dies: Dashing Rectangles - Elizabeth Craft Designs; Sentimental - Avery Elle; Happy Birthday - Simon Says Stamp
Other: Hero Arts Spiral Petals Stencil; Viva Décor Light Blue Metallic 3D Stamp Paint; Viva Décor Lime Green Metallic 3D Stamp Paint; Bo Bunny Wasabi Glitter Paste