Showing posts with label Lawn Fawn Shadow Box. Show all posts

Monday, September 28, 2020

Beary Christmas


Hi Crafty Friends,

It's been about 18 months since I have created a Shadow Box card or what I prefer to make ... a Extended Scene Shadow Box card. Since I had ordered the new Lawn Fawn Shadow Box Card  Fireplace Add-on which was release in early September I decided it was time to make another one.


I used Kraft cardstock to create the base of my card and also the fireplace. For the folded card I cut a piece of cardstock the length of my cardstock x 3  inches and folded it in half.

I used Honey Bee Stamps Perfect Brick stencil and Gathered Twigs Distress Oxide ink to ass the brick detail to the fire place after I had die cut the Kraft cardstock using the Shadow Box die 

I added papers from the Let It Shine Paper Pad, to the left and right sides of the inside of the card.

I added the fire, trim around fireplace, stockings, candy canes and the bottom half of Santa, to the fireplace. All these elements are included in the Shadow Box Card Fireplace Add on die set.


I used stamps from the Den Sweet Den and Christmas Dreams stamp sets to decorate the card.

The Christmas Tree was a little too high for my card, so I trimmed off the bottom tier of the tree and add the trunk back to the bottom of the tree.
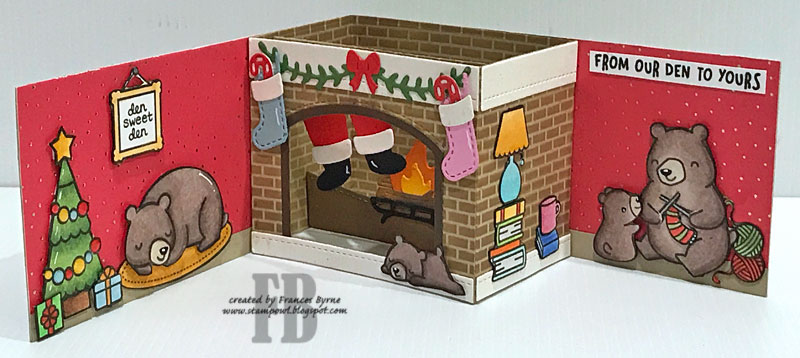

Here is another view of my card when it is opened. You can see that I also added images to the side of the fireplace too. I also added a sentiment from the Den Sweet Den stamp set to the right side of the card.


I kept the front of the card fairly simple, as the inside of the card is the focal point. I added pattern paper from the Let It Shine Paper Pad to the front of the card.

I added a oval die cut using the same patterned paper I used on the inside. I added the "Have A Beary Christmas' sentiment using one of the sentiment stripes from the Everyday Sentiments die set and adhered it to the oval.

I added two of the bears to the right side of the card and the Christmas tree to the left hand side.

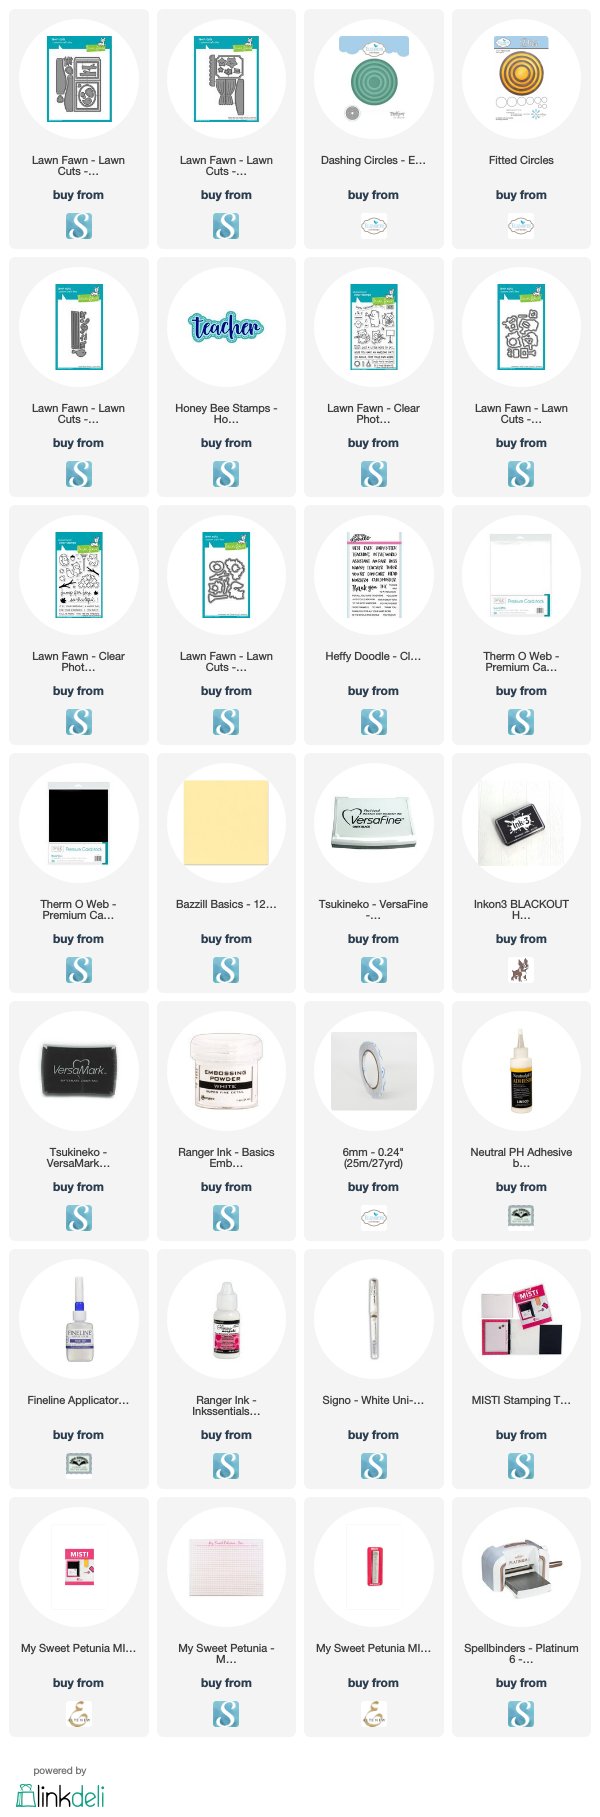
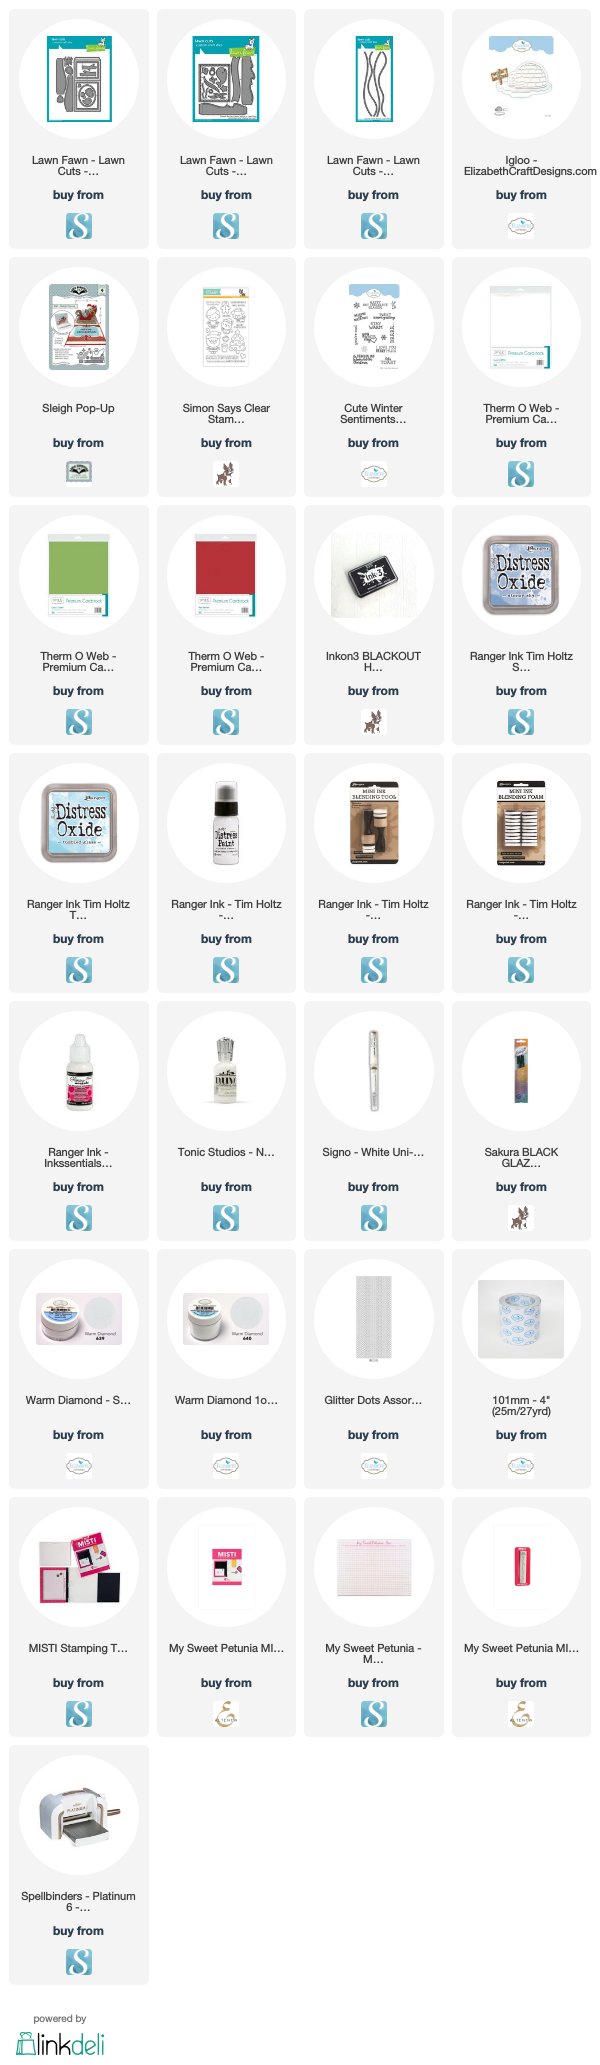
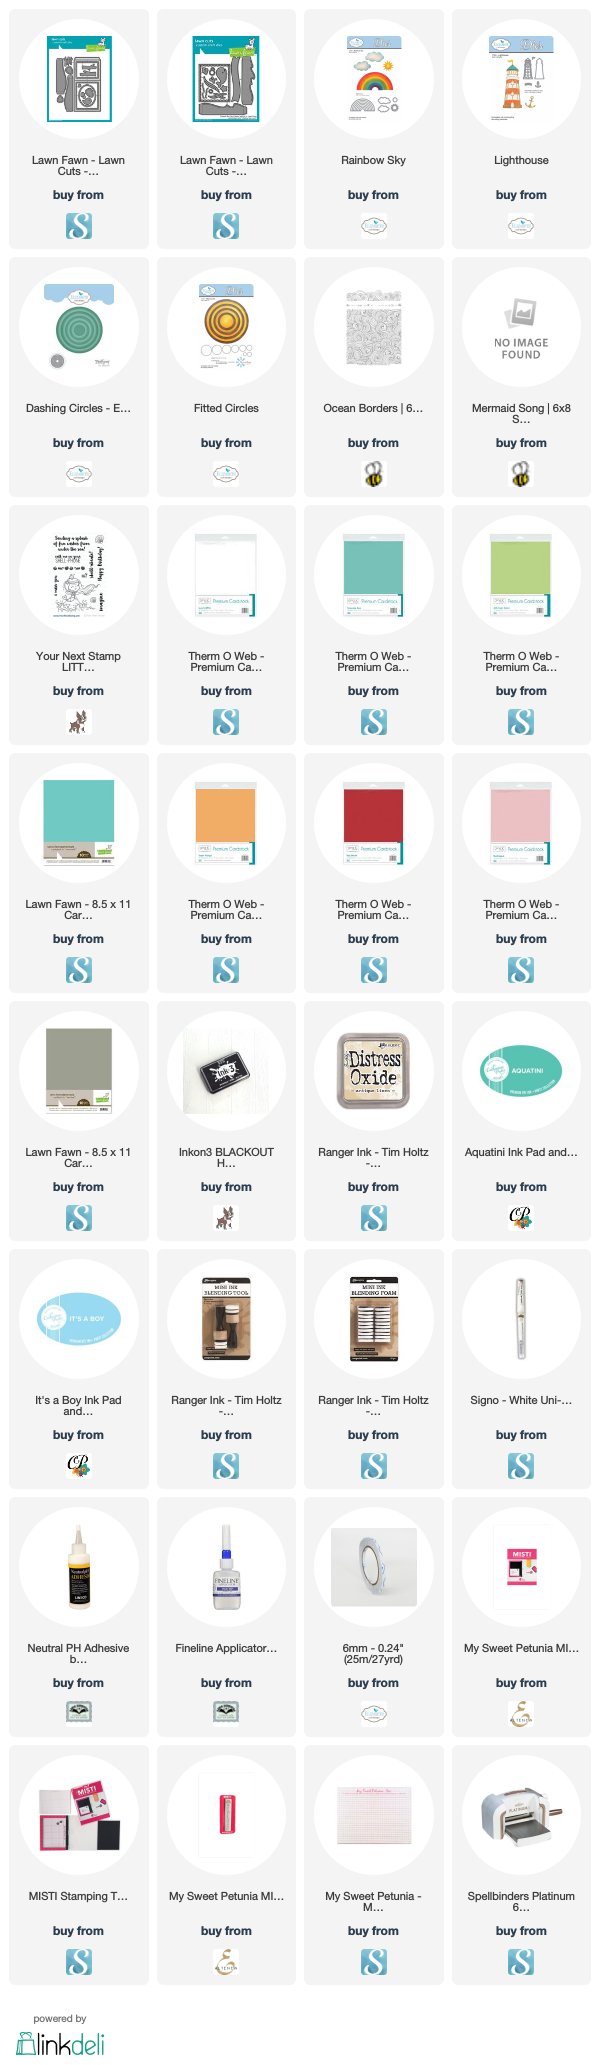
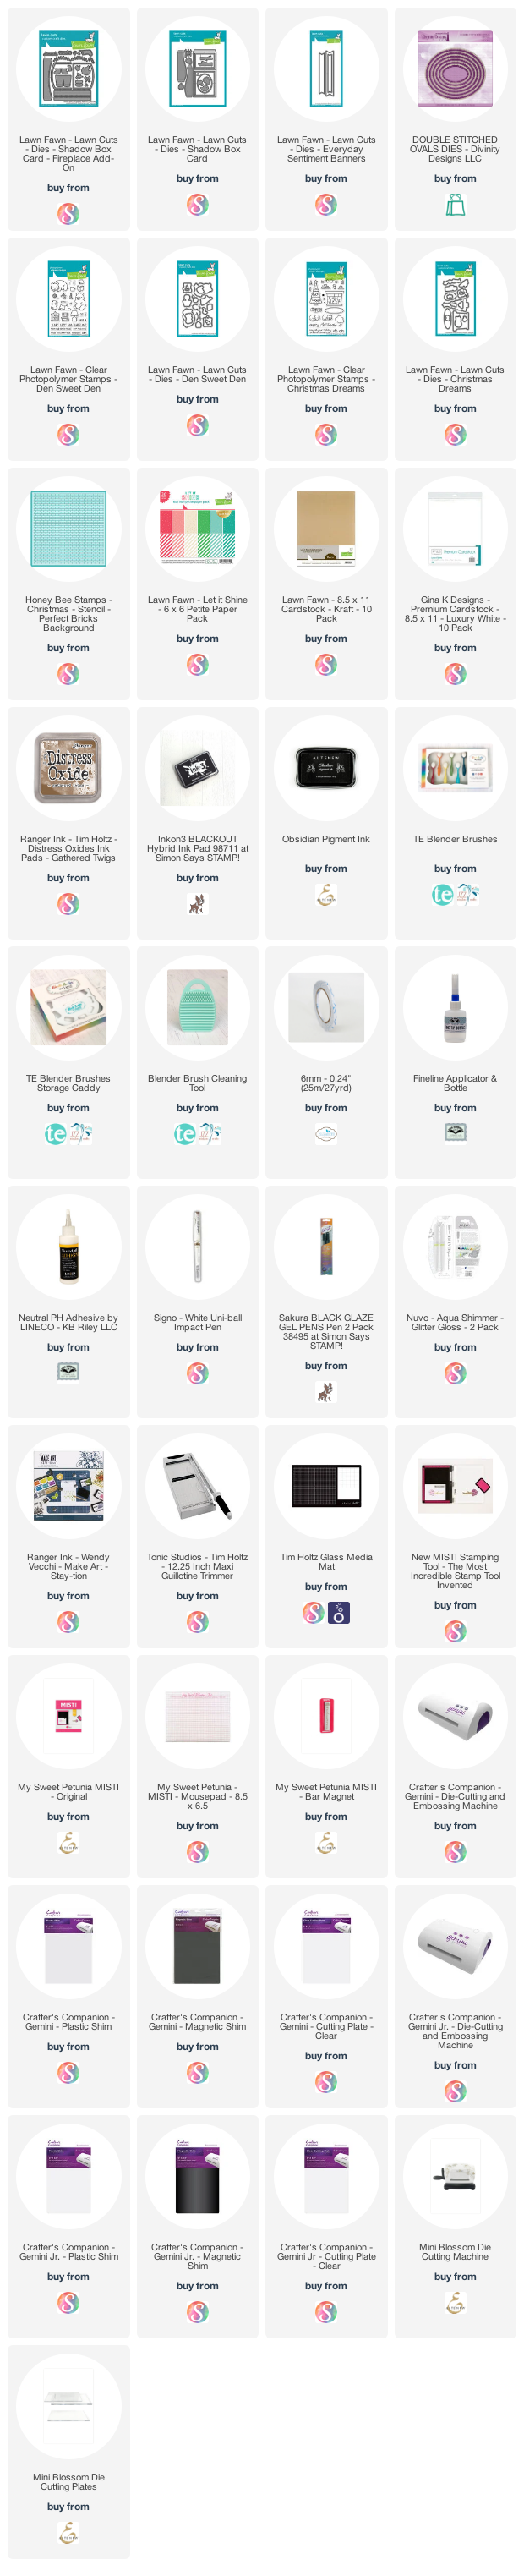
Supplies:

For your shopping convenience, all products are linked below. Compensated affiliate links are used where possible with no extra cost to you. This helps me to continue to share all the projects I include on my blog. For the benefit of my Australia readers, I have started to include some links to Australian stores when available. Please note I only use and share products I love.


Sunday, March 24, 2019

No One Is Too Old For Fairy Tales


Hi Crafty Friends,

Today I am sharing a Shadow Box Card I created using stamps from Craftin' Desert Divas and dies from Lawn Fawn.


Recently Lawn Fawn released two Add-On die sets for their Shadow Box die set. As I already have the Shadow Box die set, I had to purchase the Add-On die sets and it gives you more options on how to use these dies.

For my card today I pulled out the new Shadow Box Add-On Park die set to use with the Shadow Box die. 

Last year I had fun using the Lawn Fawn Shadow Box die set in the centre of the card, so I decided to continue to do that for my card today.


I added the trees from the Add-On die set to the shadow box and also on each end of the card. 

To decorate my card I used Craftin' Desert Divas Dragon Tales Clear Stamp set.


Here is another view of my card when it is opened. The grass along the bottom of the card is the grass die included in the Add-On die set which is used inside the Shadow Box.


For the front of the card I added two trees to both edges of the card and added the knight on the horse along with a sentiment.

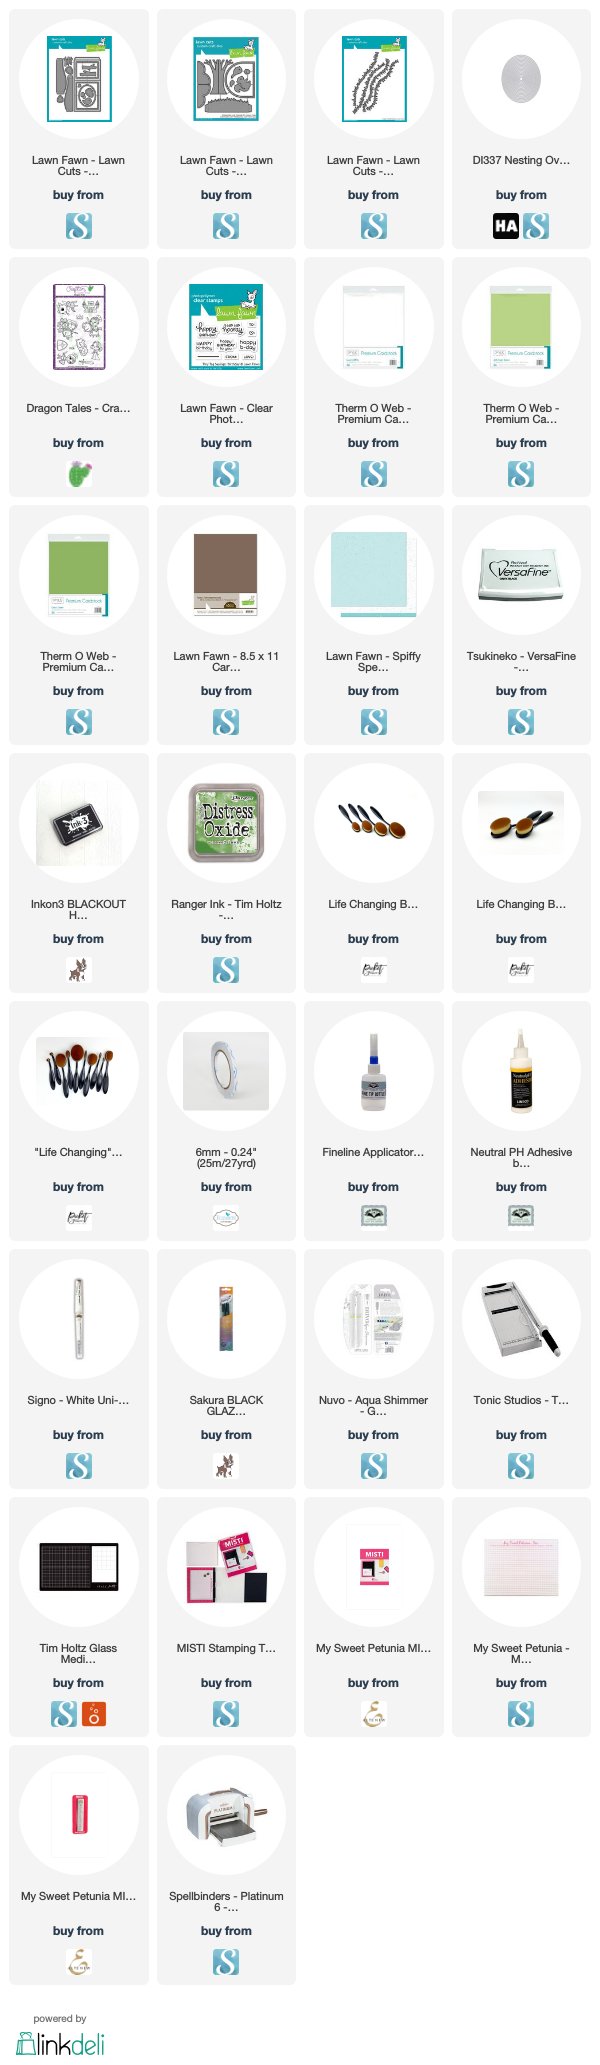
Supplies:
For your shopping convenience, all products are linked below. Compensated affiliate links are used where possible with no extra cost to you. This helps me to continue to share all the projects I include on my blog. Please note I only use and share products I love.

Fairy Tale Squidgies - Stamping Bella


Monday, October 29, 2018

To A Fabulous Teacher


Hi Crafty Friends,

My card today is for a challenge I do with a couple of friends of mine. Each month we challenge each other to create something using supplies we all own.

This month our challenge was to create a Shadow Box card.


I have been having fun this year using the Lawn Fawn Shadow Box Card die set and adding it to the centre of a card, so I decided to use that again to create my card.

I am still trying to get some cards made as teacher thank you's for my Grandchildren's teachers and today I decided to make a music themed card for the Music Teacher who is teaching my grandson to play the Cello.

You can see my previous cards here.

The finished size of my card is 14.8cm (5 7/8inches)  x 7cm (2 7/8inches), I was able to use Australian A4 card, however if you are in the USA you would probably need to use 12 inch cardstock.


I also used the Lawn Fawn Shadow Box Theater Add On die set to add the curtain to the front of the shadow box.

To decorate the card I used the Concert Critters & Jump for Joy stamp sets from Lawn Fawn. The music notes on the left side of the card is also from Lawn Fawn.


The thank you sentiment on the right hand panel of the card is from a Heffy Doodle stamp set.


Here is a overhead view of my card so you can see some of the images inside the shadow box a little better. These can be hard to photograph.


For the front of the card I used the Honey Bee Stamps Special Teacher die set, I also added a few more of the animals from the Concert Critters stamp set.

The label is from an old retired set I have in my stash.

Supplies:
For your shopping convenience, all products are linked below. Compensated affiliate links are used where possible with no extra cost to you. This helps me to continue to share all the projects I include on my blog. Please note I only use and share products I love.


Thursday, September 6, 2018

Welcome to the North Pole


Hi Crafty Friends,

It's challenge time with my friends over on the CCEE Stampers challenge blog. Being a brand new month it is time to introduce our new challenge hostess which is Maryann Einam.

Our challenge this week is ......
Shadow box card - This card has been around for a lot of years but lately I have noticed some modern twists to it, so give us your version of a shadow box card.


For my card today I decided to use the Lawn Fawn Shadow Box die set and create a similar card that I made in July where I placed the shadow box die cut into the card. You can see my previous card here. 

The finished size of my card is 14.8cm (5 7/8inches)  x 7cm (2 7/8inches), I was able to use Australian A4 card, however if you are in the USA you would probably need to use 12 inch cardstock.


To decorate my card I used a stamp set I purchased last year which came with Simon Says Stamps Card Kit, I knew when I purchased the the stamp set that it would arrive too close to Christmas to use so it was good to be able to get it out to create this card today.

For the back of the shadow box part of the card I created sky panels by using distress oxide inks and then splatting the panels with white paint to give the look of falling snow.


I added a sentiment panel with another Christmas tree to the left hand side of the shadow box.

On the right hand side of the card I added the "Welcome to The North Pole" which is from Elizabeth Craft Designs.


Here is an overhead view of my card so you can see a little more of inside of the shadow box.


For the front of the card, I created another sky background and added a snow border. I added Santa, a Christmas Tree and another welcome sign.


Don't forget to check out the CCEE Stampers blog (goes live 12 AM EST) to see the rest of the creations the CCEE Stampers created this week. You can also see more details of their creations on their individual blogs:

Vicky Gould
Kelly McKown-Santi


Supplies:

For your shopping convenience, all products are linked below. Compensated affiliate links are used where possible with no extra cost to you. This helps me to continue to share all the projects I include on my blog. Please note I only use and share products I love.


Monday, July 23, 2018

A Splash of Fun!


Hi Crafty Friends,

Today I am sharing a card using Lawn Fawn's Shadow Box Card and Shadow Box Card Ocean Add On die sets.


I decided to create something a little different to the standard shadow box and turned it into a card with the shadow box inside it.


To create my card I started by assembling the Shadow Box Card using the two die sets from Lawn Fawn. I added a couple of extra fish which are from one of my very first Spellbinders die sets, some  clouds, seagulls etc.

Once I had made the shadow box, I cut a piece of cardstock the same height as the shadow box and folded it in half.

I applied adhesive to the back and left hand side of the shadow box and then attached it to the centre of the card.


The sentiment on the left side of the card is from a Your Next Stamp Clear Stamp set, which was stamped onto the negative panel die cut using the frame from the Shadow Box Card Ocean Add On die set.

The other sentiment is from a Honey Bee Stamps Clear Stamp set and die cut using a couple of circle dies.


One last photo of the card taken from over head so you can see a few more details of the card.


For the front of the card, I created a background using Honey Bee Stamps Ocean Borders Clear Stamp set sponging two colors of inks from Catherine Pooler.

The sentiment is another from the Honey Bee Stamps Mermaid Song Clear Stamp set which has been stamped onto an older label die set.

Supplies:
For your shopping convenience, all products are linked below. Compensated affiliate links are used where possible with no extra cost to you. This helps me to continue to share all the projects I include on my blog. Please note I only use and share products I love.


Monday, June 18, 2018

Dance Shadow Box


Hi Crafty Friends,

Today I am sharing a Shadow Box I created using the Lawn Fawn Shadow Box die set and the new Shadow Box Theater Add-On I got recently. 

To decorate my card I used the cute Sunny Studio's Tiny Dancers stamp set. This card is lots of fun, but it is really a hard one to take photos off and do the card justice.


Here is a side on view of the shadow box, so you can see a few more of the cute tiny dancers.


One more side view of my card so you can see the little scene inside the shadow box.


And finally the back of the card where I have added a sentiment.

Supplies:


Sunday, October 1, 2017

Hope Your Christmas ...


Hi Crafty Friends,

Today I have another Shadow Box card for you using the new Lawn Fawn Shadow Box die set I purchased recently. This time around I have created a Christmas card using the cute Here We Go a Waddling and Winter Village stamp sets.


For the background (the sky), I cut three pieces of white card that would fit the back and sides of the shadow box. Sponged over the cardstock using Broken China Distress Oxide and then created a snowy background using the Snowstorm & Mounds Stencil from Elizabeth Craft Designs and white texture paste that I also added glitter to.

Once I had adhered the panels to the inside of the shadow box, I then adhered some birch trees to the back panel.


I die cut the two hillside pieces that go into the centre of the shadow box from white cardstock that had Clear Double Sided Adhesive Tape on the front. I removed the protective backing from the tape (except for the tabs) and covered with Cool Diamond Silk Microfine Glitter. 

I cut an additional hillside using the Stitched Hillside Border die to add to the back panel.


I die cut the houses and tiny lamp posts from the Winter Village stamp set and adhered them to the middle hillside.

On the front hill, I added the group of singing penguins and a larger lamp post. 

On the front of the shadow box, I added the penguin with the guitar, another lamp post and a plain penguin.

I added a sentiment to the top front of the shadow box using a banner die.


On the back of the shadow box I added a white panel which was die cut using the rectangle from the Magic Color Slider die set. I added a sentiment, some music notes and another of the cute penguins.


Of course the shadow box folds flat, so you can place it in an envelope for posting!

Stamps: Here We Go A Waddling; Winter Village - Lawn Fawn
Paper: White; Dark Blue
Dies: Shadow Box; Birch Trees; Stitched Hillside Borders; Magic Color Slider (Rectangle Label on back) - Lawn Fawn; Banners - Elizabeth Craft Designs
Other: Black Ink; Clear Double Sided Adhesive Tape - ECD; Cool Diamond Silk Microfine Glitter - Elizabeth Craft Designs; Snowstorm & Mounds Stencil - ECD; White Texture Paste; Clear Glitter Wink of Stella Pen; Foam Tape; Copics