Showing posts with label Photo Collage Pop-up. Show all posts

Friday, March 13, 2020

Off To See The Wizard


Hi Crazy Friends,

Today I have a fun card to share with you using stamps from Riley and Company.

One of my favorite Riley and Company stamps are the "Wizard of Oz" theme stamps. It's been a while since I have pulled them out to play, so I decided to do so for my card today.


For the backgrounds of my card I used MFT Stamps Small Brick Wall Stencil. For the front of the card, I stencilled the background portrait style using Catherine Pooler inks in Sauna & Tiki Torch. As I wanted the bricks to look like the Yellow Brick Road, I turned the stencil 90 degrees to stencil those panels, so that the brick road appeared to go across the whole card.

I used Riley and Company's Yellow Brick Road stamp to decorate the front ... I just love this stamp :)

I used Karen Burniston (KB Riley LLC) Crosshatch Circles for the layering of the image. I added a sentiment from the Riley in Oz Stamp set one die cutting the sentiment using the fishtail banner included in the Triple Flip Card die set.


For the inside of the card I used Karen Burniston's Photo Collage Pop-up die set. Here is a quick video to see my card in action.


I used the photo frame die from the Photo Collage Pop-up die set to add the images to the pop-up portion of the card. Riley and Company have 7 individual "Oz" themed images so I used those to add to the photo frames and then used the red shoes to the eighth photo frame.


I added another of the sentiment included in the Riley in Oz Stamp set, this time using the Crosshatch - Ovals die set for my layering. I added a blank oval to the top right hand corner of the card for a hand written greeting.

To finish off the inside of the card I added the bull dog clips and push pins which are also dies included int he Photo Collage Pop-up die set.


Here is a look at my card as it is closing, the pop-up twists and collapses so that it is all hidden inside the card.

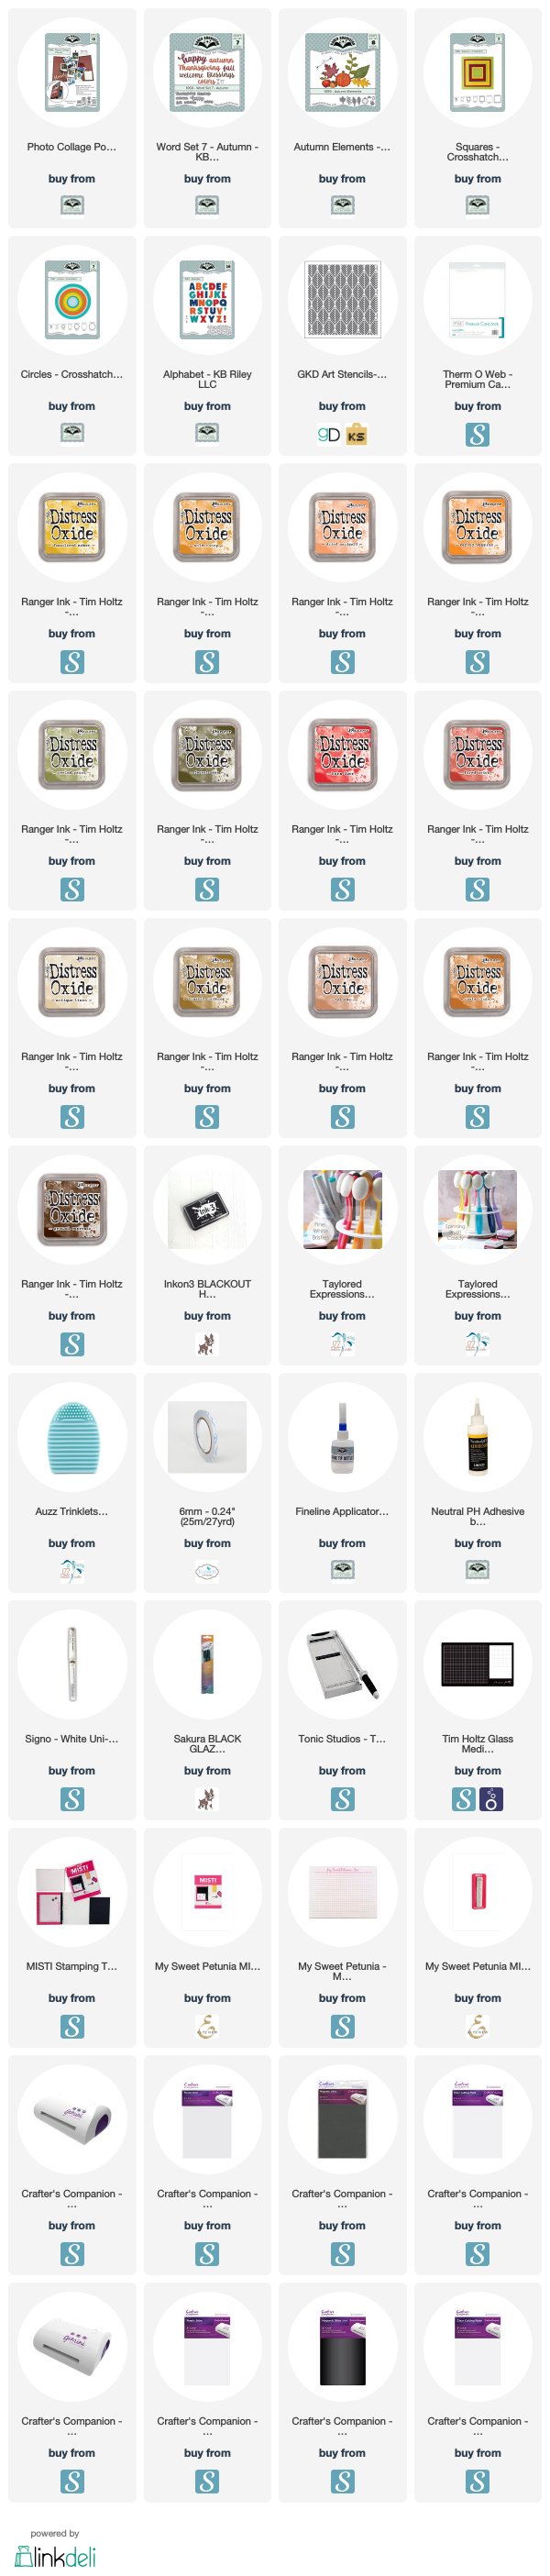
Supplies:
For your shopping convenience, all products are linked below. Compensated affiliate links are used where possible with no extra cost to you. This helps me to continue to share all the projects I include on my blog. For the benefit of my Australia readers, I have started to include some links to Australian stores when available. Please note I only use and share products I love.



Tuesday, March 3, 2020

March 2020 Karen Burniston Designer Challenge


Hi Crafty Friends,

Welcome to our March Karen Burniston Designer Challenge.

Check out Karen Burniston's blog on Wednesday (US Time) when you will be able to see what all the designers created for the challenge this month, plus Karen will have an amazing video tutorial to share with us all.

Our challenge theme this month is .... 
"ICYMI (In Case You Missed It)" - repost your favorite card from any previous Designer Challenge. 


I posted this "pugalicious" card for our July 2019 "Picture This" Designer Challenge using the Photo Collage Card Pop-up die set. You can see more details about this card in my blog post found here.

 The photos I used on this card were of my grand puppy Frankie, my daughter (her mummy), is always taking photos of her and often messages them to us. Frankie is quite a character!  So for our challenge today, I decided to create another card using some of the newer photos of Frankie that I have received.


This time around I decided to create a Photo Tag Book, using the Tag Book Pop-up die set. To frame all the photos I used the photo frame from the Photo Collage Pop-up die set.

 The hardest part about making this card was deciding which photos to use.

I added three photos inside the photo frames to the front of the tag book. As one of the photos was from Frankie's 1st birthday party last year I decided to go with a birthday theme. I added the "Make A Wish" sentiment from Word Set 2 - Birthday underneath the photos.

I used the dog bowl, bones, hearts and bandana from the Cat & Dog die set to embellish the front of the card. The bandana if you are looking for it, I added to the centre photo of Frankie. So it looks like she is wearing it.


On the inside of the tag book, I added two more photos in the photo frames. These were placed on the larger tags on each end of the tag book.


Here is a close up look at the left hand side of my tag book. I added a bone to the bottom of the photo frame and added a bull dog clip from the Photo Collage Pop-up die set to the right hand side of the photo.

I used the fancy square die to decorate the centre square panels. This is another die included in the Tag Book Pop-p die set. I also added the "Happy" to the centre of the square.


On the right hand side of my tag book, I replicated what I did on the left hand side. I also added the "Birthday" to the square panel, as the sentiment was longer than the square I cut it into 2 pieces to add to the square.

Don't forget to visit Karen Burniston's blog on Wednesday when you will be able to see what all the designers created for the challenge this month.

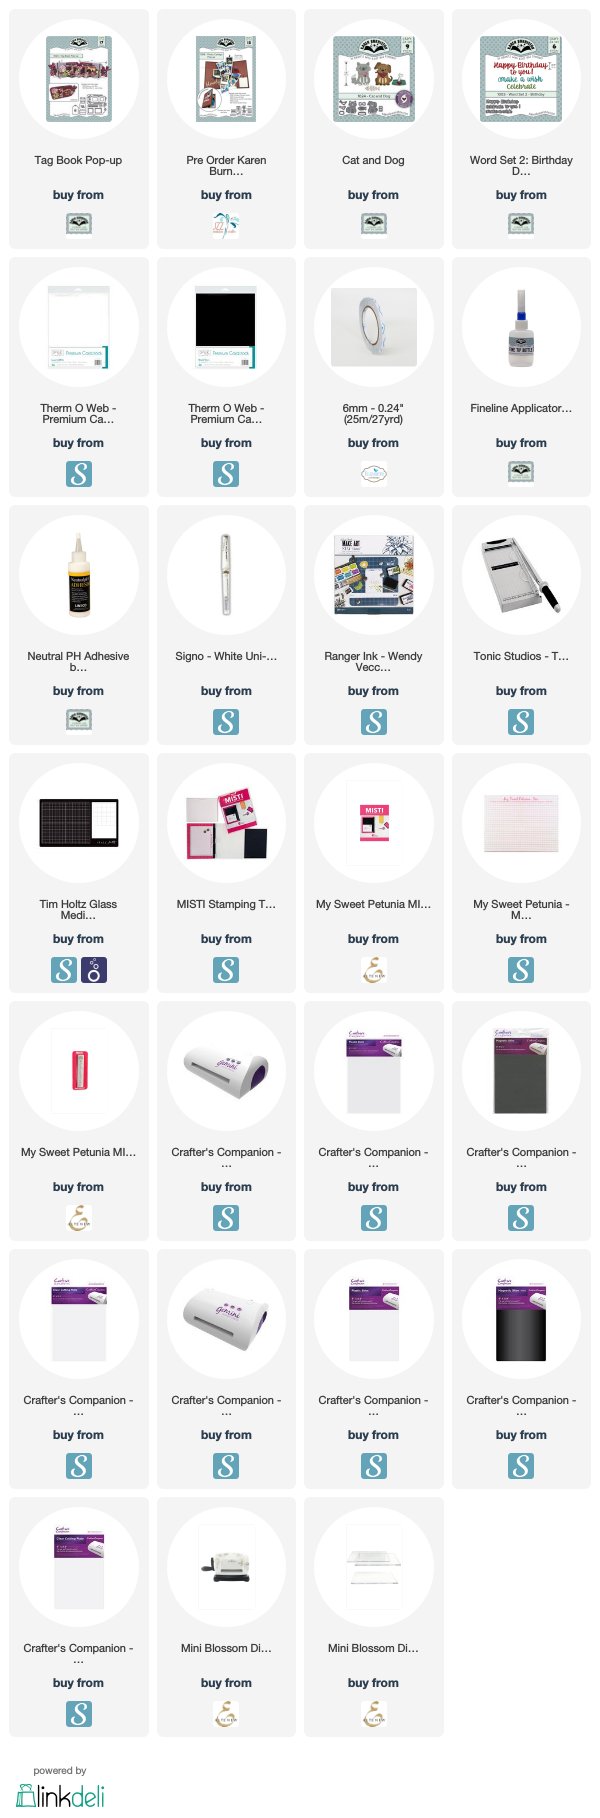
Supplies:
For your shopping convenience, all products are linked below. Compensated affiliate links are used where possible with no extra cost to you. This helps me to continue to share all the projects I include on my blog. For the benefit of my Australia readers, I have started to include some links to Australian stores when available. Please note I only use and share products I love.


Tuesday, October 1, 2019

Happy Fall


Hi Crafty Friends!

Welcome to our October Karen Burniston Designer Challenge.

Check out Karen Burniston's blog on Wednesday (US Time) when you will be able to see what all the designers created for the challenge this month, plus Karen will have an amazing video tutorial to share with us all.

Our challenge theme this month is .... "AUTUMN" - use our autumn dies (Elements and/or Word Set 7) for a card celebrating fall.


For my card today I decided to pull out Karen's Photo Collage Pop-up die set to showcase the leaves and other elements included in the Autumn Elements die set.

I created my background panels using Gina K Designs Leafy Stencil sponging on Distress Oxide inks in fall/autumn colors.


Here is a quick video to see my card in action. 

I die cut all the leaves, pumpkin, apples and acorn from white cardstock and then colored each of them using Distress Oxides. 

I added the "Fall, Autumn & Colors" words from the Word Set 7 - Autumn Greetings die set to three of the photo frames. I also added the bulldog clips three of the frames too.


I added squares from the Crosshatch - Squares die set to the top left and bottom right hand corners to the card.

The bear, mice, tree trunk and stamp sentiment are from Neat & Tangled/Simon Says Stamps stamp set.


I kept the front fairly simple seeing the focus is on the inside of the card. I added the Happy Fall using the Happy from the Word Set 7 - Autumn Greetings and the Alphabet die set for the word "Fall" The sentiment was layered using circles from the Crosshatch - Circles die set.

I finished off the card adding a few leaves to the card.


Here is one last photo of my card when it is partially closed. It does fold pretty flat and will fit inside a standard envelope.


Don't forget to visit Karen Burniston's blog on Wednesday when you will be able to see what all the designers created for the challenge this month.


Supplies:
For your shopping convenience, all products are linked below. Compensated affiliate links are used where possible with no extra cost to you. This helps me to continue to share all the projects I include on my blog. Please note I only use and share products I love.

Hello Pumpkin - Neat & Tangled / Simon Says Stamp


Tuesday, July 2, 2019

July 2019 Karen Burniston Designer Challenge


Hi Crafty Friends!!!

Welcome to our July Karen Burniston Designer Challenge.

Check out Karen Burniston's blog on Wednesday (US Time) when you will be able to see what all the designers created for the challenge this month, plus Karen will have an amazing video tutorial to share with us all.

Our challenge theme this month is ....  "PICTURE THIS!" - incorporate a photo (or photos) into your card of any theme. 


As I have mentioned before on this blog, earlier on in the year my youngest daughter finally got the pug puppy she has been wanting for so many years. It is very much loved, by her and by us. So when this challenge came up I decided to use some of the photos my daughter has taken of "Frankie" for my card. 


To create my card I have used the new Karen Burniston Photo Collage Pop-up die set .... wow is this an amazing die and lots of fun. Besides the mechanism for the photo collage arm, this set also includes the photo frame, the paper clip which look so real and pin.

I did go a little overboard with the photos, as I had printed out so many. But I do like the end result. Karen Burniston recommends 8 photos on the pop up arm, but I managed to get 10 on mine and that is all within a standard 4 1/4 inch x 5 1/2 inch card when closed.

To decorate my card I used Simon Says Stamp's Paw Background stamp for the background on my blue panels. The bark, Woof etc sentiments are from Lawn Fawn's Critter Chatter. The stamped pugs, and pug sentiments are all from There She Goes Stamps Pugalicious Stamp set which unfortunately is no longer available. When searching for pug stamps recently, I did find a cute set from Newton's Nook which I have now also order LOL!


Here is a quick video to see my card in action.


I kept the front of the card fairly simple as the focus is the inside of the card. I added another stamped pug using the Crosshatch Circles and a circle from the Snowman Twist Circle for the layers.


Here is one last photo of my card when it is partially closed. It does fold pretty flat and will fit inside a standard envelope.

The sweet is from another new Karen Burniston die set called Home Sweet Home. I also added a couple more paper clips to the layers.


Don't forget to visit Karen Burniston's blog on Wednesday when you will be able to see what all the designers created for the challenge this month.


Supplies:
For your shopping convenience, all products are linked below. Compensated affiliate links are used where possible with no extra cost to you. This helps me to continue to share all the projects I include on my blog. Please note I only use and share products I love.