Showing posts with label Tonic Studios Rotating Memoirs. Show all posts

Saturday, May 23, 2020

Pug Hugs


Hi Crafty Friends,

It’s challenge time with the “Crazies” over on the Crazy 4 Challenges blog. As challenge hostess for the month I continue to issue the challenges.

Apparently May is Photo month, let's include something that relates to photos this week … a card including a real photo, faux photos, selfie style stamps, cameras etc.


I love using photos of my grand puppy Frankie to create special cards or keepsakes. My daughter takes so many photos of her that it is always easy to find new photos to play with.

For my project today I used Tonic Studio's Rotating Memoirs die set to make a rotating album.


Here is a quick video to see my project in action.


To decorate the two sides of my rotating album, I added grass using Lawn Fawn's Grassy Hillside Border. I added pug images using stamps included in the Whimsy Stamps Pet's Woof stamp set which was in the February Card Kit.

The large paw print on the front page and the sentiment is also from the Whimsy Stamps card kit.


I added photos of Frankie to the top portion of each page. The sentiments on the underside of each page are from either the Whimsy Stamps stamp set or an older There She Goes stamp set which is no longer available.


This is the second Rotating Memoirs project I have created. I found this one easier thanks to having the correct red liner tape and smooth cardstock.


I couldn't  resist adding the photo of Frankie just after she has had a bath, it looks so funny!


One last page of my rotating album. I had to use up one last image from the pug stamp set, so I added it to the last page of my album.

Don't forget to check out the rest of the “Crazies” cards over on the Crazy 4 Challenges blog and also their individual blogs for more details.


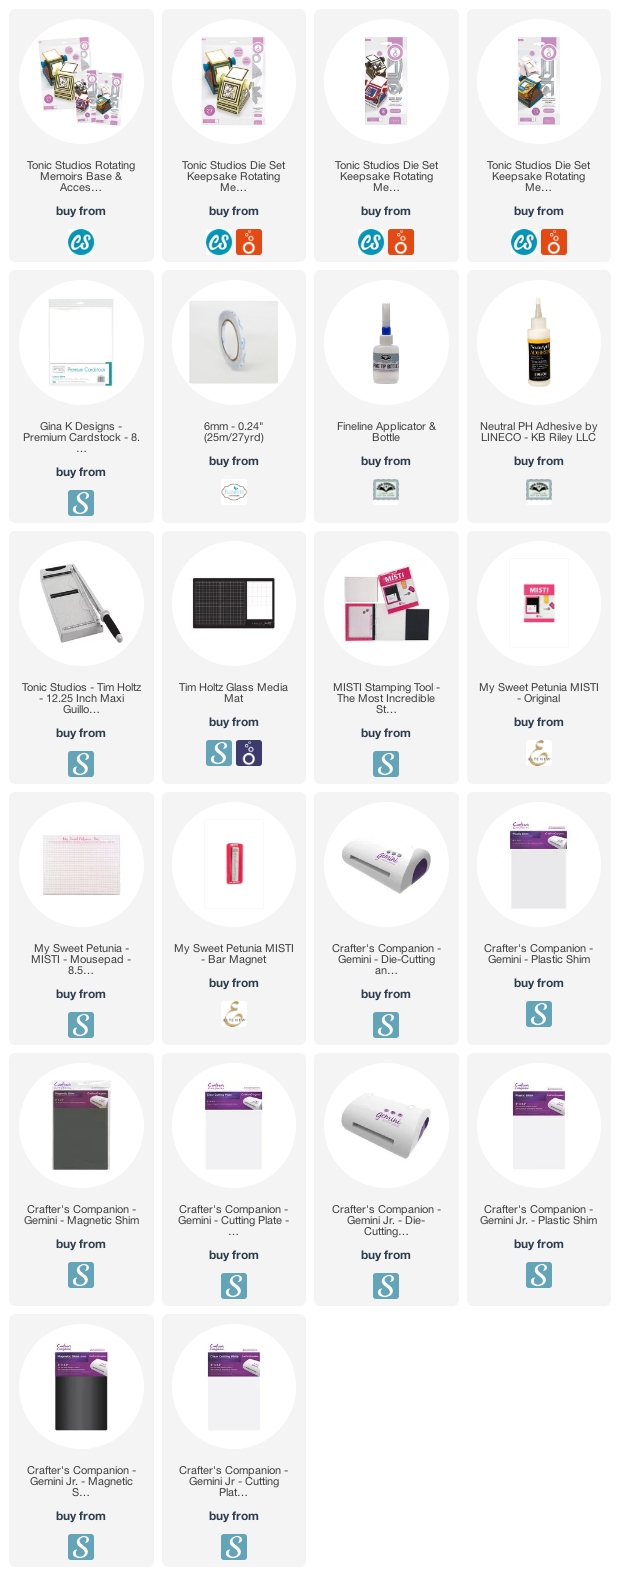
Supplies:
For your shopping convenience, all products are linked below. Compensated affiliate links are used where possible with no extra cost to you. This helps me to continue to share all the projects I include on my blog. For the benefit of my Australia readers, I have started to include some links to Australian stores when available. Please note I only use and share products I love.

Pugalicous Stamp Set - There She Goes (retired)


Sunday, April 19, 2020

Rotating Calendar


Hi Crafty Friends,

Today I am sharing a calendar I created recently. Back in February Tonic Studios released the Rotating Memoirs die sets which consisted of three different die sets, one base set which includes everything you need to make one of these fun rolodex type item. There are another two die sets which include different dies to decorate your project if you so wished.


When I saw this advertised by Tonic Studios it really appealed to me and fortunately Craft Stash UK was taking pre orders and that weekend they also had free postage which when buying anything in Australia is a big deal, so decided to order a set for one of my daughters to give to me for my birthday. With the Coronavirus shutting down China, I wasn't sure if they would get stocks in in time, but fortunately it did and my parcel of dies arrived a couple of days after my birthday.


I found a couple of videos on YouTube which helped me with the assembly of this. You do need 12 x 12 cardstock for this and as I thought I would need 4 sheets I had to go with lighter weight cardstock, but it turns out I didn't need 4 sheets, I only needed to die cut the sides a second time which I probably would have gotten out of the scraps from the 12 x 12 sheet. 


Here is a quick video of my calendar in action.


For my calendar today I used two of the die sets, the main die set and one of the coordinating die sets to create the pages.


I found a calendar that I thought would work online and printed that out to use for each of the individual papers. This Rotating Memoirs die can take eight pages, so I used six for the calendar and then the other two pages I used for the year and a decorative feature.


The hardest part to make this was actually attaching the pages to the cylinder at the top. I tried a variety of tapes in my stash and none of them held type. I tried my favorite glue which normally works for everything, even that had issues. In the end I had to resort of adding one or two, allowing them to dry for about 30 mins and then coming back to add more. I have since ordered some red liner tape, so hopefully next time I won't have the same issue.


And finally one more photo showing the decorative panel included in the die set, this could also be used on cards.


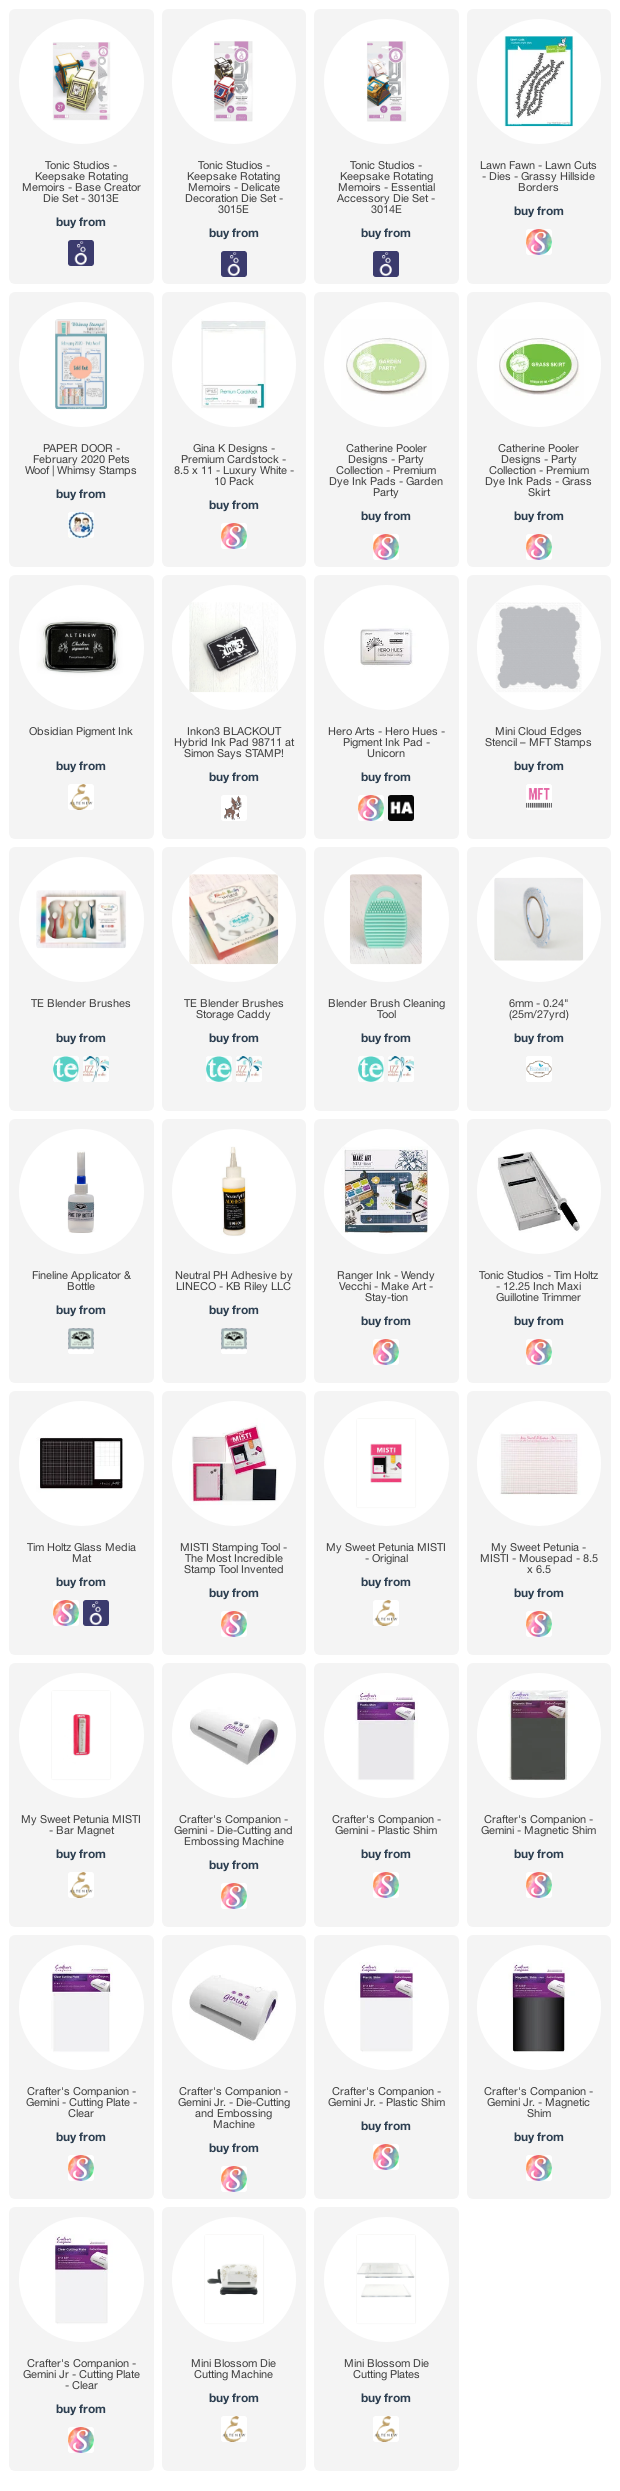
Supplies:
For your shopping convenience, all products are linked below. Compensated affiliate links are used where possible with no extra cost to you. This helps me to continue to share all the projects I include on my blog. For the benefit of my Australia readers, I have started to include some links to Australian stores when available. Please note I only use and share products I love.