Showing posts with label Tonic Studios. Show all posts

Tuesday, February 23, 2021

Cheers! It's Your Birthday


Hi Crafty Friends,

I have a male themed birthday Slimline shaker card to share today. 

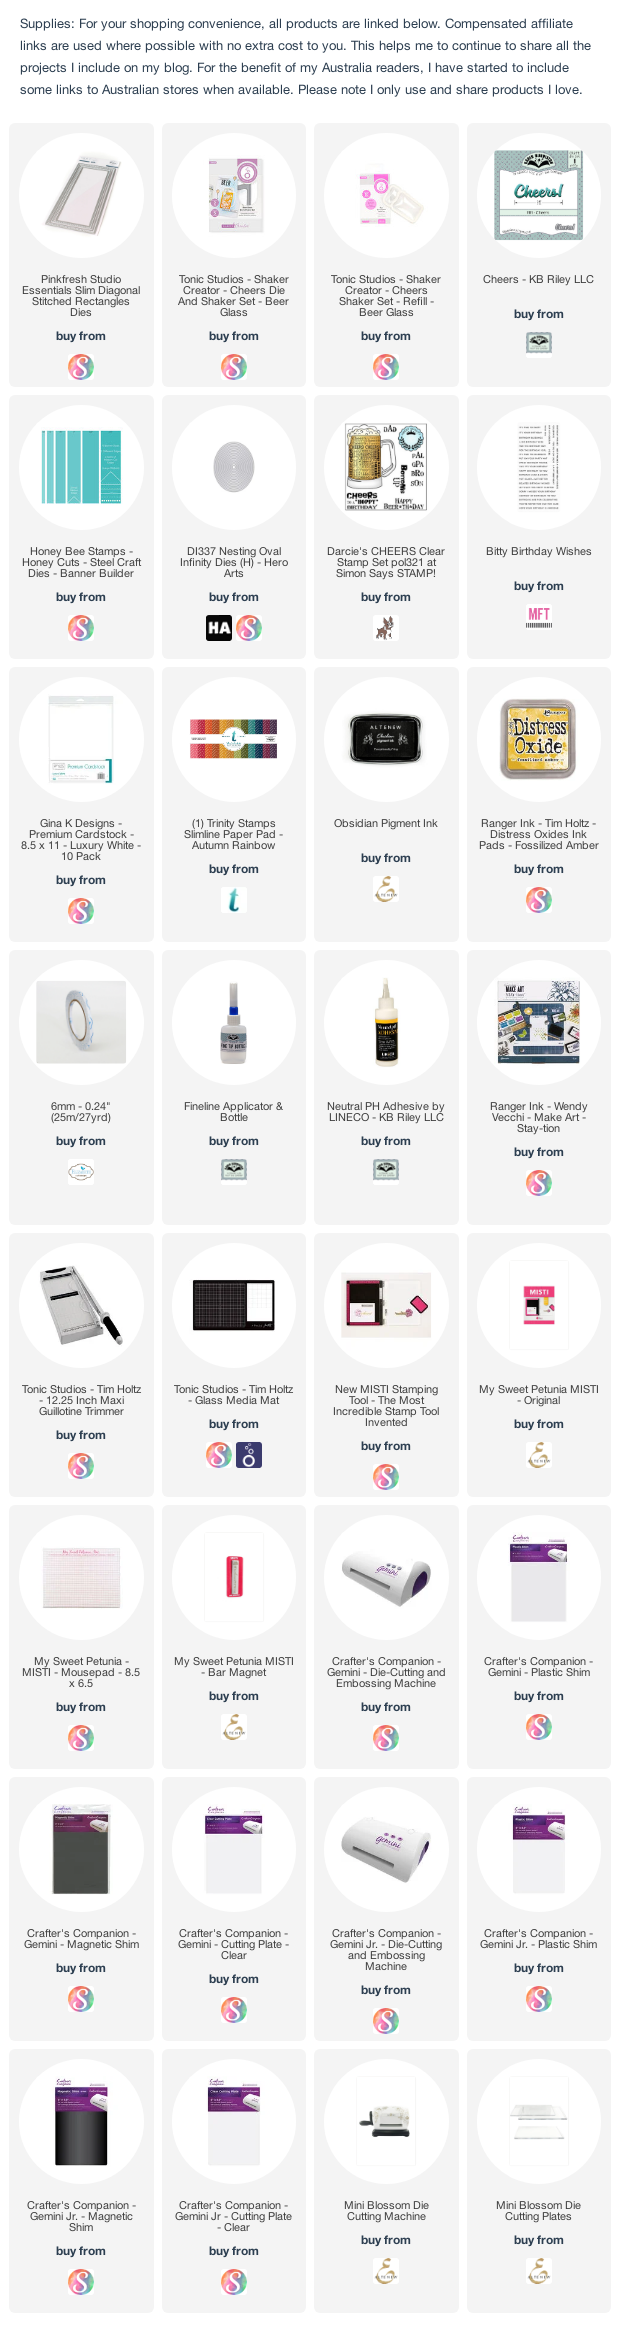
To create the Slimline card I used Pinkfresh Studio's Slim Diagonal Stitched Rectangles die set. I used this to die cut the woodgrain paper and the diagonal striped papers to layers onto the Slimline Card Base.

The paper is from Trinity Stamps Autumn Rainbow Paper Pad.

I used Tonic Studios' Cheers Die and Shaker Set - Beer Glass to create the two beer glasses to create the two beer glass shaker elements that I placed at each end of the card. This set includes dies and shaker pouches.

For the sentiment I used Karen Burniston's Cheers die set and a sentiment from MFT Stamps Bitty Birthday Sentiments stamp set.


For the inside of the card I added the left over woodgrain paper along the bottom of the card.

I used stamps from Darcie's to add the beer mug and sentiment.


Thursday, September 17, 2020

Cheers to a Hoppy Birthday

Hi Crafty Friends,

It's challenge time with my friends over on the CCEE Stampers challenge blog.  As challenge hostess for the month, I continue to issue the challenges.


Apparently September is "Shake Month" which is a day to celebrate all things Milkshakes! 

One of the very first interactive cards I created when I first started stamping over 30 years ago was a shaker card, so for a our challenge this week, let's incorporate some sort of shaker element on your card. Bonus points if you include a milkshake!


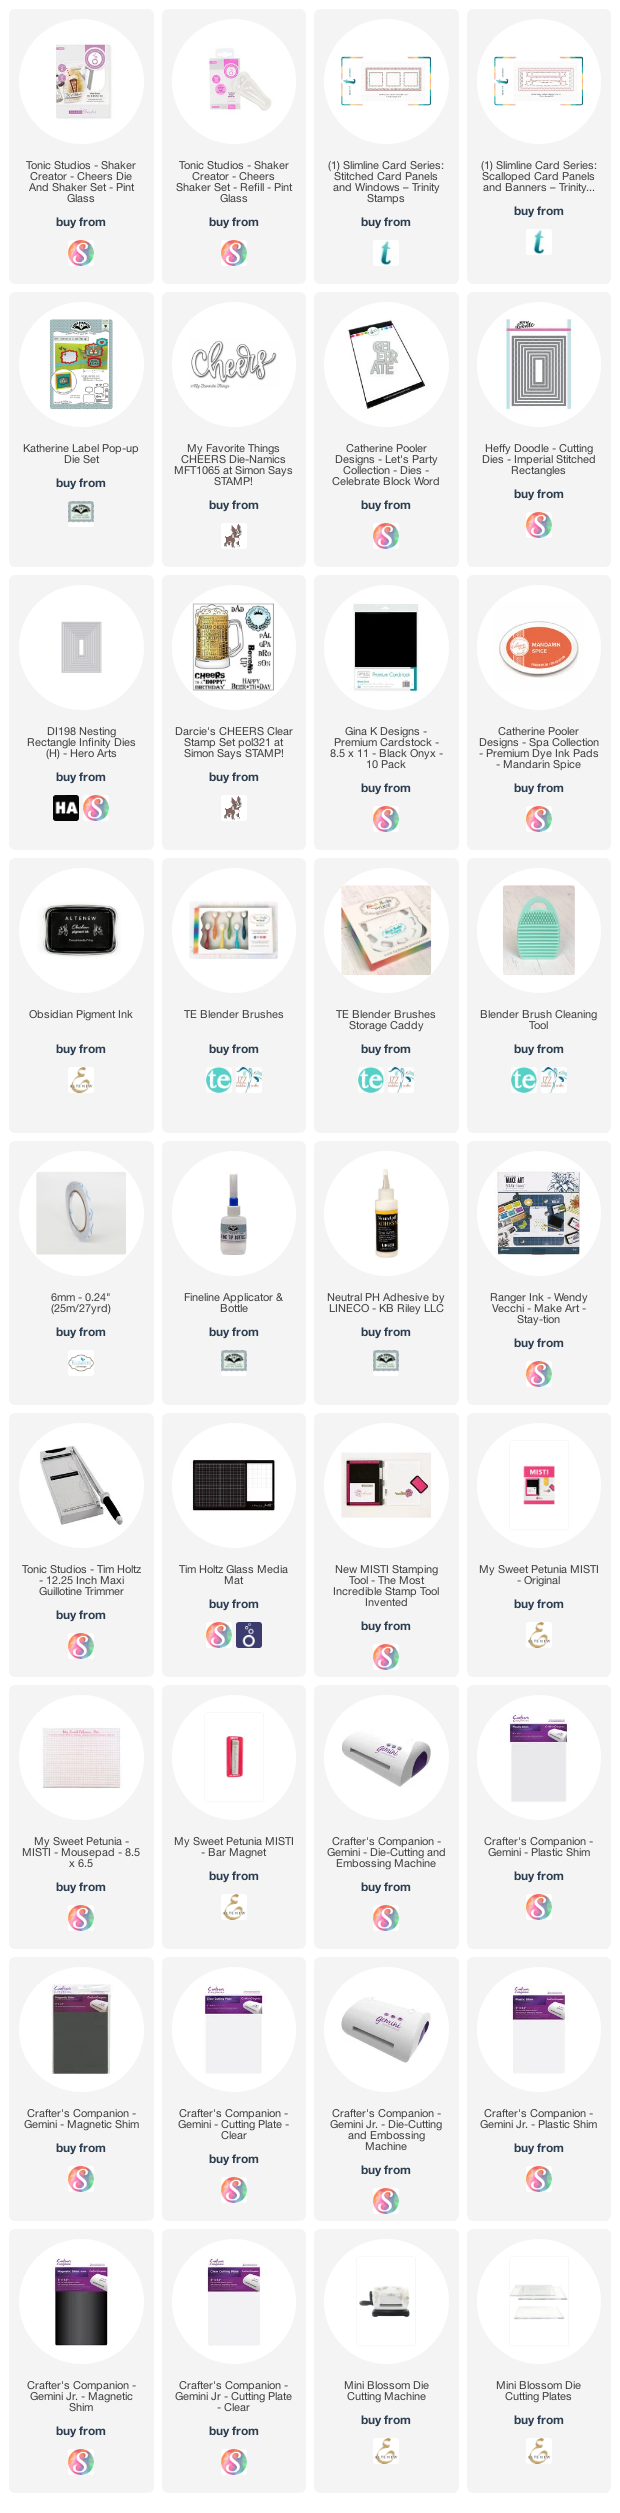
For my card today I decided to pull out another of the Tonic Studios Shaker Creator die sets. This one is the Pint Glass Die & Shaker Set which comes with two dies to create the beer glass and the shaker pouches.

As you can see I created a Slimline Card using two Slimline dies from Trinity Stamps. 

Along the bottom of the card I added the "Beer*th*day" sentiment from the Darcie's Cheers stamp set. I also added the "Cheers" die cut sentiment to the top of the card.


For the inside of my card I created a pop-up card using Karen Burniston's Katherine Label Pop-up. I added the "Celebrate" sentiment to the rectangle panels which are adhered to the pop up.

I added the stamped sentient to the lower left hand side of the card which is another sentiment included in the Darcie's stamp set.


Don't forget to check out the CCEE Stampers blog (goes live 12 AM EST) to see the rest of the creations the CCEE Stampers created this week. You can also see more details of their creations on their individual blogs:


Supplies:
For your shopping convenience, all products are linked below. Compensated affiliate links are used where possible with no extra cost to you. This helps me to continue to share all the projects I include on my blog. For the benefit of my Australia readers, I have started to include some links to Australian stores when available. Please note I only use and share products I love.


Saturday, September 5, 2020

Coffee and Friends

Hi Crafty Friends,

It’s challenge time with the “Crazies” over on the Crazy 4 Challenges blog. Being a brand new month it's time to introduce our challenge hostess for the month which is ME!

This month all the Crazy 4 Challenges challenge all have a common theme. They all start with the letter "S" for September.

Apparently September is “Shake Month” … now technically this relates to Milkshakes. However for our challenge we are going to shake in a different way by creating shaker cards.


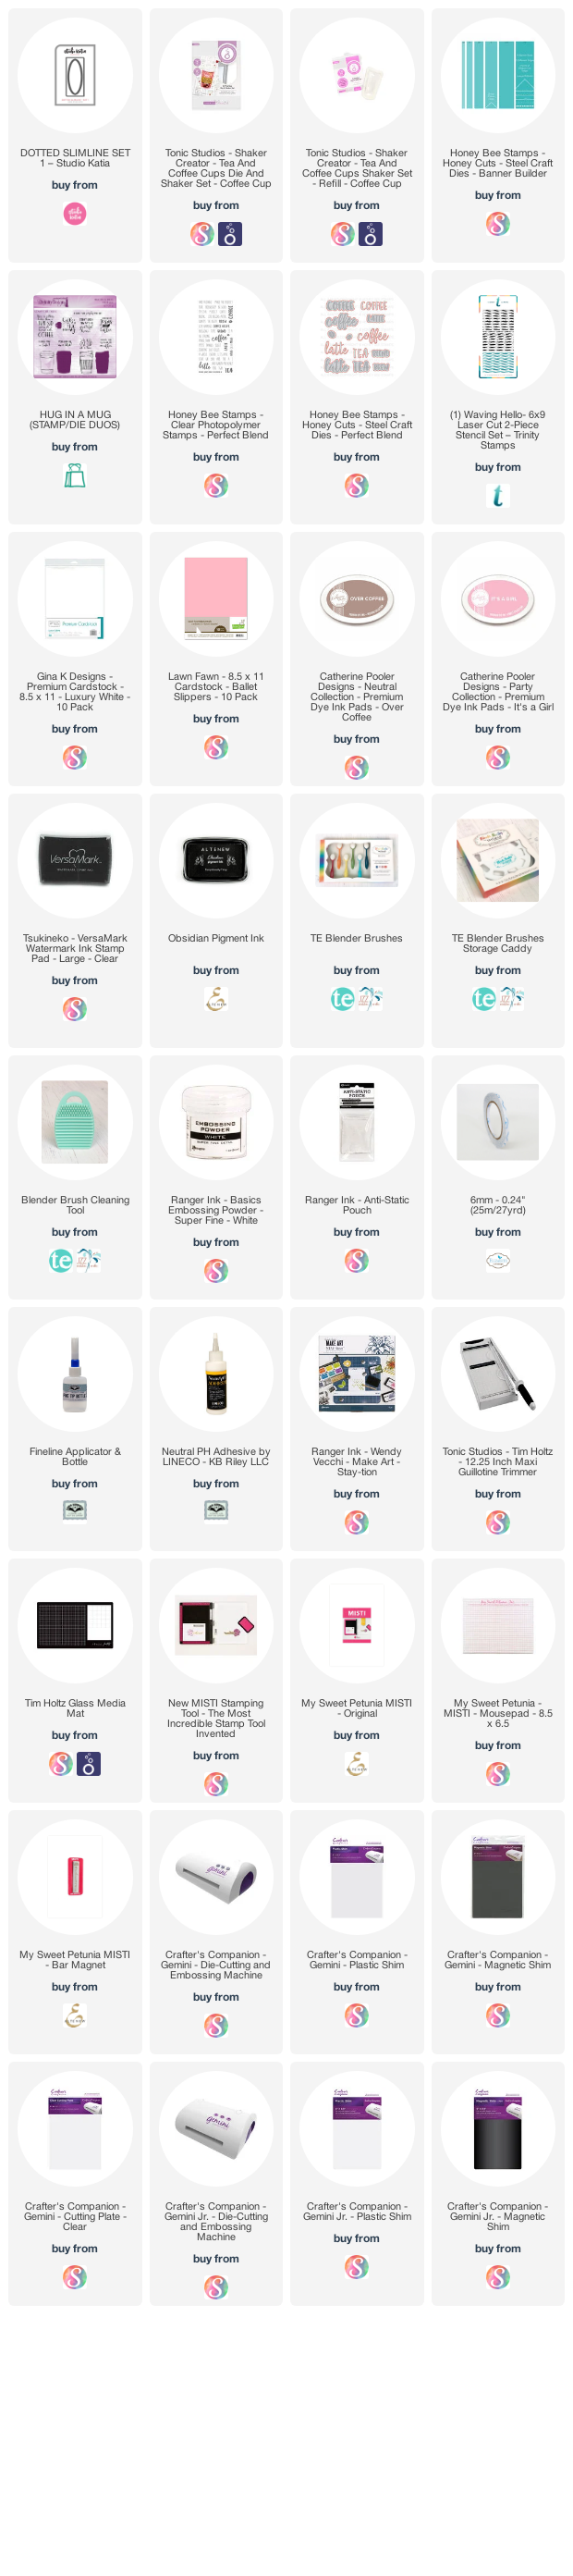
This year I have purchased a number of Tonic Studios Shaker Creator die sets these come in coffee/tea, alcohol and number themes.  Each die set come with two dies to create the shaker and five clear plastic shaker pouches. As I haven't gotten around to using any of these as yet, todays challenge was the perfect opportunity to use one of the sets. For my card today I used the Coffee Cup Die & Shaker set.

As you can see I created a Slimline Card using Studio Katia's Dotted Slimline Set 1 die set. 

I used Trinity Stamps Waving Hello 6 x 9 Stencil to create the background design. I used inks from Catherine Pooler Designs Over Coffee & It's A Girl inks.


I die cut the shaker to the centre of the oval panel adding sequins, in brown, pink and white.

I used Honey Bee Stamps Perfect Blend Stamp set and coordinating die set to add the sentiments to the oval panel.


For the inside of the card I decorated another panel using the stencil I used on the front of the card. I cut it in half and adhered it to both edges of the card.

I used Karen Burniston's Katherine Label Pop-up die set to add the pop up panel for the sentiment.

I die cut the coffee cup from the Tonic Studios shaker die without the inner die for the sentiment.

The sentiment is from Divinity Designs Hug in a Mug stamp set.

Don't forget to check out the rest of the “Crazies” cards over on the Crazy 4 Challenges blog and also their individual blogs for more details.


Supplies:
For your shopping convenience, all products are linked below. Compensated affiliate links are used where possible with no extra cost to you. This helps me to continue to share all the projects I include on my blog. For the benefit of my Australia readers, I have started to include some links to Australian stores when available. Please note I only use and share products I love.


Monday, June 15, 2020

Guitar Birthday


Hi Crafty Friends,

Today I am sharing a Center Step Easel Card I created recently. This is a card I made for a friends son who is turning 50 this year and apparently likes guitars.

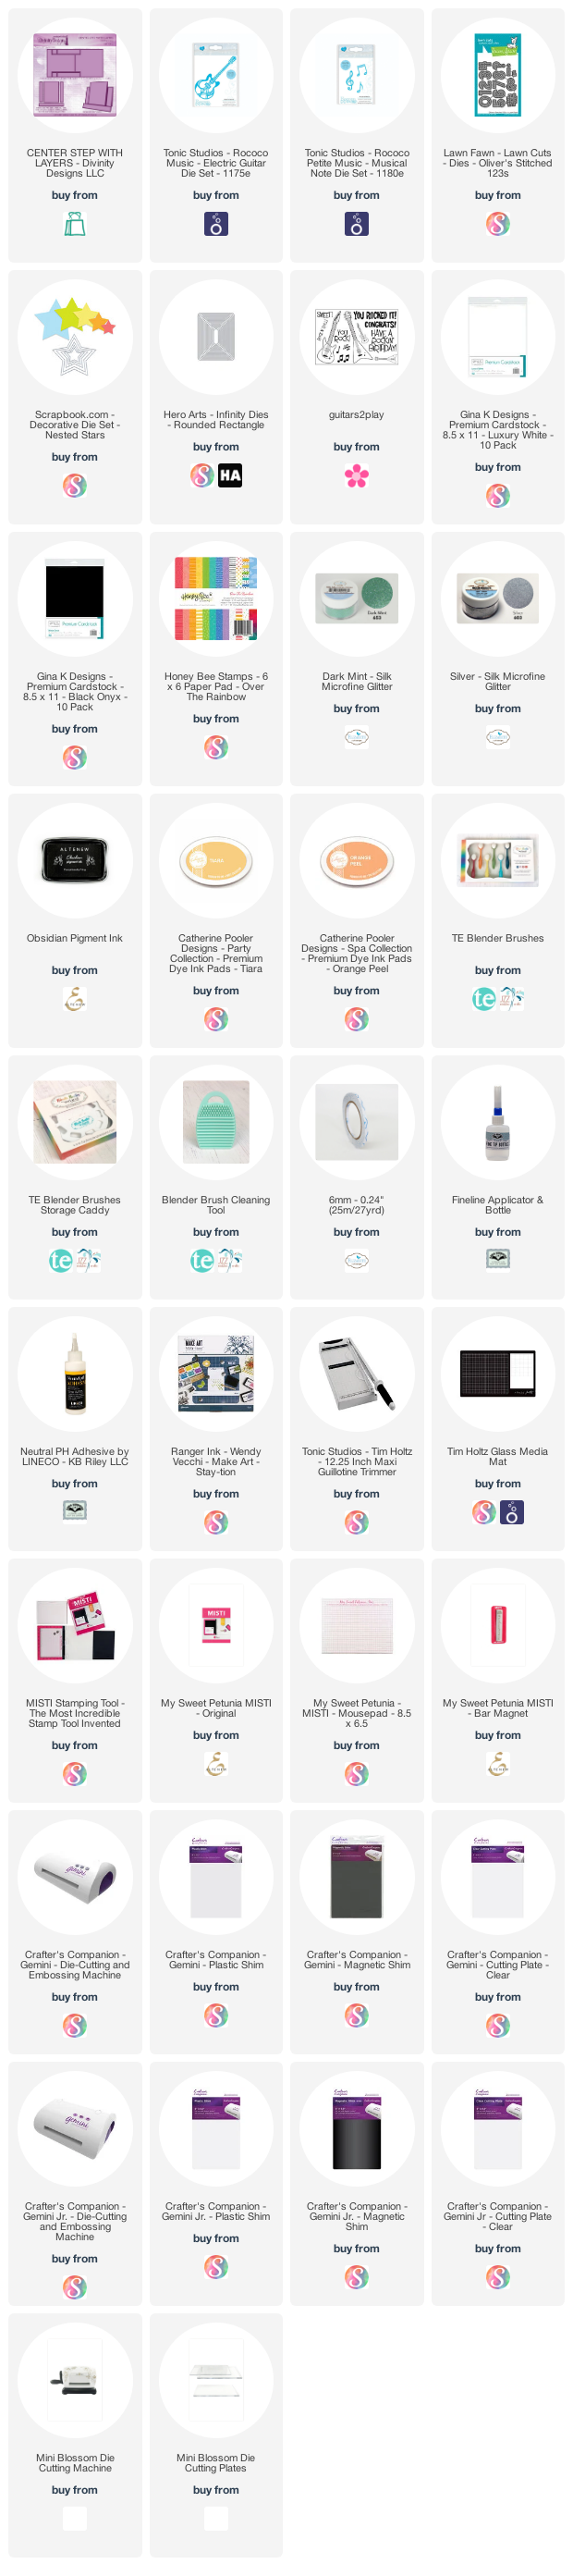
For the base of my card I used Divinity Designs Center Step Card with Layers die set. To create the easel portion of the card at the bottom of the card, I cut another piece of black cardstock that measured 5 1/2 inches x 6 inches. I scored along the 6 inch side at 1/2 inch and adhered this to the back of the centre step card.


To decorate my card I used Tonic Studios Electric Guitar die set. I die cut the guitar from black cardstock and then layered this onto a piece of white cardstock that has double sided adhesive on the front. I then covered the exposed adhesive with Dark Mint Silk Microfine Glitter.

I added silver glitter stars around the card before attaching the guitar. I added black music notes to three of the larger stars.

I used Lawn Fawn's Oliver's 123s to add the "50" to the top left hand corner of the card.


Here is a look at my card when it is folded flat ready to be placed in an envelope.

I added some flames to the two sides of the card which are from an older MFT Stamps die set called Rock and Roll.


Another photo showing the back of the card when the card has been folded flat.

I added the Happy Birthday Melody die from Memory Box for the sentiment. I also added a tab above the sentiment using the smallest rounded rectangle from the Hero Arts Rounded Rectangles die set. This tab helps keep the card open when it is on display.


I cut a white panel for inside my card and added the same paper I used on the front along the bottom of the card.

I added the "Have a Rockin' Birthday!" sentiment to the white panel which is from The Stamps of Life Guitars2Play stamp set.

Supplies:
For your shopping convenience, all products are linked below. Compensated affiliate links are used where possible with no extra cost to you. This helps me to continue to share all the projects I include on my blog. For the benefit of my Australia readers, I have started to include some links to Australian stores when available. Please note I only use and share products I love.

Happy Birthday Melody die set - Memory Box
Rock and Roll Die-namics - MFT Stamps


Saturday, June 6, 2020

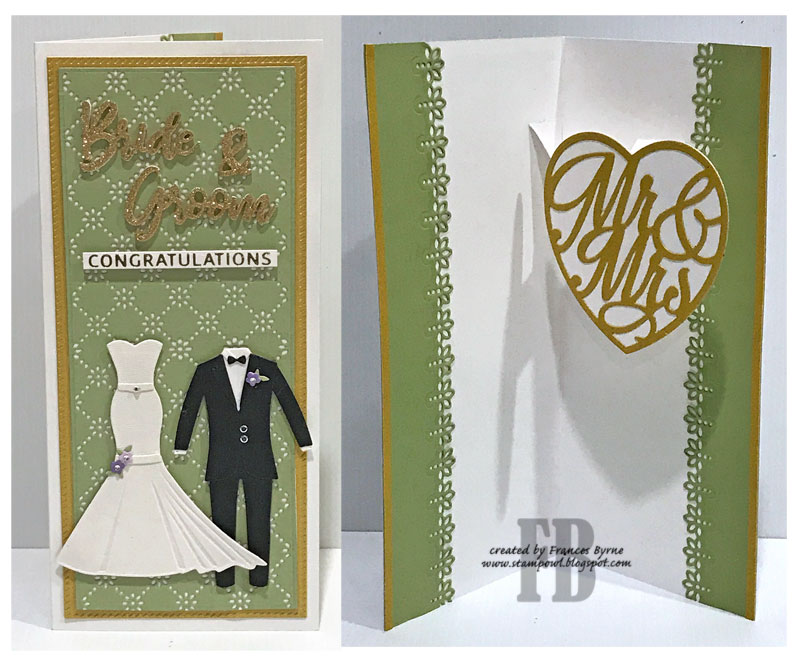
Bride & Groom Congratulations


Hi Crafty Friends,

It’s challenge time with the “Crazies” over on the Crazy 4 Challenges blog. Being a brand new month it is time to introduce our new challenge hostess which is Maryann Einam.

The month of June derives it name from Juno, the Roman Goddess of marriage. It was thought that couples who married in June would be blessed with prosperity and happiness. Brides seem to have lace on their dress so please create a card with Lace … either Real or Faux.


As you can see I have created another slimline card using Pinkfresh Studio's Slim Diagonal Stitched Rectangles die set. Originally I was thinking using the glitter & lace technique for the background, but that looked too busy so I decided to pull out my Sunny Studio Stamps Frilly Frames - Eyelet Lace die set. I had been wanting to use this die for a while now. This is a two part die set which allows you to die cut a frame, a frame with the eyelet lace inside or just the eyelet lace. As I was making a slimline card, I die cut the eyelet lace portion of the die twice placing the die back into one of the flowers of the previously die cut panel. I then die cut this panel using one of the slim rectangle dies from the Pinkfresh Studio's die set and then layered onto a gold panel also cut using a die from this die set. I then attached the layers onto a fold card that is 4 inches x 9 inches.

I have had the new Wedding dies & glimmer plates designed by Nicol Spohr for Spellbinders for a couple of months, so seeing Maryann had mentioned Bride in her blurb for the challenge I used those.

I used Spellbinders Wedding Dress & Tux for the images at the bottom of the card. I then used the Bride & Groom die set which I added Desert Gold Glitter to the top layer of the stacked sentiment. I added a gold foiled "Congratulations" sentiment which is from Spellbinders Glimmering Wedding Wishes Glimmer Plate set.


Wedding cards are special so I decided to include a pop-up on the inside of the card, using Karen Burniston's Katherine Label Pop-up die set. I added the Tonic Studios' Mr & Mrs Affections Insert die (the heart sentiment) onto the pop-up panel. As this card is fairly narrow, it is best to close the card and add this heart to the pop-up panel while it is closed, so you know it will be hidden when the card is closed.

I also added Pink Fresh Studio's Slim Lacey Edgers die set to add a lacey border to either side of the inside of the card.

Don't forget to check out the rest of the “Crazies” cards over on the Crazy 4 Challenges blog and also their individual blogs for more details.


Supplies:
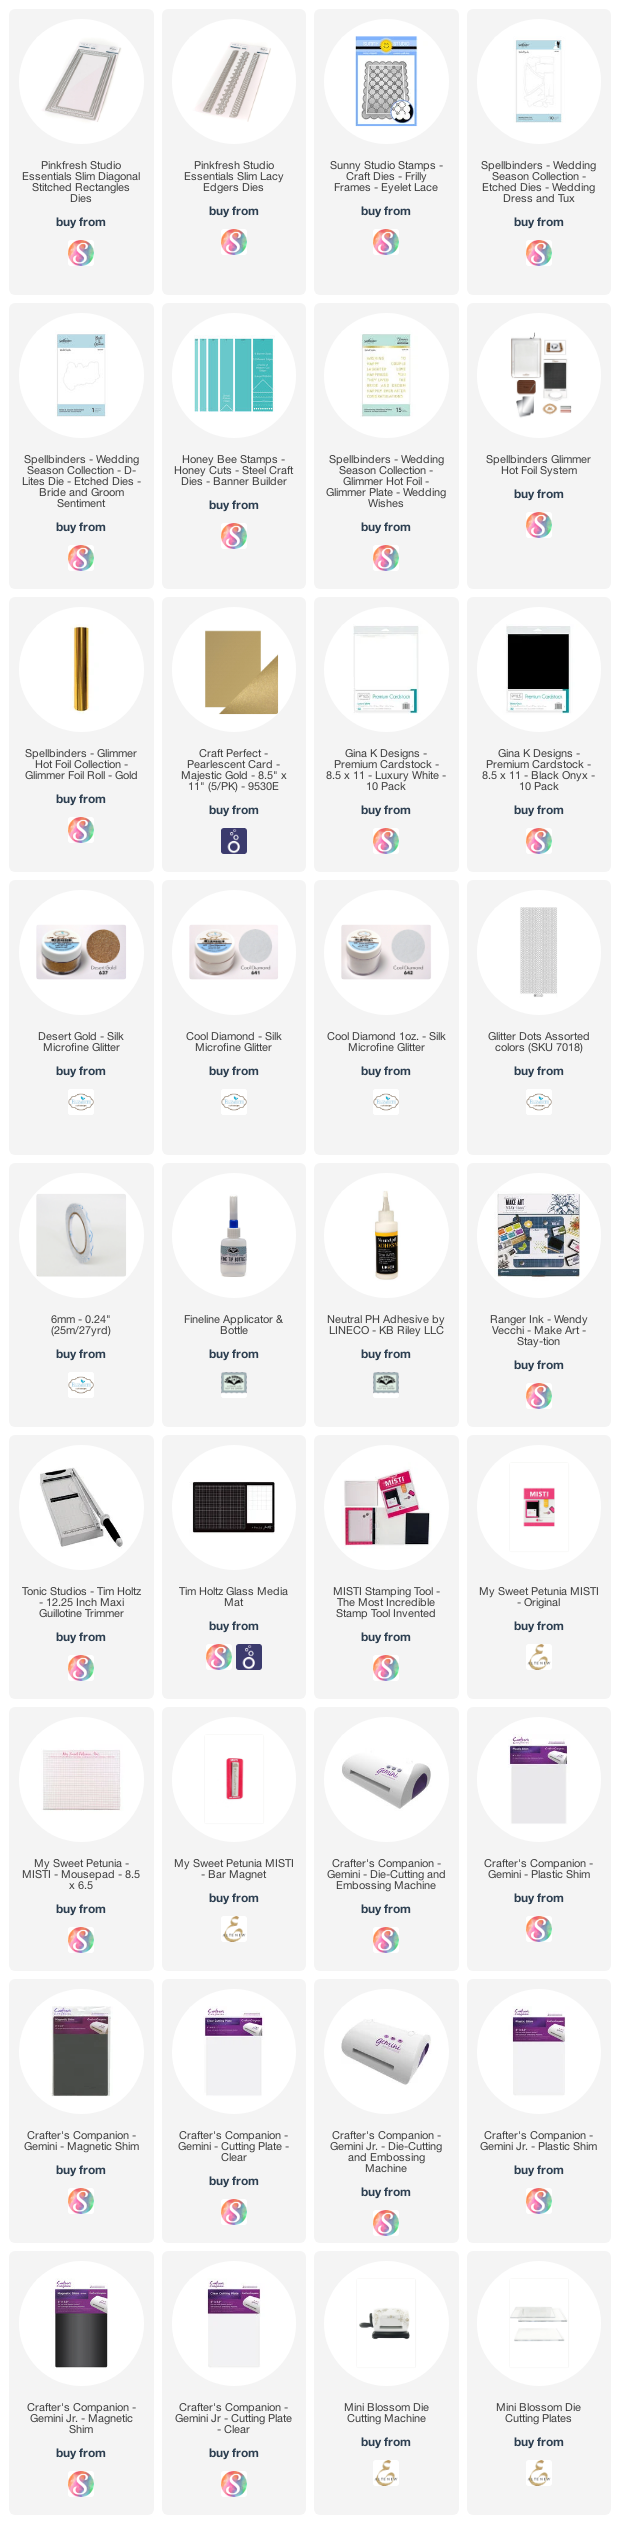
For your shopping convenience, all products are linked below. Compensated affiliate links are used where possible with no extra cost to you. This helps me to continue to share all the projects I include on my blog. For the benefit of my Australia readers, I have started to include some links to Australian stores when available. Please note I only use and share products I love.


Mr & Mrs Affections Insert die set - Tonic Studios (retired)


Saturday, May 23, 2020

Pug Hugs


Hi Crafty Friends,

It’s challenge time with the “Crazies” over on the Crazy 4 Challenges blog. As challenge hostess for the month I continue to issue the challenges.

Apparently May is Photo month, let's include something that relates to photos this week … a card including a real photo, faux photos, selfie style stamps, cameras etc.


I love using photos of my grand puppy Frankie to create special cards or keepsakes. My daughter takes so many photos of her that it is always easy to find new photos to play with.

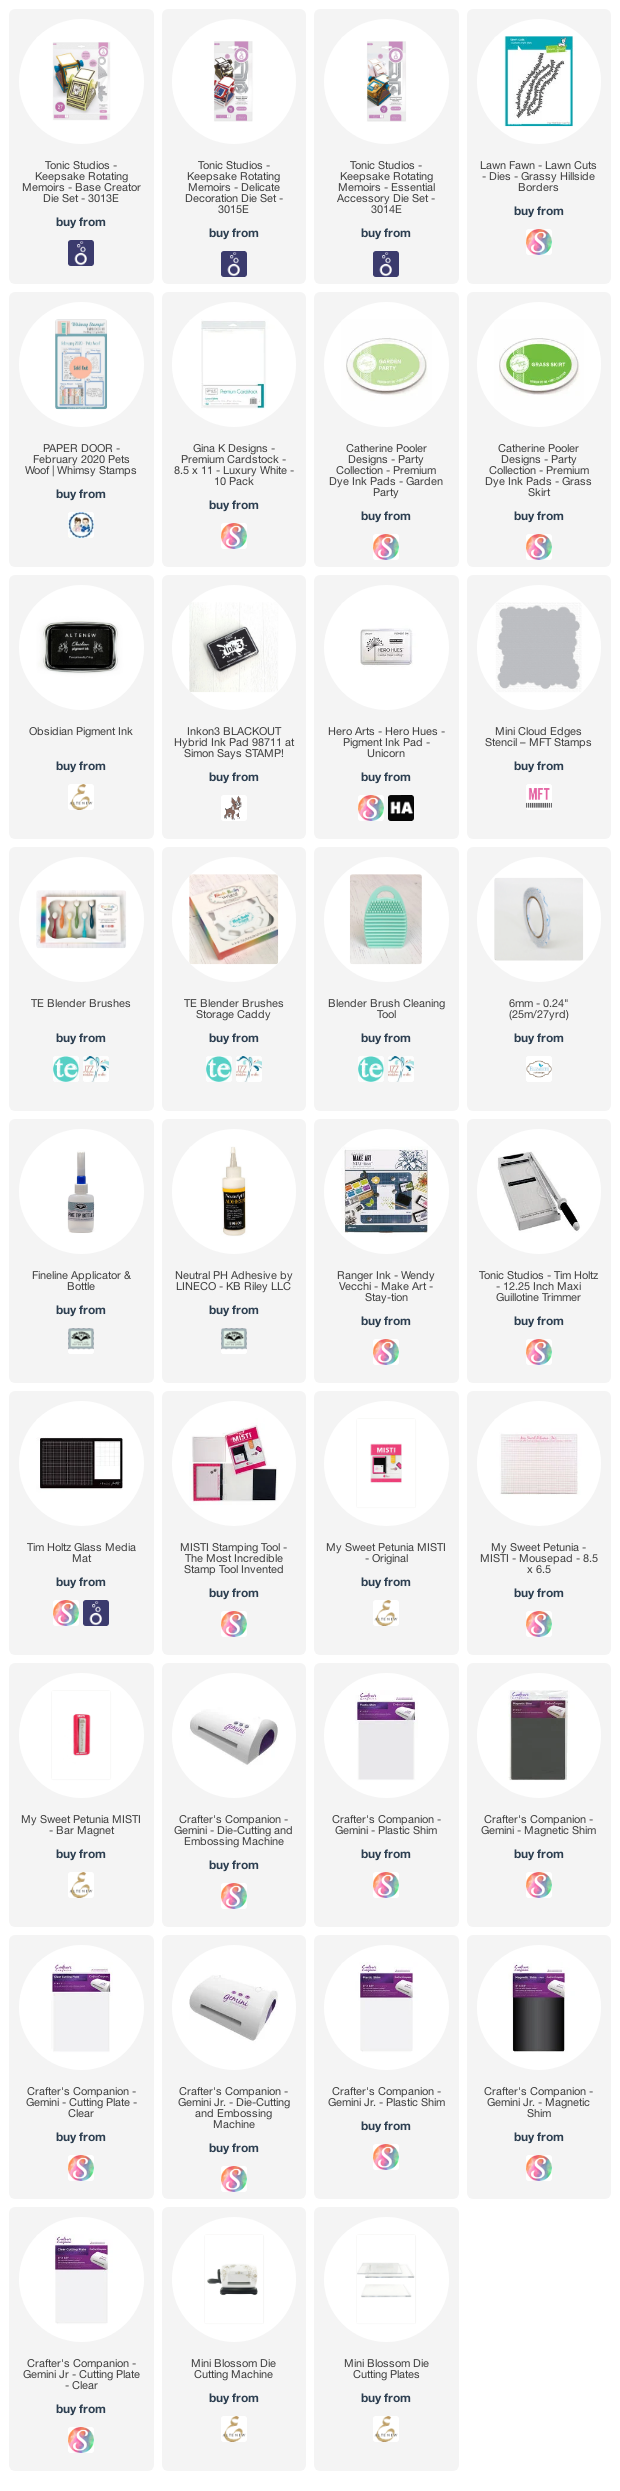
For my project today I used Tonic Studio's Rotating Memoirs die set to make a rotating album.


Here is a quick video to see my project in action.


To decorate the two sides of my rotating album, I added grass using Lawn Fawn's Grassy Hillside Border. I added pug images using stamps included in the Whimsy Stamps Pet's Woof stamp set which was in the February Card Kit.

The large paw print on the front page and the sentiment is also from the Whimsy Stamps card kit.


I added photos of Frankie to the top portion of each page. The sentiments on the underside of each page are from either the Whimsy Stamps stamp set or an older There She Goes stamp set which is no longer available.


This is the second Rotating Memoirs project I have created. I found this one easier thanks to having the correct red liner tape and smooth cardstock.


I couldn't  resist adding the photo of Frankie just after she has had a bath, it looks so funny!


One last page of my rotating album. I had to use up one last image from the pug stamp set, so I added it to the last page of my album.

Don't forget to check out the rest of the “Crazies” cards over on the Crazy 4 Challenges blog and also their individual blogs for more details.


Supplies:
For your shopping convenience, all products are linked below. Compensated affiliate links are used where possible with no extra cost to you. This helps me to continue to share all the projects I include on my blog. For the benefit of my Australia readers, I have started to include some links to Australian stores when available. Please note I only use and share products I love.
Pugalicous Stamp Set - There She Goes (retired)


Sunday, April 19, 2020

Rotating Calendar


Hi Crafty Friends,

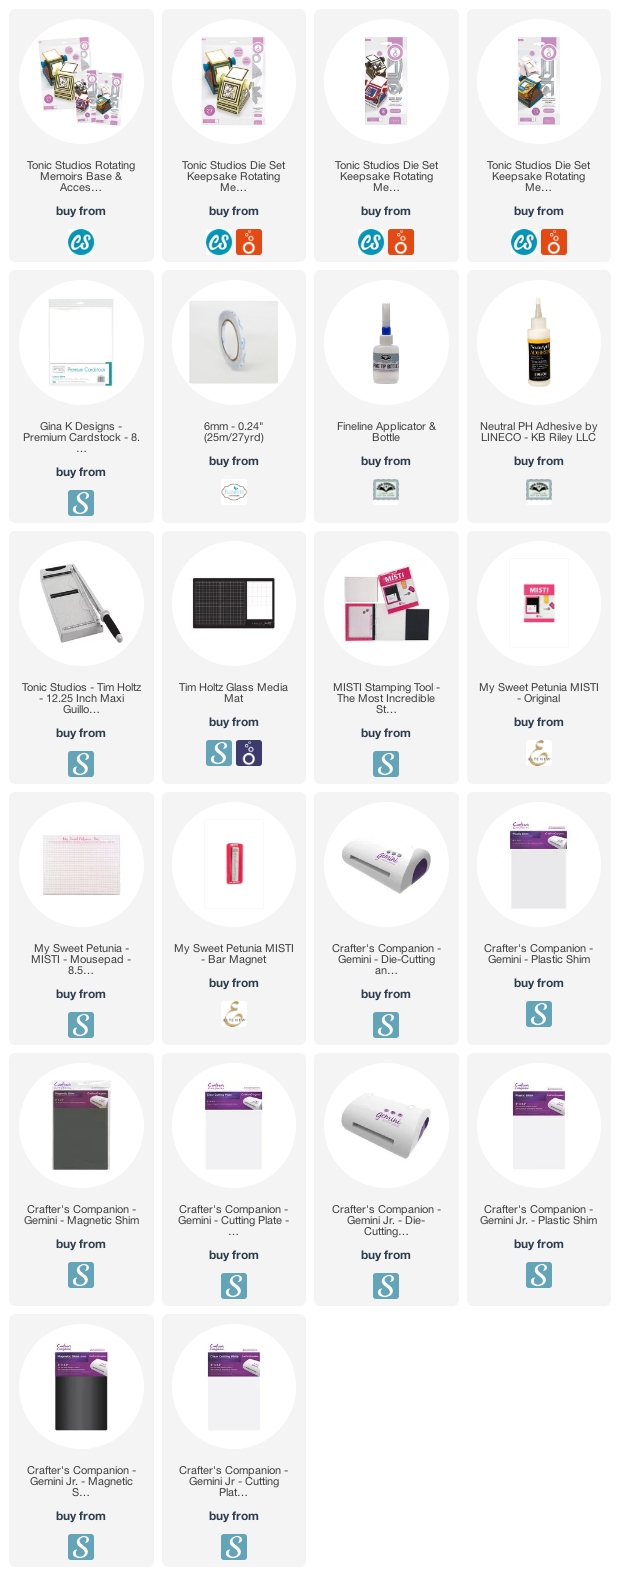
Today I am sharing a calendar I created recently. Back in February Tonic Studios released the Rotating Memoirs die sets which consisted of three different die sets, one base set which includes everything you need to make one of these fun rolodex type item. There are another two die sets which include different dies to decorate your project if you so wished.


When I saw this advertised by Tonic Studios it really appealed to me and fortunately Craft Stash UK was taking pre orders and that weekend they also had free postage which when buying anything in Australia is a big deal, so decided to order a set for one of my daughters to give to me for my birthday. With the Coronavirus shutting down China, I wasn't sure if they would get stocks in in time, but fortunately it did and my parcel of dies arrived a couple of days after my birthday.


I found a couple of videos on YouTube which helped me with the assembly of this. You do need 12 x 12 cardstock for this and as I thought I would need 4 sheets I had to go with lighter weight cardstock, but it turns out I didn't need 4 sheets, I only needed to die cut the sides a second time which I probably would have gotten out of the scraps from the 12 x 12 sheet. 


Here is a quick video of my calendar in action.


For my calendar today I used two of the die sets, the main die set and one of the coordinating die sets to create the pages.


I found a calendar that I thought would work online and printed that out to use for each of the individual papers. This Rotating Memoirs die can take eight pages, so I used six for the calendar and then the other two pages I used for the year and a decorative feature.


The hardest part to make this was actually attaching the pages to the cylinder at the top. I tried a variety of tapes in my stash and none of them held type. I tried my favorite glue which normally works for everything, even that had issues. In the end I had to resort of adding one or two, allowing them to dry for about 30 mins and then coming back to add more. I have since ordered some red liner tape, so hopefully next time I won't have the same issue.


And finally one more photo showing the decorative panel included in the die set, this could also be used on cards.


Supplies:
For your shopping convenience, all products are linked below. Compensated affiliate links are used where possible with no extra cost to you. This helps me to continue to share all the projects I include on my blog. For the benefit of my Australia readers, I have started to include some links to Australian stores when available. Please note I only use and share products I love.


Thursday, March 12, 2020

Baby Boy Treat Box


Hi Crafty Friends,

It's challenge time with my friends over on the CCEE Stampers challenge blog. Maryann Einam our challenge hostess for the month, continues to issue the challenges.

For our challenge this week Maryann has requested that we .... Create a bag, box or container that can be used to contain a party favour.


For today's challenge I decided to pull out my Tonic Studio's Deco-Edged Square Cracker Box die set. This die set allows you to create Christmas Crackers, but with a little trimming before assembling you can also make some fun boxes with it.

When I was looking through the die set at the decorative overlay dies, I saw the one that had moons & stars on it, so decided to use this one to make a box which could be used at a baby shower.


After decorating the treat box, I then added the ribbon and the baby boy tag. The tag was created by using a Frantic Stamper Square Vignette Baby Insert die, I then stamped the word "Boy" underneath the baby word.

Don't forget to check out the CCEE Stampers blog (goes live 12 AM EST) to see the rest of the creations the CCEE Stampers created this week. You can also see more details of their creations on their individual blogs:

Supplies:
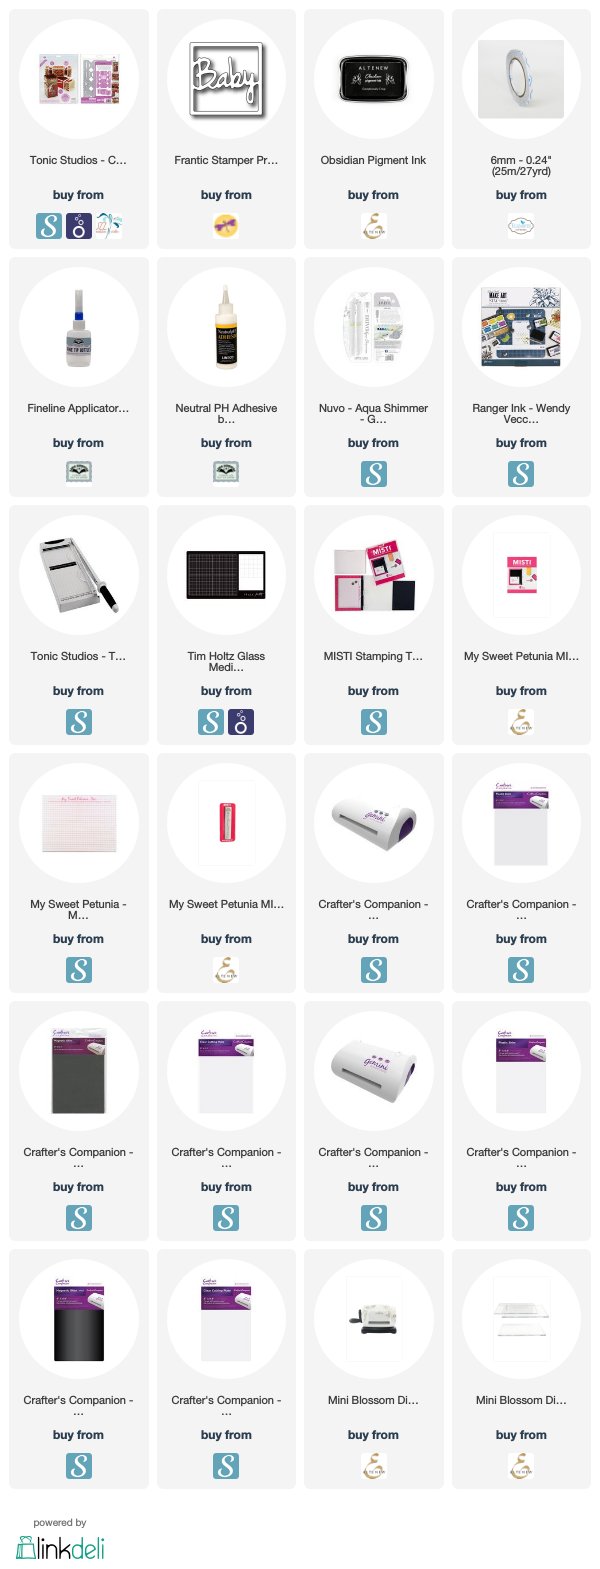
For your shopping convenience, all products are linked below. Compensated affiliate links are used where possible with no extra cost to you. This helps me to continue to share all the projects I include on my blog. For the benefit of my Australia readers, I have started to include some links to Australian stores when available. Please note I only use and share products I love.